| Oracle® Retail Xstore Point of Service Mobile User Guide Release 20.0 F35714-03 |
|

 Previous |
 Next |
| Oracle® Retail Xstore Point of Service Mobile User Guide Release 20.0 F35714-03 |
|
Previous |
Next |
Inventory shipping can be performed through Xstore Mobile. Through a handheld device, you can create a shipping document, open a shipping document, and scan items directly into a shipment.
The shipping process can be performed through the Inventory option on the Main Menu.
To start the shipping process through the Main Menu:
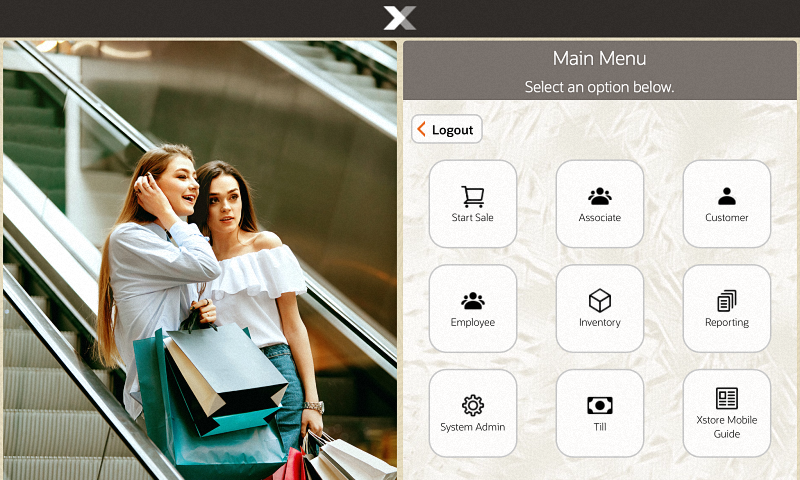
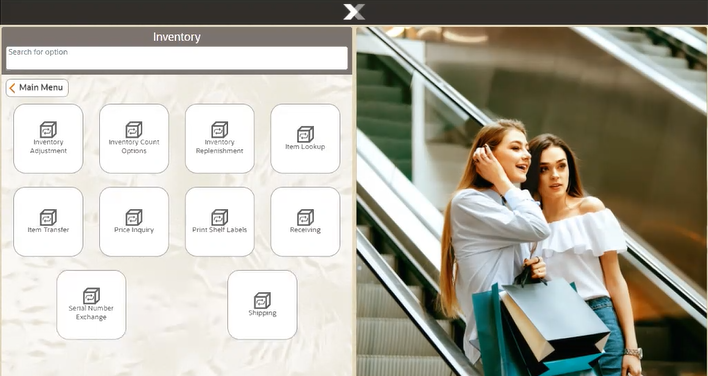
Select Inventory in the Main Menu.
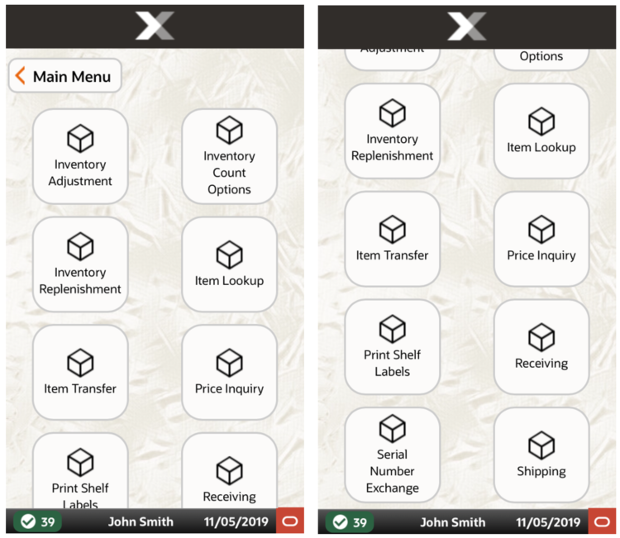
Select Shipping from the Inventory menu.
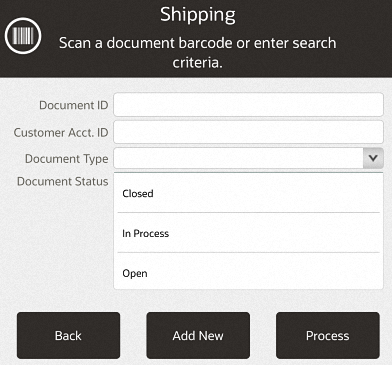
The Shipping document search screen opens.
Continue with Search for a Shipping Document or Create a New Shipping Document.
To search for and select a shipping document:
Scan a shipping document ID to open that document or enter the search criteria and select Process.
Figure 43-5 Shipping Document Search Results
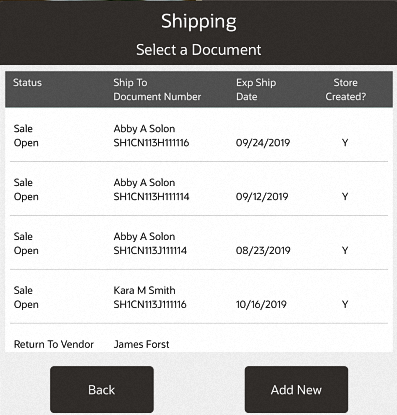
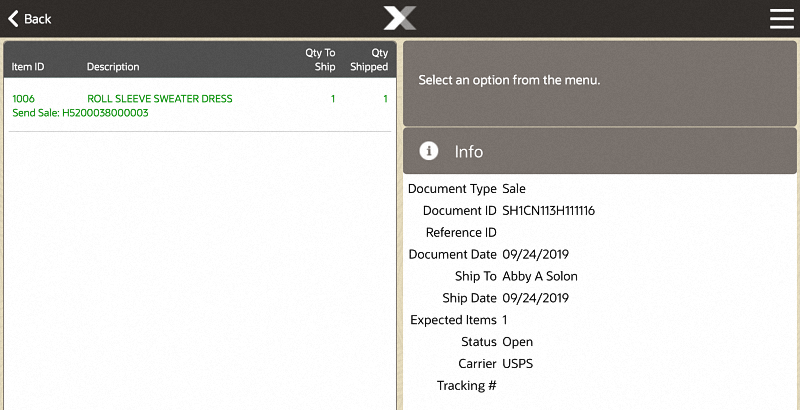
Select the proper shipping document in the list.
The shipping document opens.
Continue with the appropriate procedure:
To create a new shipping document:
Select Add New.
Figure 43-8 Shipping Document Search Criteria
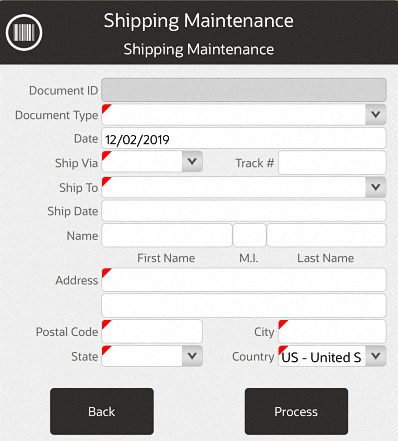
Enter the information for the shipping document.
Select Process.
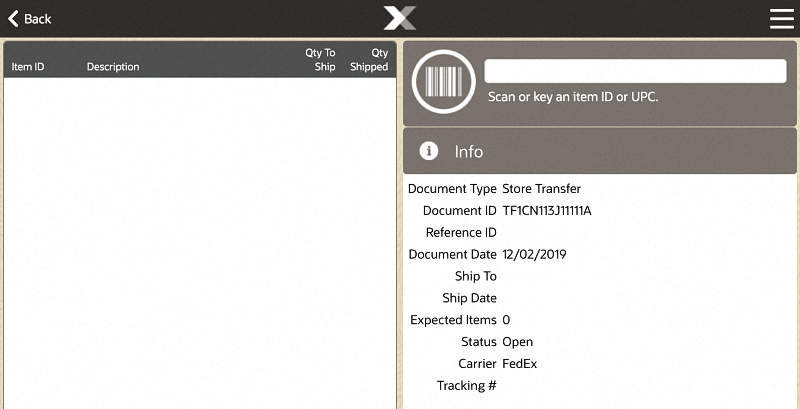
The new shipping document opens.
Continue with:
After adding one or more items:
To edit a shipping document:
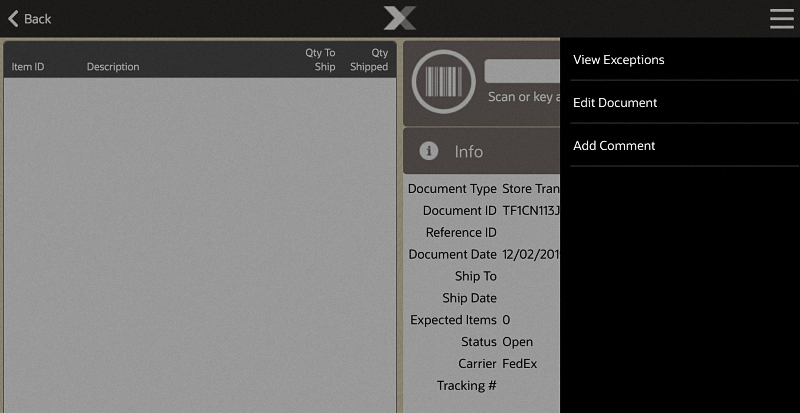
Select the Context Menu in the item entry screen.
Select Edit Document.
Make changes to the document.
Select Process.
The shipping document is updated and Xstore Mobile returns to the item entry screen.
To enter shipping items:
Scan an item ID or enter an Item ID.
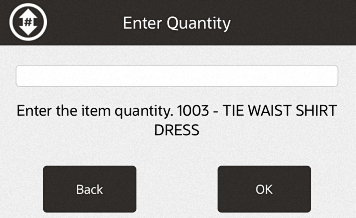
If prompted for an item quantity, enter the item quantity.
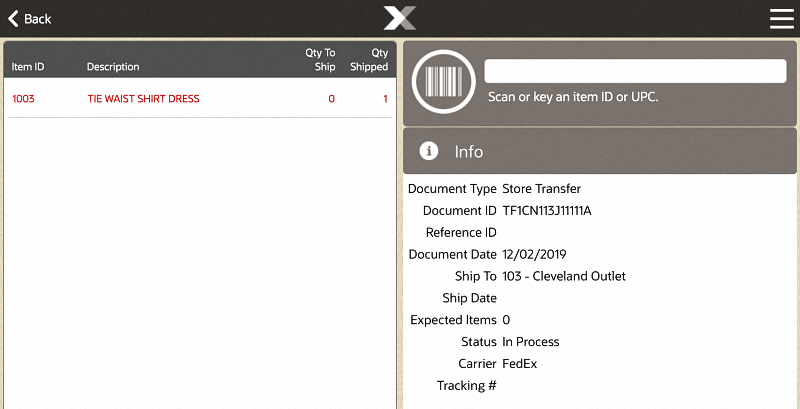
Select OK.
The item is added to the shipment and Xstore Mobile returns to the item entry screen.
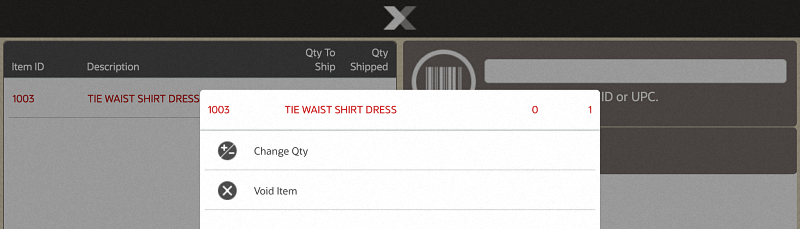
To change the quantity of an item in a shipment:
Select the item in the item list.
Select Change Qty.
Enter the new quantity.
Select OK.
The item quantity is changed and Xstore Mobile returns to the item entry screen.
To remove a line item from a shipment:
Select the item in the item list.
Select Void Item.
Figure 43-16 Void Item - Confirmation Prompt
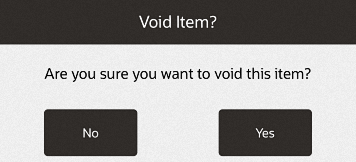
Select Yes to confirm the void.
The item is removed from the shipment and Xstore Mobile returns to the item entry screen.
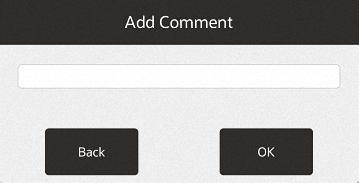
To add a comment to a shipping document:
Select the Context Menu in the item entry screen. See Figure 43-10.
Select Add Comment.
Enter the comment.
Select OK.
The comment is added and Xstore Mobile returns to the item entry screen.
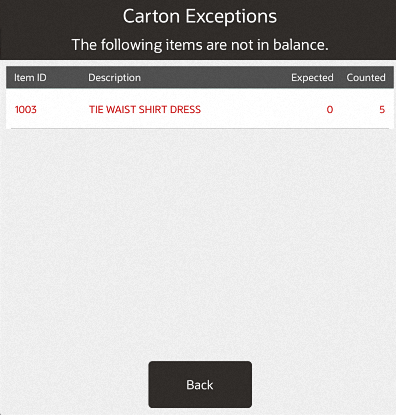
To search for items with differences between their expected and shipped quantities:
Select the Context Menu in the item entry screen. See Figure 43-10.
Select View Exceptions.
Xstore Mobile displays a list of the items in the shipment with differences between their expected and shipped amounts.
Select Back to return to the item entry screen.
To save changes to a shipping document:
Select the Context Menu in the item entry screen.
Select Save & Exit.
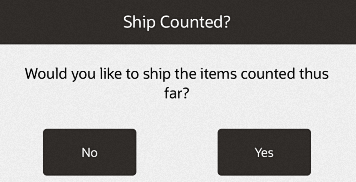
Select Yes to ship the items counted so far or select No to return to the search page without shipping the items.
If you selected Yes in the previous step:
Select Yes to close the document or select No to keep the document open.
Continue with Shipping Label and Packing Slip.
To determine the printing options for the label and packing slip:
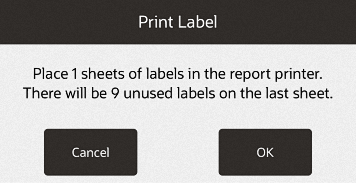
Figure 43-20 Print Shipping Label Prompt
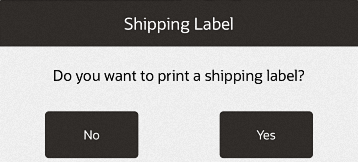
Select Yes to print a shipping label or select No to continue with Shipping Label and Packing Slip.
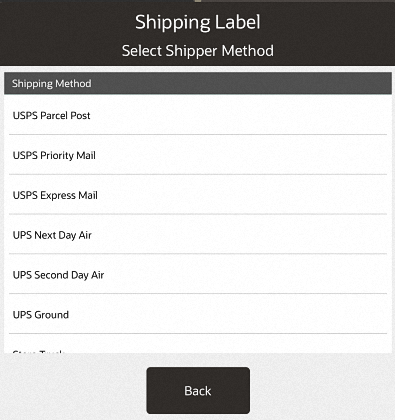
If you selected Yes in the previous step, select the proper shipper and shipping method
Select OK when you are ready to print.
Continue with Shipping Label and Packing Slip.
If prompted for a tracking number:
Figure 43-23 Enter Tracking Number Prompt
Enter the tracking number.
Select Process.
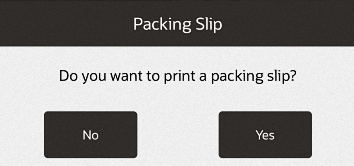
Select Yes to print a packing slip or select No to continue without printing a packing slip.
Xstore Mobile returns to the shipping document search criteria page.