| Oracle® Retail Xstore Point of Service Mobile User Guide Release 20.0 F35714-03 |
|

 Previous |
 Next |
| Oracle® Retail Xstore Point of Service Mobile User Guide Release 20.0 F35714-03 |
|
Previous |
Next |
Task Management functionality is available on Mobile POS Tablet and Thin Client devices.
Task Management is a feature that encompasses tasks assigned to associates in a store for completion as well as tasks that are customer-focused such as appointments. Tasks have workflows associated with them so at any time a manager can easily see the current status of the task.
This section covers the following topics:
Your tasks can be viewed from the Home Screen or after logging in from the Main Menu.
Home Screen. See Figure 1-1 and Figure 1-7.
Main Menu. See Figure 1-5 and Figure 1-9.
Select Associate.
Select Associate Tasks.
Select My Tasks.
Xstore Mobile POS opens the My Tasks Screen.
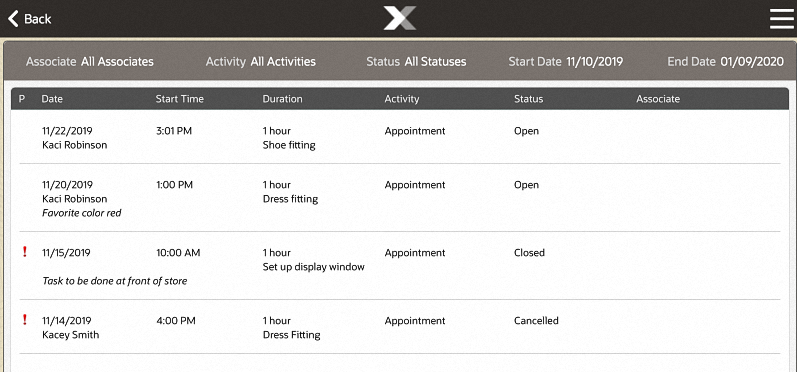
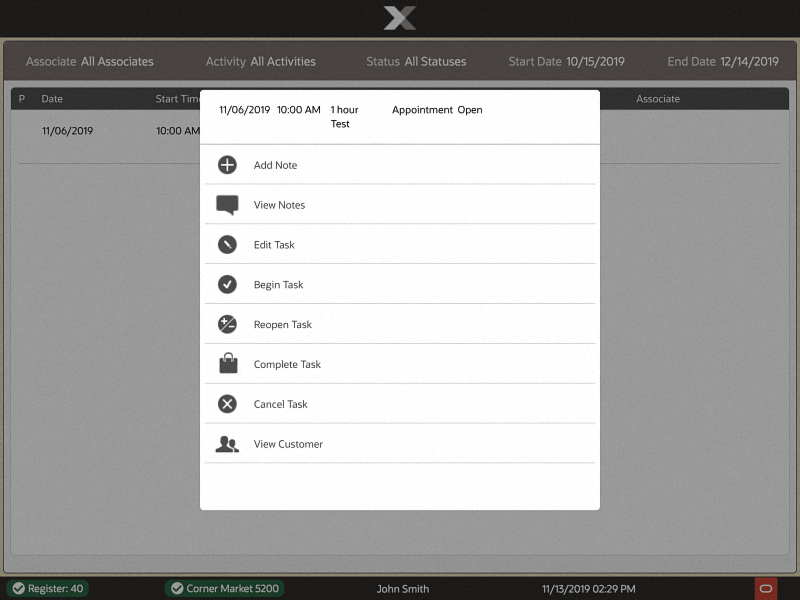
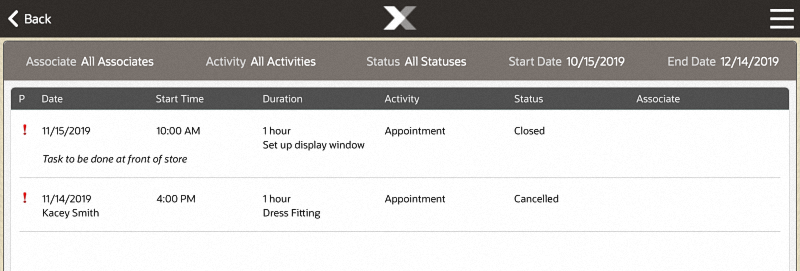
The My Tasks screen displays all tasks visible to you. The menu options available are based on the task status and the associated workflow.
Selecting a task row will open the functions that can be performed on the selected task such as Add Note, View Notes, Edit Task, Begin Task, Reopen Task, Complete Task, Cancel Task, and View Customer assigned to task.
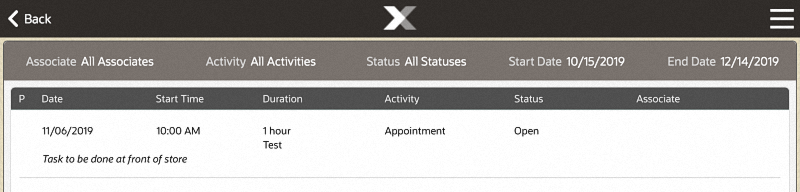
The Task Filters along the top of the screen allow you to limit the tasks displayed in the My Tasks screen.
The following information is displayed for each task:
P (Priority): Task priority. This can be High, Medium, or Low.
Date: Start date for the task.
Start Time: Start time for the task.
Duration: Length of time for the task.
Activity: Type of task.
Description: Description of the task.
The customer associated with the task is listed under the date.
|
Note: If a customer is associated with the task, the task can also be viewed from the Tasks Tab in Customer Maintenance. |
Status: Status of the task. This can be Open, In Progress, Cancelled, or Closed.
Associate: Employee or employee group assigned to the task.
Figure 25-3 My Tasks Screen Showing Context Menu
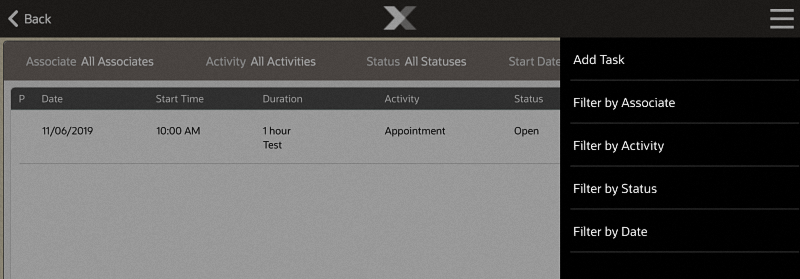
From the Context Menu you can Add Task. See Creating a Task for more information.
Use the filters in the Context Menu to view specific information. Search by Associate, Activity, Start Date, End Date, or Status.
You can filter tasks on the following criteria:
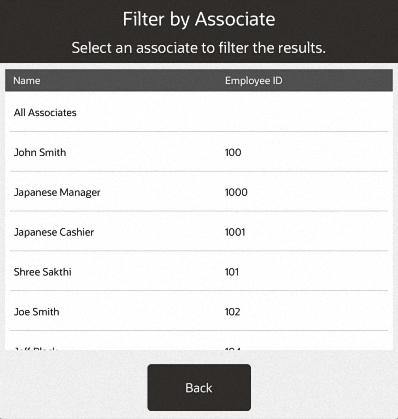
To filter tasks by assigned associate:
Select Filter by Associate in the Context Menu.
Xstore Mobile POS displays a list of employee and employee groups.
Select All Associates or a specific associate.
Any tasks that belong to the associates selected will display. If no tasks display no tasks are associated to the associate.
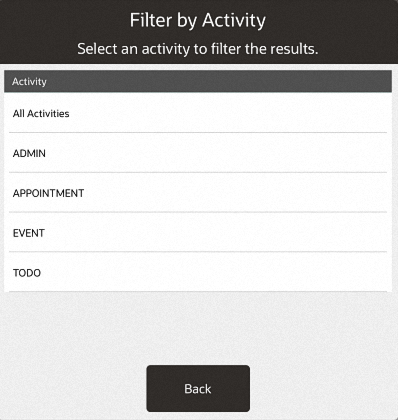
To filter tasks by activity type such as appointment, event, todo, and so on:
Select Filter by Activity in the Context Menu.
Xstore Mobile POS displays a list of activity types.
Select the correct activity type.
The task list will only display tasks of the selected activity type.
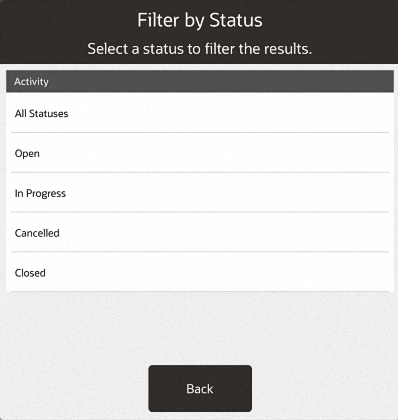
To filter tasks by task status from a list of Open, In Progress, Canceled, and Closed:
Select Filter by Status in the Context Menu.
Xstore Mobile POS displays a list of task status.
Select the correct task status.
The task list will only display tasks of the selected task status.
To filter tasks by date:
Select Filter by Date in the Context Menu.
Enter the new Start Date.
The task list will only display tasks with a start date on or after the entered date.
Enter the new End Date.
The task list will only display tasks with an end date on or before the entered date.
Select Save.
Select a task in the My Tasks screen to bring up the Task Options menu where you can add and view notes, view customer assigned to task, and manage tasks - edit, begin, reopen, complete, or cancel.
The most recent note associated with the task displays beneath the task row.
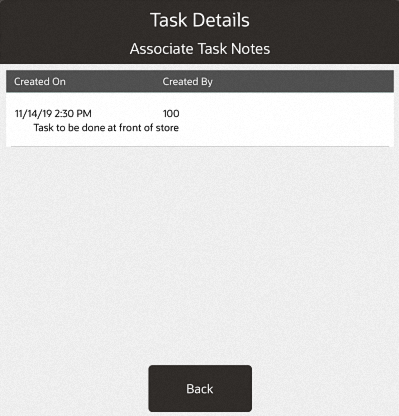
To view all the notes for a task:
Select the task. The Task Options menu opens. See Task Options Menu.
Select View Notes.
A window opens displaying all the notes for the task.
Select Back to close the window.
To open a customer record in Customer Maintenance from a task:
Select a task associated with a customer.
Select View Customer from the Tasks Options menu. See Figure 25-8.
The customer record opens in Customer Maintenance, see Chapter 29, "Customer Maintenance".
To create a task:
Select Add Task in the Task List (see Figure 25-3) or the context menu of the Tasks Tab in Customer Maintenance.
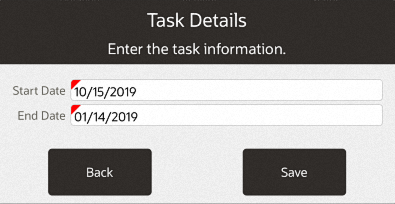
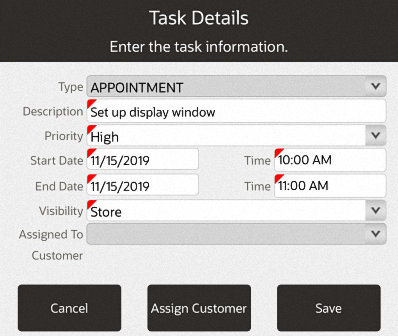
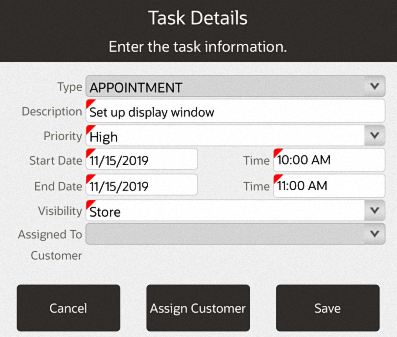
Enter the task information:
Type: Type of task.
Description: Description of the task.
Priority: Priority of the task.
Start Date: Date on which the task will begin.
End Date: Date by which the task must be finished.
Start Time: Time at which the task will begin.
End Time: Time at which the task must be finished.
Visibility: The group that can view the task (Store, Employee Group, or Employee).
|
Note: Employee Group visibility is not an option if you are using Customer Engagement to manage your tasks. |
Assigned To: The employee group or employee to assign to the task. This field is not editable for tasks with Store visibility.
|
Note: Xstore indicates the employee is not a valid Customer Engagement user, the employee does not exist in Customer Engagement. |
If necessary, assign a customer to the task by performing the following:
Select Assign Customer. Xstore Mobile POS opens a window prompting for customer search criteria.
Associating a Customer with a Transaction. The customer is assigned to the task.
Select Save.
This task is created and added to the Task List.
To add a note to a task:
Select the task in the Task List or the Tasks tab in Customer Maintenance.
Click Add Note. See Figure 25-8.
A note entry window opens.
Enter the note text.
Click OK.
The note is added to the task.
To edit a task:
Select the task in the Task List or the Tasks tab in Customer Maintenance:
Select Edit Task. See Figure 25-8.
A task details window opens.
Make the necessary changes to the task:
Description: Description of the task.
Priority: Priority of the task.
Start Date: Date on which the task will begin.
End Date: Date by which the task must be finished.
Start Time: Time at which the task will begin.
End Time: Time at which the task must be finished.
If necessary, assign a customer to the task:
Select Assign Customer.
Xstore Mobile POS opens a window prompting for customer search criteria.
Associating a Customer with a Transaction.
The customer is assigned to the task.
Click Save.
The note is added to the task.
To update the status of a task:
Select the task in the task list.
Click the new status. See Figure 25-8. Menu options include:
|
Note: All status menu options may not be visible depending on the current status of the task. Xstore Mobile POS displays the next status options in the workflow. |
Begin Task: Sets the status to In progress.
Reopen Task: Sets the status to Open.
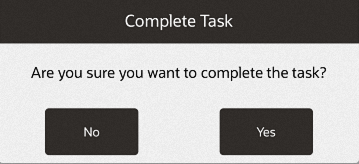
Complete Task: Sets the status to Closed. The task cannot be re-opened or edited after it is completed.
A verification prompt opens.
Figure 25-13 Complete Task Confirmation Prompt
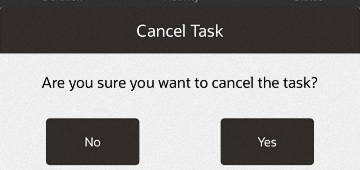
Cancel Task: Sets the status to Cancelled. The task cannot be re-opened or edited after it is cancelled.
A verification prompt opens.
If necessary, click Yes to confirm the status change.