| Oracle® Retail Xstore Point of Service User Guide Release 20.0 F35716-05 |
|

 Previous |
 Next |
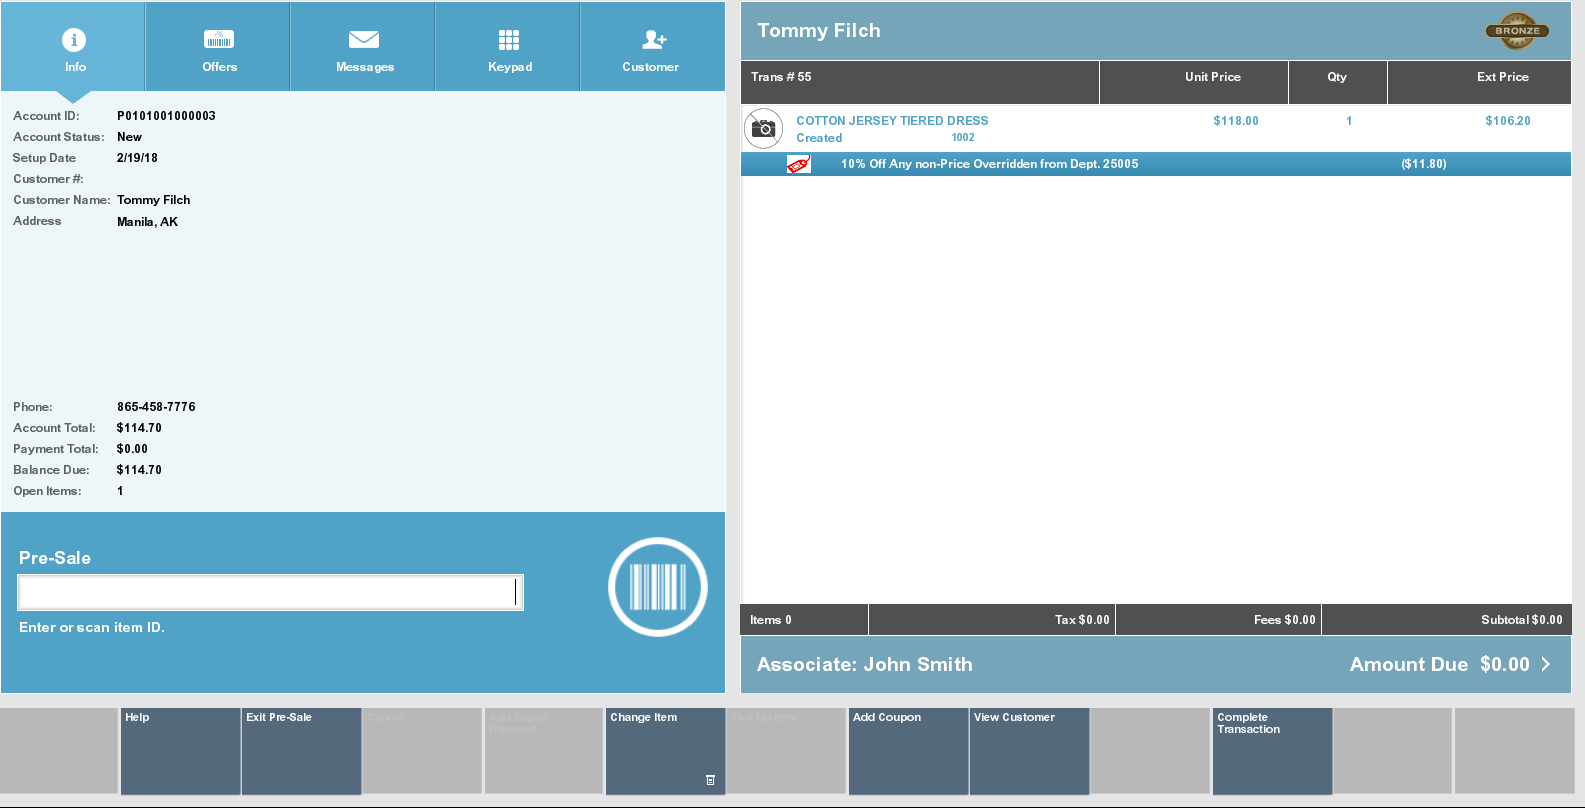
A Pre-Sale Transaction is typically performed when a customer wants to purchase an item that is not currently available for sale in the store. Pre-sale transactions have the following requirements:
The transaction must be associated with a customer.
The transaction must be paid in full at setup.
Only items on file can be added to the transaction.
All Pre-Sale items must be picked up at the same time, partial pickups are not allowed.
Pre-Sale accounts cannot be canceled if the customer is not present.
To create a pre-sale:
Click Extended Transaction.
Click Pre-Sale.
The window that opens will depend upon whether a customer is associated with the transaction and, if so, whether that customer has any existing pre-sales accounts.
Click Set Up New.
If necessary, associate a customer with the transaction. See Associate a Customer with a Transaction.
Add items to the transaction. See Entering Items.
When you are done creating the pre-sale:
Click Exit Pre-Sale to perform other actions in the transaction.
Click Complete Transaction to tender the transaction. See Tendering a Transaction for more information.
Xstore Point of Service prompts for the deposit amount.
Press Enter to confirm the deposit amount.
|
Note: Pre-sale items must be paid in full at setup. You cannot change the deposit amount. |
Continue the transaction.
To search for and open an existing pre-sale:
Click Extended Transaction.
Click Pre-Sale.
Click Search.
Enter the search criteria:
Account ID - The pre-sale account identifier.
Last Name - The pre-sale account owner's last name.
First Name - The pre-sale account owner's first name.
Customer ID - The pre-sale account owner's customer Id.
Phone # - The pre-sale account owner's phone number.\
Click Process.
Select the pre-sale:
Click the pre-sale.
Use the up and down arrows to highlight the correct pre-sale, then press the Spacebar.
Click OK.
The pre-sale opens. Continue with the appropriate procedure:
To pick up items in a pre-sale:
Click Pick Up Item.
|
Note: Partial pickups are not permitted for pre-sales. |
If necessary, click Yes to confirm that all items should be picked up.
All items in the pre-sale are listed as Picked Up.
Continue the transaction:
Click Exit Pre-Sale to perform other actions in the transaction.
Click Complete Transaction to tender the transaction. See Tendering a Transaction for more information.
To cancel a pre-sale:
Click Cancel Pre-Sale.
If necessary, click Yes to confirm that the pre-sale should be cancelled.
Indicate whether the customer is present:
Click Yes if the customer is present.
A refund for the pre-sale is applied to the transaction. Xstore Point of Service returns to the sale screen.
Click No if the customer is not present. Xstore Point of Service returns to the pre-sale screen and the pre-sale is not cancelled.