| Oracle® Retail Xstore Point of Service User Guide Release 20.0 F35716-05 |
|

 Previous |
 Next |
When a store is physically opened at the start of the day, Xstore Point of Service may also perform a store open process to get ready for the day. The store must be opened to allow registers to be opened and to allow business transactions in the system.
When the store is physically closed at the end of business hours, Xstore Point of Service may also run a store close to prevent the operation of certain business functions. From an application perspective, the store close process clears daily data, accepts downloads from corporate headquarters, purges old data, runs reports, and prepares your store to open for a new day.
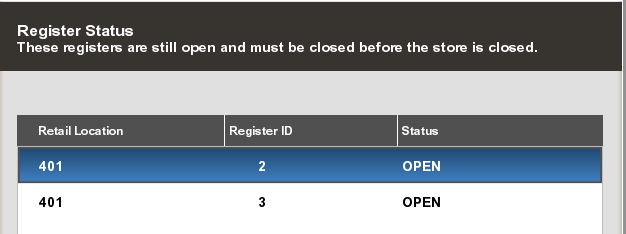
All cash registers must be closed before the store close process can be run. See Chapter 25, "Register Open and Close" for the register close process.
The store close is divided into a number of separate processes. If the system must be restarted, any completed process, any process that ended with errors, or any process that was skipped is not re-processed.
The store is opened to allow business transactions in the system. The store must be opened using the Back Office Store Open process. Once the store is open, you cannot ring sales until the register is opened and a till is counted for the register.
|
Note: Store open and store close activities are controlled by user security. You must have the proper security privileges to open and close the store. Refer to the Oracle Retail Xstore Point of Service Manager's Guide for detailed information about opening and closing the store. |
During the store open process, the system may also list any pending orders that require attention. Once the store is open, the associate can take any action as needed on the orders. See Chapter 14, "Order Transactions Through Order Broker Cloud Service" for more information about processing orders.
When the store is open, the Store indicator on the status bar is green indicating that the store is open.
When both the store and the register are open, the Store and Register indicators on the status bar are green.
To close a store:
All registers must be closed.
Depending upon the configuration of your system, all tills must be reconciled.
Depending upon the configuration of your system, all retail periods must be ended. See End Retail Period for more information.
|
Note: Store open and store close activities are controlled by user security. You must have the proper security privileges to open and close the store. Refer to the Oracle Retail Xstore Point of Service Manager's Guide for detailed information about opening and closing the store. |
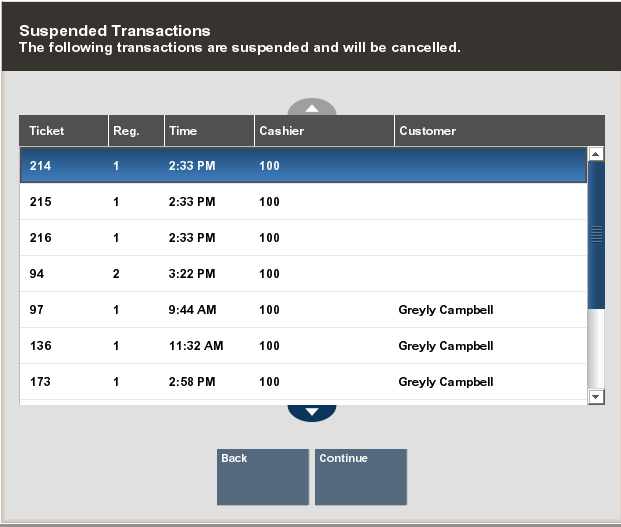
During the store close process, the system automatically finds and lists any suspended transactions that were not resumed during the day. The associate performing the store close can either cancel the store close process at this point, or allow Xstore Point of Service to automatically cancel all listed transactions and continue with the store close.
In addition, the system may also list any pending orders that require attention. The associate performing the store close can either cancel the store close process, or allow Xstore Point of Service to continue with the store close. The pending orders retain the same status and are not changed in any way by this notification prompt.
When the store is closed, the Store Indicator may be yellow or red, depending upon your system configuration, and the Register Indicator is red. An exception may occur if the register is being closed remotely. In that case, the Register Indicator is yellow while the processes are occurring, but it becomes red when it is completely closed.
|
Note: Depending upon your system configuration and store policy, you may have access to some register functions while the store is closed. For example, you may be able to clock in and out, and view your timecard and schedule information. |
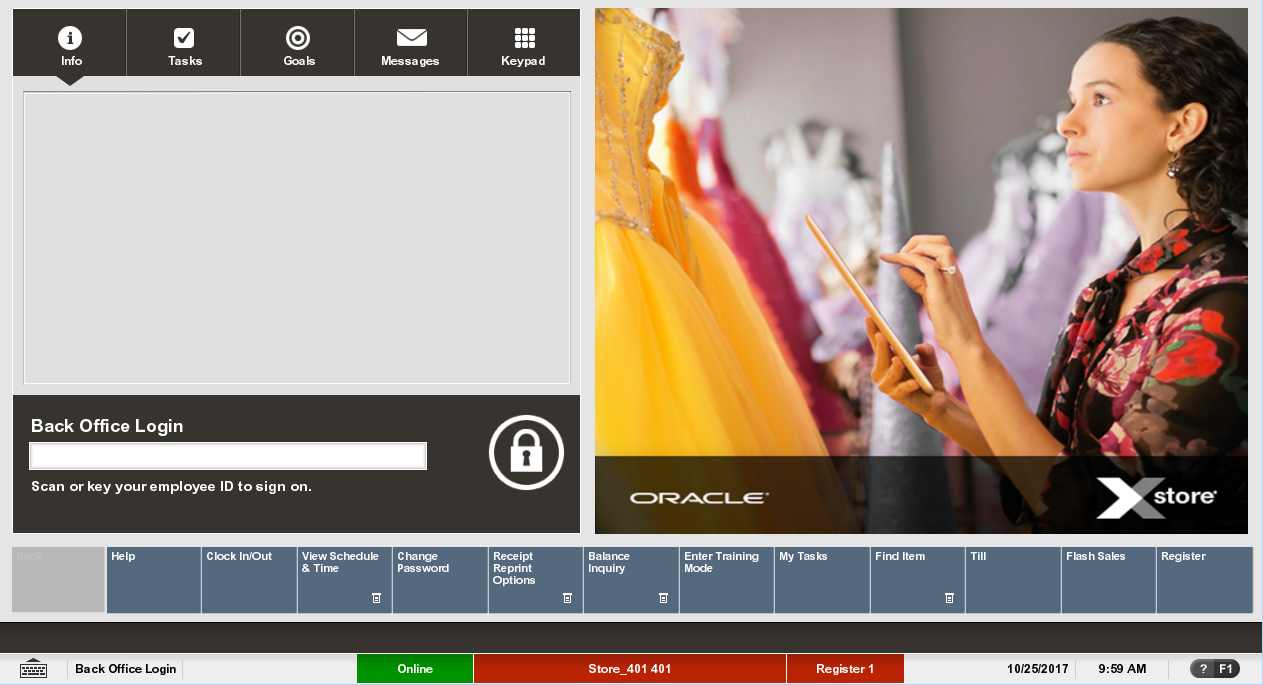
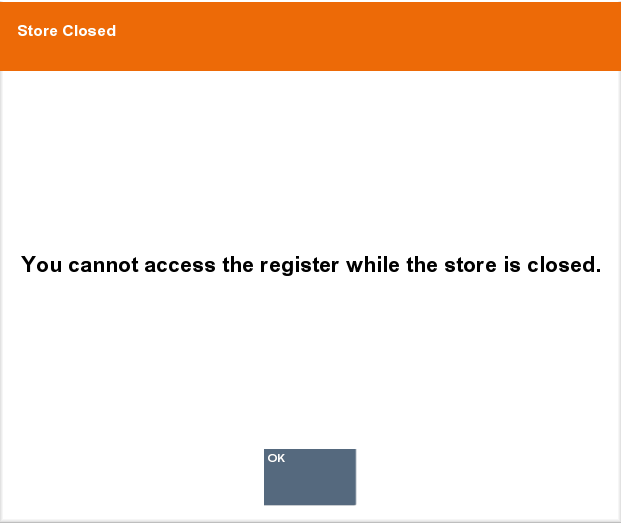
You cannot log in to the register until the store is opened. If you try to log in before opening the store, the system prompts you that you cannot continue until the store is opened.
Select OK to acknowledge the message and return to the Register Login screen.
Depending upon the configuration of your system, you may need to end the retail periods on your system. To end a retail period:
Log into the Back Office.
Select Open/Close Options.
Select End Retail Period.
If there are unreconciled retail periods outstanding, an End Retail Period window opens, displaying a list of unreconciled retail periods. Continue with Step 4.
If all retail periods have been reconciled, a notification window opens indicating that all retail periods have been closed. Continue with Step 11.
Select the retail period to close:
Select the retail period.
Use the up and down arrow keys to highlight the retail period, then press the Spacebar.
Select OK.
A confirmation prompt opens asking whether the close the retail period.
Select Yes.
Count the cash tenders:
Click the cash tender to count.
Click Count Selected.
A list of currency denominations opens.
Count a currency denomination.
Click the denomination in the View Port.
Enter the count of the currency denomination in the Focus Bar and press Enter.
Click Back.
Xstore Point of Service returns to the Count Summary screen.
If necessary, count the credit card tender:
Click to select Credit Card.
Click Count Selected.
Xstore Point of Service prompts for the credit card tender count.
Enter the number of credit card tender counts and press Enter.
Xstore Point of Service prompts for the amount of credit card tenders.
Enter the total amount of all credit card tenders and press Enter.
Click Back.
Xstore Point of Service returns to the Count Summary screen.
If necessary, count the check tender:
Click to select Check.
Click Count Selected.
Xstore Point of Service prompts for a check serial number.
Enter the serial number for the check and press Enter.
Xstore Point of Service prompts for the amount of the check.
Enter the amount of the check and press Enter.
Click Back.
Xstore Point of Service returns to the Count Summary screen.
If necessary, count the other tenders:
Click Counting Complete when all counts are completed.
|
Note: Check the Over/Short column to see if your till is balanced with the system values for each tender type. |
Click Yes.
Xstore Point of Service prompts for the deposit amount. Continue with Step 9.
Do one of the following:
If necessary, select the deposit amount:
Click Accept Deposit to accept the suggested amount.
A notification window opens. Continue with Step 11.
Click Change Deposit to enter a new deposit amount.
Xstore Point of Service prompts for a new deposit amount. Continue with Step 10.
Click Deposit Calculator to calculate a new deposit amount.
Xstore Point of Service displays a denomination count screen that can be used as a calculator (see Step 7). Enter the count for each denomination. A running total at the bottom of the screen is updated as you count the cash amount to be deposited.
Enter the new deposit amount and press Enter.
Click OK.
The retail period ends.