Before You Begin
Purpose
In this part of the tutorial, you build and deploy your MAX to a device. To finish this tutorial you must have completed the Develop a Mobile Application Accelerator (MAX) application tutorial. In this tutorial you'll test the app in a browser and then publish the application and test it on a device.
Step 1: Test your app in the browser
In this section, you test the app in your browser. In following sections you may deploy the app to a device.
-
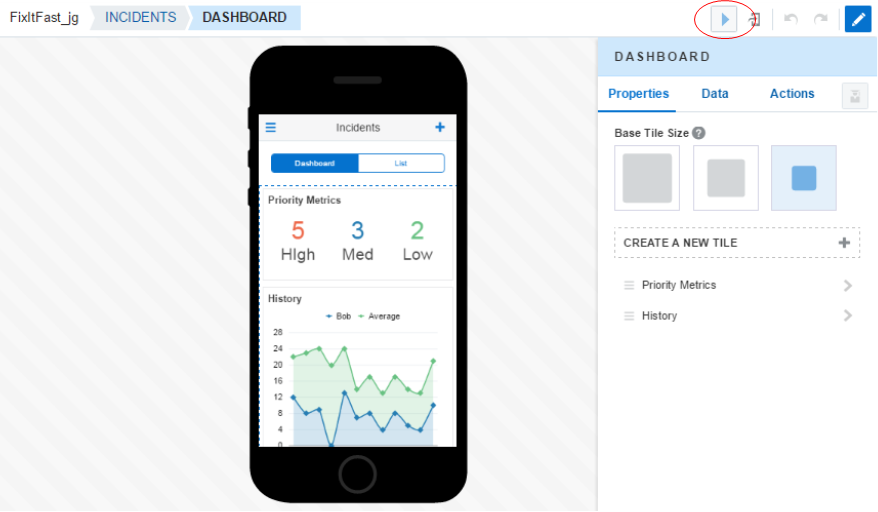
To run the app in the tester, go to the Incidents page and look in the upper right for a triangle pointing right. Click it to invoke the app in the tester .
-
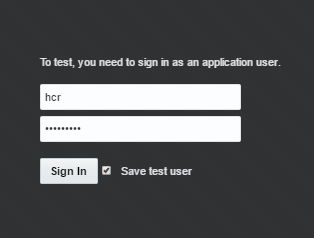
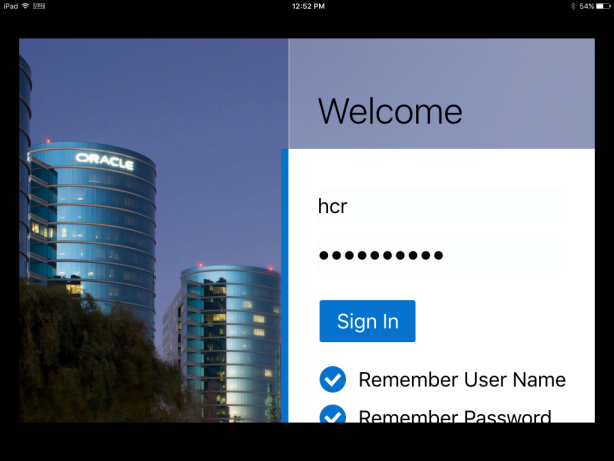
You are taken to a login screen.
Enter hcr as the Username and then set the Password to what was sent to you, or provided by the instructor (in my case it is Welcome1*).
Then click the Sign In button.
-
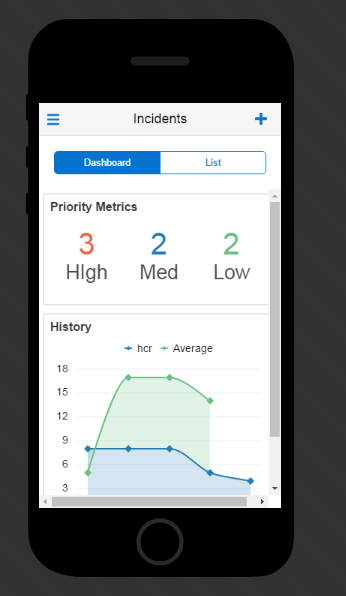
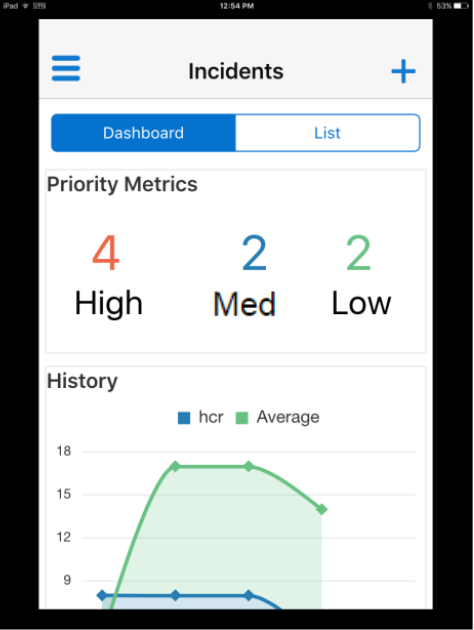
You are taken to the Incidents Dashboard page of the application and can see real data coming from the MCS API.
-
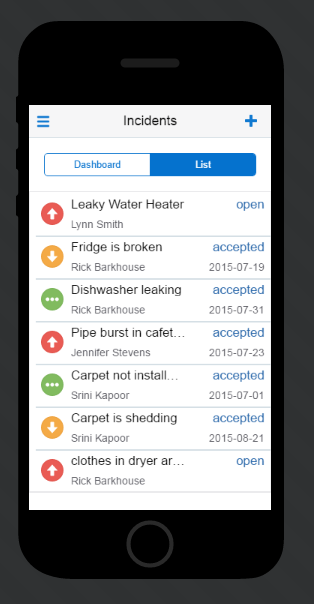
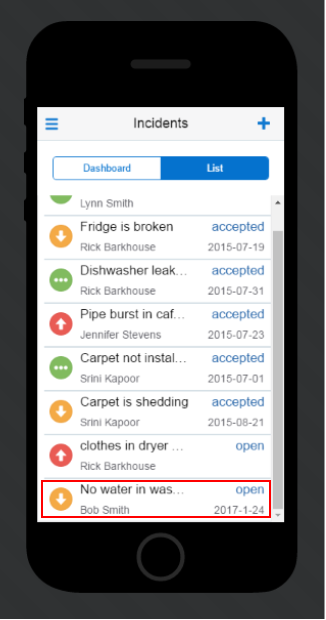
Next, click the List tab to see all the incidents.
-
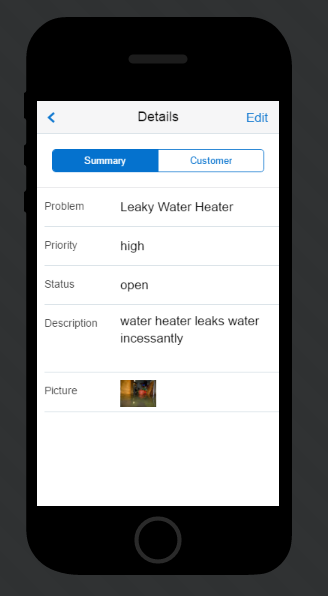
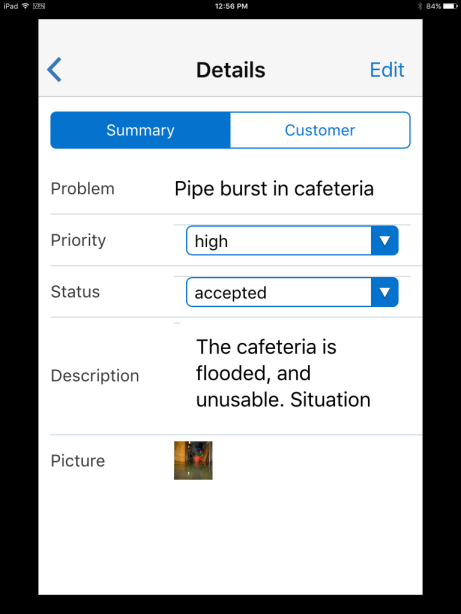
Select an incident and you're taken to the Details screen showing the Summary for that incident.
-
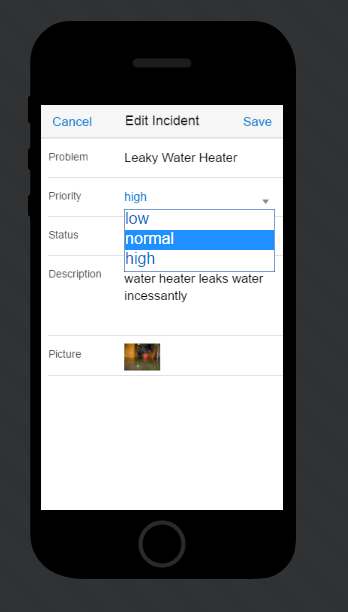
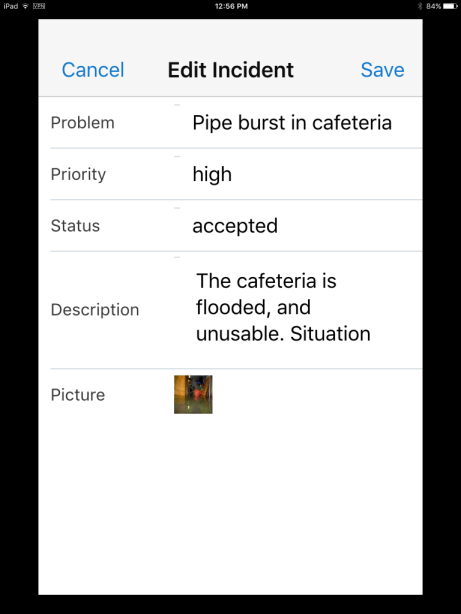
Click the Edit text in the upper right, make some changes to the incident and click Save.
You'll be taken back to the List screen.
-
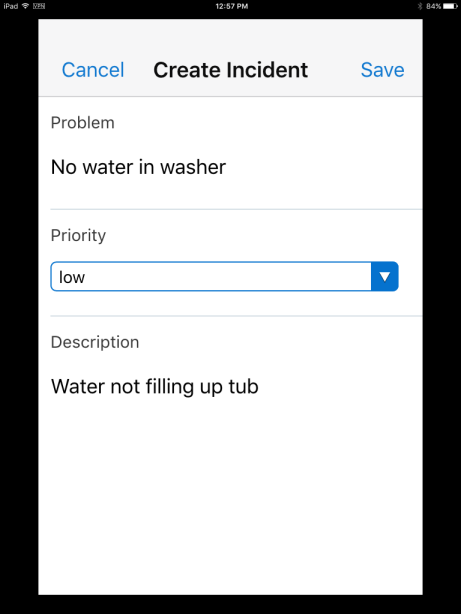
Then, click the blue plus sign in the upper right to create a new incident.
Fill in the values and click Save.

-
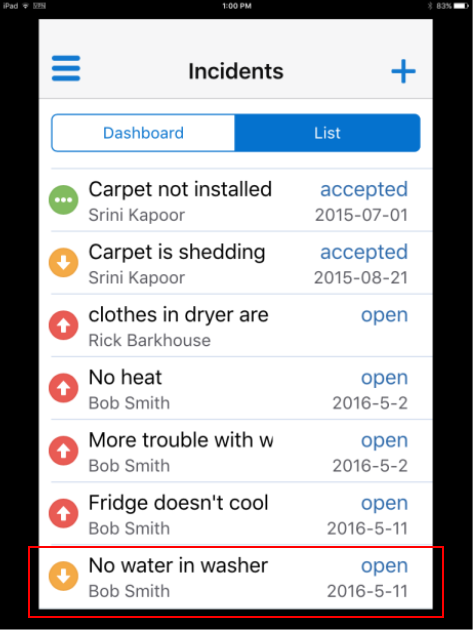
You see the new record in the list.
When finished testing, click the Back to Designer text in the upper left of the page.
Step 2: Load the Oracle Mobile Application Accelerator onto your device
In this section, you load and install an app to load and run your MAX application. You must load this app on a device to run the MAX application. It will run on either an iOS or Android device and you can find the application. on the Apple Store or Google Play sites. For this tutorial, the iOS version will be shown. The steps are similar on an Android platform.
-
On your device open the App Store application.
Then, search for Oracle Mobile Application Accelerator it is an iPhone application but will run on an iPad, too. When it comes up, click on it and install it on your device.

-
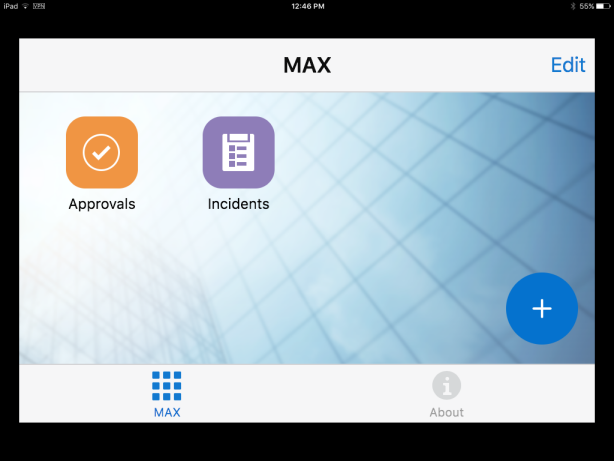
Find the Oracle MAX application on your device and open it.
-
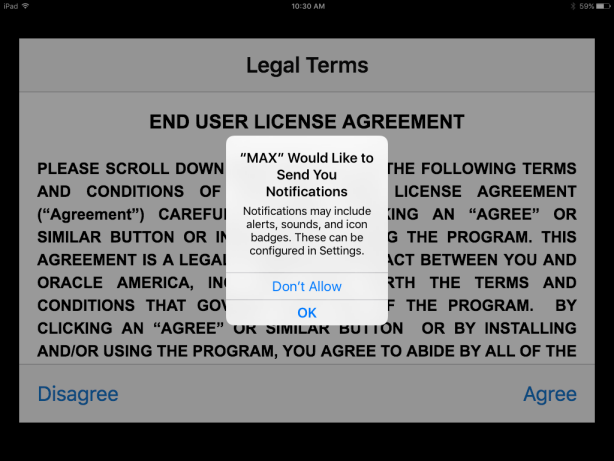
When prompted, allow MAX to send you notifications.
-
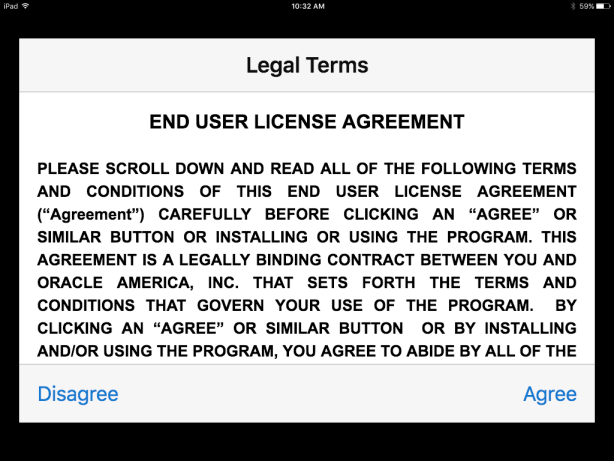
Agree to the Enduser Licence Agreement and you are ready to go.
Step 3: Test the application on a device
You just installed the Oracle MAX application on your device. Now let's load and test your application on the device.
-
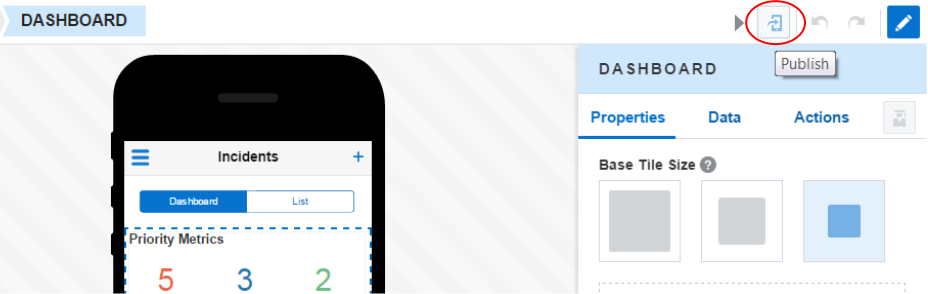
Go back to MAX in your browser and in the Designer, click on the Publish button in the upper right.
-
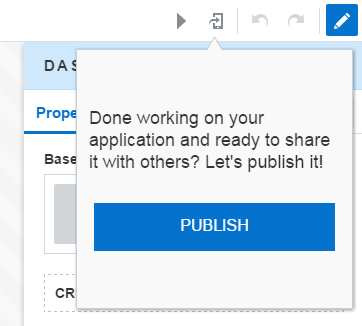
In the popup, click the PUBLISH button.
-
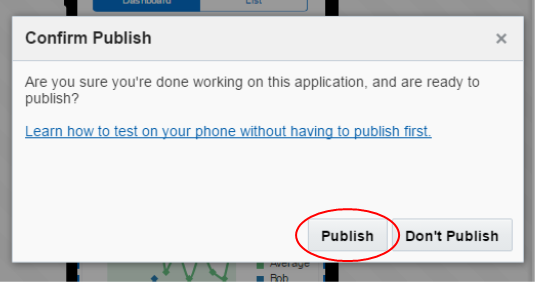
You get a final opportunity to determine if you want to publish or not. Click the Publish button to build the application.
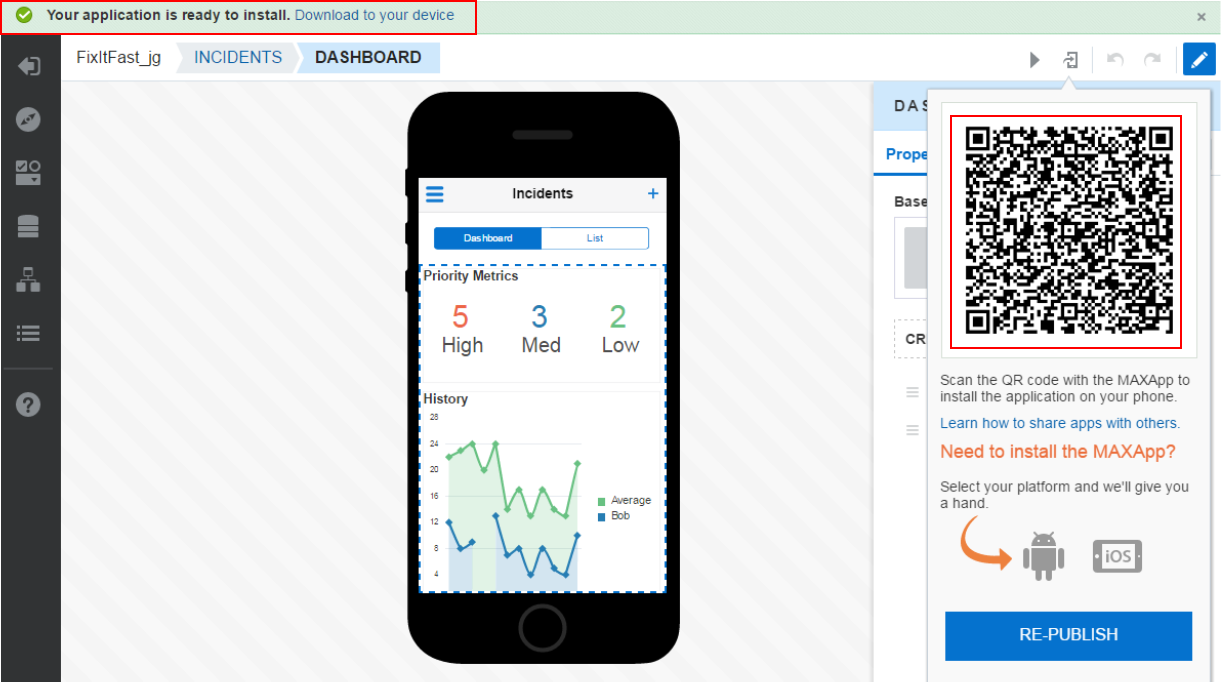
When the build is complete you'll see a QR code which you can use to load the application on a device.
-
Now go back to your device and find the MAX application. If not open, Open it. (Note: If your MCS instance is behind the firewall, you'll need to download, install and configure Cisco AnyConnect to allow your device to download the MAX application.)
Click the blue plus sign in the lower right of the screen.
-
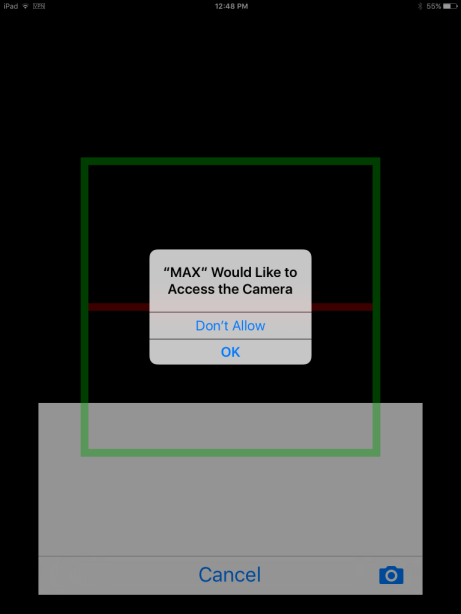
Allow the MAX application to access the device's camera and move the viewfinder over the QR code.
The application will be recognized and begin to load on your device.
-
Enter the same credentials you used when creating the hcr user.
User Name: hcr
Password: <your_password>
Then click Sign In.
-
You should see the same Incidents screen you saw in the browser's tester.
-
Next, click the List tab to see all the incidents.

-
Select an incident and you're taken to the Details screen showing the Summary for that incident.
-
Click the Edit text in the upper right, make some changes to the incident and click Save.
You'll be taken back to the List screen.
-
Then, click the blue plus sign in the upper right to create a new incident.
Fill in the values and click Save.
-
You see the new record in the list.
Congratulations you have now completed the tutorial.