Before You Begin
Purpose
This tutorial walks you through the process of setting up a Mobile Cloud Service API, MBE and Mobile User to support the development of a Mobile Application Accelerator application (MAX).
Right now, MAX only works in a Chrome browser. Additional browser support is on its way. You may get it to work on Safari, but it's not supported.
What Do You Need
| Required Files | Download Files
|
|---|---|
This archive contains the MCS backend definitions you will need during the tutorial. Unzip the file to your local machine and remember the location. |
 |
Product versions
This tutorial (v1.3) was developed against the following product versions:
- Oracle Public Cloud - Mobile Cloud Services - 16.4.5 (found in the About menu option)
- Oracle MAX - 10.0
Step 1: Import a package definition into MCS
In this section, you import a predefined API containing endpoints, methods and sample data to be accessed when building your MAX application.
-
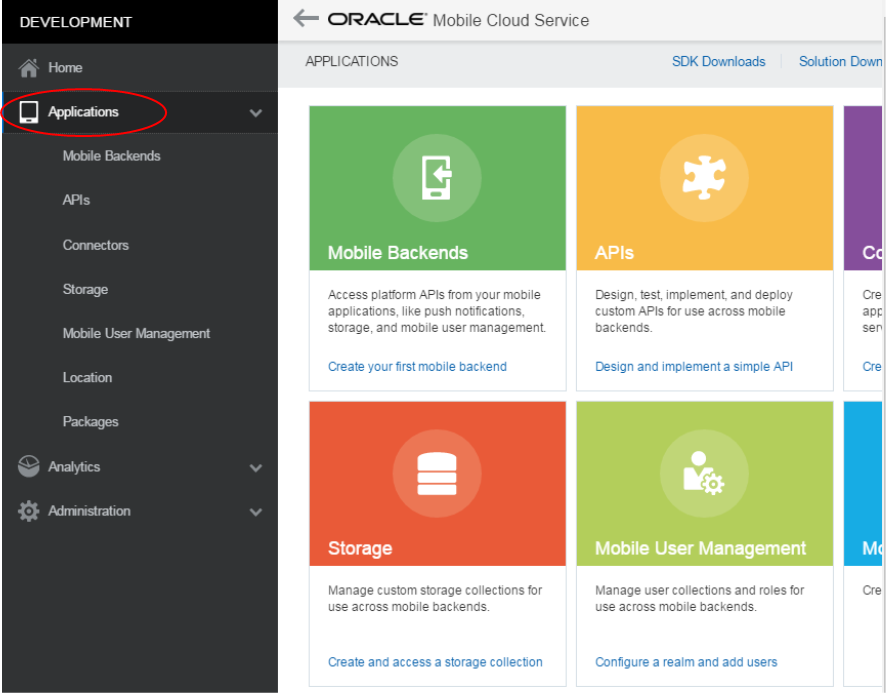
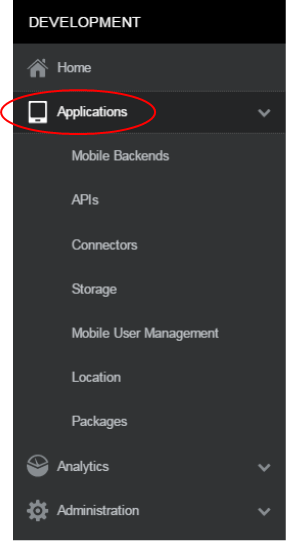
Log on to your MCS instance and use the burger icon to open the DEVELOPMENT menu.

Then, expand the Applications node.
-
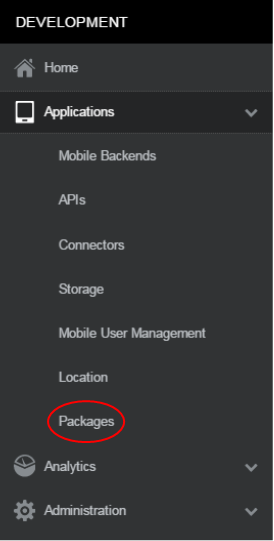
In the DEVELOPMENT menu, click the Packages option.
-
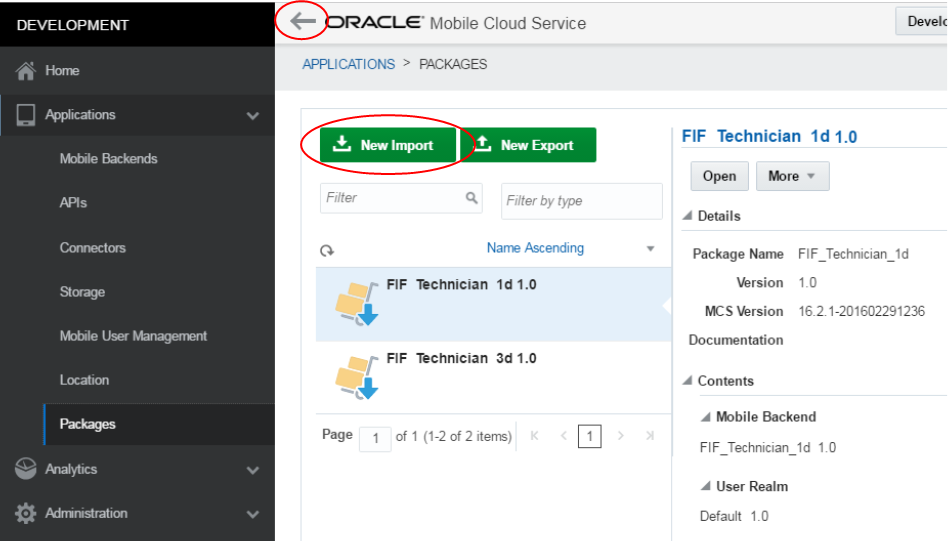
Use the arrow icon to dismiss the DEVELOPMENT Menu and then click the New Import button.
-
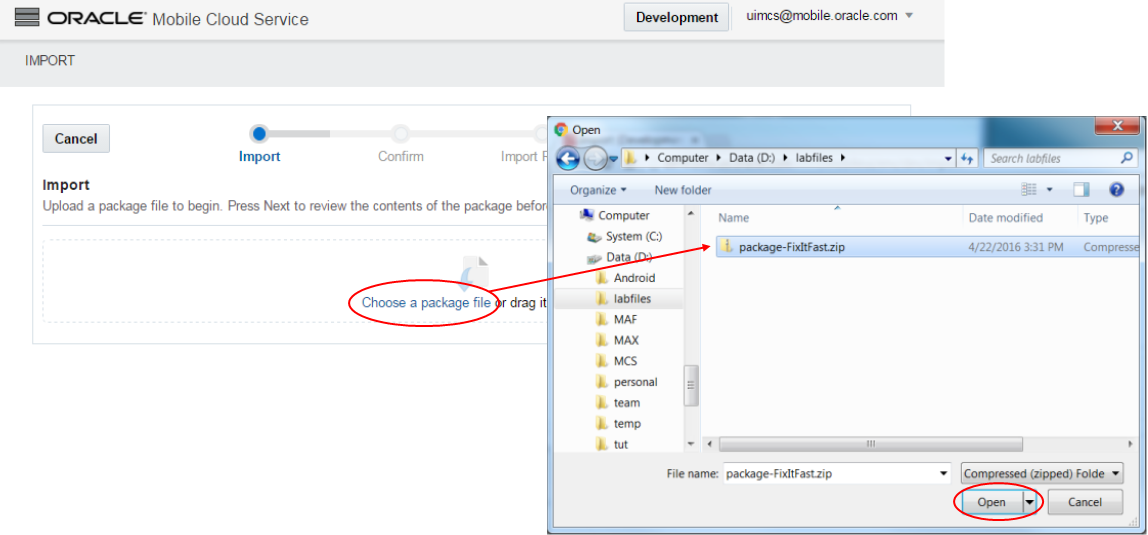
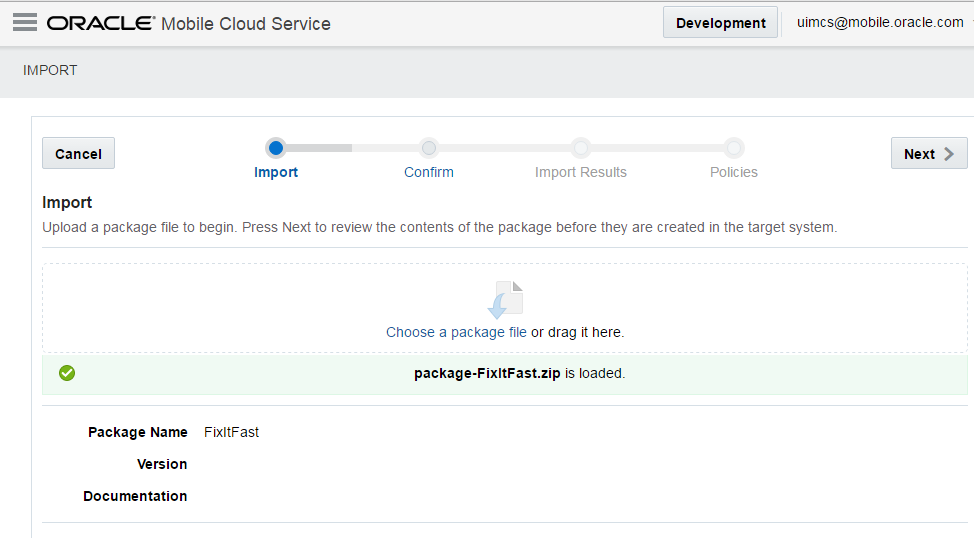
Now you need to provide the file that will be used for the import. Click on the Choose a package file text in the middle of the page.
Then, navigate to the location where you've unzipped the labfiles.zip. In the zip file, find and select the package-FixItFast.zip file. Then, click Open.
-
Once the file has been uploaded and validated you'll see a green check mark along with confirmation that the package has been loaded.
The Next button will be enabled. Click it.
-
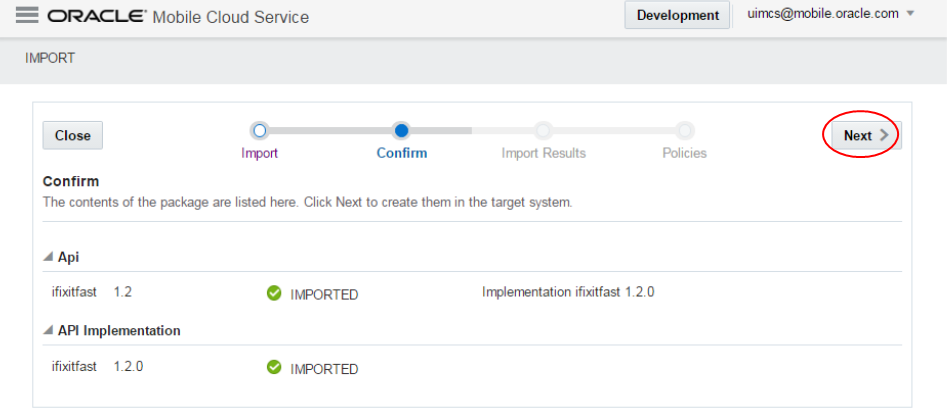
On the Confirm page, click Next to import the assets into the development environment.
-
The Import Results page should show that the import was successful.
Click Next to continue.

-
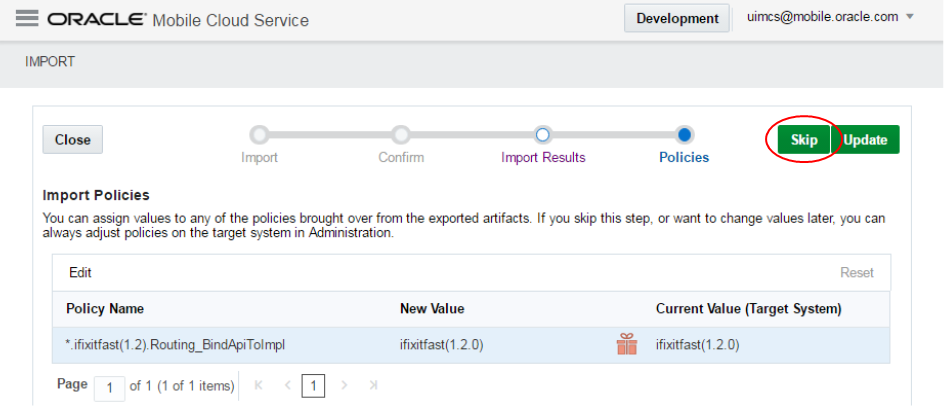
Finally, on the Policies page you do not need to make any changes, so click Skip.
-
You are taken back to the Import page and you should see the new package in the list.
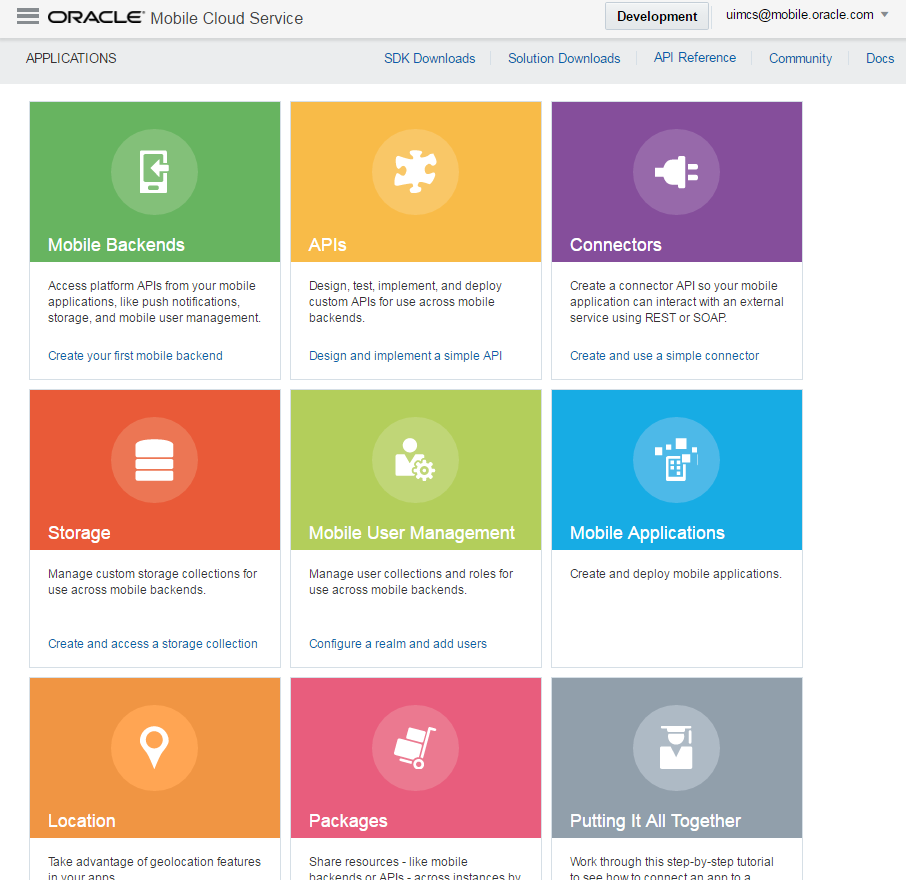
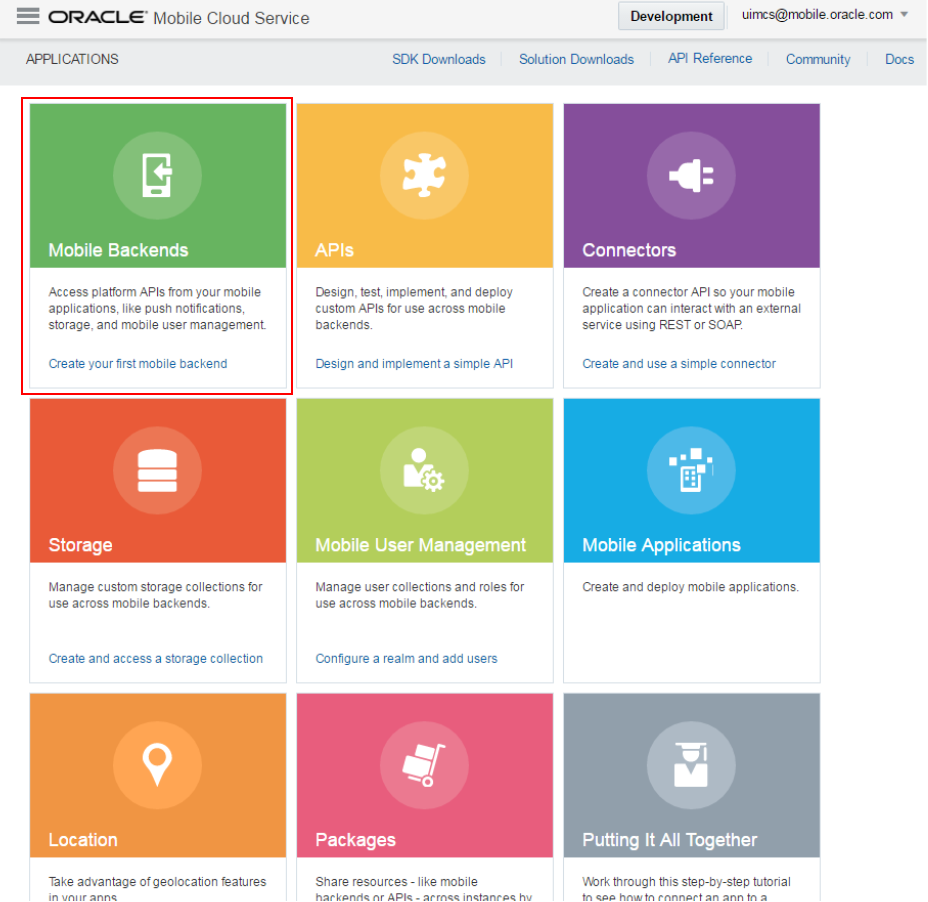
Click the APPLICATIONS breadcrumb to navigate to the APPLICATIONS page.

The APPLICATIONS page allows you to navigate around all the MCS Components. In the next section you will examine the API used to access data in the MAX application.
Step 2: Create a Mobile Backend and include the API in it
In this section, you create a Mobile Backend and then add the API you just imported. The Mobile Backend is not required for MAX, however you must have a MBE in order to test the API in MCS. If you have another MBE in your MCS instance, then you may test using it and this step is not necessary.
-
In the APPLICATIONS page, click the Mobile Backends icon.
-
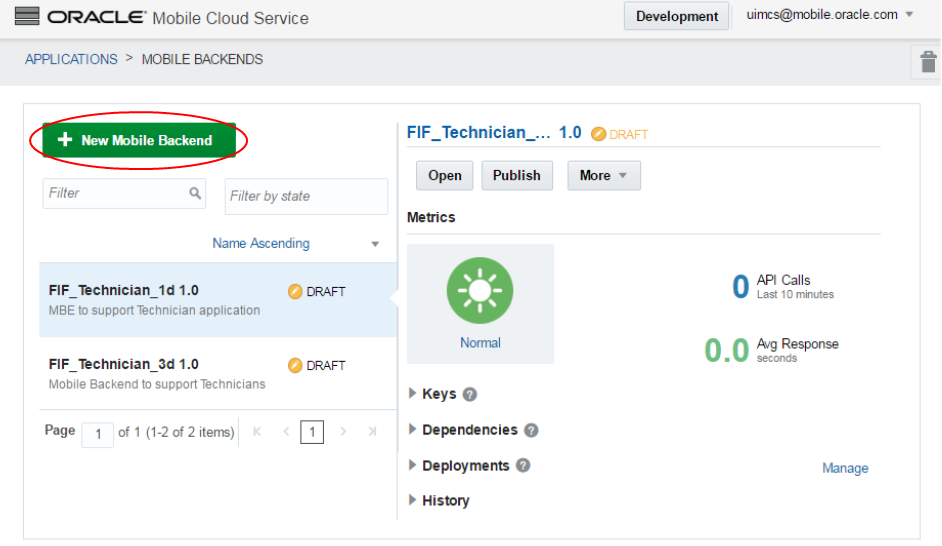
In the Mobile Backends page, click the New Mobile Backend button .
-
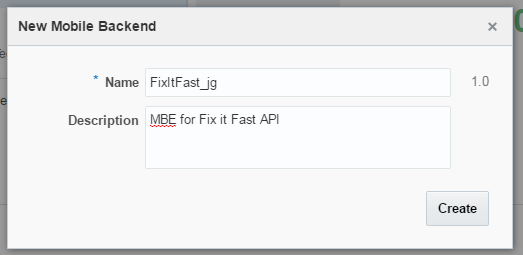
In the popup, set the following values:
Name: FixItFast_xx (where xx are your initials)
Description: MBE for Fix it Fast API
Then, click Create.
-
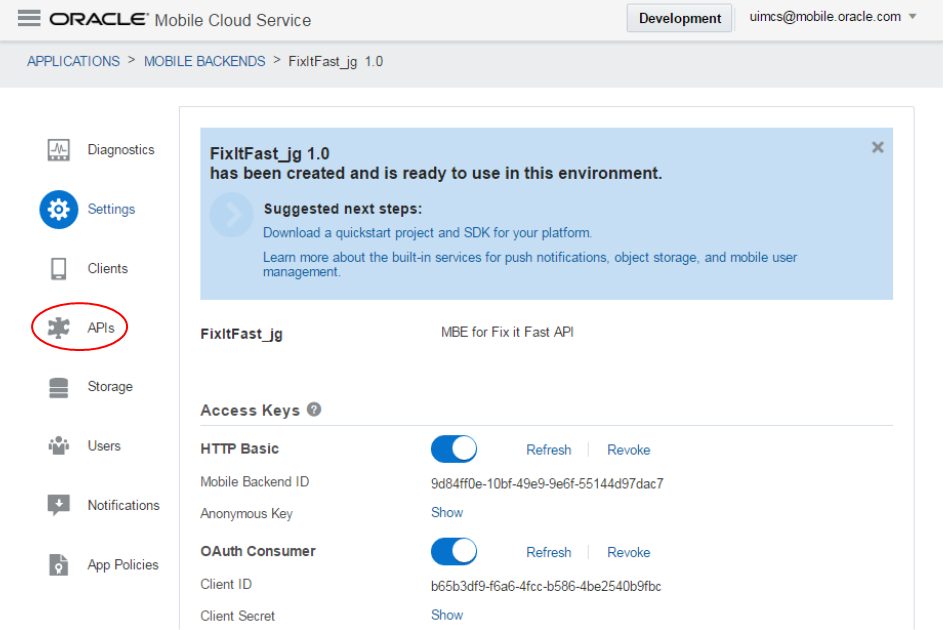
You are taken to a page where you can see the setting for the new MBE. Leave these values as they are.
Next, click the APIs icon on the left so you can add the API you just imported.
-
In the middle of the screen, click the Select APIs button.
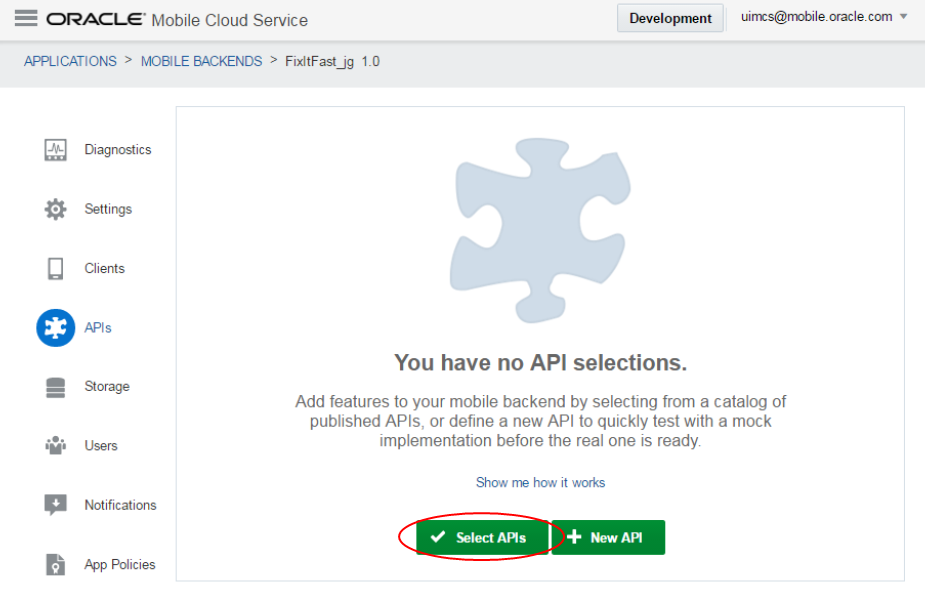
-
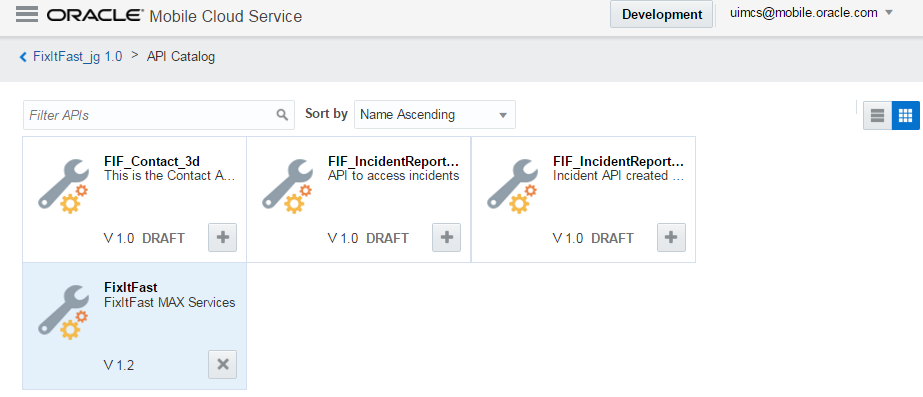
Find the FixItFast API, then click the gray plus sign to add it to your MBE.
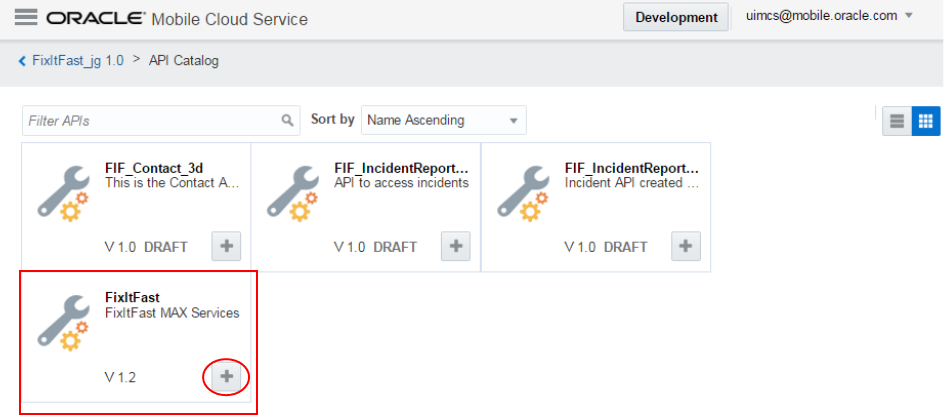
The API will turn blue to confirm it has been added.
-
Click the burger icon to expose the DEVELOPMENT menu.

Then click the Applications option.
Step 3: Examine and Test the API
In this section, you examine the available endpoints in the API and test one.
-
Dismiss the DEVELOPMENT menu and in the APPLICATIONS page, click the APIs icon.

-
Find and select the FixItFast API.
Then, click the Test button.

-
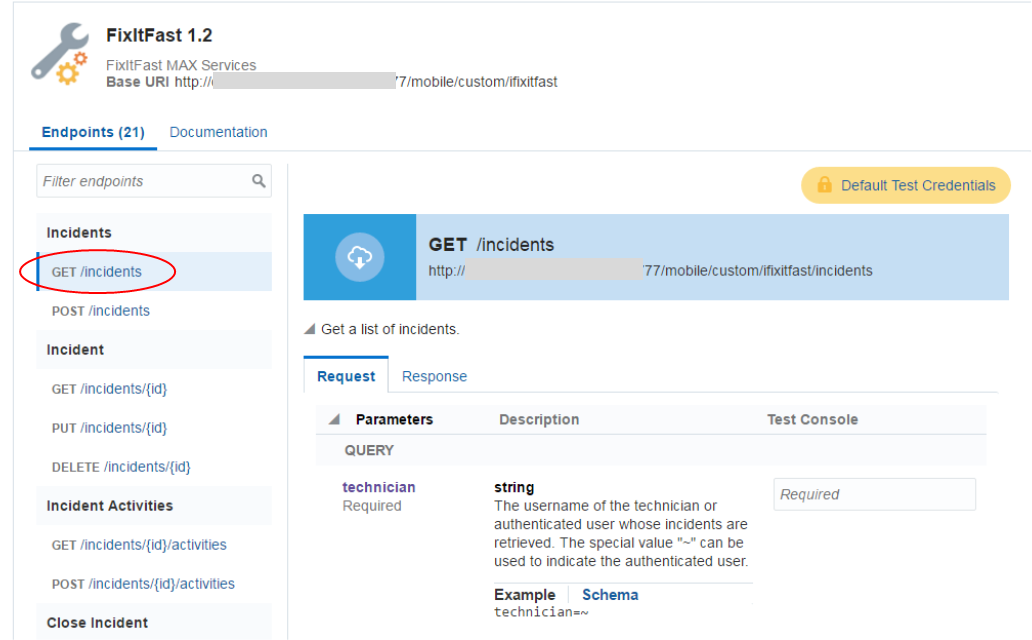
Here you can see all the endpoints that may be used when developing you MAX application.
These allow you to create, retrieve, update and delete all the data elements in the application, including Incidents, Customers and Technicians.

-
On the left side, select the GET /incidents/ endpoint. This API will show the details about all incidents and we need to use a technician name as a parameter to filter out records.
-
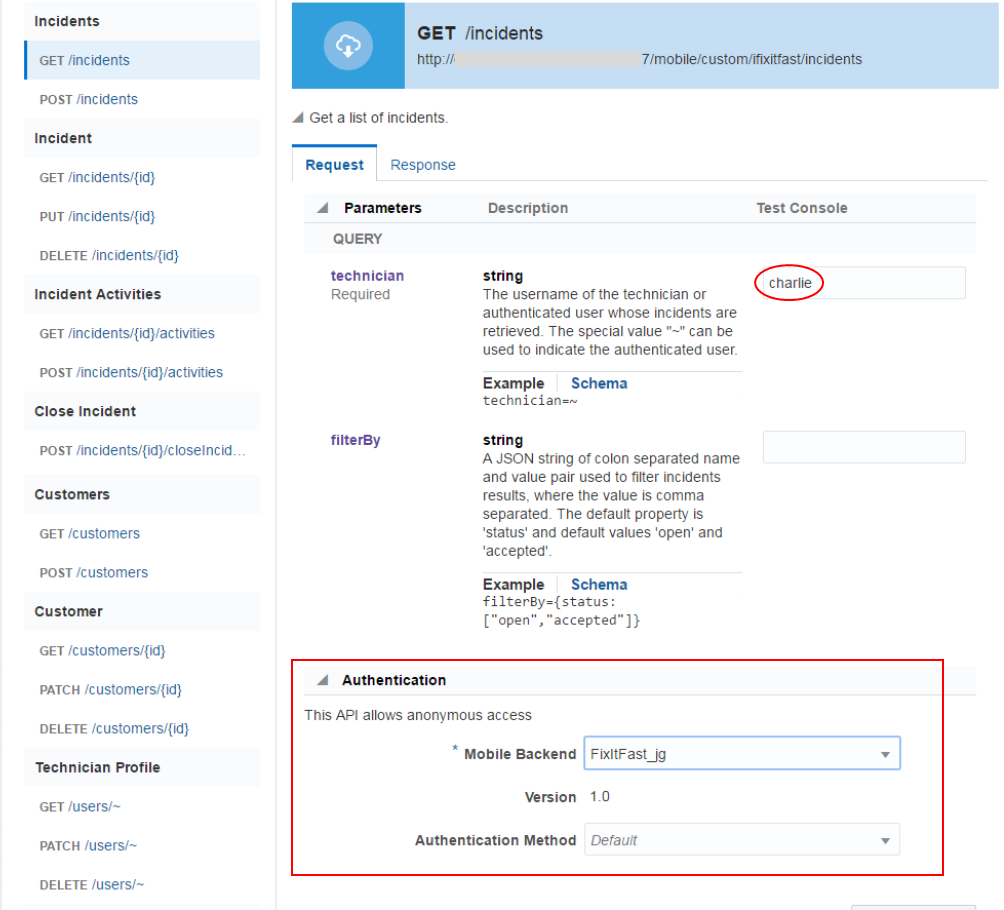
In the Parameters section, set the technician parameter's value in the Test Console value to charlie. He is one of the technicians currently in the system.
Then, you must set the Authentication to the Mobile Backend you created earlier.
-
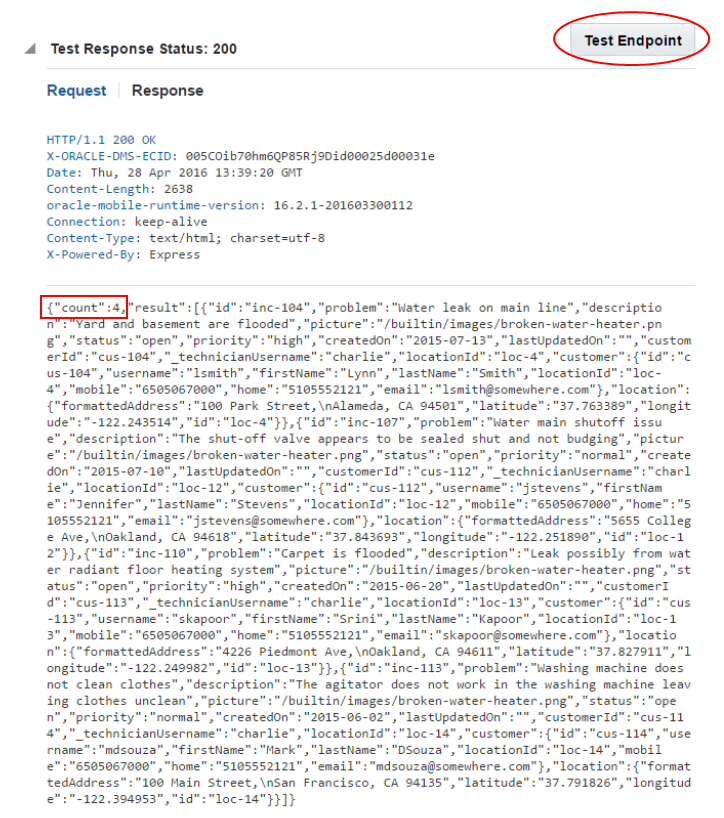
Finally, click the Test Endpoint and you should see a count of four records returned for the user charlie. These are the incidents that Charlie was assigned to.
Step 4: Create a specific mobile user to run the application
In this section, you create a user, a technician assigned to a series of incidents, that will be used to logon to the MAX application. In the sample data, this user is a technician which who is responsible for a series of incidents. You will use this user to logon to the application and view the sample data. Any MCS mobile users can connect. It is just that the incidents have been assigned to a bunch of hardcoded users (hcr, jeff, charlie, …).
-
Go back to the Applications page and select the User Management icon.

-
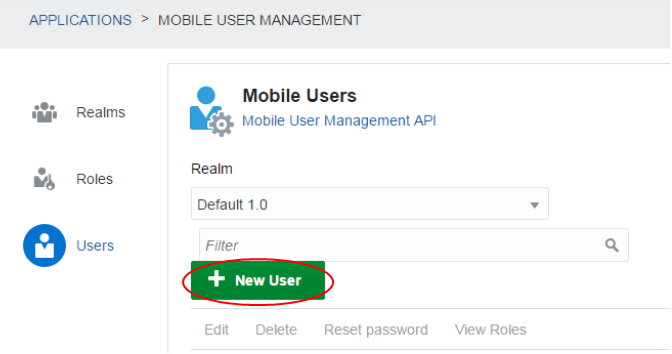
On the left, click the Users icon.
Then, click the New User button.
-
Define the user using the following values and then click the Create button. The mail address is where a temporary password will be sent. You can use this when you log onto the MAX application.
Username: hcr
Email: <valid_email>
First Name: Hcr
Last Name: Max
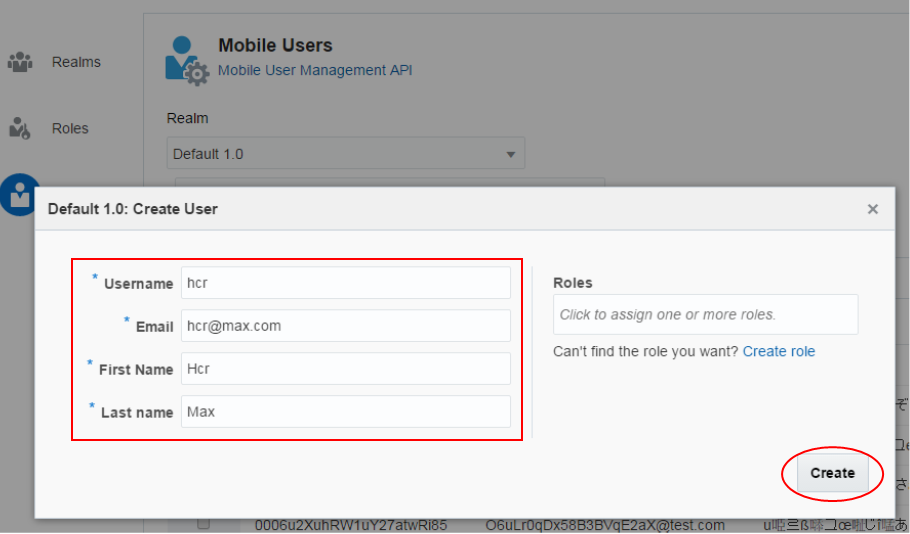
You'll also need the password. Check with your instructor or the email used when creating the user for this value.
Now that the setup is complete, you can start on the next section, Develop a Mobile Application Accelerator (MAX) application.