| Oracle® Argus Safety Installation Guide Release 8.0.1 E68657-01 |
|

 Previous |
 Next |
This chapter provides information about installing and configuring Interchange Service.
|
Note: Microsoft Visual Basic Power Packs 10.0 is required to be installed prior to installing Interchange Mapping. |
It includes discussions of the following:
Before installing Interchange Service, be aware of the following:
Since Interchange Mapping has a user interface for configuring Interchange Service, it must be installed on the same system as Interchange Service. If they are not installed on the same system, you will be unable to access the user interface required to configure Interchange Service.
You must also have the following:
A domain account with Local Administrator Privileges. This is required after you finish installing Interchange Service
See Setting Up easyPDF to continue installing Argus Web.
If Interchange Service is already installed on the system, be sure to uninstall it before continuing with the installation.
Before installing Interchange Service, create a network account to enable Interchange Service to communicate with the e-mail system and access the shared folders on the Axway Synchrony Server.
The Interchange account must have access to an e-mail account on the Axway Synchrony machine without being prompted for a password.
Use the following procedure to install Interchange Service.
To install Interchange Service:
Start the Argus Safety Setup installation wizard by double-clicking setup.exe.
When the system displays the Argus Safety Solution Components Install Wizard dialog box, click Next > to continue.
When the wizard opens the Customer Information dialog box:
Type the user name in the User Name field.
Type the company name in the Company Name field.
Click Next > to continue.
When the wizard opens the Default Directory dialog box:
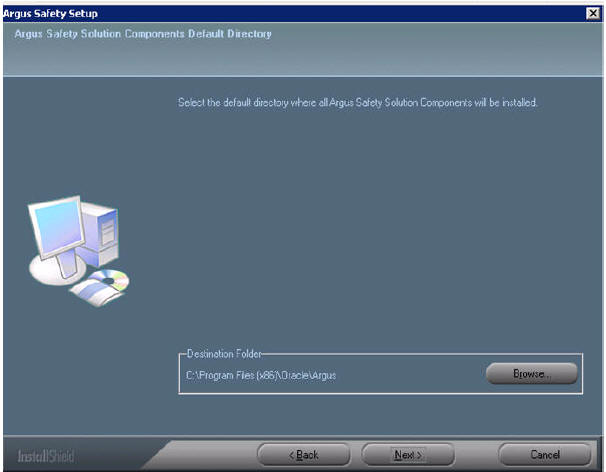
Click Browse to default installation directory for the Argus Safety Solution components.
When the wizard opens the dialog box:
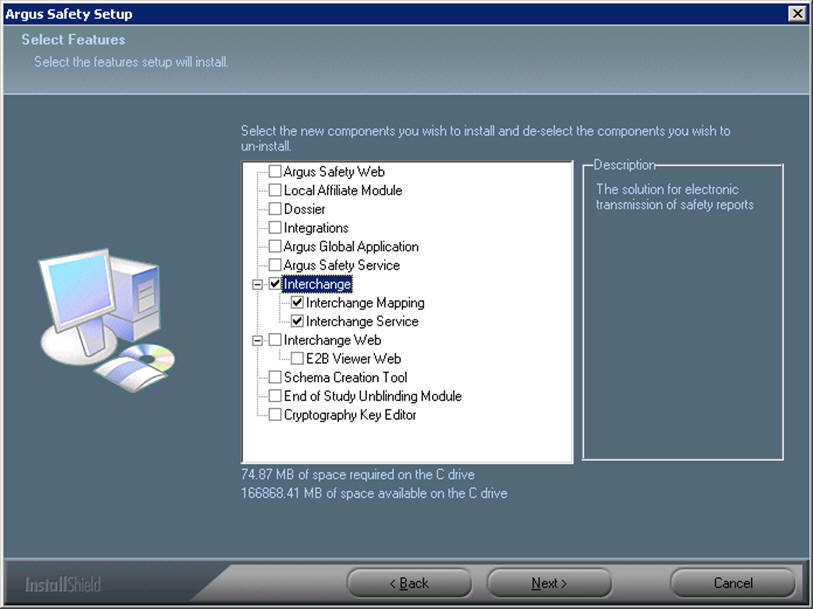
Select Interchange.
Click Next > to continue.
Argus installs and shows the progress of the installation.
When the system asks whether you want to configure a database for Argus Interchange:
Click Yes to configure a database for Argus Interchange.
When prompted to enter a database name:
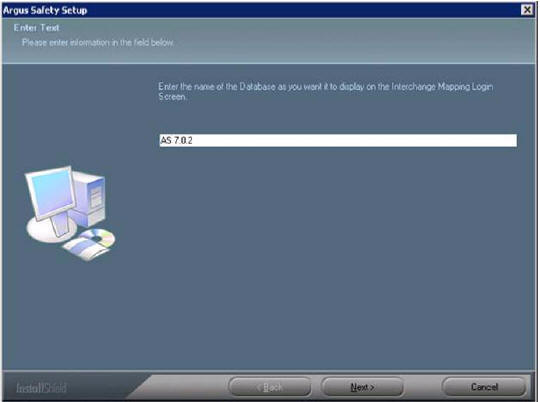
Enter the database name as you want it to appear in Argus Interchange.
Click Next > to continue.
When prompted to enter the database SID:
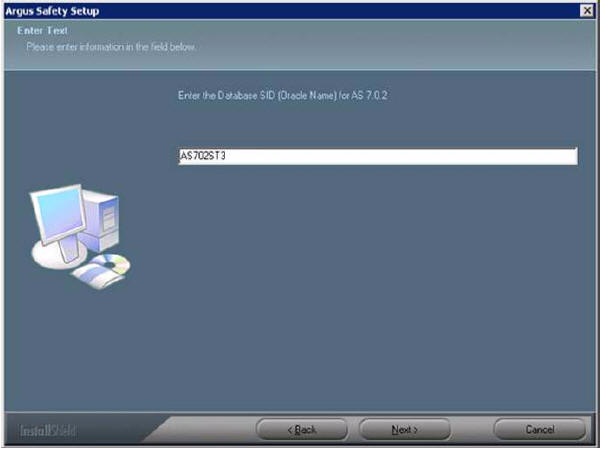
Enter the database SID.
Click Next > to continue.
When the system asks if you would like to configure database settings for Argus Interchange:
Click Yes to add an additional database to the Argus Interchange.
When the following message displays:
Click OK to reboot.
|
Note: After installing Interchange Service, refer to the section The Argus Safety 8.0 Application Servers to set up the Argus Cryptography key. |
Use the following procedure to configure Interchange Service:
Select Start > Control Panel > Administrative Tools.
Open Component Services.
Locate Argus Interchange Service in the services list, right-click, and select Properties from the drop-down menu.
When the system opens the Electronic Submission Manager Properties dialog box:
Select Automatic from the Startup type drop-down list.
Click the Log On tab.
When the Log On tab opens:
Select This Account as the Logon as Option
Select the user account from the Company domain list.
The account must have local admin privileges and access to all site printers.
Type the password in the Password field.
Type the password again in the Confirm password field.
Click Enable.
Click OK.
|
Note: You can view the log file at the specified path in the Interchange Service INI file. |
Use the following procedure to access EDI gateway shared folders:
Log on to the machine where Interchange Service is installed.
Browse to the data folder in the Axway Synchrony installation directory.
|
Note: If the data folder is not shared, contact the System Administrator for access to the folders. |
Verify that you can access the following folders:
<company profile>/ediin
<company profile>/ediout
<company profile>/xmlin
<company profile>/xmlout
Log off of the EDI Gateway machine.
Log on the Interchange Service machine and make sure no password is required for connecting to the shared folders on the EDI gateway machine.
You can configure Interchange Service by changing the items in its initialization (INI) file from the Interchange Mapping interface.
Use the following procedure to configure Interchange Service:
Open ESM Mapping.
Select Administrator > Setup INI File from the menu.
When the Service INI File Setup dialog opens:
Type the appropriate values in each field in the dialog box.
Click OK.
The following table provides the Service.INI File Dialog Box Fields:
| Field Name | Field Description |
|---|---|
| IT E-mail | Enter the e-mail address that will be used by Interchange Service in case the transmit time out occurs (Physical Media or EDI Gateway time out) |
| Business E-mail | Enter an e-mail address where a message can be sent if the Receive ACK time-out value is reached |
| User E-mail | Enter an e-mail address where a message can be sent if the user does not process the E2b Report within the time-out value. |
| Profile Name | Enter the MAPI Profile name of the mail account used. |
| EDI Software Name | Enter the EDI Software name used i.e. Axway Synchrony. |
| EDI Database Name | Enter the Database Name for the EDI software. |
| EDI User ID | Enter the User Name for EDI database. |
| EDI Password | Enter the password associated with the User Name to the EDI database. |
| EDI Client Software | Enter the type of database used by the EDI software |
| DTD Path | Enter the path to the location of the DTD file. |
| Log File Path | Enter the path where Interchange Service will write the log files. |
| Documentum Type | Enter the Documentum table. |
| Multiple Database Section | Displays all the configured databases for Interchange Service. |
| Delete Button | Clicking Delete will remove the entire Database Configuration from Interchange Service INI File. |
|
 Copyright © 2015, Oracle and/or its affiliates. All rights reserved. Legal Notices |
|