25/85
Attaching the Epson PS-180 Power Supply to the Adjustable Stand
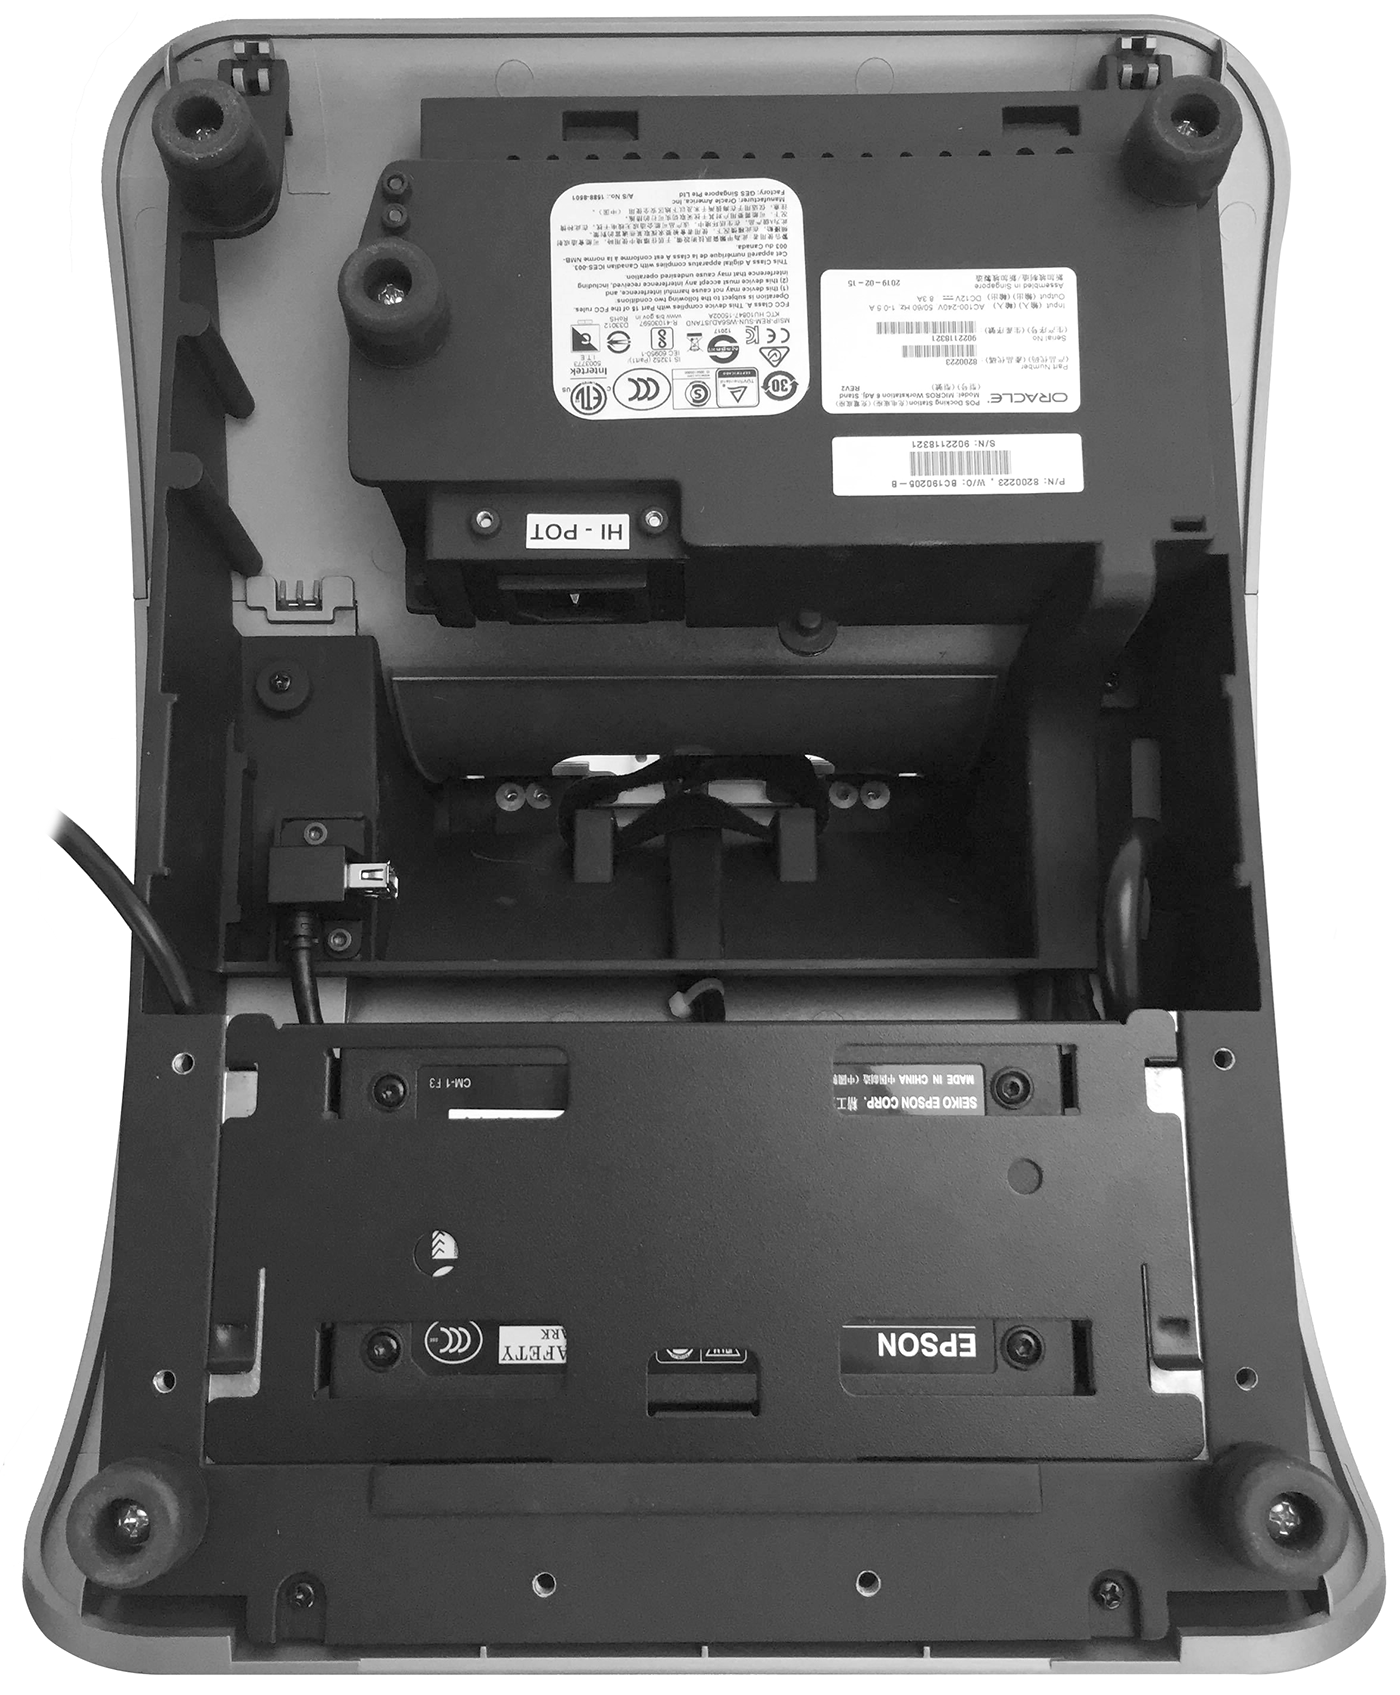
- Place the Workstation 6 Series Adjustable Stand upside down on a flat surface. Note the location of the Epson PS-180 power supply mounting bracket.
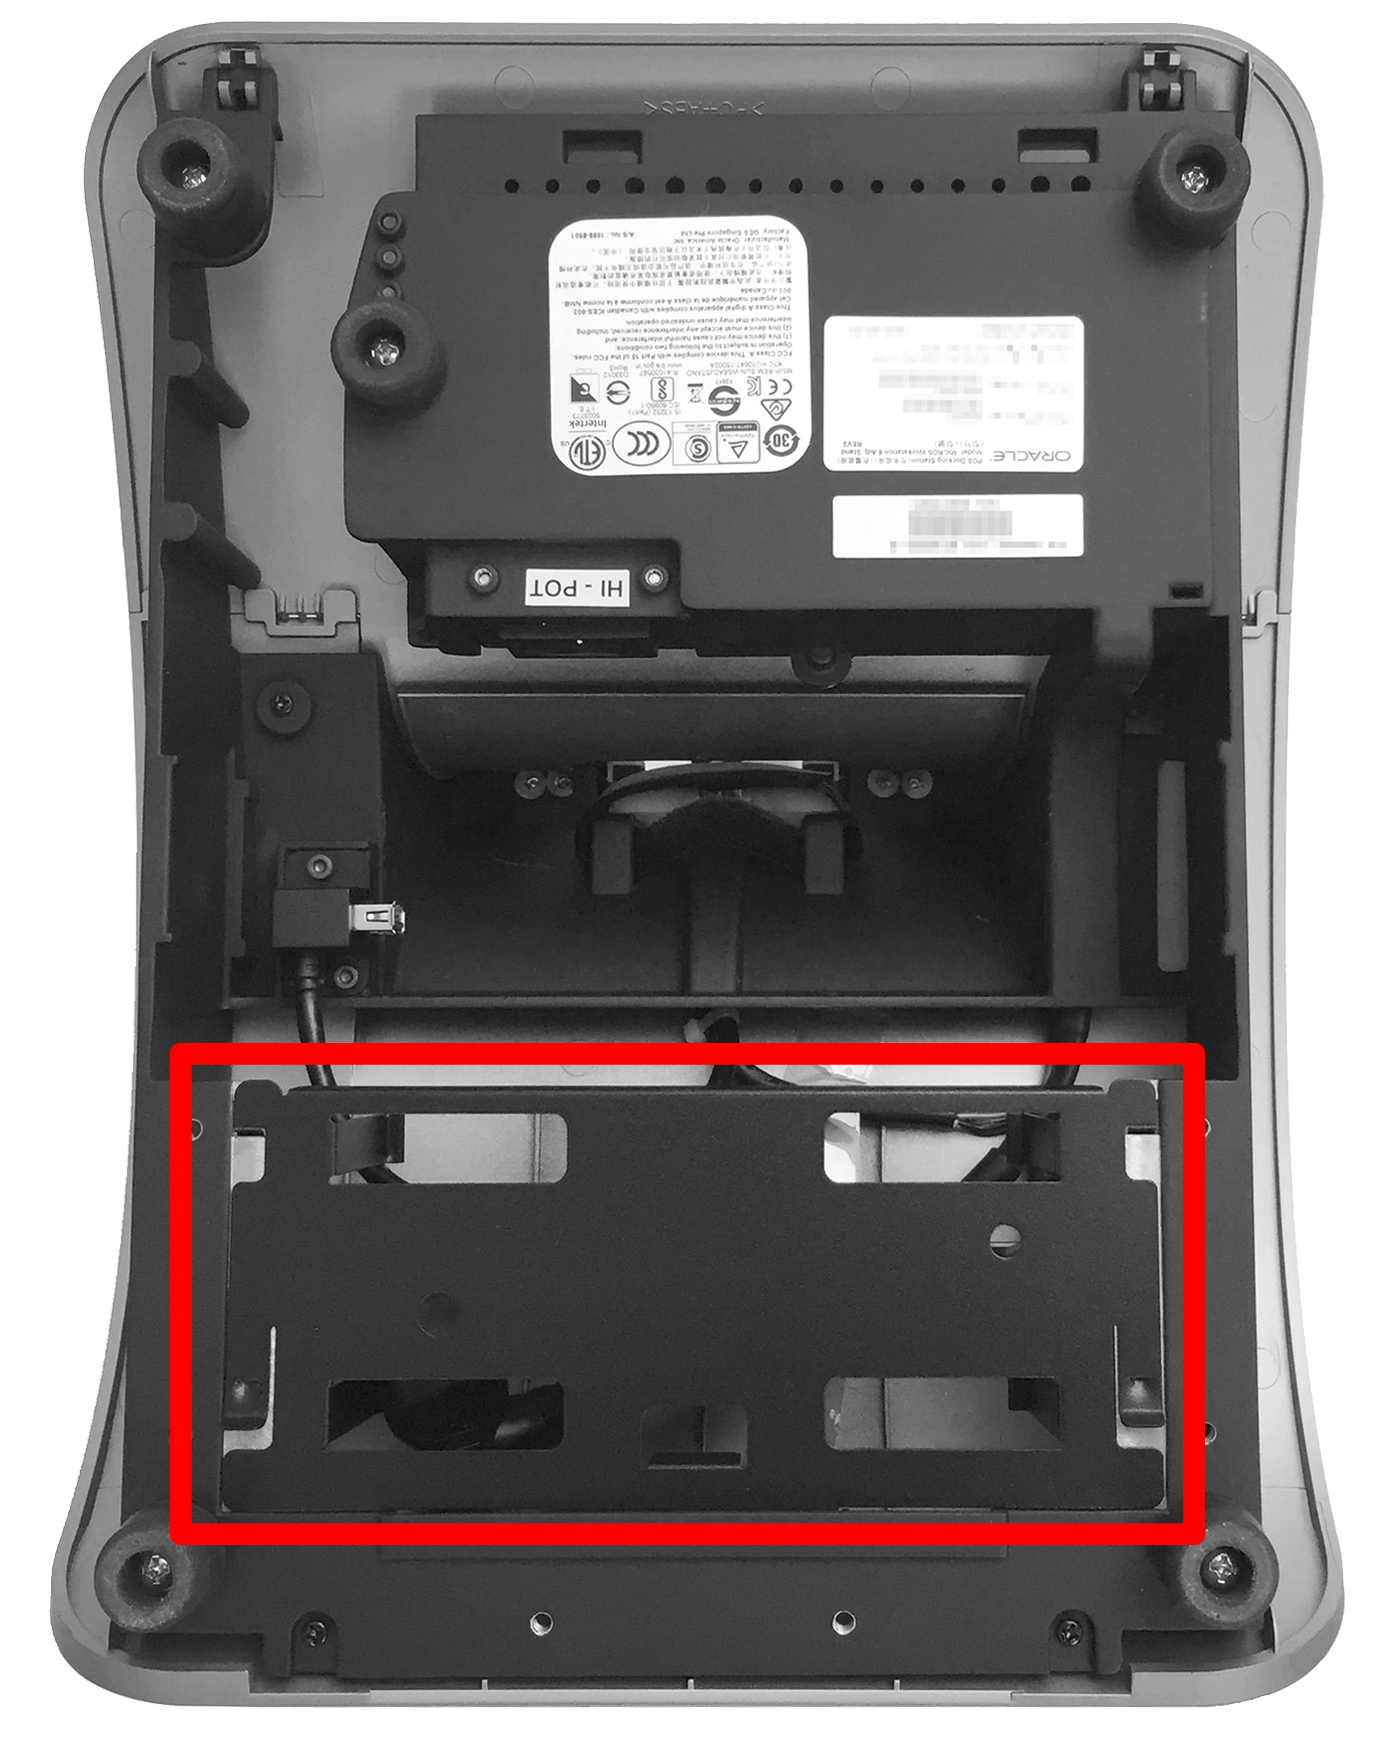
- Lift the two raised-edge corners of the bracket and slide it out of the mounting slots.
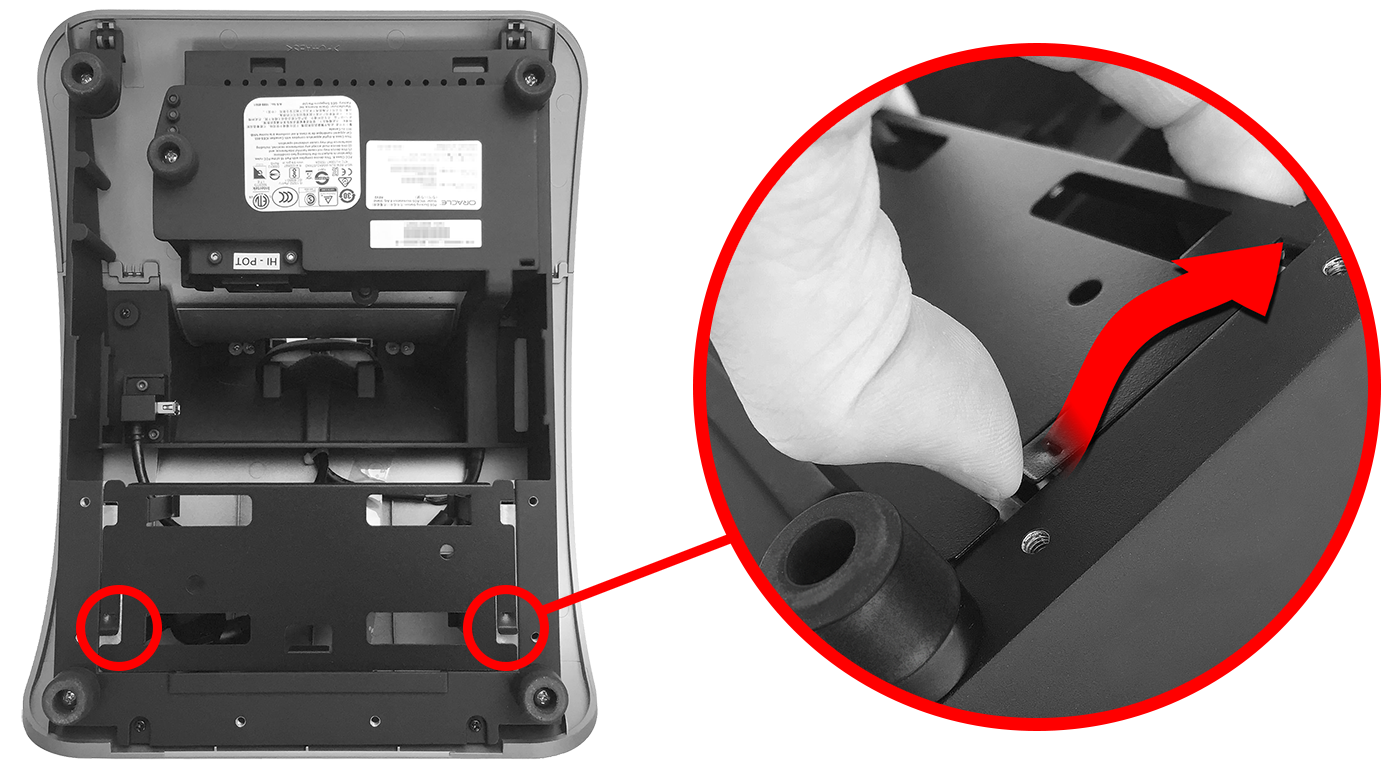
- Place the bracket on a flat surface.
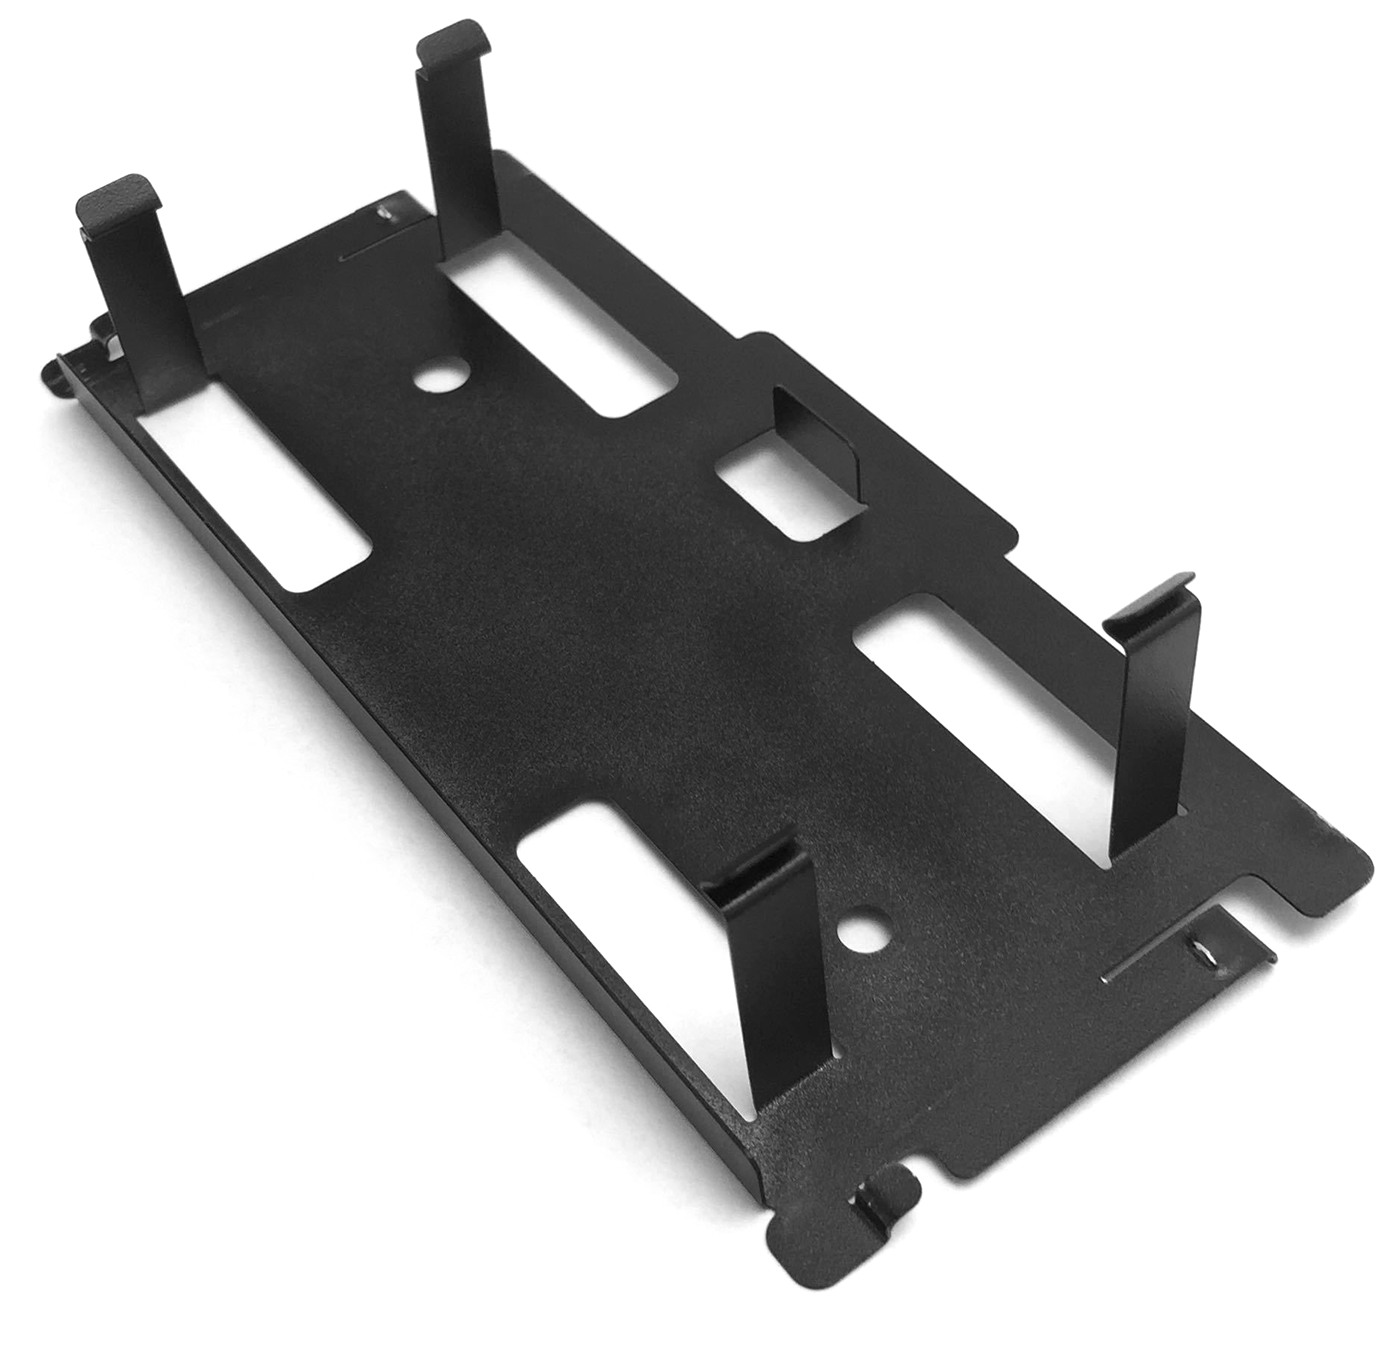
- Insert the Epson PS-180 power supply into the bracket until the retaining clips snap into place and it is flush with the bracket face. Note the orientation of the power supply on the bracket.

- Locate the C13 power cord in the Adjustable Stand interior.
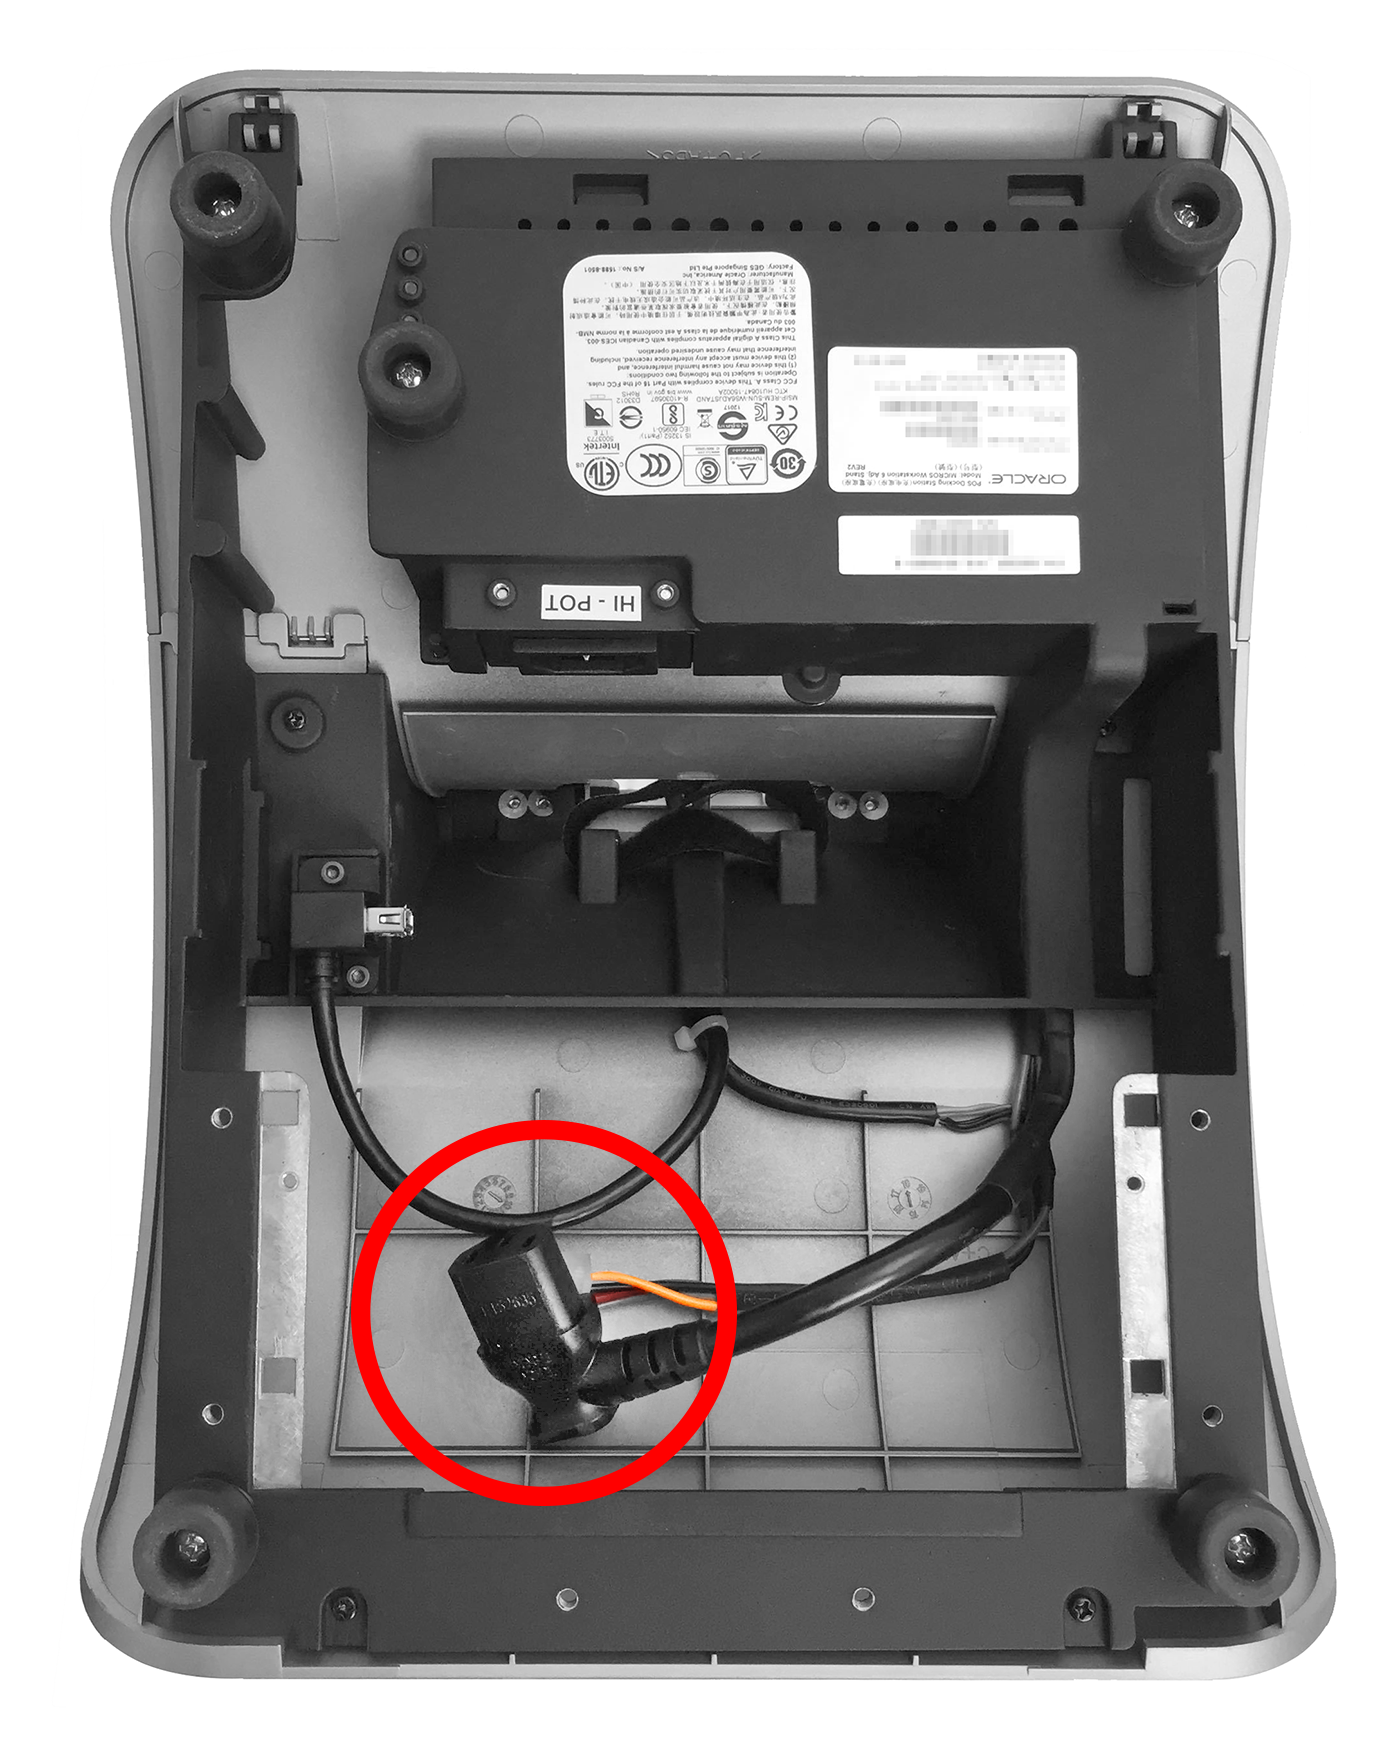
- Connect the C13 power cord to the power supply.
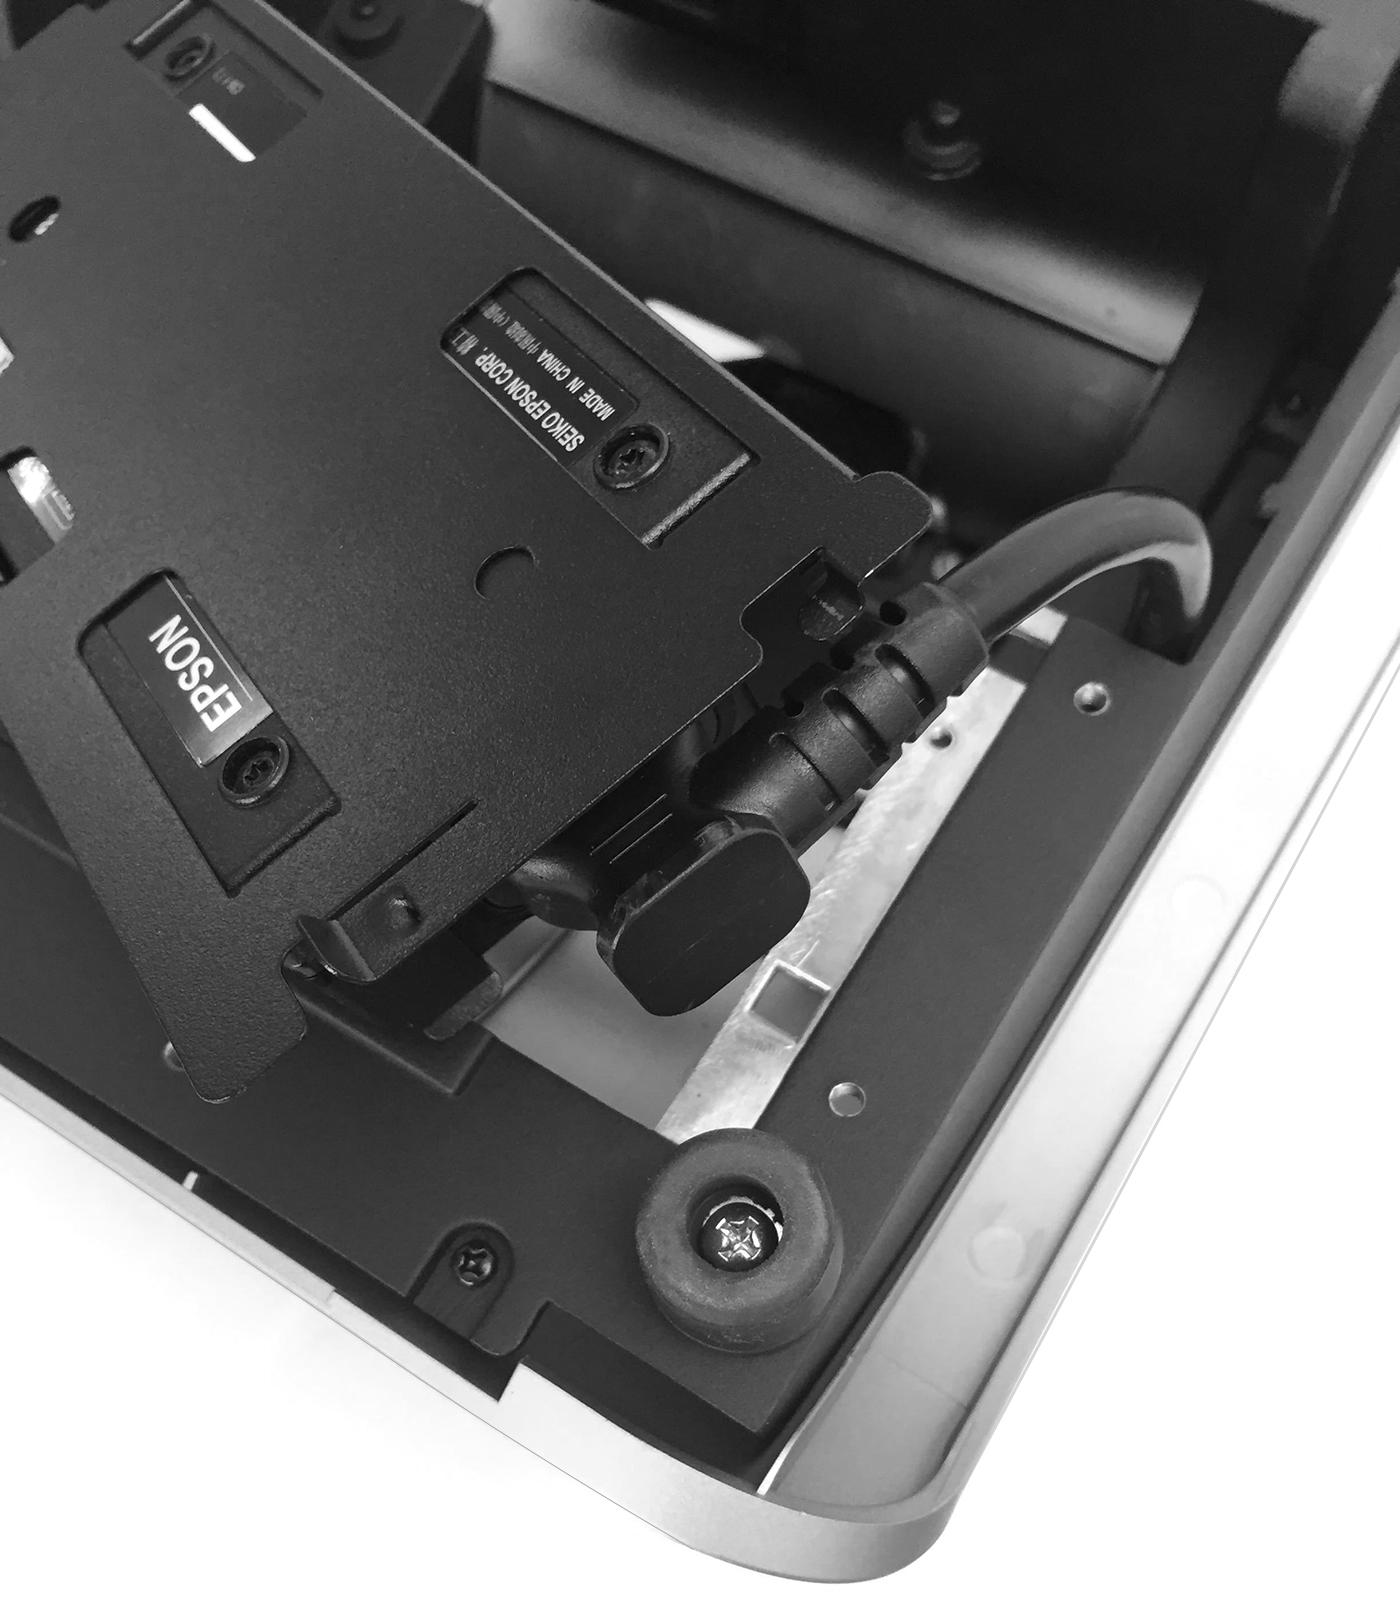
- Place the assembled power supply and bracket in its original position in the Adjustable Stand by sliding the bracket feet into the two mounting slots until it snaps into place. Route cables as needed.
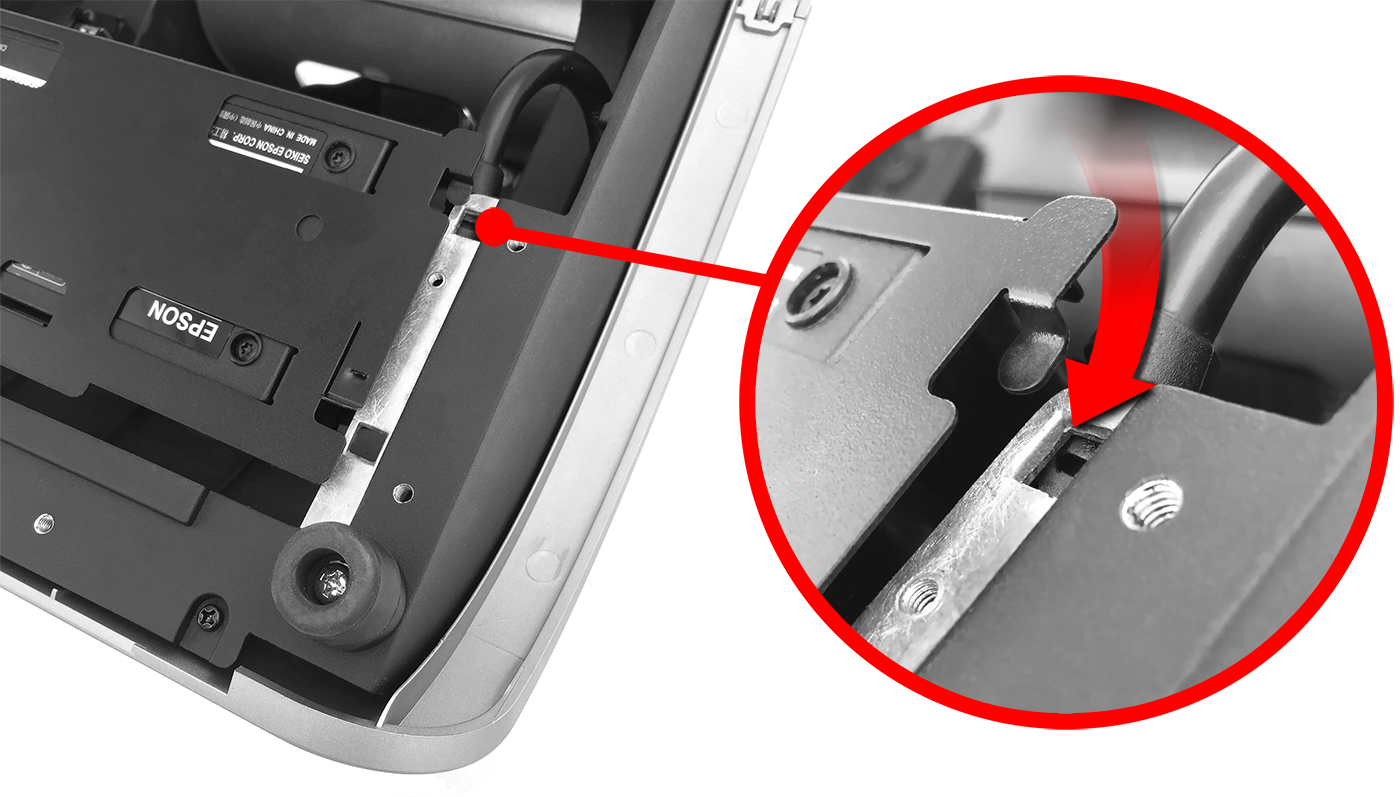
- When properly installed, the power supply is securely attached to the Adjustable Stand.
Parent topic: Workstation Setup