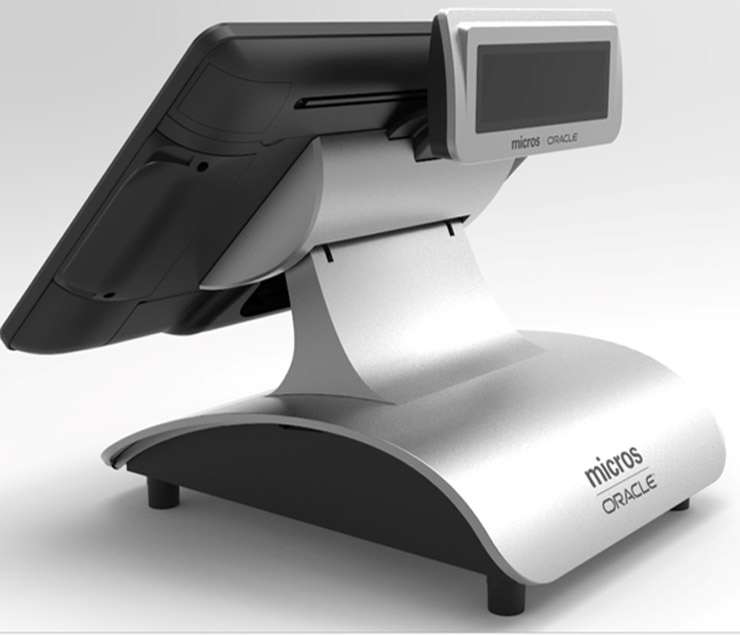
Installing the High-Mount Customer Display on the Adjustable Stand

The High-Mount Customer Display is only available for the revised MICROS Workstation 6 Series Adjustable Stand (see Prerequisites). The display and bracket are provided as a complete assembly and ready for installation.
Prerequisites:
  • Workstation 6 Series Adjustable Stand with High- and Low- Mount Customer Display Options (Part Number: 7114626)

  • High-Mount Customer Display and Bracket Assembly (Part Number: 7114627)

  • No. 2 (1/4 in.) Phillips screwdriver

To install the High-Mount Customer Display on the Workstation 6 Series Adjustable Stand:
  1. Place the Adjustable Stand upright on a flat surface, and then tilt the mounting plate upwards to a vertical position.
  2. Remove the High-Mount slot cover.
  3. Slide the Customer Display power cord through the High-Mount slot and down through the mounting plate.
  4. Insert the display and bracket assembly into the High-Mount slot. The bracket should be firmly locked into place.
  5. To adjust or remove, press the release button on the bottom of the bracket to unlock.
  6. Secure the display and bracket assembly to the Adjustable Stand using the provided security screws (2) and a No. 2 (1/4”) Phillips screwdriver.
  7. Insert the Customer Display power cord into the Customer Display slot on the I/O Panel.

    Workstation 6 with High-Mount Customer Display on the Adjustable Stand


    This figure shows the Workstation 6 mounted on the Adjustable Stand with the High-Mount Customer Display.