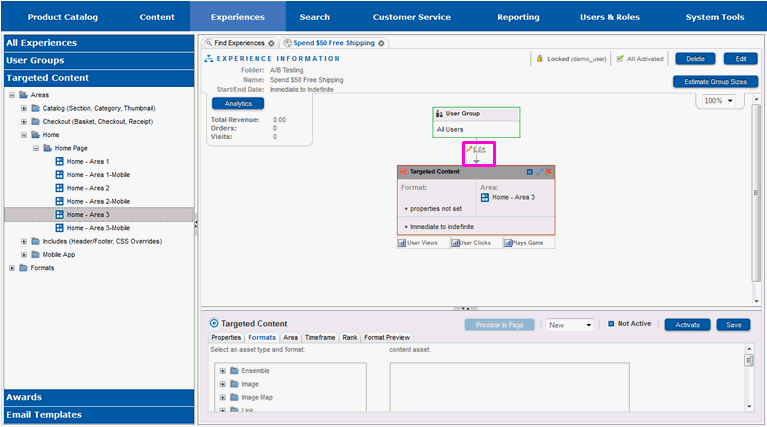
Once a node has been added to the experience, the connector link to that node can be edited and divided into segments.
Select the Edit link on the connector at the top of the targeted content node.

The properties pane will redraw and you will see information on the connector link.
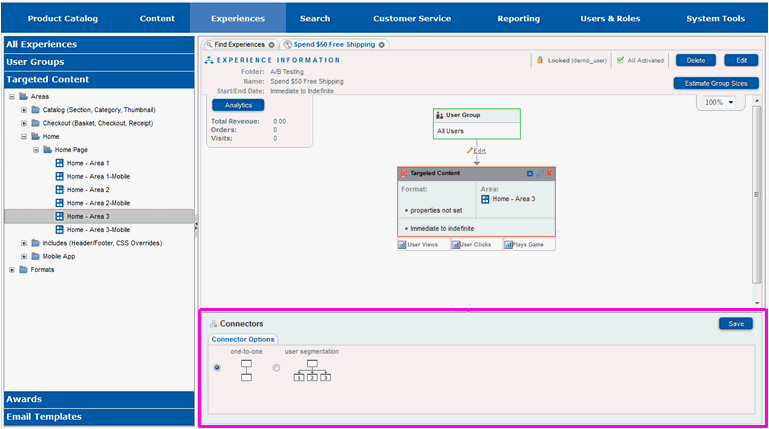
The properties pane should be maximized for easiest use.
Select the up arrow on the divider between the work pane and the properties pane.

The properties pane will fill the screen and you will see the entire information in it.
Select User Segmentation.

A segmentation list box will appear on the right.
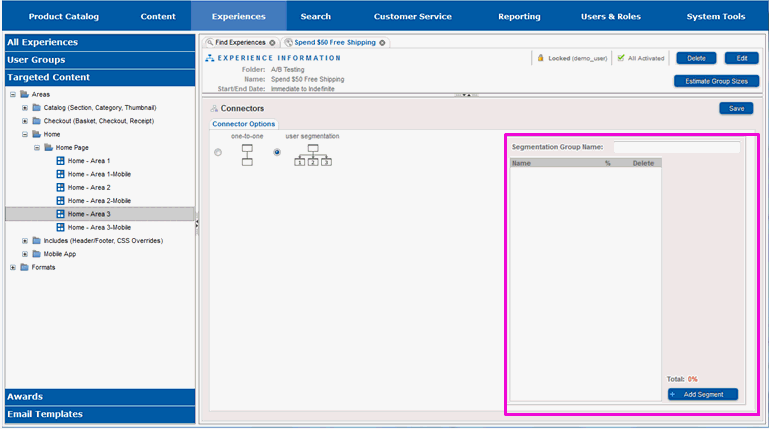
Enter a name for the segmentation in the Segmentation Group Name entry field.
Select Add Segment.
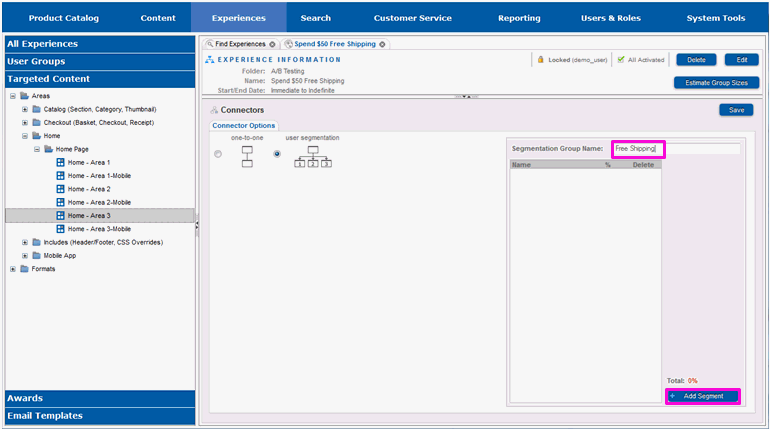
An entry for the segment will appear in the box.
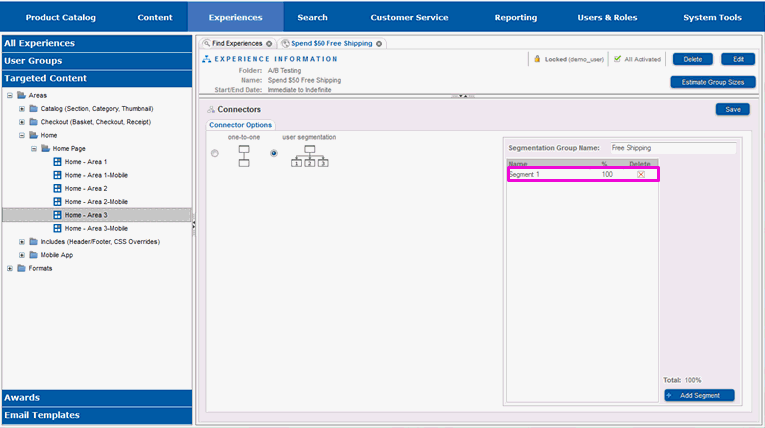
Select Add Segment again.

An entry for the second segment will appear in the box.

Select the name of the first segment.
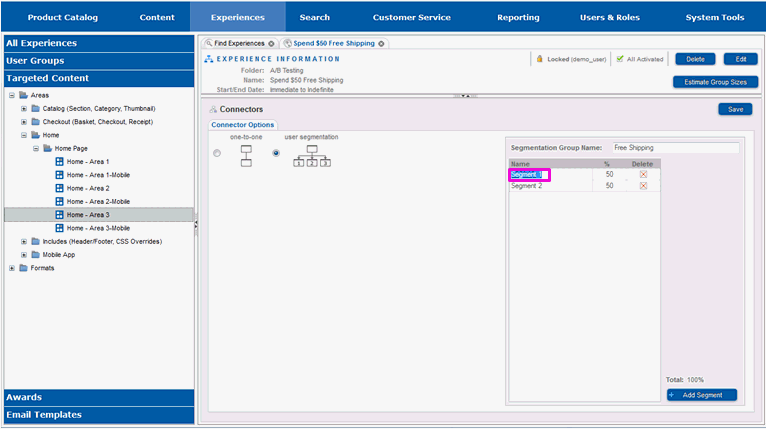
Enter a descriptive name for the first segment.
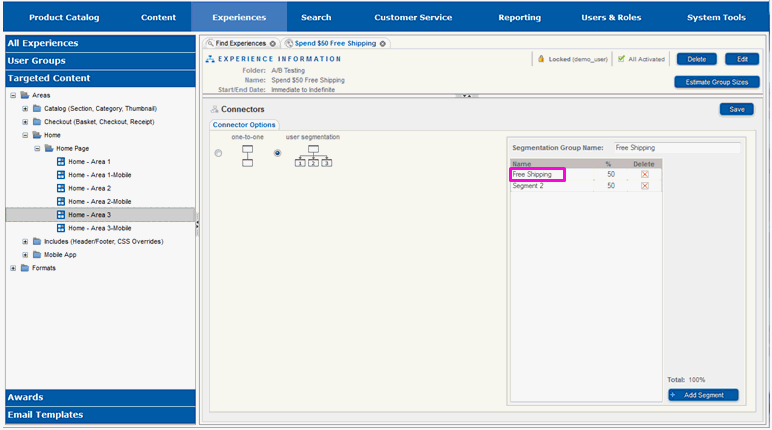
Select the name of the second segment.
Enter a descriptive name for the second segment.
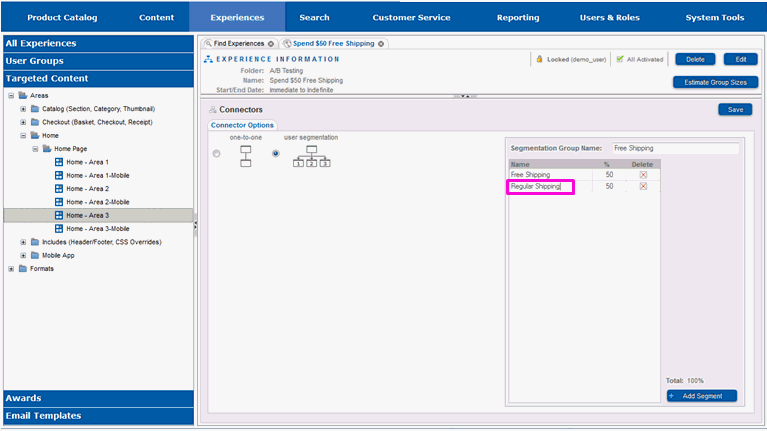
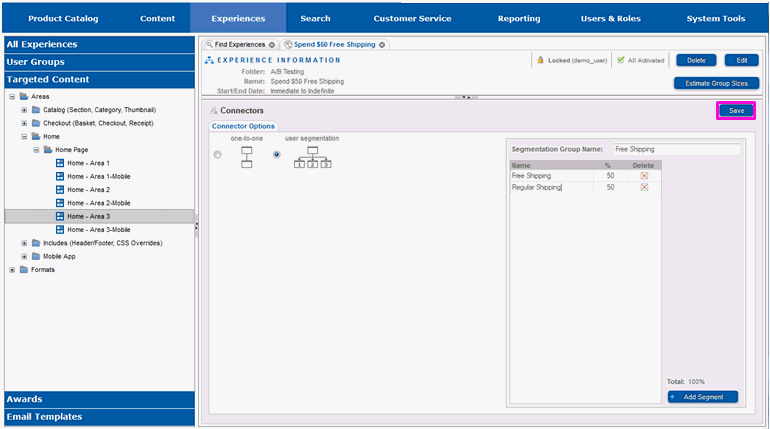
Select Save.
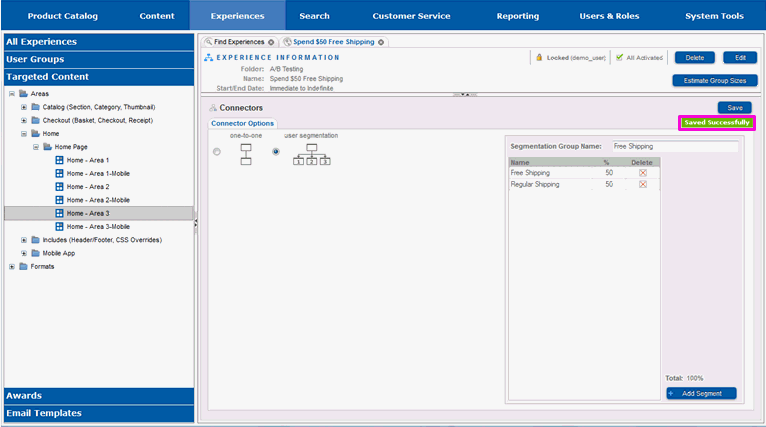
You will see a message indicating the save was successful.
The properties pane can now be returned to its default size.
Select the down arrow on the divider between the work pane and the properties pane.
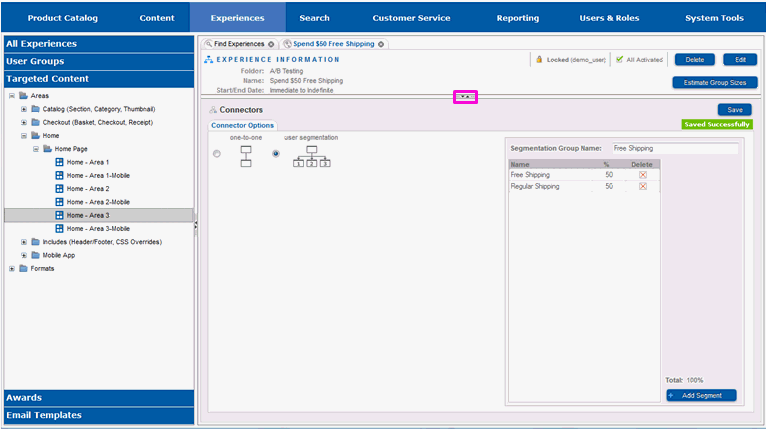
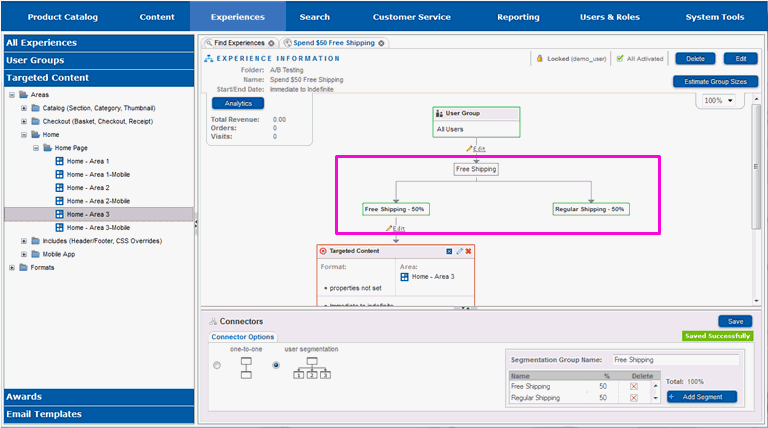
The properties pane will return to its default size, and you will see the connector with its two segments. The segment on the left is the portion of the visitors that will be offered free shipping, while the segment on the right is the portion that will not.
