|
Developing and Deploying Siebel Business Applications > Configuring the House and Opportunity Entities > Process of Configuring the House Detail View >
Modifying the Product List Applet
This task is a step in Process of Configuring the House Detail View. Assume that NREC determines that it is preferable to modify the following two applets rather than creating new applets:
- Product List Applet
- Product Form Applet
These applets reference the Internal Product business component and meet most of the NREC requirements. To modify the Product List Applet
- In the Object Explorer, click Applet.
- In the Applets list, locate the Product List Applet.
- Choose the Tools menu, and then the Lock Project menu item.
- Change the value in the Project property to NREC Configuration.
- In the Object Explorer, expand the Applet tree, expand the List tree, and then click List Column.
- Change the display name for predefined list columns using values from the following table.
Name of Predefined List Column |
|
Part # |
House ID |
Name |
Summary |
- In the Object Explorer, click Applet.
- In the Applets list, right-click the Product List Applet, and then choose the Edit Web Layout menu item.
- In the Web Layout Editor, in the Controls/Columns window, make sure the mode is set to Base.
- In the Web template, delete the following columns:
- Class
- Compensable
- Customizable
- Description
- Effective End Date
- Effective Start Date
- Equivalent Product
- Lead Time
- Orderable
- Organization
- Product Line
- Revision
- Serialized
- Service Product
- Unit of Measure
- For each row in the following table, drag a Field control from the Palettes window, and then drop it in the Web template. Each row represents a separate control. Set properties for each control using values from the following table.
|
|
|
|
Address |
Street Address |
Address |
FALSE |
Bathrooms |
Bathrooms |
Bathrooms |
TRUE |
Bedrooms |
Bedrooms |
Bedrooms |
TRUE |
City |
City |
City |
FALSE |
Price |
Price |
Price |
TRUE |
Square Feet |
Square Feet |
Square Feet |
TRUE |
State |
State |
State |
FALSE |
ZIP Code |
ZIP Code |
ZIP Code |
FALSE |
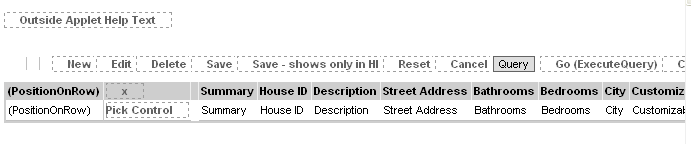
The Web template must resemble the following screen capture:
For more information, see Adding a Field to a List Applet.
- Choose the File menu, and then the Save menu item.
- In the Controls/Columns window, set the mode to Edit.
- Repeat Step 10 through Step 12.
- In the Controls/Columns window, set the mode to Query.
- In the Web template, delete the following columns:
- Save your work, and then close the Web Layout Editor.
About the Show In List Property
The Show In List property determines if Siebel CRM displays the field by default in the list applet. If the Show In List property is FALSE, then Siebel Tools displays the field with gray color in the Web template. Siebel CRM hides these fields by default in the Siebel client. To display them, the user can choose Columns Displayed from the applet menu in the Siebel client.
|