| Oracle® Retail Predictive Application Server Cloud Edition User Guide Release 19.0 F24877-28 |
|

 Previous |
 Next |
| Oracle® Retail Predictive Application Server Cloud Edition User Guide Release 19.0 F24877-28 |
|
Previous |
Next |
Welcome to Oracle Retail RPAS Cloud Edition (RPASCE). This chapter provides an overview that includes information to help you get started with the application.
RPASCE is a configurable cloud-engineered platform with a proven scalability for developing multidimensional forecasting and planning-based solutions with an enhanced user experience. The RPASCE client is a web-based platform developed using the latest Oracle JavaScript Extension Toolkit (OJET).
Planning is one of the most important and complex processes in a retail business. It typically involves a set of activities that must be followed as part of a workflow. The RPASCE Client includes an Activity Task Flow feature that provides a robust workflow that makes each planning activity easier to track and maintain.
RPASCE provides capabilities such as a multidimensional database structure, batch and online processing, a configurable slice-and-dice user interface, a sophisticated configurable calculation engine, user security, and utility functions such as importing and exporting, all on a highly scalable technical environment that can be deployed on a variety of hardware.
This section describes the basic concepts of RPASCE.
In RPASCE, information is stored and represented based on a multidimensional framework. In a multidimensional database system, data is presented as a multidimensional array, where each individual data value is contained within a cell accessible by multiple indexes.
Multidimensional database systems are a complementary technology to entity relational systems and achieve performance levels above the relational database systems. Applications that run on RPASCE identify data through dimensional relationships. Dimensions are qualities of an item (such as a product, location, or time) or components of a dimension that define the structure and roll up within the dimension.
Dimensions describe the top-to-bottom relationship between the levels or positions of the dimensions in RPASCE. They reflect the dimensions set up at your business and used by the merchandising solutions.
RPASCE supports many alternative dimensions that provide different roll ups and can help you analyze the data from differing perspectives.
Measures represent the events or measurements that are recorded, while the positions in the dimensions provide a context for the measurement. Measures are defined based on the business rules set in the application. The dimensionality of a measure is configured through the definition of its base intersection, which is the collection of levels (one per appropriate dimension) defining the lowest level at which the information is stored for the measure.
Measure names are completely configurable and typically named using a convention that identifies each component and the meaning of the measure.
Cells contain the data or values where the positions and measures intersect with the levels of the dimensions.
RPASCE stores information in a persistent multidimensional data cache that is optimized for large volumes and dimensional or time series data access requirements, typically required by multidimensional solutions. This central repository is called a domain. The domain also includes central definitions of metadata for the solution and provides a single update point.
When you use an RPASCE solution, you interact with the solution through a personal data repository called a workspace. A workspace contains the subset of the data (and metadata) from the domain, and its scope is constrained by the access rights available to a user. Workspaces are stored on the RPASCE server and can be built using an online wizard process or scheduled to be built in a batch process automatically.
Although the data and metadata in the workspace are copied from the domain, the data remains independent of the domain.
With a solution task-flow, you are logged into a solution. When you pick a particular task, you are directed to build a segment. As part of creating a segment, you select which portions of the data will be available within that segment. Data that is not selected for the segment will not be available within it and must be accessed through other segments.
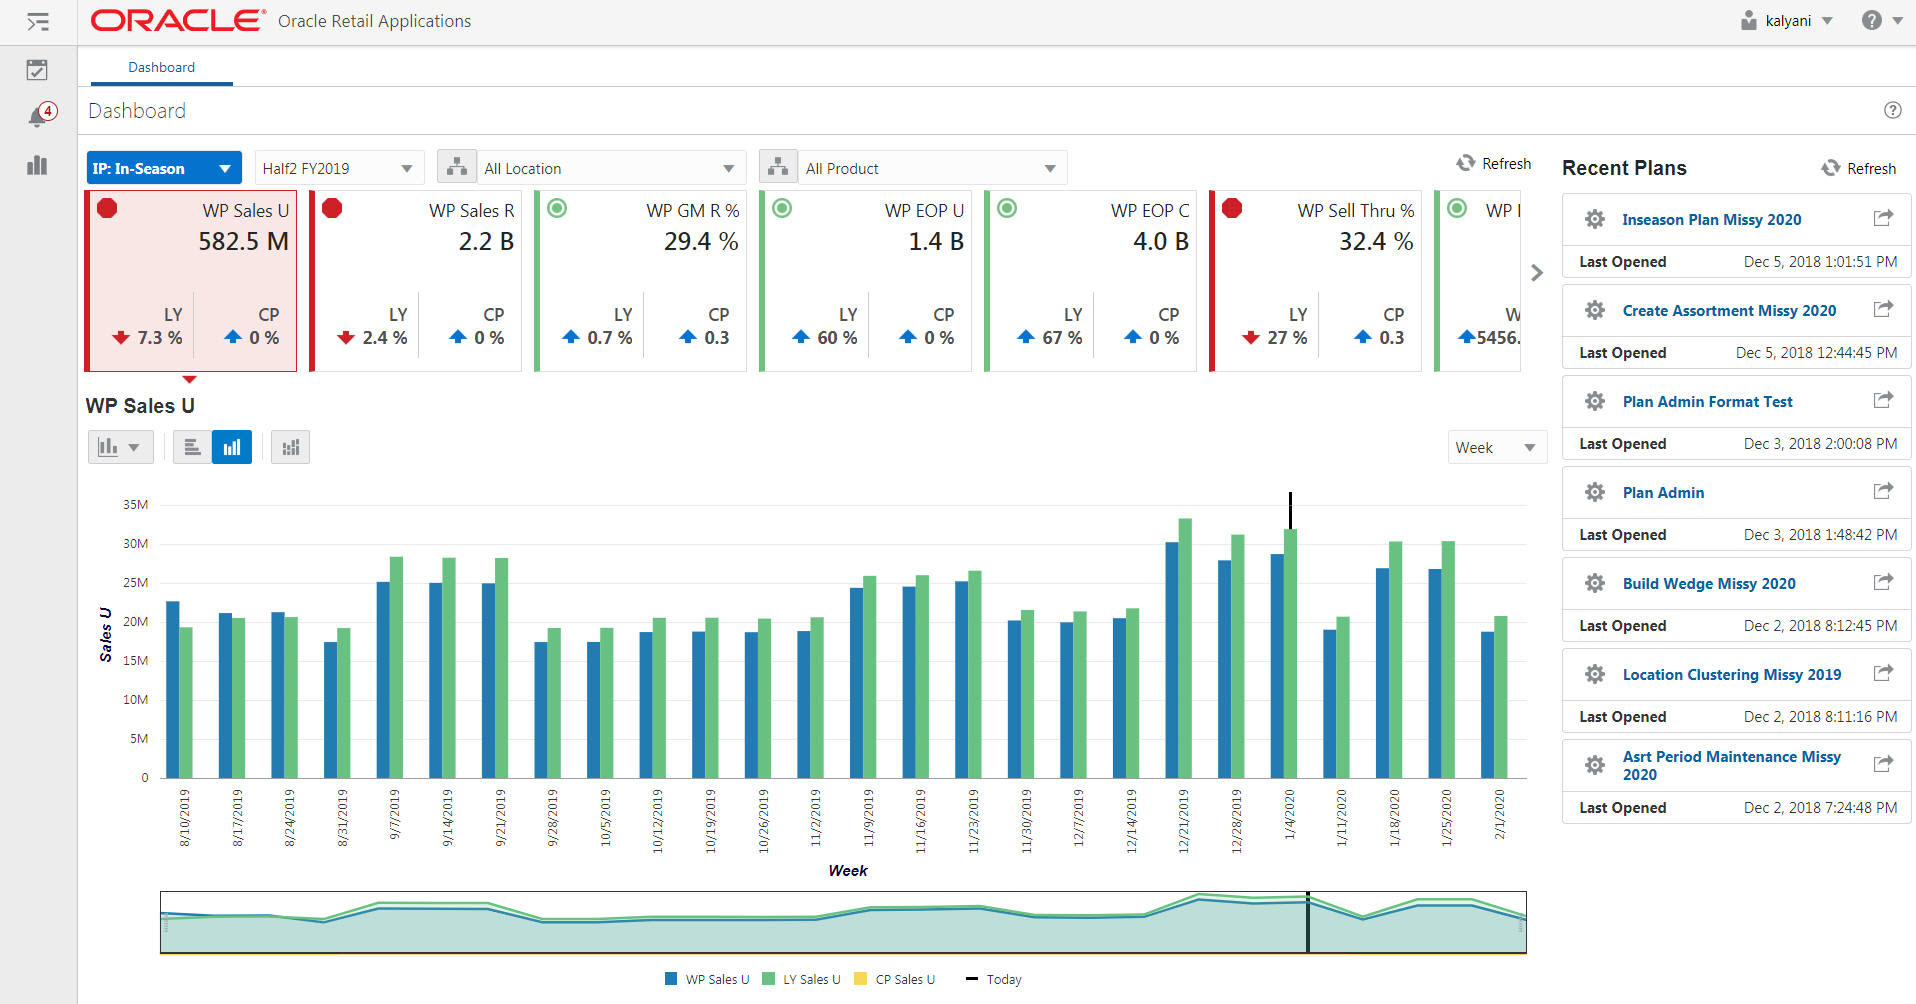
The RPASCE dashboard contains a set of tiles that display summary Key Performance Indicator (KPI) information. The information provided helps you identify areas of your business that require your attention. The profiles are tailored to the role and business process (for example, Admin, Pre-Season, In-Season, and Exception) with summary KPIs and detailing the KPIs in a visual representation using dynamic charts. You can easily personalize the dashboard layout and access the recent plans that you have worked on.
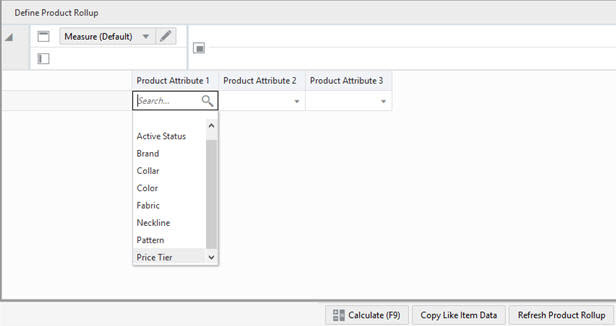
The dynamic roll-up of store to cluster in a workspace depends on the product dimension and it can be done without rebuilding the workspace. Note that, for a particular product department, a store can change from a high volume store to a medium volume store cluster. This refresh can be triggered using a custom menu. The refreshing of the dynamic hierarchy does not require the refreshing of the entire workspace. You can create new placeholder positions and dynamically role them up within the same workspace.
The RPAS CE Client can be accessed using Google Chrome, Mozilla Firefox, or Microsoft Edge. Before you access the application for the first time, you must set the following browser settings to allow seamless and error-free access.
The RPAS CE Client can leverage the browser cache for a better experience. However, it is recommended that you clear the browser's cache periodically so that temporary internet files are deleted, especially with version updates. The cache settings are typically found in the browser's tool menu.
Google Chrome
Click the Chrome button (located in the upper-right corner of your browser).
Click Settings and then click Show Advanced Settings.
Scroll down further and click Clear Browsing Data under Privacy.
In the Clear Browsing Data window, select All time for the Time Range.
Check the boxes that you want to clear and click Clear data.
Mozilla Firefox
In Firefox, to clear browsing history, complete the following steps:
From the menu toolbar, select Tools and then select Options.
Select Privacy & Security.
Under History, click Clear History.
In the Clear Recent History pop-up, select Everything from the Time range to clear list.
Check the boxes that you want to clear and click OK.
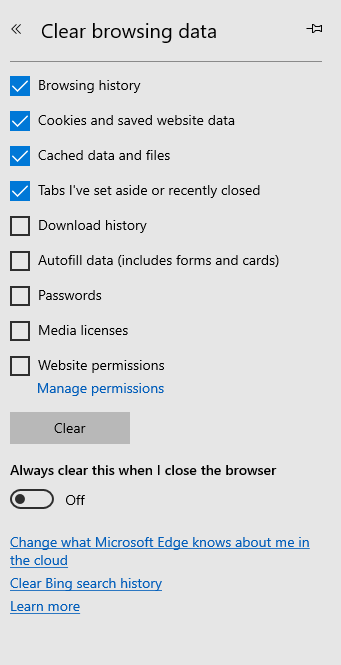
Microsoft Edge
In Edge, to clear browsing history, complete the following steps:
Select Settings and more (a small button with three dots located in the upper-right corner of your browser)).
Select Settings and then Privacy & security.
Under Browsing Data, click Choose what to clear.
Under Clear browsing data, check the boxes that you want to clear and click Clear.
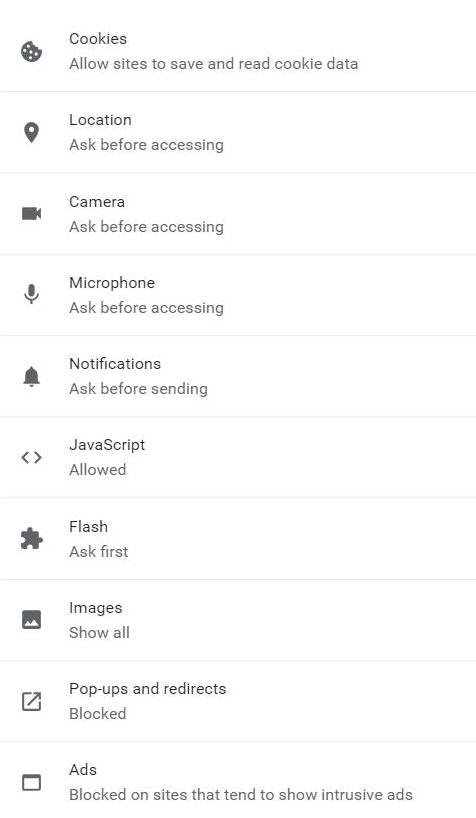
Ensure that JavaScript and Cookies are enabled on your browser. These may be the default settings in most cases; if not, ensure that this is the case using the following steps.
On Chrome, click Customize and Control Google Chrome button in order to access Settings->Privacy-> Content Settings.
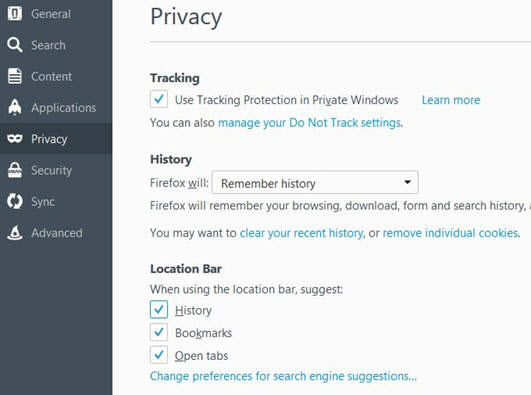
On Firefox, to check or change your settings, complete the following steps:
Click the Tools list button and select Options.
Select the Privacy panel.
Check for History.
By default, Firefox enables the use of JavaScript and requires no additional setup.
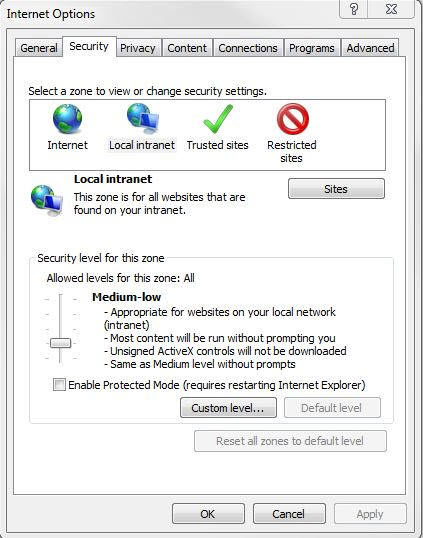
If using Internet Explorer, you must configure the browser security settings to improve the user experience. To set the security settings, complete the following steps:
Start Internet Explorer.
From the Tools menu, click Internet Options.
On the Security tab, click Local intranet, and then click Sites.
Figure 1-7 Internet Explorer Internet Options for Security
On the Local intranet window, click Advanced.
In the Add this website to the zone field, enter the application URL, click Add, and then click Close.
On the Local intranet window, click OK.
In the Security level for this zone area, click Custom level....
Click Enable for Active Scripting in the Scripting section.
After you set up these parameters, click OK. A message appears that prompts you for a confirmation of the changes to the settings for the zone.
Click Yes to accept the changes. Based on the settings you changed, you may need to restart Internet Explorer for the changes to take effect.
Similarly, make sure cookies are enabled on IE. Select the Privacy tab, and under Settings, select Advanced and make sure you have first party cookies and third party cookies selected.
This section details the available logging scenarios.
Before you log into RPASCE, ensure that your system meets the recommended configuration requirements.
After you check the configuration, obtain the following information:
Uniform Resource Locator, URL: Enter or click the application URL in the web browser or shortcut provided by your Administrator to access the application.
For example:
http://<fullyqualifieddomainname>:<port>/context root
User name and Password: Based on the tasks you want to perform, obtain a user account (that includes user name and password) to log into the application.
What you see when logging in depends on the type of external authentication used. The RPASCE login page appears only when you use Oracle Access Manager (OAM) for authentication.
To log into the RPASCE:
Open a supported internet browser.
In the Address bar, enter the RPASCE URL and click Enter.
Enter the Username and Password details and click Log In.
The RPASCE Home page appears.
If you have accessed RPASCE through a single sign-on environment, enter the Single Sign-On credentials. You see the home page of RPASCE.
|
Note: For more information about single sign-on (SSO), see the Oracle Retail Predictive Application Server Cloud Edition Administration Guide. |
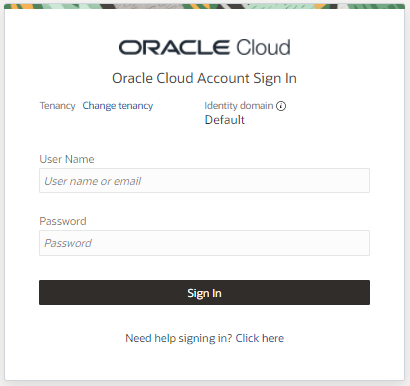
If you are using Oracle Cloud Infrastructure Identity and Access Management (OCI IAM), you see the RPASCE login page, as shown in Figure 1-10. Enter values in the User Name and Password fields and click Sign In to access the RPASCE home page.
Figure 1-10 Oracle Cloud Infrastructure Identity and Access Management Login
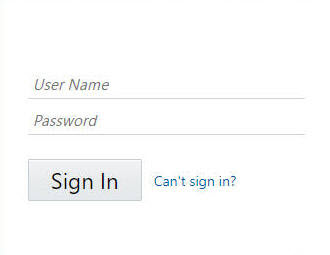
If you are using Oracle Identity Cloud Service (IDCS), you see the RPASCE login page, as shown in Figure 1-11. Enter values in the User Name and Password fields and click Sign In to access the RPASCE home page.
Figure 1-11 Oracle Identity Cloud Service Login
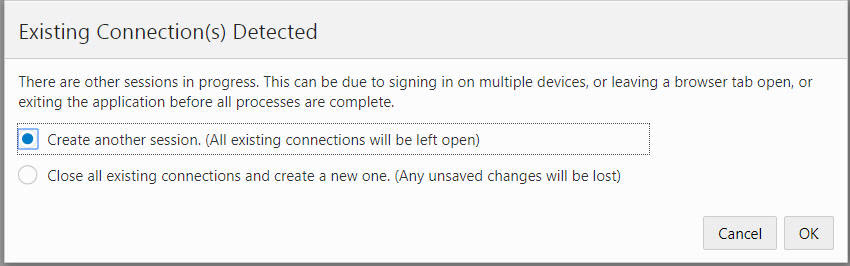
If you already have a user session for RPASCE running, you can start a second or concurrent session at the same time. This can be a private/incognito window in the same browser or a different browser. When logged into RPASCE, if you have a concurrent session running, you see the following message:
Select one of the following options:
Create another session (All existing connections will be left open): This option allows the user to have multiple connections. This does not affect any prior user connections.
Close all existing connections and create a new one. (Any unsaved changes will be lost): This option closes any existing connections for the user and opens a new connection.
|
Note: For information about the number of allowed concurrent sessions, see the Oracle Retail Predictive Application Server Cloud Edition Administration Guide. |
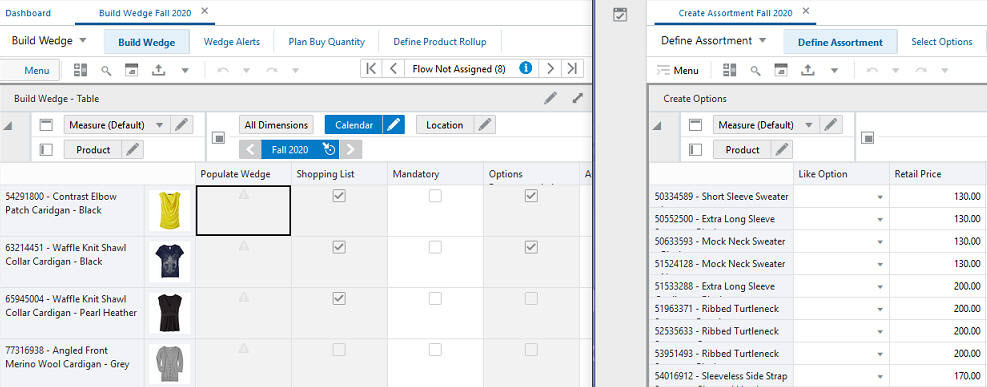
You can use the comparative analysis feature to open multiple workspaces in such a way that you can view them at the same time and work on them in parallel.
Figure 1-13 Compare Workspaces in Separate Browser Tabs
This is can be accomplished in one of two ways:
You can launch the view in a separate browser tab in order to do comparative analysis. To do such an analysis, go to the recent plans pane and click the launch icon next to the segment name. The secondary tab will not have all the menu options that the primary window has. You can navigate through various views in the workspace. However, you cannot navigate between different workspaces; you must close the tab and launch a separate workspace.
You can compare the views in the concurrent login sessions. In this case, in the concurrent login session, you have access to all the features of RPASCE. You are not limited to comparing the one workspace that you opened; you can switch between workspaces, bring up other segments, and conduct separate planning processes using the secondary login.
Figure 1-14 Compare Views in Concurrent Login Sessions

A user's login session can end abruptly when certain actions in the system occur. These actions can occur as a result of user behavior or system-executed periodic tasks.
User-Driven Actions
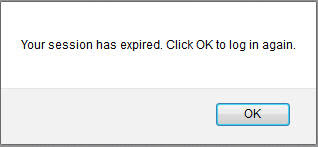
Here is an example of a user-driven use case. A user has logged into a session and has opened multiple workbooks. If the user logs concurrently into an alternate device or a private browser, the user will be presented with an option to either start a new session or close the previous session. If the user chooses to close the previous session, the user will receive a session expiration message for the first logged in device or browser when the user takes an action during the session.
System-Driven Actions
Three different system-driven actions can cause the expiration of a session.
A user has logged into a session on a device and has not used the session for 35 minutes. The session then automatically logs the user out. In the case, contact the cloud system administrators in order to increase the timeout.
When an offline mode online administration task is triggered for execution, it first shuts down all non-administration users from the system. This may trigger a session expiration from the system as well. See Oracle® Retail Predictive Application Server Cloud Edition Administration Guide for a list of the offline online administration tasks that can trigger this behavior.
During a workspace session that is the session within the login session to expire, users can occasionally see the message, The workbook or wizard process timed out. Please close the workbook tab or wizard dialing and re-open it. In this situation, the user's login session has not expired; the user can reopen the workspace and continue to work.
This can happen for the following reasons:
When the user opens multiple workspace within the same login session and continues to work in one of the workspaces, while leaving the others idle, the idle workspace session may throw an error. The user will see the message, The workbook or wizard process timed out. Please close the workbook tab or wizard dialing and re-open it.
The period of time it takes for the timeout is determined by the environment variable RPAS_REQUEST_TIMEOUT. This variable is either set to eight hours by the application or by an administrator in the backend. This variable assumes that a user can work on a workspace for eight hours continuously.
If there are issues in the workspace itself regarding the performance or operation on the workbook, the user will see the message. Contact the application administrator in this situation.
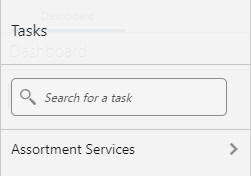
Click Tasks to display the taskflow. You can use the taskflow to navigate through the activities in the application. It provides a pre-configured business workflow organized into activity groups, activities, and tasks.
Each activity group consists of more than one activity, and each activity may consist of one or more tasks. In RPASCE, each solution (spanning across multiple workspaces) is represented by a taskflow.
In the taskflow, you can click the icon > next to any activity group to view the associated activities and tasks.
Click a specific activity group to view the activities associated under the activity group.
When you are working with a specific activity, click the icon > to display the available tasks.
The activities and tasks that appear in the taskflow are access-based. Depending upon the security settings, you may not have access to some tasks or activities. Access to a task is defined by whether you have access to the workspace template that the task is assigned to.
The access to the workspace template is maintained in the Security Administration task. See the Oracle Retail Predictive Application Server Cloud Edition Administration Guide for more information about the Administration tasks. If you do not have access to a workspace template, then you cannot build the workspaces for the associated tasks.
If you do not have administrator access, the Administration activity does not appear in the taskflow.
When working with multiple tasks (workspaces), all the changes you make in a specific task (workspace) are maintained when you move to a different task (workspace). In RPASCE, all changes to a workspace are automatically saved when any calculation or other workspace action is performed on the workspace.
The workspace provides you a personal working copy of data. You can perform large-scale operations such as build, open, refresh, calculate, and commit. Use the workspace to sort, find, format, lock, unlock, and scroll through the page edges.
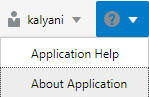
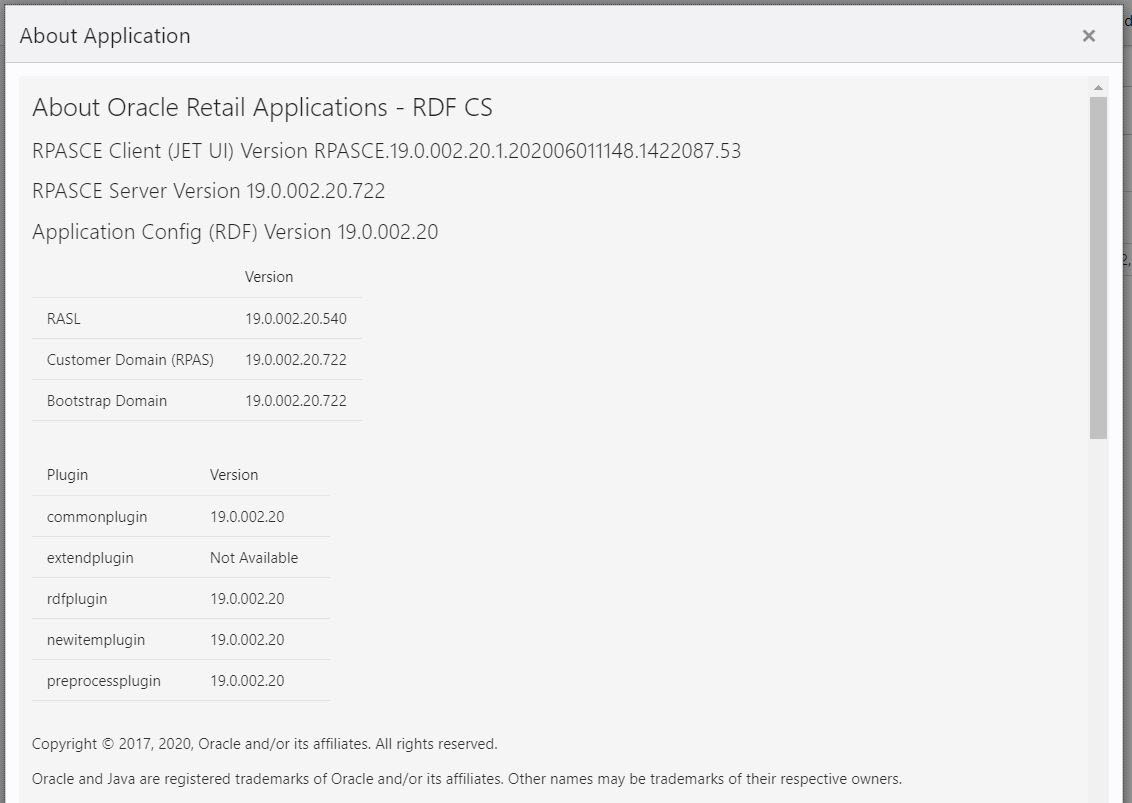
Click the Question Mark icon in the top right and click About Application to access the Version Number and other information.
The About Application Window provides information about the application including version numbers for the domain, RASL, application, and plug-ins. Figure 1-19 shows an example for RDF Cloud Service.
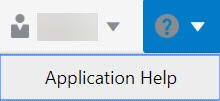
Click the Question Mark icon in the top right, as shown in Figure 1-18. Click Application Help to access the online help.
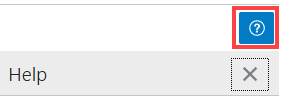
To access the Contextual Help, click the Help icon located in the top right corner of the Mega Menu.
The planner can use Contextual Help to access the various documentations relevant to their business process. Users can link external files which contain customer-specific process flows, user guides, measure calculations, and videos. The customer can update and maintain the required content per the business process.
|
Note: For information about the number of allowed concurrent sessions, see the Oracle Retail Predictive Application Server Cloud Edition Configuration Guide. |
RPAS Cloud Edition includes Oracle Guided Learning (OGL) to provide you in-application guidance to simplify and accelerate your adoption of your Oracle Retail Cloud Service. OGL offers guides tailored to your role and/or experience level. The guides also include helpful information about new features in each cloud update and the ability to provide Oracle feedback through Surveys.
OGL is an Enterprise cloud platform that supports personalized, guided, and contextual user onboarding visualizations. For more information, see the Oracle Guided Learning User Guide at the following URL.
https://docs.oracle.com/en/education/oracle-university/guided-learning/user-guide/
To access guided learning, click the Guided Learning icon.