| Oracle® Retail Advanced Inventory Planning Installation Guide Release 14.1 E56751-04 |
|

 Previous |
 Next |
| Oracle® Retail Advanced Inventory Planning Installation Guide Release 14.1 E56751-04 |
|
Previous |
Next |
This chapter describes how to install the AIP Oracle database server components including:
Perform the following procedure to create the necessary UNIX user accounts:
Create the following UNIX groups:
dba
dev
This account owns the Oracle RDBMS.
Create the following UNIX users, using ksh as the default shell:
oracle - dba group
retail - dev group
|
Note: The Oracle account is used to create the Oracle 12c Release 1 database. The Retail account is the owner of the AIP Oracle files that reside on the UNIX server. |
Perform the following procedure to create the staging directory for your AIP Oracle database server files:
Log on to the UNIX server as the newly created retail user and determine where the AIP Oracle database files will be extracted. There should be a minimum of 18 MB disk space available for the database installation files.
Copy the AIP-online-dbserver-installer.zip file from the CDROM directory to the newly created staging directory.
Change directories (cd) to the staging directory and extract the zip file. This location is referred to as <DBINSTALL_DIR>.
If Oracle 12c is already installed then skip this section. Perform the following procedure to create the Oracle 12c database:
Install Oracle 12c Release 1 (version 12.1.0.1) with the Oracle UNIX account. Oracle 12c can be installed either in clustered topology or as standalone database.
Create a 12c database. Again this can be done either as Oracle Real Application Clusters (RAC) database or as single instance database.
When set up as clustered database, the tnsnames.ora should include all the database connection details.
Refer to Appendix A, "Appendix: Database Parameter File" in this document for sample init.ora files.
If these scripts are not used as a guide, a system tablespace of 500MB is required for each installation of the AIP Oracle schema.
Create the retail_data tablespace and the retail_index tablespace.
Refer to Appendix A, "Appendix: Database Parameter File" in this document for the sample tablespace creation script. The size of these tablespaces vary from client to client. For the initial installation, minimum tablespaces of 500MB are recommended.
A script called create_user.sql in <DBINSTALL_DIR>/AIPOnlineDBServer/aip/utility can be used to create the schema owner. This script prompts you for schema owner name, password, and a temporary tablespace. This script should be run as sys.
Next grant the necessary Java runtime permissions to the schema owner using the following PL/SQL:
dbms_java.grant_permission( '<AIP SCHEMA OWNER>', 'SYS:java.lang.RuntimePermission','accessClassInPackage.sun.misc', '' )
|
Note: It is recommended to create a second database user besides the schema owner to run AIP processes. This user requires access to all tables, views, sequences, packages, functions and procedures belonging to the schema owner through the use of public or private synonyms. Steps 1 and 2 in the following task may be used to create the user and the following additional grants are required:
|
Create the Oracle db user to be used for the AIP Oracle application.
Log on to sqlplus as the user, sys and enter the following commands, replacing the text brackets < > with appropriate names.
SQL> create user <AIP Oracle Schema user> identified by <password> default tablespace retail_data temporary tablespace <temporary tablespace name>;
Log on to sqlplus as the user, sys and grant the Oracle user <AIP Oracle Schema user>, which serves as the user of the database objects, the following permissions:
SQL> grant connect, resource, create view to <AIP Oracle Schema user>;
SQL> alter user <AIP Oracle Schema user> quota unlimited on retail_data;
SQL> alter user <AIP Oracle Schema user> quota unlimited on retail_index;
|
Note: In addition to creating the owner schema with thecreate_ user.sql script, you must explicitly grant the create table privilege to the user. |
|
Note: Before starting the upgrade process, it is important to take a complete backup of the Database. |
Perform the following procedure to install the AIP Oracle Database in patch mode:
Upgrade Oracle Database to version 12.1.0.1.
Check the Database characterset. If it is not AL32UTF8, convert the characterset to AL32UTF8.Refer to "Physical Database Upgrade Requirements."
If you are upgrading from 14.0 to 14.1 or later, skip to Step 4.
This step is needed only if you are upgrading from a release earlier than 14.0 to 14.1 or later.
Rename the tablespace RETEK_DATA to RETAIL_DATA and rename the tablespace RETEK_INDEX to RETAIL_INDEX.
|
Note: Releases 14.0 and later no longer use tablespaces RETEK_DATA and RETEK_INDEX and they should be renamed to RETAIL_DATA and RETAIL_INDEX. It is absolutely essential that a complete backup has been taken before performing this task. |
Connect to the database as sys
Run the command to rename the two tablespaces:
SQL> alter tablespace retek_data rename to retail_data; Tablespace altered.
SQL> alter tablespace retek_index rename to retail_index; Tablespace altered.
You can optionally rename the datafiles to correspond to the newly changed tablespace names but it is absolutely essential to take a full backup before the renaming data files.
AIP Oracle schema owner needs to be granted the create table privilege explicitly.
|
Note: If installing a patch, backup the existing database schema before continuing.Beginning with Release 14.0, you can upgrade directly from 13.2.3 to 14.0 as described in Chapter 7, "Installing AIP RPAS-Upgrade Version." If you are upgrading from an earlier version than AIP release 13.2.3, then the patch install is not cumulative. This means that you first need to apply the previous release patch (or patches one by one) until you are upgraded to AIP release 13.2.3. The full install option should be chosen when there is no previous AIP release already installed. |
Before you run the AIP Oracle Database Schema Installer, make sure you have performed the following:
Set the ORACLE_HOME and ORACLE_SID environment variables with the values for your Oracle RDBMS installation. The oraenv script can be used for this.
Set the NLS_LANG variable for your locale.
Set the CLASSPATH variable to include Oracle 12c client JDBC driver (ojdbc7.jar).
Example:
NLS_LANG=AMERICAN_AMERICA.UTF8; export NLS_LANG
The JAVA_HOME variables are set by the installer based on the ORACLE_HOME that you have defined. In the event that it does not, ensure that your JAVA_HOME is set to 1.7 or later.
In order to override the JAVA_HOME set by the installer to an alternate JAVA_HOME - set the following environment variable prior to running the installer: ORACLE_ALT_JAVA_HOME.
If you are going to run the Installer in GUI mode using an X server, which is the recommended installation method, you need to have the X server extension enabled. This setting is not always enabled by default in your X server. Verify the extension is enabled.
For example, use following command to enable DISPLAY in your X server:
export DISPLAY=<ipaddress>:0 where ipaddress is machine rendering the graphics
Perform the following procedures to use the AIP Oracle Database Schema Installer. Regardless of the RIB version being used, the AIP Oracle Database Schema installation process is identical. Depending on system resources, a typical installation takes anywhere from 2 minutes to 30 minutes.
Procedure to Use the AIP Oracle Database Schema Installer
Change directory (cd) to the <DBINSTALL_DIR>/AIPOnline DBServerdirectory.
Run the following install.sh script to start the Installer.
./install.sh
|
Note: The command must be executed with the preceding period and forward slash (./). |
If this process is being run on an X-Windows emulator (such as Exceed), a graphical user interface (GUI) to the Installer opens. If you are running in console mode through a terminal emulator, the text interface to the Installer opens.
To run the Installer in the GUI mode, which is the recommended installation method, adjust the DISPLAY environment variable. For example use following command to adjust DISPLAY in your X server:
export DISPLAY=<ipaddress>:0
In both cases, the requested information is identical. In the GUI, you may be shown a check box to signal whether you want a component installed; in text mode, you are prompted for a response of true or false.
|
Note: In text mode, the default value appears in square brackets []. To use the default value and continue, press Enter. If you wish to use a different value, enter the new value. When prompted to create a directory, respond with yes and press Enter.Password fields appear masked, but the previous and default values appear in plain text when running in the text mode. |
The Oracle Advanced Inventory Planning - DB Schema Installer Window opens and displays the components that are installed during installation process, as well as the required components. Click Next to continue.
The Full Install or Patch Option Window opens. Choose either the Full or Patch option. Click Next to continue.
|
Note: The patch install option should only be chosen when upgrading from AIP release 13.2.3 or later to the 14.1 release. The full install option should be chosen when there is no previous AIP release already installed. |
The Data Source Details Window opens. Enter the information described in Table 4-1 and click Next.
If running the Full Install, the Data Source Details URL Window opens. Enter the AIP JDBC URL and click Next.
This is the URL that is used by AIP to access the database. The expected format for the field is shown.
|
Note: If you are using an HP 64-bit or a Sun 64-bit server, you must specify the AIP JDBC URL to use the thin driver. |
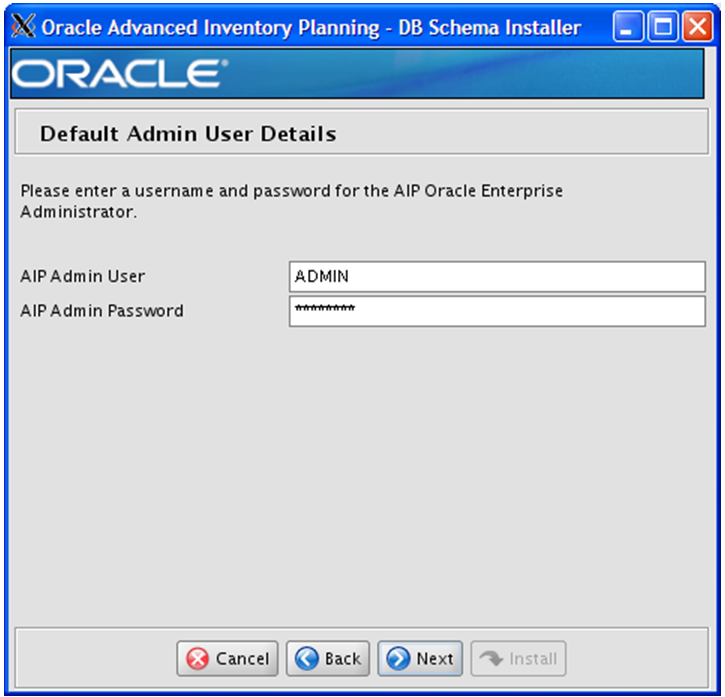
If running the Full Install, the Default Admin User Details opens. Enter the User ID and password for the AIP Oracle Enterprise Administrator and click Next.
The Installation Summary Window opens. Click Next to continue.
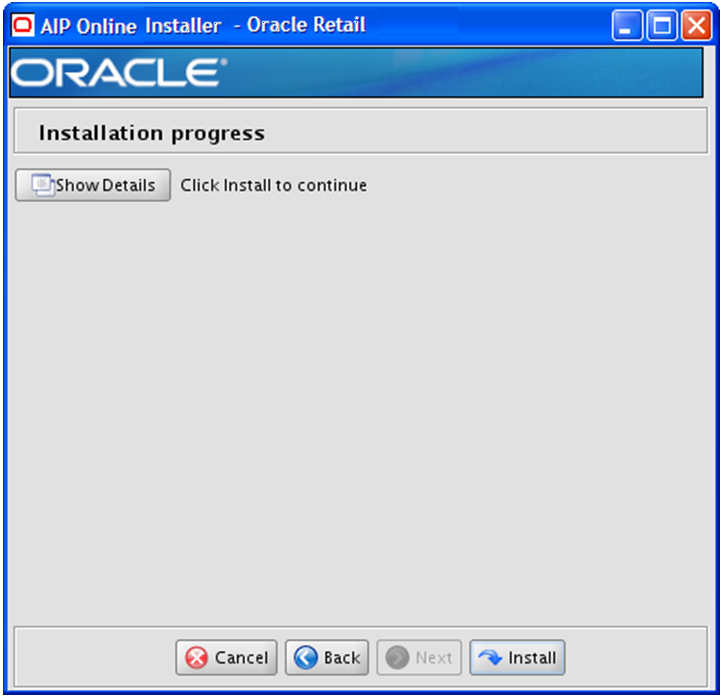
The Installation Progress Window opens. Once you are ready to begin the installation, click Install. This window displays the progress of the installation routine.
Click Show Details to view the log output as the installation is performed. If you do not choose to view the details, a graphical representation of the installation steps appears. You can toggle between detailed mode at any time during or after the installation.
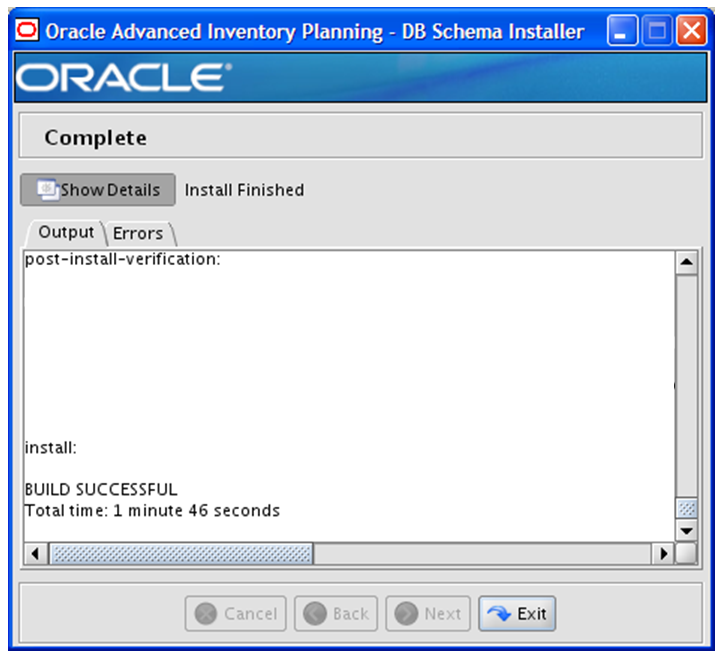
When the installation has finished, the Complete Window opens.
To view the installation details, select Show Details. The window displays two tabs, Output and Errors.
It is recommended that you review these tabs for any issues that may have occurred during the installation process.
When performing a full install and the Installer is complete, a log file and a .dbhistory file appear in the installation directory. The log file is named aip-install-dbschema.<timestamp>.log, where <timestamp> is the date and time you ran the Installer. A .dbhistory file is also created, which contains a list of all the SQL scripts that were run by the installer. A .dberrors file is created if any errors were encountered during full install.
The Installer also generates an ant.install.properties file for future reference and repeat installations. This file contains all inputs you provided in the Installer windows, including passwords. As a security precaution, make sure that the file has restrictive permissions as shown in this example:
Example: chmod 600 ant.install.properties
|
Note: The installer compares the actual database object count with expected object count for several different object types and displays a warning when there is a mismatch.You should review the logs and compare the logs from the actual and expected folders to see if there are schema differences listed in the install.log located under <Db install >AIPOnlineDBServer/aip/db_verification/. It is okay if the actual count is greater than the expected count. This could happen due to temporary internal objects being created by database during installation or if there were non-AIP objects present in the schema. |
Open the installation log file and record the database settings displayed at the end of the Installer log file, aip-install-dbschema.<timestamp>.log. You will need this information when performing the AIP Application Installation.
Click Exit to close the Installer.
If the database schema installer encounters any errors, it prints to the window which SQL script it was running when the error occurred. It also writes the path to this script to the .dberrors file. When this happens, you must run that particular script using sqlplus. After you are able to complete execution of the script, delete the .dberrors file and run the Installer again. You can run the installer in silent mode so that you don't have to retype the settings for your environment. Refer to "Reinstalling in Silent Mode" of this guide for instructions on silent mode.
Refer to "Troubleshooting" for a list of common installation errors.
Subsequent executions of the Installer skips the SQL scripts that have already been executed in previous Installer runs. This is possible because the Installer maintains a .dbhistory file with a listing of the SQL scripts that have been run. If you have dropped the AIPOnline schema and want to start with a clean install, you can delete the .dbhistory file so that the Installer runs through all of the scripts again. It is recommended that you allow the Installer to skip the files that it has already run.
When running the installer to upgrade existing database schema to a 14.1.0 level, perform the following steps to fix errors and restart the installer:
Locate the last reported error in log file: upgrade.log
This log file is generated in:
<DBINSTALL_DIR>/AIPOnlineDBServer/aip directory.
Once the error is located, you should examine the source of error in your schema and fix that individual error.
Restart the installer as described in "Running the AIP Oracle Database Schema Installer".
The installer maintains a record of all successfully applied DBC (database change) scripts in upgrade.log file. When installer is restarted after failure, it identifies the already applied scripts from looking at upgrade.log and therefore skips those.
|
Note: You always have the other option of restoring your schema to pre-upgrade state from the database backup (assuming that proper database backup was taken before the upgrade), fixing the individual error and restarting installer. |