| Oracle® Retail Advanced Inventory Planning Installation Guide Release 14.1 E56751-04 |
|

 Previous |
 Next |
| Oracle® Retail Advanced Inventory Planning Installation Guide Release 14.1 E56751-04 |
|
Previous |
Next |
This chapter details the steps needed to do a patch installation of AIP. For information about a full installation, see Chapter 8, "Installing AIP RPAS - Full Version".
|
Note: Beginning with Release 14.0, you can upgrade directly from 13.2.3 to 14.0 as described in this chapter.If you are upgrading from an earlier version than AIP release 13.2.3, then the patch install is not cumulative. This means that you first need to apply the previous release patch (or patches one by one) until you are upgraded to AIP release 13.2.3. |
The AIP RPAS Installer is an installation wizard that installs the following AIP RPAS components:
AIP RPAS batch components (binaries, libraries, XML files, shell scripts)
AIP RPAS Domain configuration and sample hierarchy data
RMS-AIP Integration transformation files (shell scripts, schema files)
AIP RPAS environment variables, including the AIP RPAS domain path
Before starting the AIP Installer, the following software must be installed on your system:
RPAS 14.1.0, which includes RPAS Server and RPAS Configuration Tools. Refer to the Oracle Retail Predictive Application Server documentation for information on installing and administering RPAS.
Java Development Kit (JDK) 1.7
unzip utility (on UNIX)
|
Note: Solaris and HP Itanium do not release separate 32-bit and 64-bit versions of Java. Therefore, you must set the 64-bit Configuration Tools environment variable for Java as shown:
|
Prior to running the AIP Installer, ensure that all of the following tasks have been completed.
AIP hot-fix instructions directed customer to backup certain files before applying the hot-fix. Ensure these backup files are not located inside the AIP domain directory structure. Extra files in the $AIPDOMAIN/repos or $AIPDOMAIN/installs directory trees may cause patch failure.
Perform a backup of the current domain and RPAS environment ($RPAS_HOME) before attempting to install the patch. If any problems arise during the patch install, restore your backup data, fix the issue, and re-install the patch.
Locate and extract AIP-rpas-installer.zip into a newly created staging directory, which is referred to as [AIP_Installer].
If you have customized the AIP RPAS domain (hierarchies, measures) configuration, then these customizations must be merged into the new configuration delivered with this patch. To merge your current AIP RPAS definitions customizations into the AIP 14.1 RPAS configuration, perform the following procedure.
|
Note: Prior to using the layered configurations tool to merge your changes on the RPAS-side for patching, you need to make adjustments to your old configuration because of internal name changes. Refer to Appendix C, "Appendix: Configuration Name Changes" for instructions and the name changes. Refer to the Oracle Retail Predictive Application Server documentation for additional information. |
Change the directory to:
[AIP_Installer]/aip/[platform]/env/AIP_INSTALL/
Where [platform] is one of the following:
AIX 7.1
Linux
HP-UX
SunOS
To extract the AIP 14.1 RPAS definitions configuration, execute the following command from $AIP_INSTALL:
$ tar -xf configuration.tar
Refer to the Oracle Retail Predictive Application Server Configuration Tools User Guide to perform the following RPAS definitions customizations as needed on $AIP_INSTALL/configuration:
Add new measures
Add new rule groups
Add new workbooks
Change the hierarchy
|
Note: Do not modify any existing measures, rules groups, or attempt any other customization without consulting with an Oracle Retail Support Representative. |
Repackage the $AIP_INSTALL/configuration.tar:
$ tar -cf configuration.tar configuration
When patching a domain older than AIP Release 13.3, it must first be patched to AIP Release 13.2.3, then the convertDomain utility must be run before running install.sh.
The convertDomain utility creates a new domain that has all the dimensions and measure arrays converted to integer-indexed arrays.
The conversion process creates a new domain based on the source domain provided. Since a new domain is created from the domain and does not replace the source domain, the source domain remains unaffected.
|
Note: Because you are creating a second domain, you must have enough space for the original source domain and the new converted domain. Since workbooks are not converted, you only need the amount of space the source domain uses, minus the space that the workbooks in the source domain use. |
For additional information, refer to the section, ”convertDomain” in either the Oracle Retail Predictive Application Server Administration Guide for the Classic Client or the Oracle Retail Predictive Application Server Administration Guide for the Fusion Client.
Perform the following procedure to run the convertDomain utility:
Perform the procedure described in the previous section, "Extracting the Installer".
Run configTools and then generate the Hierarchy.xml report. For additional information, refer to the section, ”Report Generator” in the Oracle Retail Predictive Application Server Configuration Tools User Guide.
Run config tool on AIP.xml which is available when you extract the installer.
FTP the Hierarchy.xml to the server that is running convertDomain.
Run the convertDomain utility.
Copy the interface directory from the old master domain to the new master domain.
The script aip_env_rpas.sh contains variables which can be customized by the client. When the AIP RPAS Executables and Definitions are upgraded, a new aip_env_rpas.sh from the installer will be copied into the $RPAS_HOME/bin directory, overwriting the previous copy.
Perform the following procedure to merge your customizations:
Change the directory to:
[AIP_Installer]/aip/[platform]/rpas/bin
Where [platform] is one of the following:
AIX 7.1
Linux
HP-UX
SunOS
Merge your customizations into the:
[AIP_Installer]/aip/[platform]/rpas/bin/aip_env_rpas.sh and save.
|
Note: When upgrading to 13.2 or later:One of the changes in AIP 13.2 is the removal of prefixes for measure data containing a string value that is a position of a hierarchy dimension. The script, aip_env_rpas.sh contains several values affected by this. When reintroducing custom values from the backup of aip_env_rpas.sh into AIP 13.2 aip_env_rpas.sh, make note of the SPECIAL_ORDER_CYCLE and CSC_AND_STORE_DIRECT_STRING variables, whose values no longer contain the PFOC and SFMT prefix. Refer to the Oracle Retail Predictive Application Server documentation for information on installing and administering RPAS. |
|
Note: Beginning with Release 14.0, you can upgrade directly from 13.2.3 to 14.0, but you must run the convertDomain utility before upgrading AIP to Release 14.0.Ensure that all of the Pre-Installation Tasks have been completed including RPAS convertDomain and then upgrade AIP as a patch install to 14.0. If you are upgrading from an earlier version than AIP release 13.2.3, then the patch install is not cumulative. This means that you first need to apply the previous release patch (or patches one by one) until you are upgraded to AIP release 13.2.3. |
Perform the following procedure to run the AIP Installer.
|
Note: This product's installer includes Ant. If Ant is already installed on your system and is version 1.6.5 or earlier, then you must rununset ANT_HOME on the command line to ensure that the installer uses the included version. The unset ANT_HOME command must be run before ./install.sh. |
Make sure you have run the retaillogin.ksh script or set up RPAS_HOME and RIDE_HOME properly. The package contents will be installed to those locations during the installation process.
Change to the root of the [AIP_Installer]/aip directory and run the installer by entering the following commands:
cd [AIP_Installer]/aip
./install.sh
|
Note: The command must be executed with the preceding period and forward slash (./). |
If this process is being run on an X-Windows emulator (such as Exceed) you will be presented with a graphical user interface to the Installer. If you are running in console mode through a terminal emulator, you will be presented with the text interface to the installer.
To run the Installer in the GUI mode, which is the recommended installation method, adjust the DISPLAY environment variable. For example use following command to adjust DISPLAY in Exceed:
export DISPLAY=<ipaddress>:0
In both cases, the requested information will be identical, but displayed differently. In the GUI, you may be shown a check box to signal whether you want a component installed. In text mode, you will be prompted for a response of yes or no.
|
Note: In text mode, the default value will appear in square brackets. To use the default value and continue, press Enter. If you want to use a different value, enter the new value. When prompted to create a directory, respond with yes and press Enter. |
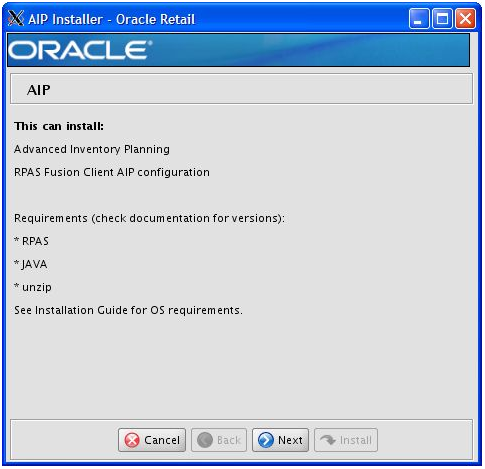
The AIP Installer Window opens and displays the AIP requirements, which you should already have installed. If you have not installed these items, perform the necessary installations before continuing.
Click Next to continue.
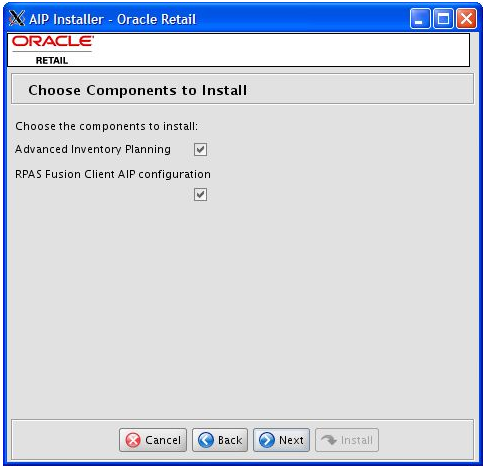
The Choose Components to Install Window opens.
Select one or both of the following options:
Advanced Inventory Planning– Select this option to install the Advanced Inventory Planning solution with the domain.
RPAS Fusion Client AIP configuration – Select this option to install the RPAS Fusion Client AIP configuration.
| If You Are... | Then... |
|---|---|
| Not installing the RPAS Fusion Client AIP configuration. | Clear the RPAS Fusion Client AIP configuration check box and skip Steps 8 and 9. |
| Not installing the AIP solution, but are installing the RPAS Fusion Client AIP configuration. |
|
Click Next to continue.
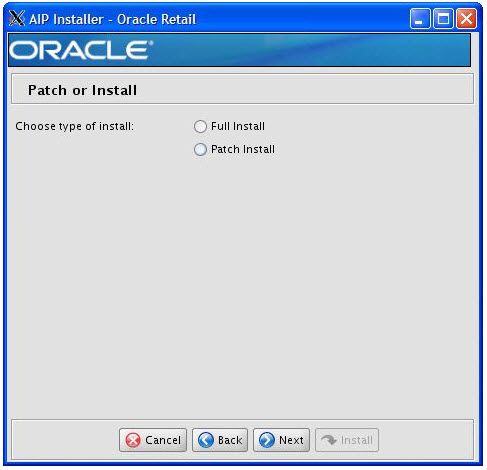
The Patch or Install Window opens.
Select Patch Install to install AIP when you have a pre-existing environment. Click Next to continue to the Patching Details Window.
The Patching Details Window opens and allows you to set the path to your domains and select installation options which performs a patch installation over an existing AIP installation and any existing AIP domains.
Enter the path in the Select File box, select any options as shown in Table 7-1 and click Next to continue to the Installation Progress Window.
Table 7-1 Patching Details Fields
| Patching Details Fields | Description |
|---|---|
|
Select File box |
Enter the absolute path to a master domain or an absolute path to a file that contains a domain list. |
|
Skip RPAS Overlay |
When checked, patching skips the RPAS_HOME overlay application. |
|
Skip ConfigTools Overlay |
When checked, patching skips the RIDE_HOME overlay application. |
|
Force Patch Reapplication |
Select this check box when you are reapplying this patch. |
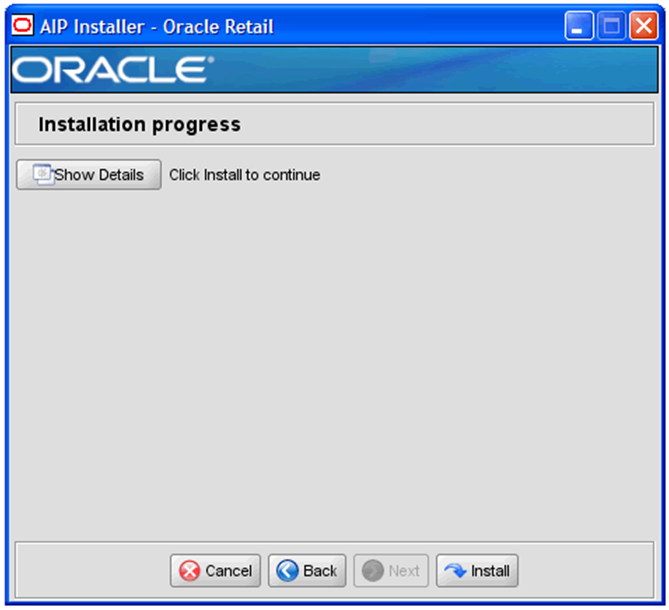
The Installation Progress Window opens.
To display the progress of the components and tasks being performed by the AIP Installer, click Show Details. Click Install to start the installation process.
The Fusion Location Information Window opens.
Enter the number of servers running the RPAS Fusion Client where you want to install the RPAS Fusion Client AIP configuration. If the RPAS Fusion Client is running on a single server, enter 1. If you have a clustered installation, you can enter up to four servers.
Enter the host name and port number of the RPAS server.
Click Next to continue.
|
Note: The Fusion Location Information screens open when you select the RPAS Fusion Client configuration check box on the Choose Components to Install Window.If you are not installing the RPAS Fusion Client configuration, proceed to step 10. |
Based on the number of servers you entered, the Fusion Location Information Window opens with the following set of fields for each server configuration:
Hostname or IP – enter the host name or IP address of the server where the RPAS Fusion Client is installed.
Configuration Directory – enter the location of the config directory available at the location where the RPAS Fusion Client is installed.
Login username – enter the user name to log on to the server where the RPAS Fusion Client is installed.
Login password – enter the password associated with the user name.
Login username alias – specify an alias name for the administrative user. Specifying an alias name for the administrative user enhances the security for the application. When left blank, the alias name defaults to the administrative user name.
Click Next to continue.
|
Note: Information such as user credentials for the RPAS Fusion Client is encrypted and stored in a secure location in the application installation directory. This location is called the Oracle Wallet.When the installation starts, the administrative user credentials are retrieved from the Oracle Wallet based on the alias name specified in this window. |
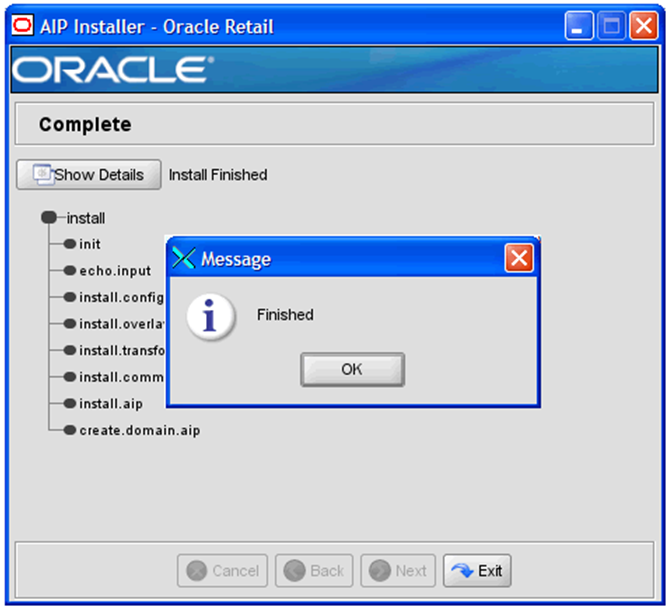
When the installation process is complete, the Complete Window opens with a Message dialog box.
|
Note: The installation process can vary depending on your environment. Installation time might take 30 to 60 or more minutes, depending on your server. |
Click OK to close the dialog box.
Review the installation details.
To view the installation details, select Show Details. The window displays two tabs:
Output
Error
It is recommended that you review these tabs for any issues that may have occurred during the installation process.
If you wish to view the log again at a later date, a text copy was saved in the directory[AIP_Installer]. The log file will be named based on the product, aip, and a timestamp, followed by the .log extension.
Click Exit to close the AIP Installer window.