| Oracle® Retail Advanced Inventory Planning Installation Guide Release 14.1 E56751-04 |
|

 Previous |
 Next |
| Oracle® Retail Advanced Inventory Planning Installation Guide Release 14.1 E56751-04 |
|
Previous |
Next |
This chapter details the steps needed to do a full installation of AIP. For information about a patch installation, see Chapter 7, "Installing AIP RPAS-Upgrade Version".
|
Note: A full installation of AIP should only be performed when there is no previous AIP release already installed. |
The AIP RPAS Installer is an installation wizard that installs the following AIP RPAS components:
AIP RPAS batch components (binaries, libraries, XML files, shell scripts)
AIP RPAS Domain configuration and sample hierarchy data
RMS-AIP Integration transformation files (shell scripts, schema files)
AIP RPAS environment variables, including the AIP RPAS domain path
Before starting the AIP Installer, the following software must be installed on your system:
RPAS 14.1.0, which includes RPAS Server and RPAS Configuration Tools. Refer to the Oracle Retail Predictive Application Server documentation for information on installing and administering RPAS.
Java Development Kit (JDK) 1.7
unzip utility (on UNIX)
The AIP RPAS Installer includes an option for building an AIP RPAS domain. By default, this domain will be created on the sample hierarchy included in the AIP Installation. The Oracle Retail Advanced Inventory Planning Implementation Guide contains instructions for creating a domain that is built on top of non-sample, in-house customer hierarchy data.
|
Note: Solaris and HP Itanium do not release separate 32-bit and 64-bit versions of Java. Therefore, you must set the 64-bit Configuration Tools environment variable for Java as shown:
|
Before running this installer, consider whether you are ready to build your production domain. If you are, refer to the ”Building a Production AIP RPAS Domain” chapter of the Oracle Retail Advanced Inventory Planning Implementation Guide for alternate AIP RPAS domain build instructions.
Perform the following procedure to run the AIP Installer:
Locate and extract AIP-rpas-installer.zip into a newly created staging directory, which is referred to as [AIP_Installer].
Make sure you have run the retaillogin.ksh script or set up RPAS_HOME and RIDE_HOME properly. The package contents will be installed to those locations during the installation process.
Begin the Installer by changing to the root of the <AIP_Installer/aip> directory and by running the following command: ./install.sh
|
Note: The command must be executed with the preceding period and forward slash (./). |
If this process is being run on an X-Windows emulator (such as Exceed) you are presented with a graphical user interface to the Installer. If you are running in console mode through a terminal emulator, you are presented with the text interface to the installer.
To run the Installer in the GUI mode, which is the recommended installation method, adjust the DISPLAY environment variable. For example use following command to adjust DISPLAY in Exceed:export DISPLAY=<ipaddress>:0
In both cases, the requested information will be identical, but displayed differently. In the GUI, you may be shown a check box to signal whether you want a component installed. In text mode, you are prompted for a response of yes or no.
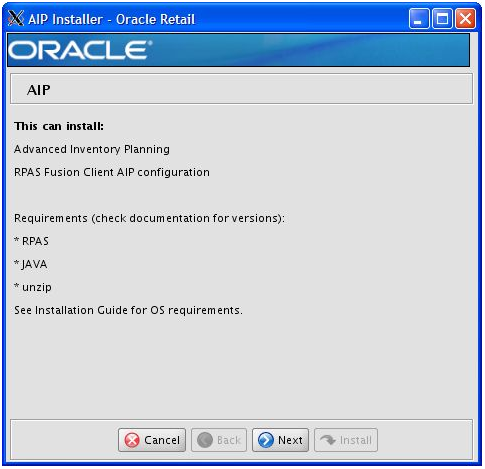
The AIP Installer Window opens and displays the AIP requirements, which you should already have installed. If you have not installed these items, perform the necessary installations before continuing. Click Next to continue to the Choose Components to Install Window.
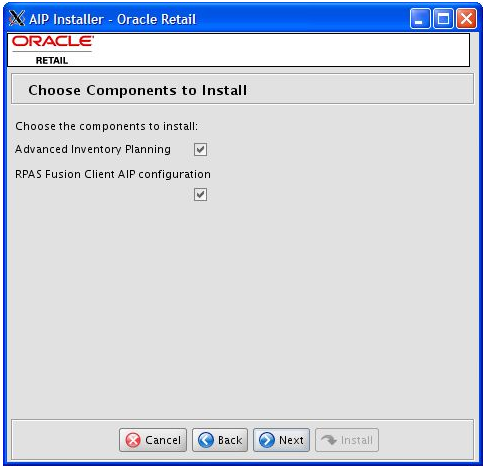
The Choose Components to Install Window opens.
Select one or both of the following options:
Advanced Inventory Planning– Select this option to install the Advanced Inventory Planning solution with the domain.
RPAS Fusion Client AIP configuration – Select this option to install the RPAS Fusion Client AIP configuration.
| If You Are... | Then... |
|---|---|
| Not installing the RPAS Fusion Client AIP configuration. | Clear the RPAS Fusion Client AIP configuration check box and skip steps 10 and 11. |
| Not installing the AIP solution, but are installing the RPAS Fusion Client AIP configuration. | Clear the Advance Inventory Planning check box and select the RPAS Fusion Client AIP configuration check box. |
Click Next to continue.
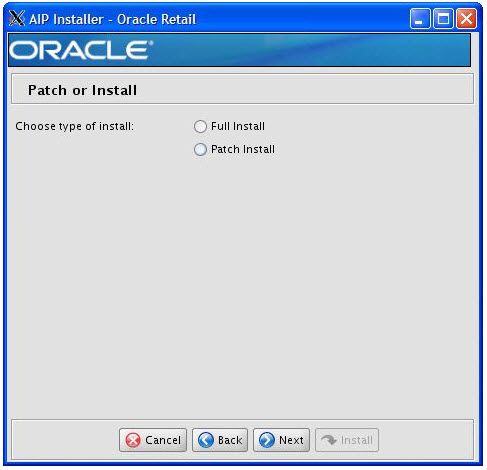
The Patch or Install Window opens.
Select Full Install to install AIP without a pre-existing environment. Click Next to continue to the Base Paths for Solution Window.
The Base Paths for Solution Window opens.
Enter the path information as listed in Table 8-1 and then click Next to continue to the Domain Installation Paths Window.
|
Note: Ensure that the installation paths are located outside of the installer directory [AIP_Installer]. |
Table 8-1 Path Information for the Base Paths for Solution Window
| Path Information | Description |
|---|---|
|
Dir to store configurations |
Enter the target directory for your configurations, or click Select Folder to navigate to the appropriate location. This is the path that will be assigned to the environment variable $AIP_INSTALL. |
|
Dir to store created domains |
Enter the target directory for the domains that will be created by the AIP Installer, or click Select Folder to navigate to the appropriate location. |
|
Dir to store RMS transform files |
Enter the target directory for the RMS transformation files used by AIP, or click Select Folder to navigate to the appropriate location. |
|
Path to retaillogin.ksh script |
Enter the target path where the retaillogin.ksh file resides on your system, or click Select File to navigate to and select the retaillogin.ksh file. The retaillogin.ksh script was created during RPAS installation. The path must include the filename |
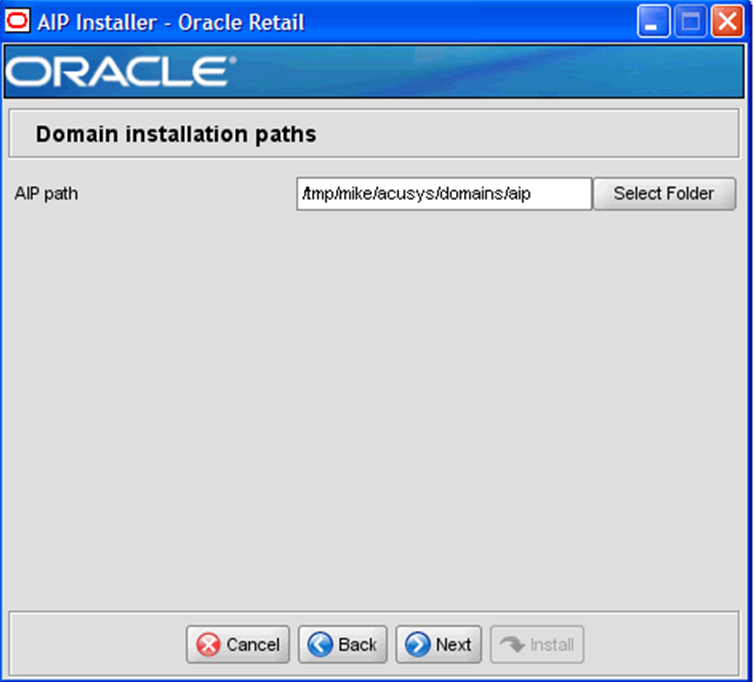
The Domain Installation Paths Window opens.
Enter the path where your AIP domain will be installed, or click Select Folder to navigate to the appropriate location. Click Next to continue to the Install Tasks Window.
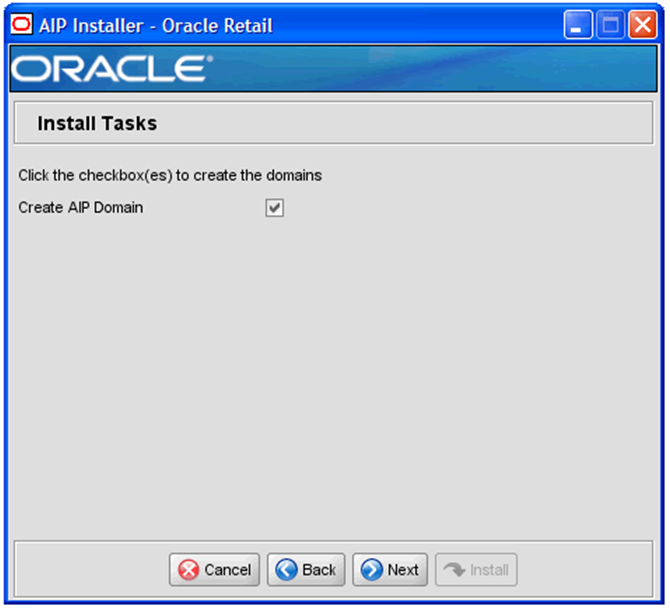
The Install Tasks Window opens. Perform the steps following Figure 8-6 to continue.
| To Create the... | Then... | And... |
|---|---|---|
| AIP domain now | choose the Create AIP Domain option | click Next to continue to the Installation Progress Window. |
| AIP domain later | clear the Create AIP Domain option | click Next to continue to the Installation Progress Window. |
|
Note: The domain build created during this installation will contain sample hierarchy positions. If you want your AIP RPAS domain to be created with your production hierarchy data, then clear the Create AIP Domain option and continue withl the installation. Refer to the Oracle Retail Advanced Inventory Planning Implementation Guide, chapter ”Building a Production AIP RPAS Domain.” |
Created as part of this process is the make_domain.aip file located in the [Configurations Install Dir] entered during the install. This file contains all of the required parameters needed to support the domain install. If necessary this file may be modified if the default parameters are not appropriate for your particular environment.
|
Note: This release of the AIP RPAS configuration is enabled for multi-language capability as a default. This means that the domain build will set up positions in the database arrays into which translated strings may be optionally loaded by the domain administrator at a later time. See the Oracle Retail Application Server Administration Guide for details. |
The Fusion Location Information Window opens.
Enter the number of servers running the RPAS Fusion Client where you want to install the RPAS Fusion Client AIP configuration. If the RPAS Fusion Client is running on a single server, enter 1. If you have a clustered installation, you can enter up to four servers.
Enter the host name and port number of the RPAS server.
Click Next to continue.
|
Note: The Fusion Location Information windows open when you select the RPAS Fusion Client configuration check box on the Choose Components to Install Window.If you are not installing the RPAS Fusion Client configuration, proceed to step 12. |
Based on the number of servers you entered, the Fusion Location Information Window opens with the following set of fields for each server configuration:
Hostname or IP – enter the host name or IP address of the server where the RPAS Fusion Client is installed.
Configuration Directory – enter the location of the config directory available at the location where the RPAS Fusion Client is installed.
Login username – enter the user name to log on to the server where the RPAS Fusion Client is installed.
Login password – enter the password associated with the user name.
Login username alias – specify an alias name for the administrative user. Specifying an alias name for the administrative user enhances the security for the application. When left blank, the alias name defaults to the administrative user name.
Click Next to continue.
|
Note: Information such as user credentials for the RPAS Fusion Client is encrypted and stored in a secure location in the application installation directory. This location is called the Oracle Wallet.When the installation starts, the administrative user credentials are retrieved from the Oracle Wallet based on the alias name specified in this window. |
The Installation Progress Window opens.
To display the progress of the components and tasks being performed by the AIP Installer, select Show Details. Click Install to start the installation process.
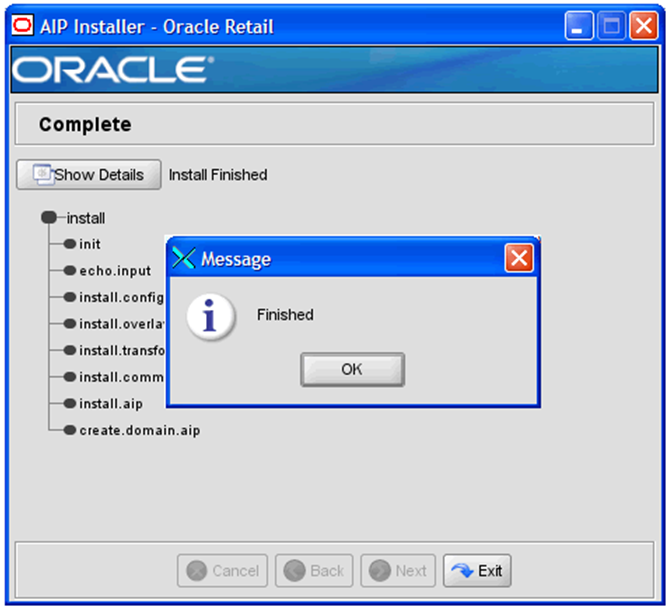
When the installation process is complete, the Complete Window opens with a Message box.
|
Note: The installation process can vary depending on your environment. Installation time might take 30 to 60+ minutes depending on server. |
Click OK to close the dialog box.
Review the installation details.
To view the installation details, select Show Details. The window displays two tabs, the Output tab and the Error tab. It is recommended that you review these tabs for any issues that may have occurred during the installation process.
If you wish to view the log again at a later date, a text copy was saved in the directory[AIP_Installer]. The log file will be named based on the product, aip, and a timestamp, followed by the .log extension.
Click Exit to close the AIP Installer window.