| Oracle® Retail Advanced Inventory Planning Store and Warehouse Replenishment Planning User Guide for the RPAS Fusion Client Release 14.1 |
|

 Previous |
 Next |
| Oracle® Retail Advanced Inventory Planning Store and Warehouse Replenishment Planning User Guide for the RPAS Fusion Client Release 14.1 |
|
Previous |
Next |
This chapter describes how to build these SRP and WRP Workbooks for AIP on the RPAS Fusion client. This chapter is organized by these sections:
This section describes the navigation functionality of the RPAS Fusion Client workbooks including:
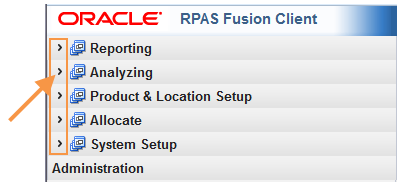
After you log on to the application, a taskflow pane appears that enables you to navigate through the activities and tasks associated with your user account.
|
Note: This procedure outlines the basic steps for opening existing workbooks. For detailed information about building specific SRP and WRP workbooks, see: |
To open a workbook:
On the taskflow pane, click the Expand (>) icon to expand access to the SRP workbooks and WRP workbooks.
On the taskflow pane, click the Show List of Workbooks icon next to the task or step you want. For more information on the taskflow pane, see the section Taskflow Pane Navigation and Functionality.
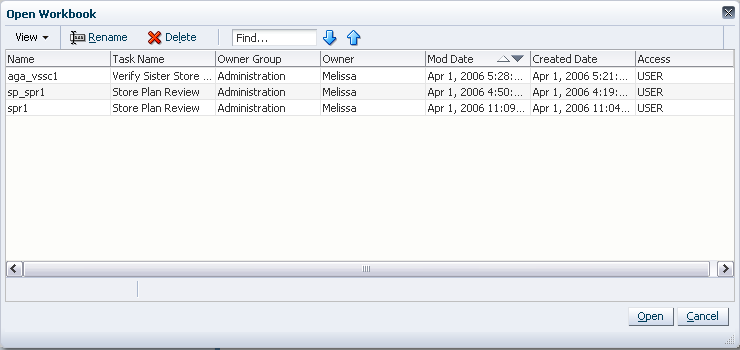
The Open Workbook window opens.
Select the workbook you want, and click Open.
From the list of workbooks, you can delete any workbook you have write access to.
To delete a workbook:
On the Open Workbook window, select the workbook you want.
To delete more than one workbook, hold down the Ctrl key and select the workbooks you want to delete. Or, you can hold down Shift and select a group of workbooks.
Click Delete. A warning message appears.
Review the warning message, and then click Delete to delete the workbooks or click Cancel to cancel this operation.
When saving a workbook (or saving a copy using the Save As command), there are restrictions on the length of the file name and the characters that can be used,
The file name can be a maximum of 32 characters.
The filename can contain the following standard characters:
a - z
A - Z
0 - 9
The filename can contain the following special characters:
.
|
_
-
/
$
&
spaces
Any file name not meeting these conditions results in an error message.
The new workbook wizard also enables you to rename existing workbooks without affecting the data within the workbook or the other workbook information such as the created date, modified date, formatting information and so on.
There are a few key points to know about renaming workbooks:
You can only rename workbooks that you have write access to.
Workbook names can be no more than 32 characters
Workbook names cannot contain double or single quotation marks.
Workbooks cannot be named Untitled. This name is reserved.
To rename a workbook in the new workbook wizard, perform the following steps.
|
Note: You can also rename a workbook from the File menu. |
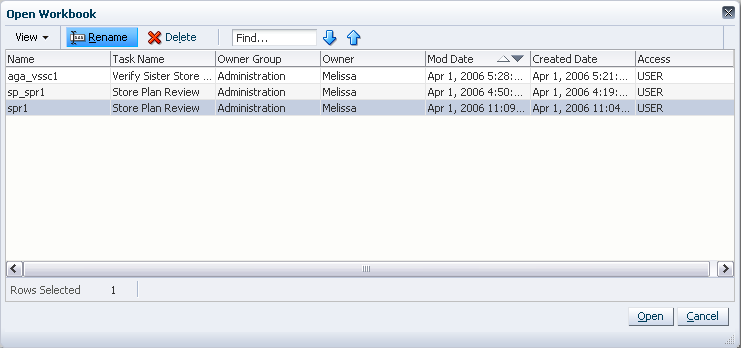
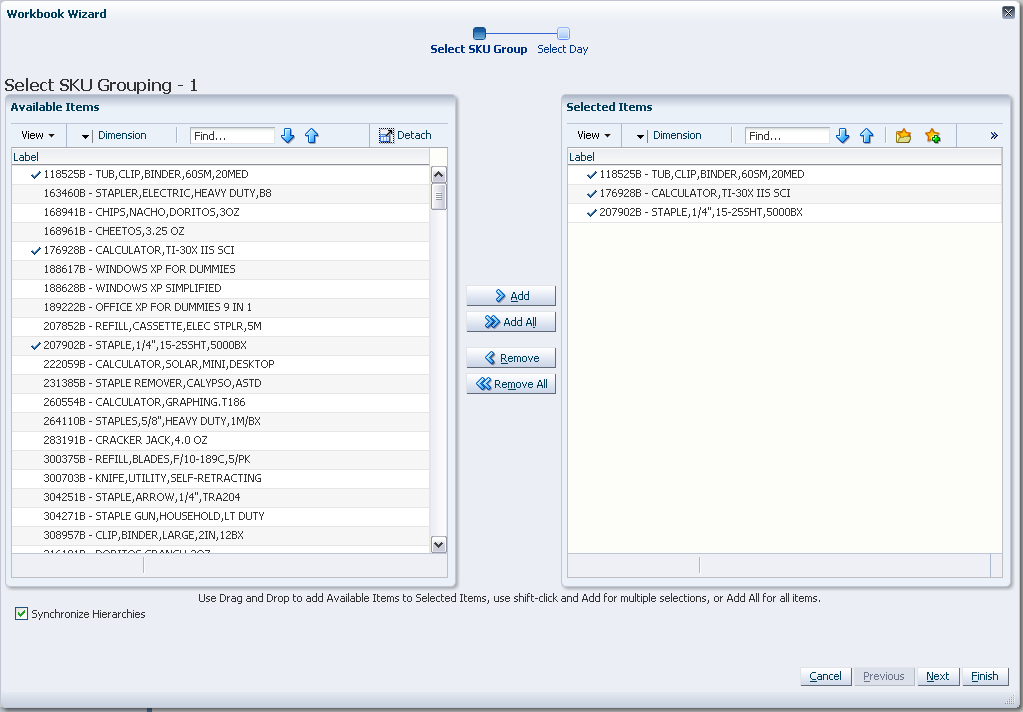
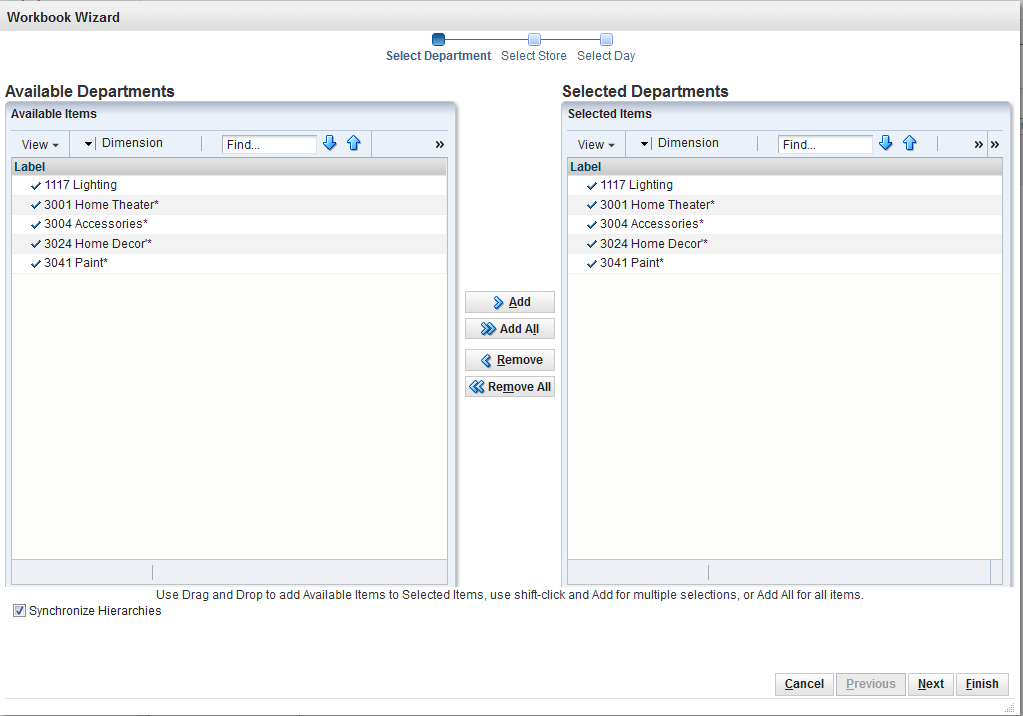
Select the workbook you want to rename from the list. When selected, it becomes shaded, as shown in Figure 5-4.
Click Rename.
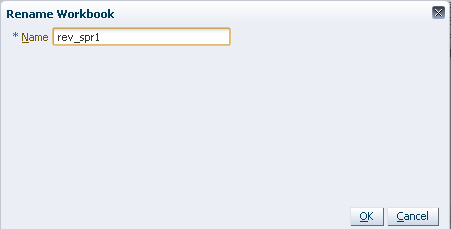
The Rename Workbook dialog box opens. Enter the new name of the workbook and click OK.
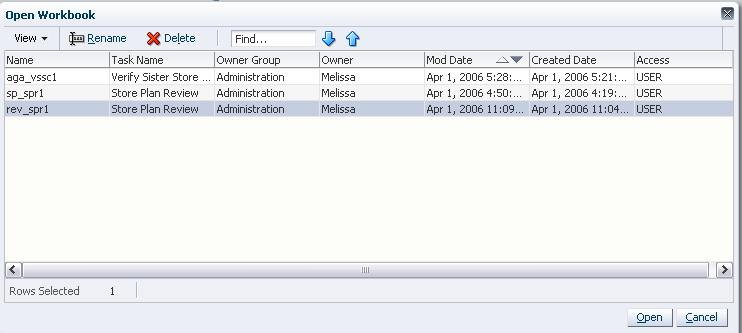
The renamed workbook appears in the workbook list.
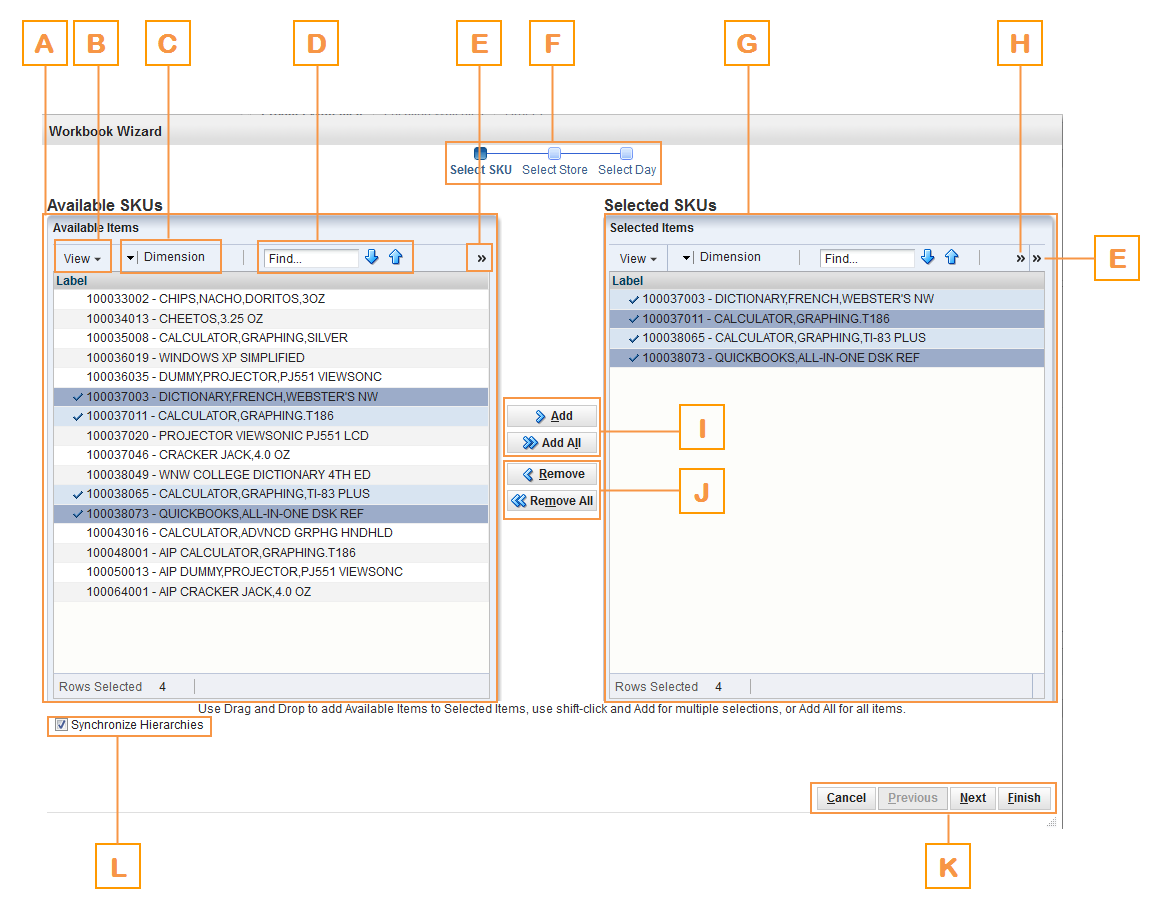
Figure 5-7 highlights the various components of the workbook wizard window.
Table 5-1 describes the components of the workbook wizard window.
Table 5-1 Workbook Wizard Window User Interface Components
| Legend | Wizard Name | Position | Description |
|---|---|---|---|
|
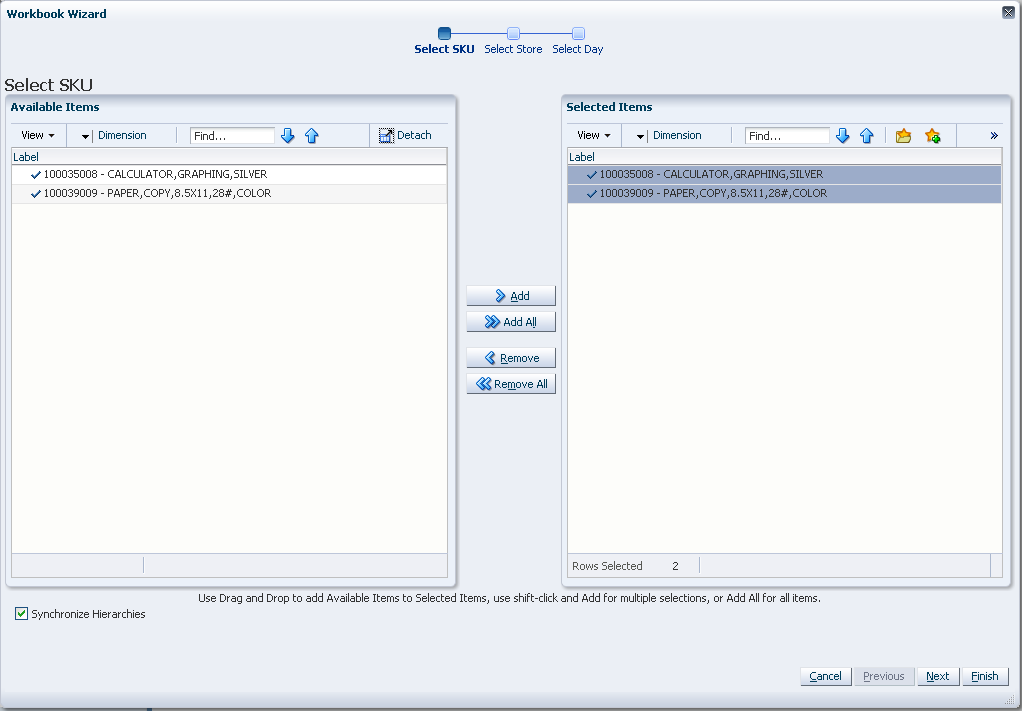
A |
Available Items pane |
Center Left |
Displays the positions that are available for you to select. |
|
B |
View menu |
Center Left, within the Available Items pane |
Provides options for viewing the available positions. You can adjust the column setting, detach the list to view it in a larger window, expand or collapse the positions, or scroll to the beginning or end of the list. |
|
C |
Dimension menu |
Center Left, within the Available Items pane |
Opens the Dimension options window where you can select the levels of the dimension you want to view in the Available Items list. You can also select the attributes that you would like to see and sort by in the list. |
|
D |
Find field, Previous |
Center Left, within the Available Items pane |
Enables you to identify the positions with the keywords you entered in the Find field. Use the Previous and Next arrows to navigate between the workbooks matching the search pattern. The search is not case-sensitive. |
|
E |
Detach arrow |
Left corner of the Available Items and Selected Items panes |
This arrow accesses the Detach button shown in Figure 5-8 Click Detach to view the list of positions in a larger window. |
|
F |
Wizard Taskflow |
Top Center |
Displays the steps in the wizard process and shows you where you are within that process. The wizard taskflow is configured in the RPAS Configuration Tools. For more information, see the RPAS Configuration Tools User Guide. |
|
G |
Selected Items pane |
Center Right |
Displays the positions you selected. It also includes a toolbar that enables you to perform various functions. |
|
H |
Load Favorite and Save Favorite arrow |
Center Right, within the Selected Items pane |
This arrow accesses the Load Favorite and Save Favorite icons shown in Figure 5-9 and Figure 5-10. The Load Favorite icon enables you to select a previously saved group of positions to load into the workbook. The Save Favorite icon enables you to save the positions you have selected as group. The next time you build a new workbook, you can select and load that group rather than choosing the same positions individually again. |
|
I |
Save Favorite icon |
Center Right, within the Selected Items pane |
The Save Favorite icon enables you to save the positions you have selected as group. The next time you build a new workbook, you can select and load that group rather than choosing the same positions individually again. |
|
J |
Add and Add All icons |
Center |
Enables you to add positions that are selected in the Available Items pane. To add all positions in the Available Items pane, click the Add All icon. |
|
K |
Remove and Remove All icons |
Center |
Enables you to remove positions in the Selected Items pane. To remove all positions in the Selected Items pane, click the Remove All icon. |
|
L |
Wizard Navigation icon |
Bottom Right |
Enables you to navigate from one wizard page to another. Once you have made the selections for the workbook and clicked Finish, the workbook builds with the selected positions. |
|
M |
Synchronize Hierarchies check box |
Bottom Left |
When selected, the shown levels within the Selected Items pane match the ones in the Available Items pane. This is selected by default. |
This section describes how to begin building SRP and WRP workbooks for AIP on the RPAS Fusion client.
To begin building a workbook:
On the taskflow pane, click the Expand (>) icon to expand access to the SRP workbooks and WRP workbooks.
On the taskflow pane, click the Create New Workbook icon next to the task or step you want. For more information on the taskflow pane, see the section Taskflow Pane Navigation and Functionality.
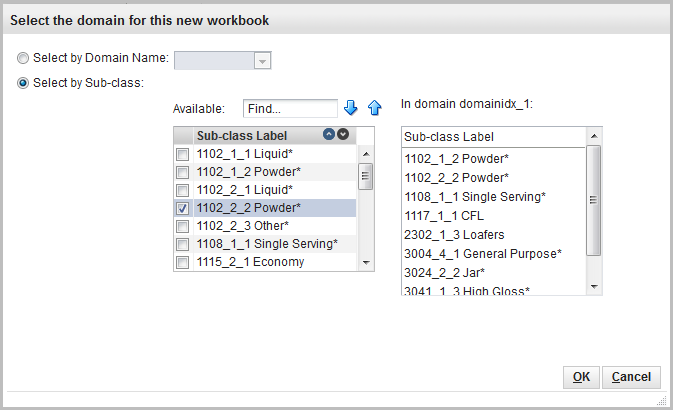
The Select Domain window opens and allows you to choose the domain for the new workbook from either the:
Domain Name
Subclass Label
If you know your domain, then select the Domain Name option. Click the drop-down arrow to reveal the list of domains and use your pointer to select the domain.
If you do not know your domain, then select the Subclass Label option. You can use the Find box and sort arrows to locate the desired Sub-class and then select its check box. The domain is chosen based on your Sub-class selection.
Click OK. The workbook wizard opens for your selected workbook.
|
Note: Specific instructions for building each workbook are found in the following sections: |
This section describes how to build these Reporting activity workbooks for AIP on the RPAS Fusion client that include:
Table 5-2 lists the tasks, steps and views for the Reporting Activity workbooks.
Table 5-2 Reporting Activity Workbooks: Tasks, Steps, and Views
To build the Store Replenishment Plan (SRP) Evaluation workbook, perform these steps:
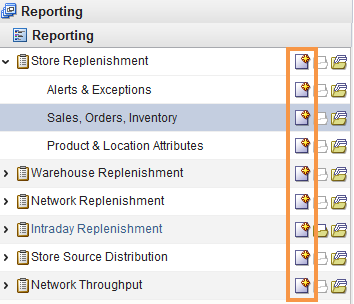
From the taskflow pane, select Reporting, then Store Replenishment and then click the Create New Workbook icon from any of the steps.
|
Note: You must select a domain before the workbook wizard opens. Refer to the section, Begin Building New Workbooks, for additional information. |
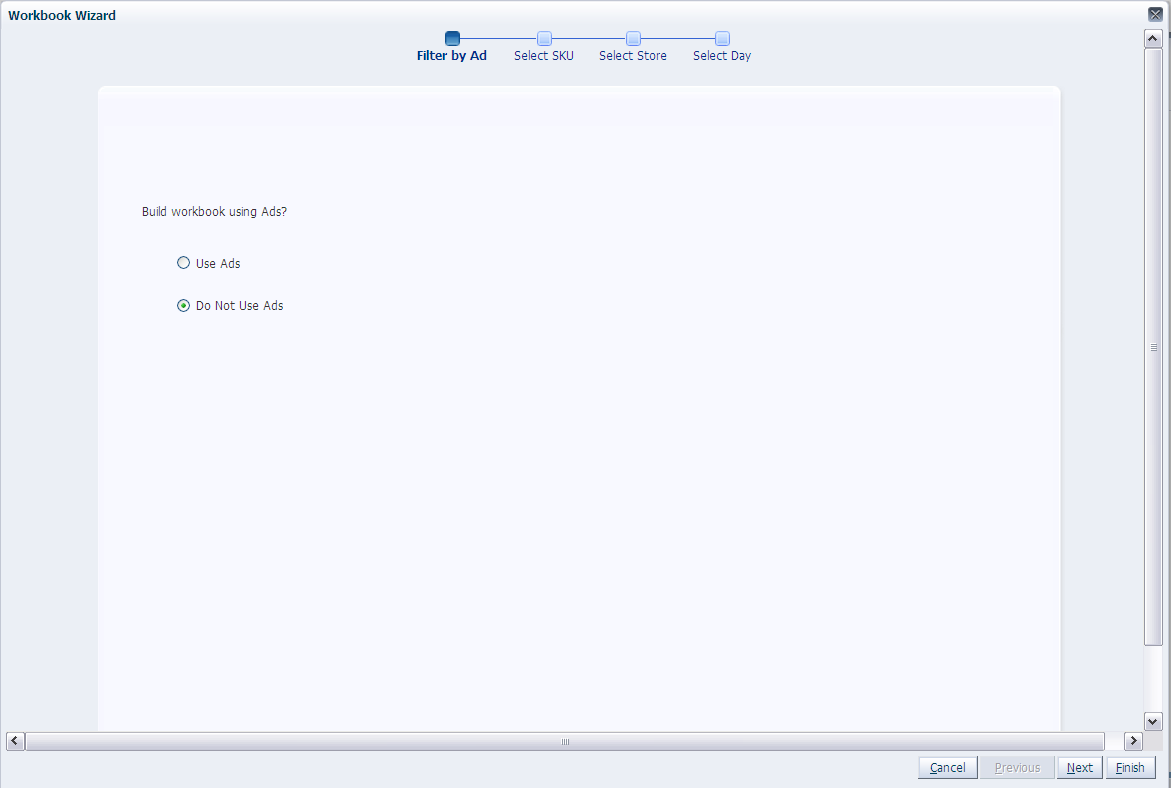
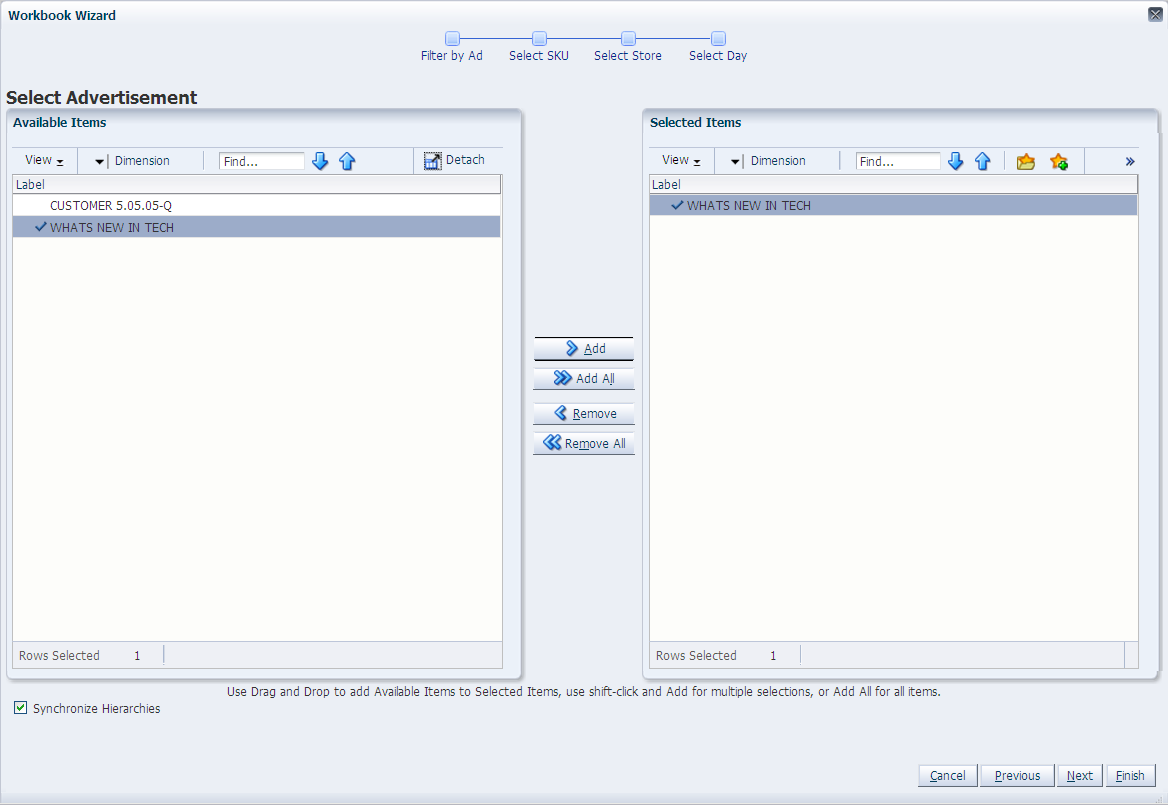
The wizard allows you to choose whether or not to base the workbook selections on an ad. The wizard selection defaults to Do Not Use Ads.
|
Note: The wizard page, ”Filter by Ad” appears only when the Store Ads measure is populated or when ads exist for SKUs within your security level. The Store Ads measure is a Boolean measure at sku/str/ad. If this wizard page is not available, then skip to select from the Available SKUs as shown in Step 4. |
This wizard lists all Ads for a SKU/Store combination in the AIP domain. Standard RPAS functionality is available for this wizard. Select the Ads you want to work with and click Next.
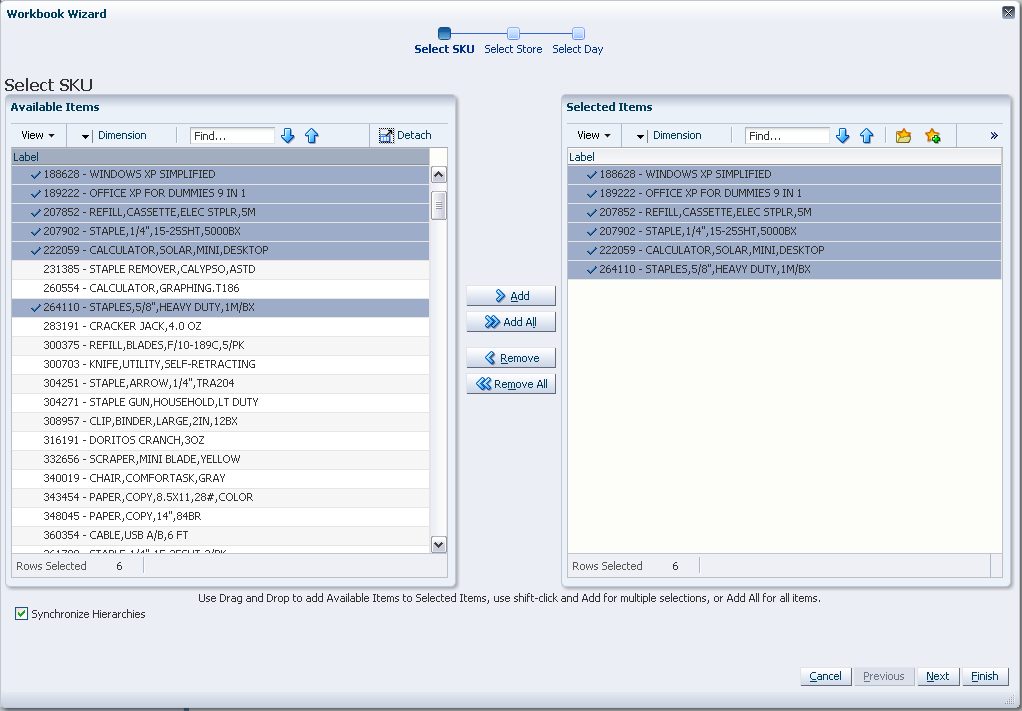
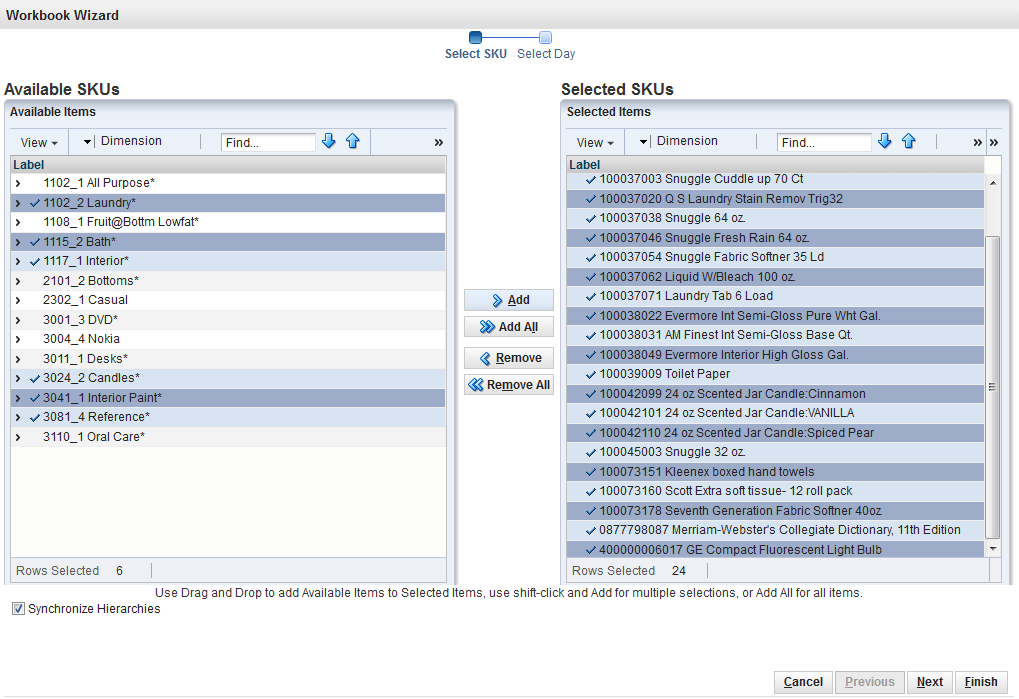
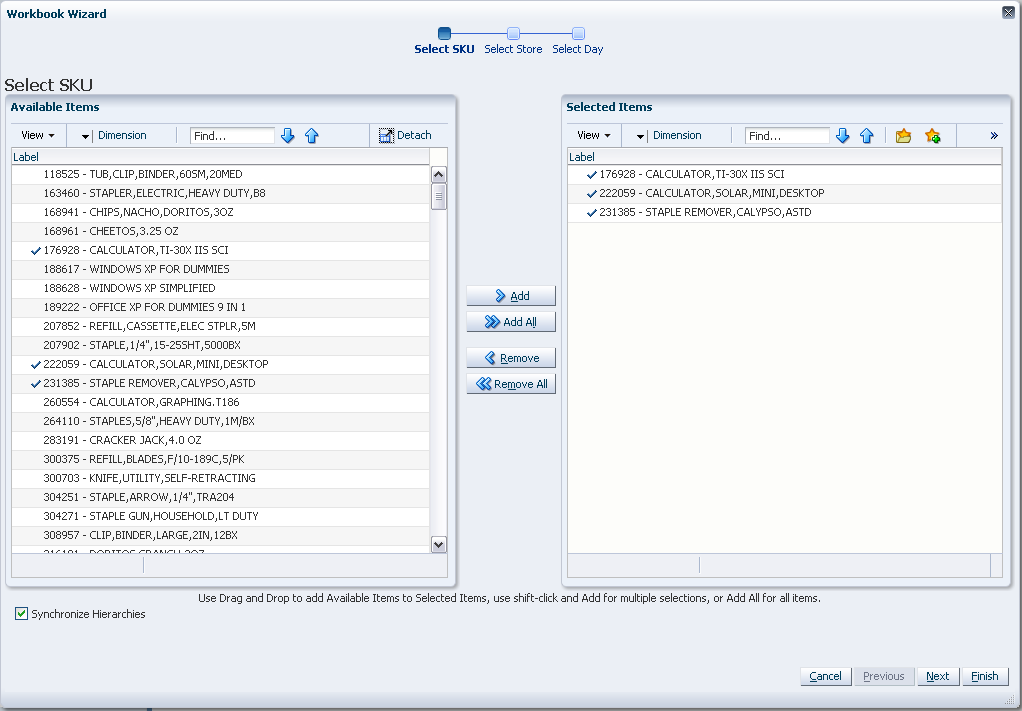
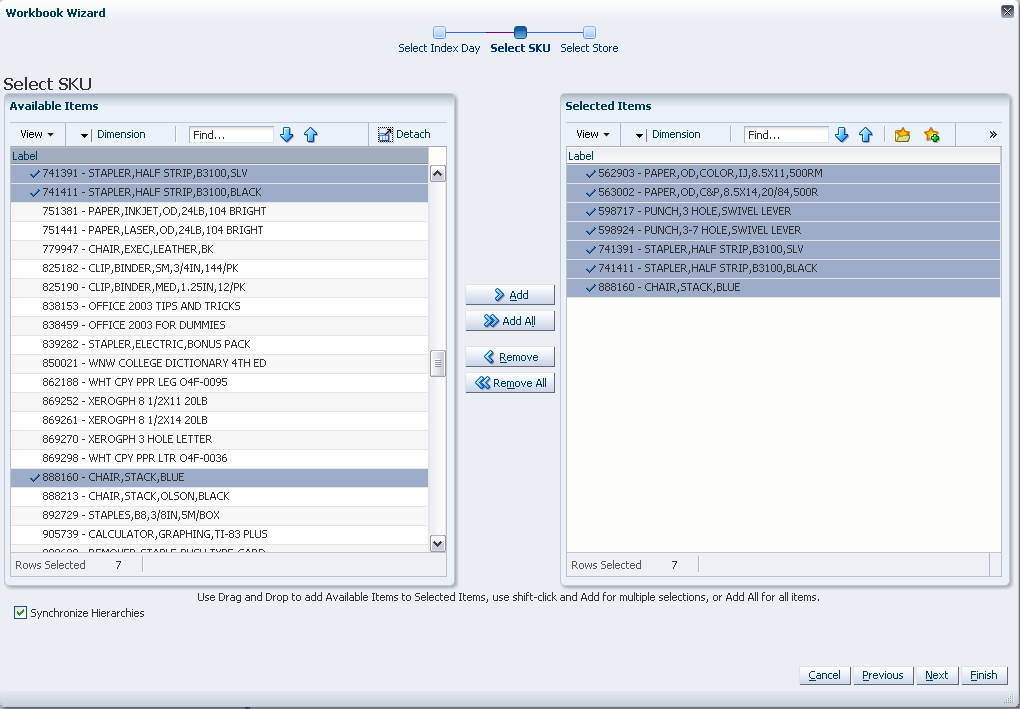
The wizard lists all active SKUs in the AIP domain. A SKU is considered active if, for at least one SKU-pack-size at a particular destination, the lead time is >= 0 for any source on any day within the scheduled horizon. Select the SKUs you want to work with and click Next.
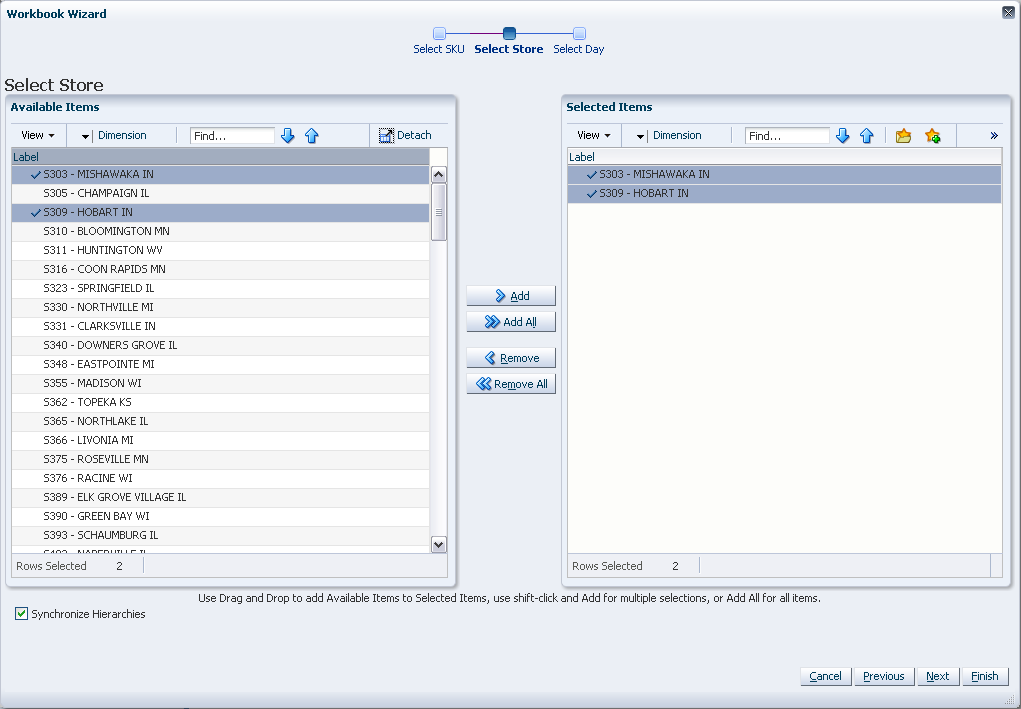
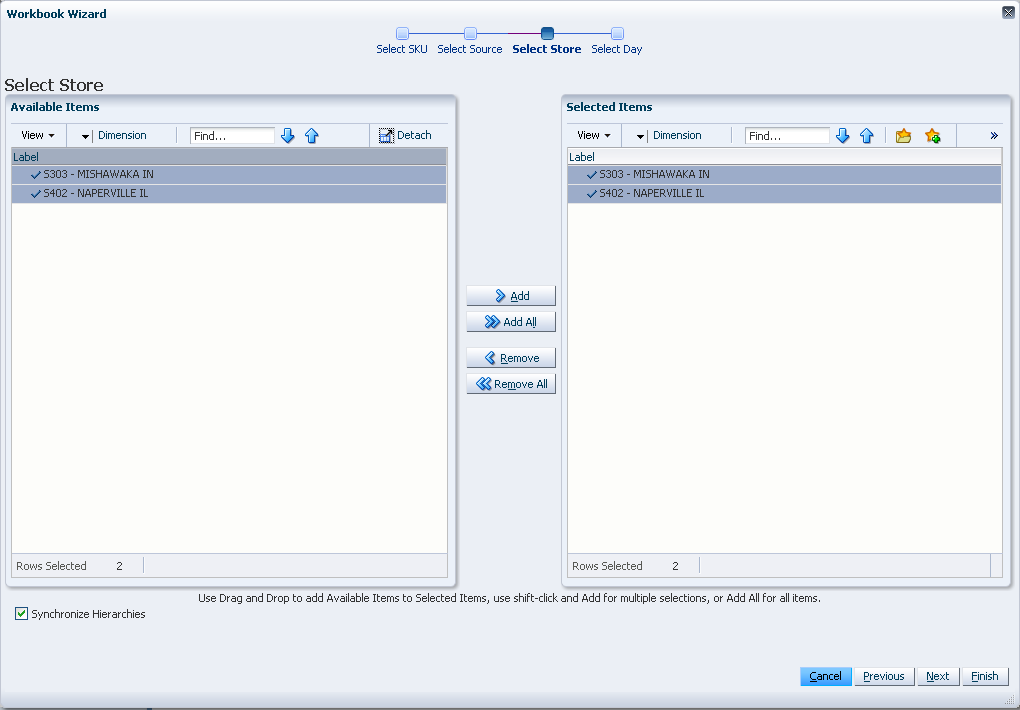
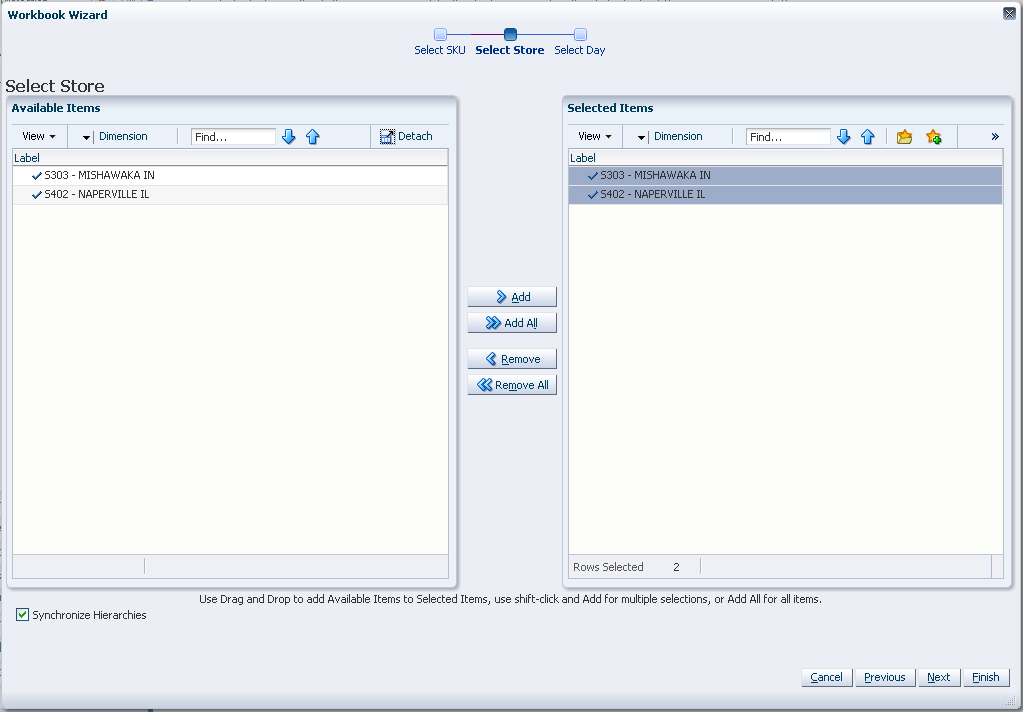
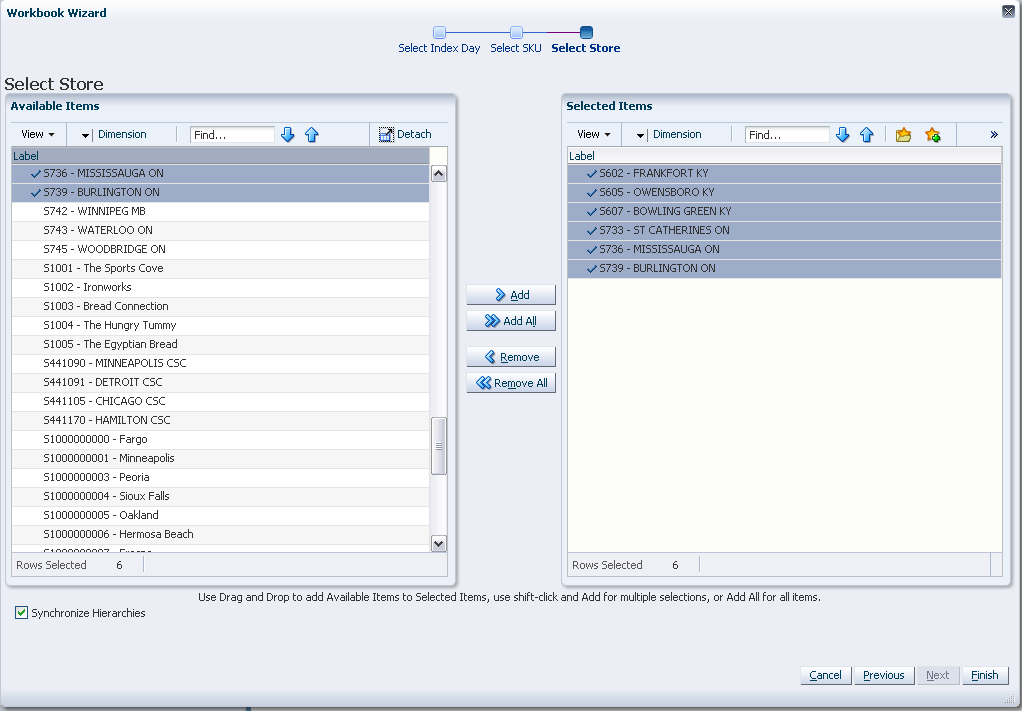
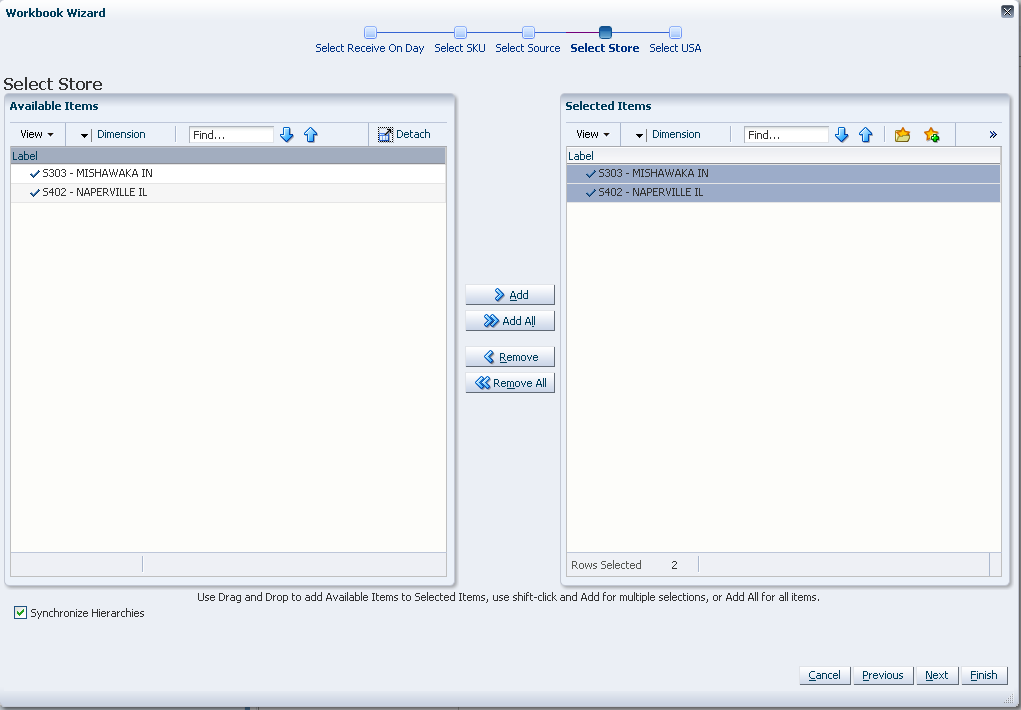
The wizard lists all stores in the AIP domain. Standard RPAS functionality is available for this wizard. Select the stores you want to work with and click Next.
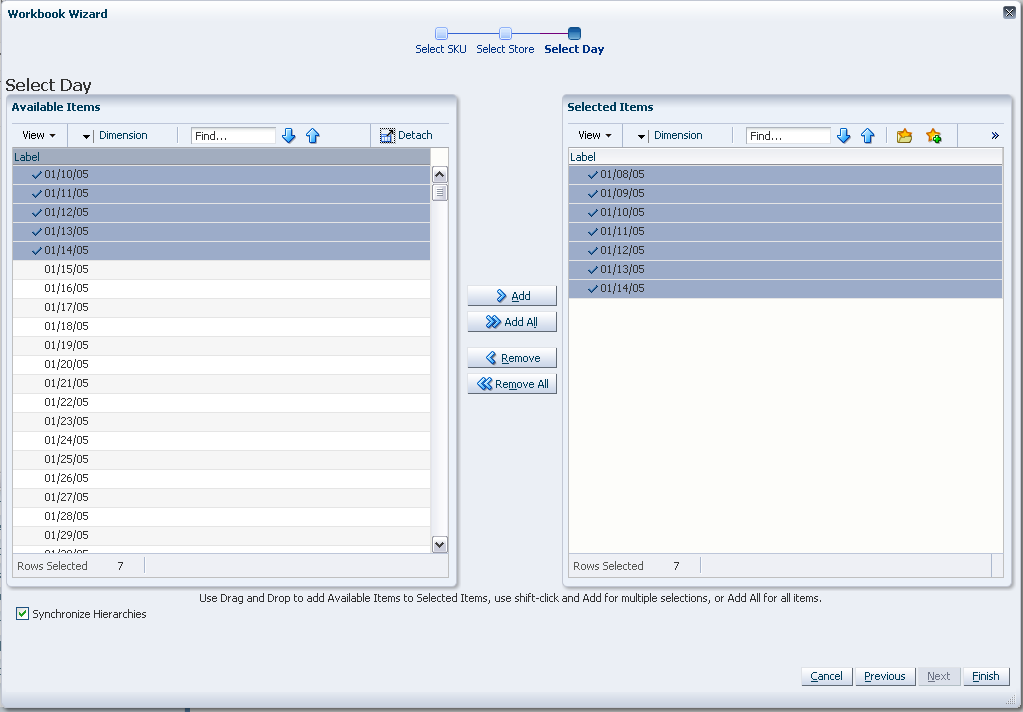
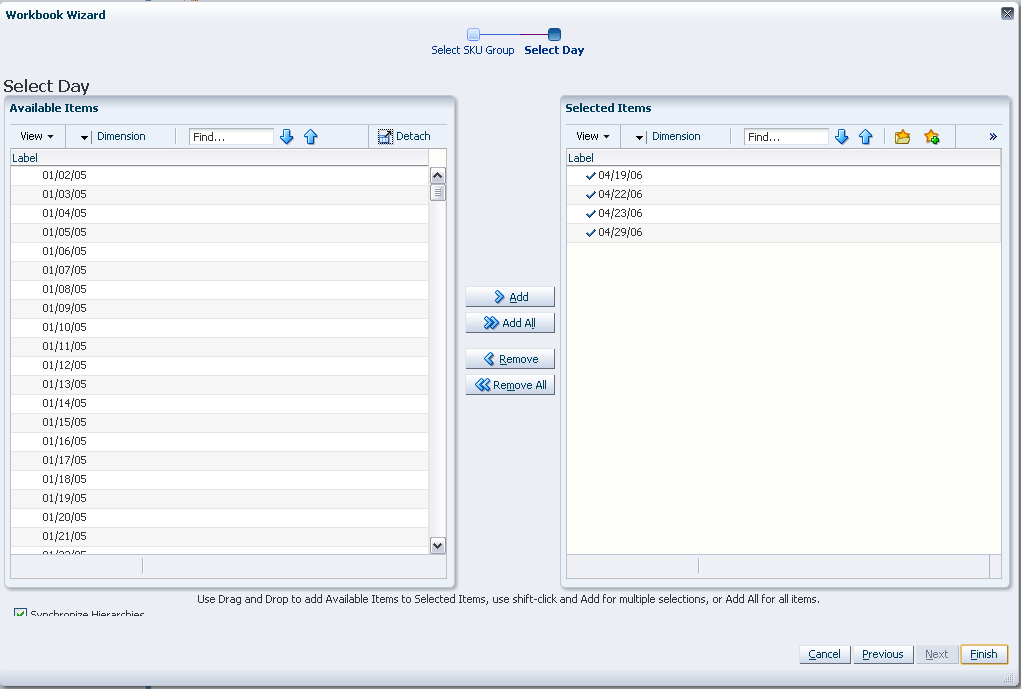
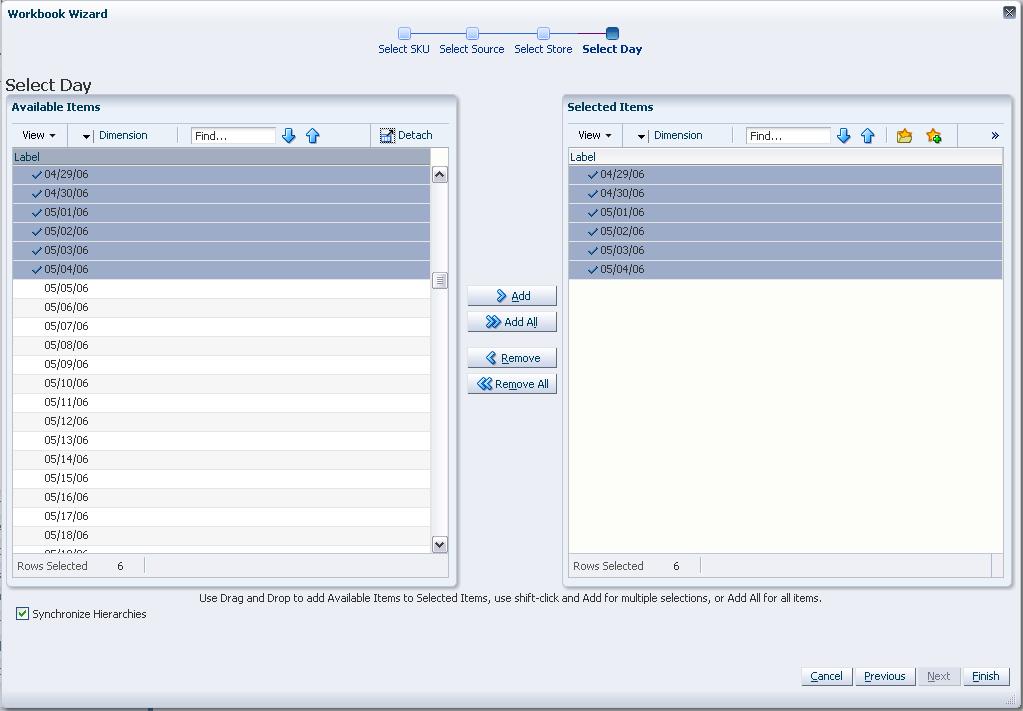
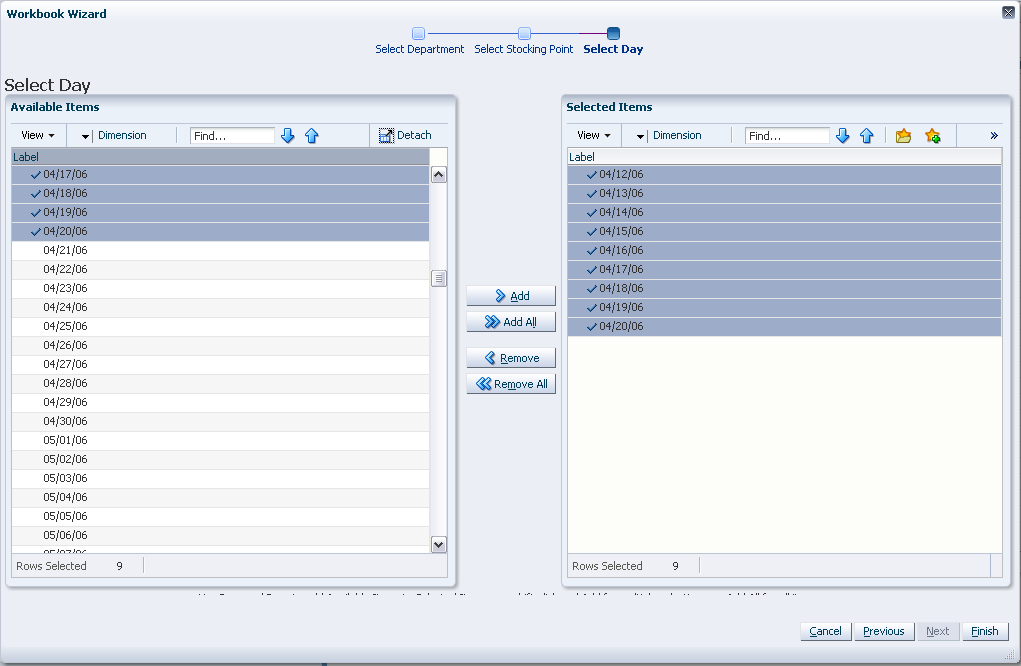
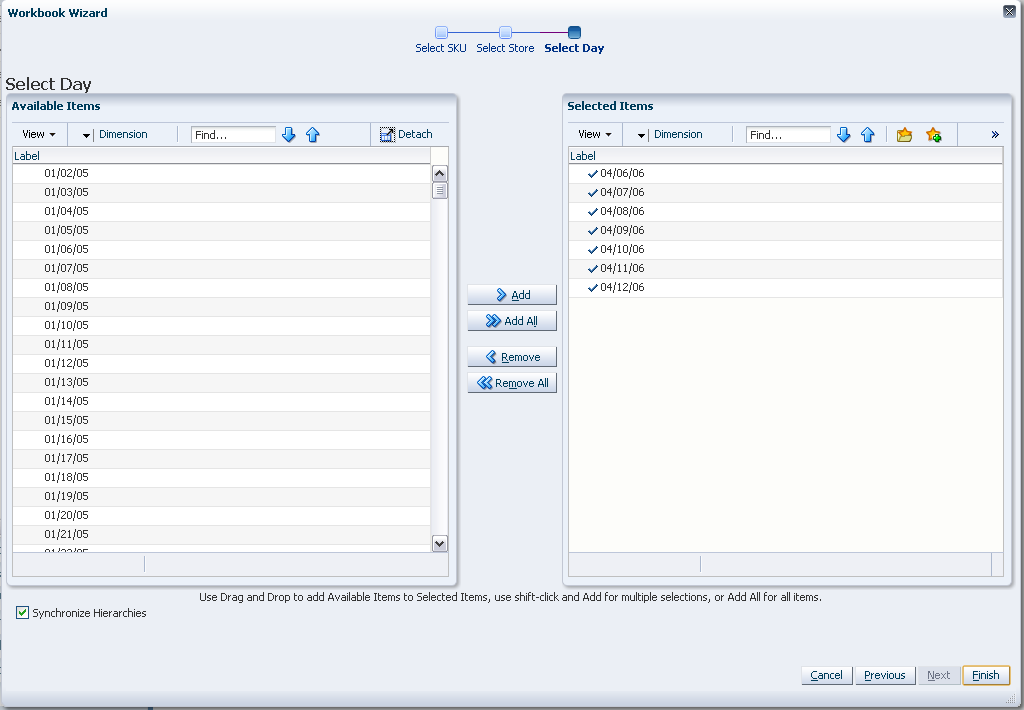
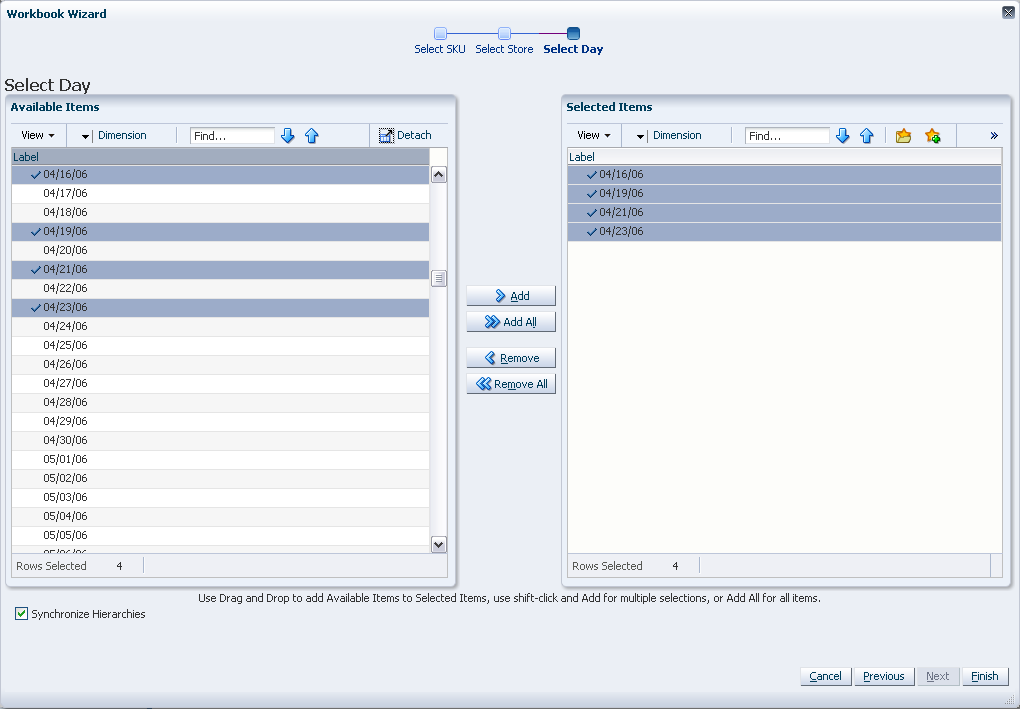
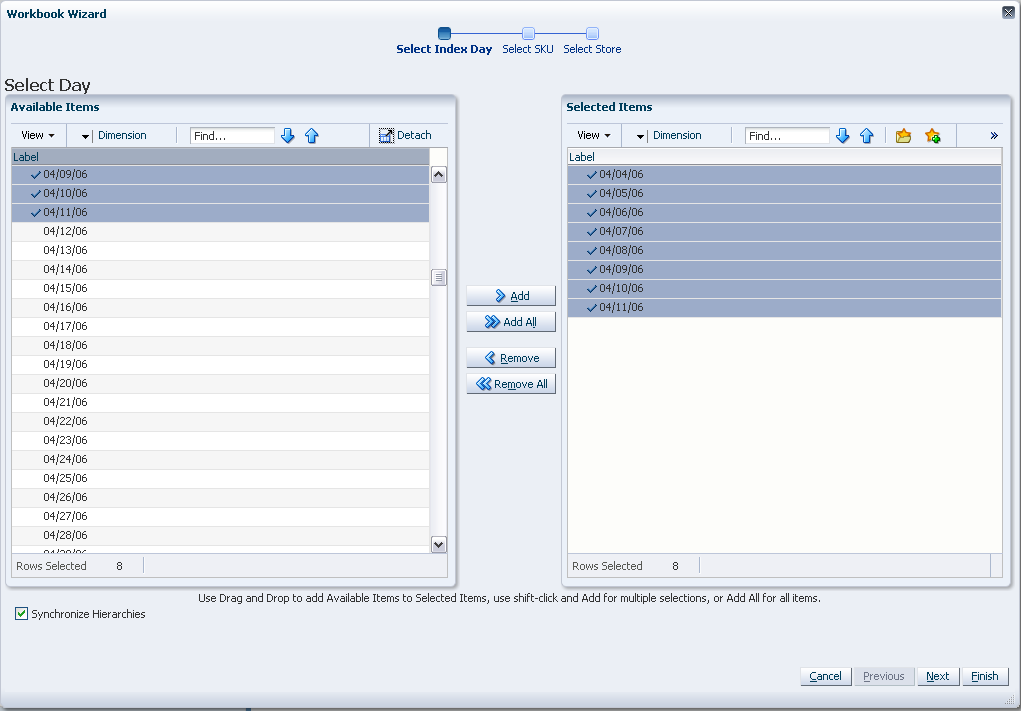
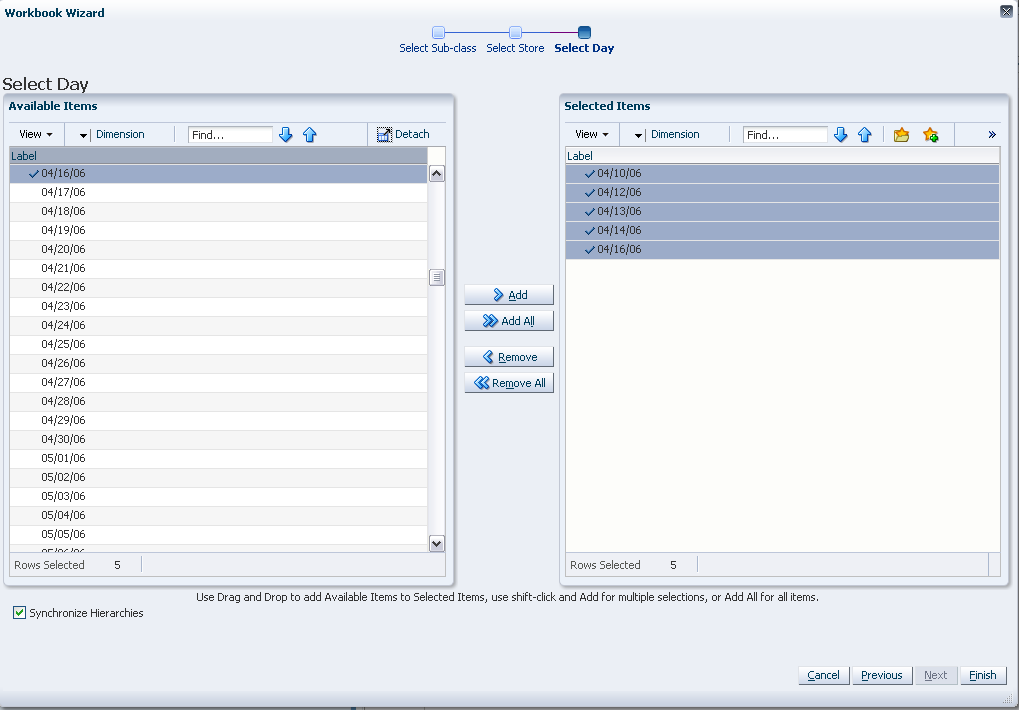
The wizard lists all Days in the AIP domain. If available, your previous selections are already selected. You have the ability to reselect which dates are accessed in the workbook. Note that if all days in the scheduled horizon are not selected, workbook calculations may display different values from batch. Standard RPAS functionality is available for this wizard. Select the days you want to work with and click Finish.
The SRP Evaluation workbook is built.
About the WRP Interactive Evaluation Workbook
The WRP Interactive Evaluation workbook is built using the SKU Groups and days selected. It also builds in the entire stocking point network including suppliers and stores that are ranged to the selected products and days. This is necessary in order to perform What-if analysis for the n-tier supply chain. All stores are hidden in the workbook. Suppliers are also hidden in the destination stocking point hierarchy.
In order to utilize the What-if functionality in this workbook, you may enter different parameter variables into any writeable measures in the WRP Replenishment Summary worksheet and click Calculate on the toolbar. The newly calculated allocation boundaries (Safety Stock (SS), Receipt Point (RP) and Receive Up to Level (RUTL) values are visible. If you are pleased with the revised boundaries, the new values can be committed to the database and is used in the next batch run.
There is a Run WRP menu option that allows you to choose whether to run the plan in an Unconstrained or Constrained mode. What-if - Unconstrained performs replenishment over the planning horizon and display the newly calculated unconstrained Receipt Plan. What-if - Constrained performs both replenishment (over the planning horizon) and shortfall reconciliation (over the fixed period) and display the newly calculated constrained Receipt Plan. No Stockless or SPQ reconciliation takes place.
|
Note: Unless otherwise stated, all measures are writeable for days after today unless otherwise stated. Historical values are never writeable. |
Steps to Build
To build the WRP Interactive Evaluation workbook, perform these steps:
There are two paths to build this workbook, either:
From the taskflow pane, select Reporting, then Warehouse Replenishment and then click the Create New Workbook icon from any of the steps.
From the taskflow pane, select Analyzing, then Warehouse Replenishment and then click the Create New Workbook icon from any of the steps.
|
Note: You must select a domain before the workbook wizard opens. Refer to the section, Begin Building New Workbooks, for additional information. |
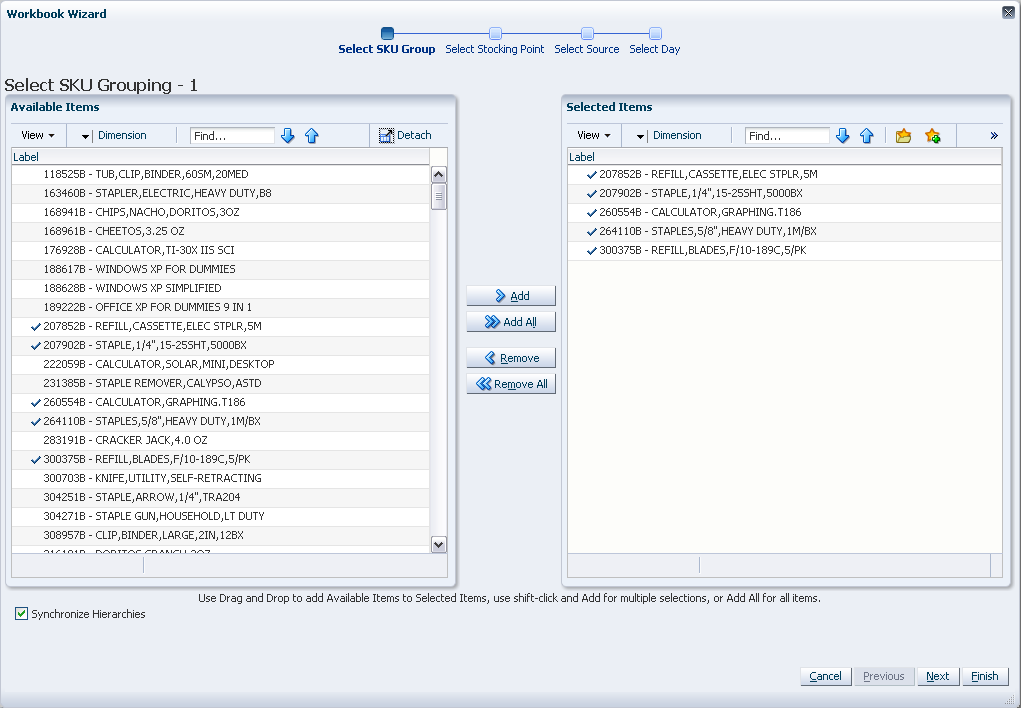
The wizard opens and lists all available SKU Groups in the AIP domain. Any previous selections are still selected, and you have the ability to reselect which SKU Groups are accessed in the workbook. Standard RPAS functionality is available for this wizard.
Select the SKU Groups you want to work with and click Next.
The wizard lists all available days in the AIP domain. Any previous selections are still selected, and you have the ability to reselect which days are accessed in the workbook. Note that if all days in the scheduled horizon are not selected, workbook calculations may display different values from batch. Standard RPAS functionality is available for this wizard.
Select the days you want to work with and click Finish.
|
Note: If there are no alert hits after you click Finish, you are notified there are no alert hits and the Find Next Alert functionality is unavailable. |
The WRP Interactive Evaluation workbook is built.
To build the Network Replenishment workbook, perform these steps:
From the taskflow pane, select Reporting, then Network Replenishment and then click the Create New Workbook icon from any of the steps.
From the taskflow pane, select Analyzing, then Network Replenishment and then click the Create New Workbook icon from any of the steps.
|
Note: The Analyzing Activity builds Interactive Evaluation workbooks. |
|
Note: You must select a domain before the workbook wizard opens. Refer to the section, Begin Building New Workbooks, for additional information. |
The wizard opens and lists all active SKUs in the AIP domain. A SKU is considered active if, for at least one SKU-pack-size at a particular destination, the lead time is >= 0 for any source on any day within the scheduled horizon. Select the SKUs you want to work with and click Next.
The wizard lists all Days in the AIP domain. If available, your previous selections are already selected. You have the ability to reselect which dates are accessed in the workbook. Note that if all days in the scheduled horizon are not selected, workbook calculations may display different values from batch. Standard RPAS functionality is available for this wizard. Select the days you want to work with and click Finish.
The Network Replenishment workbook is built.
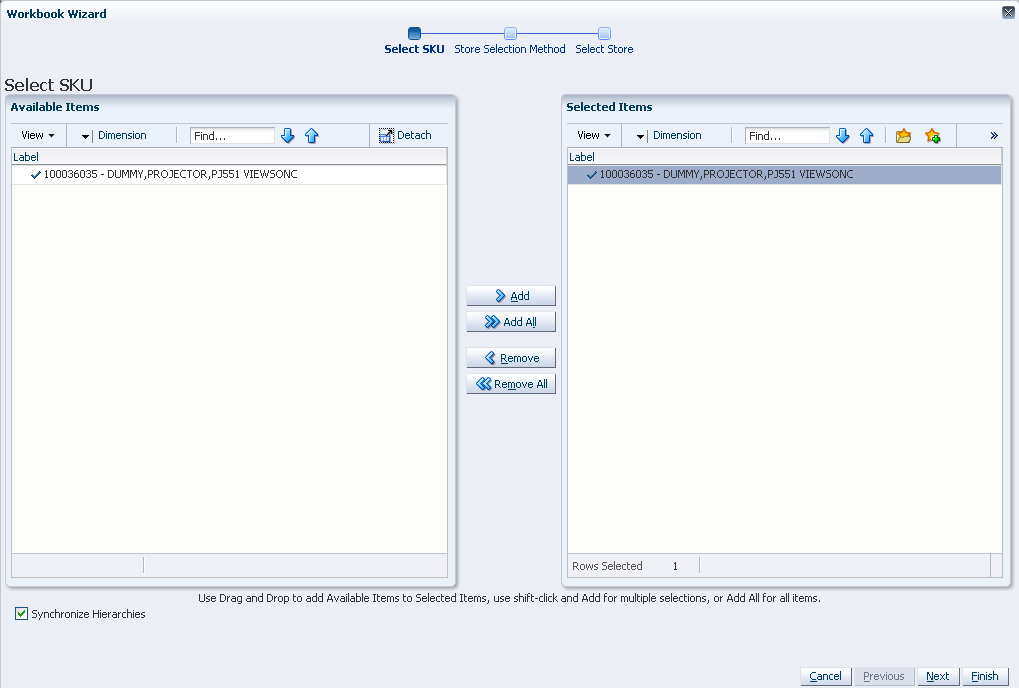
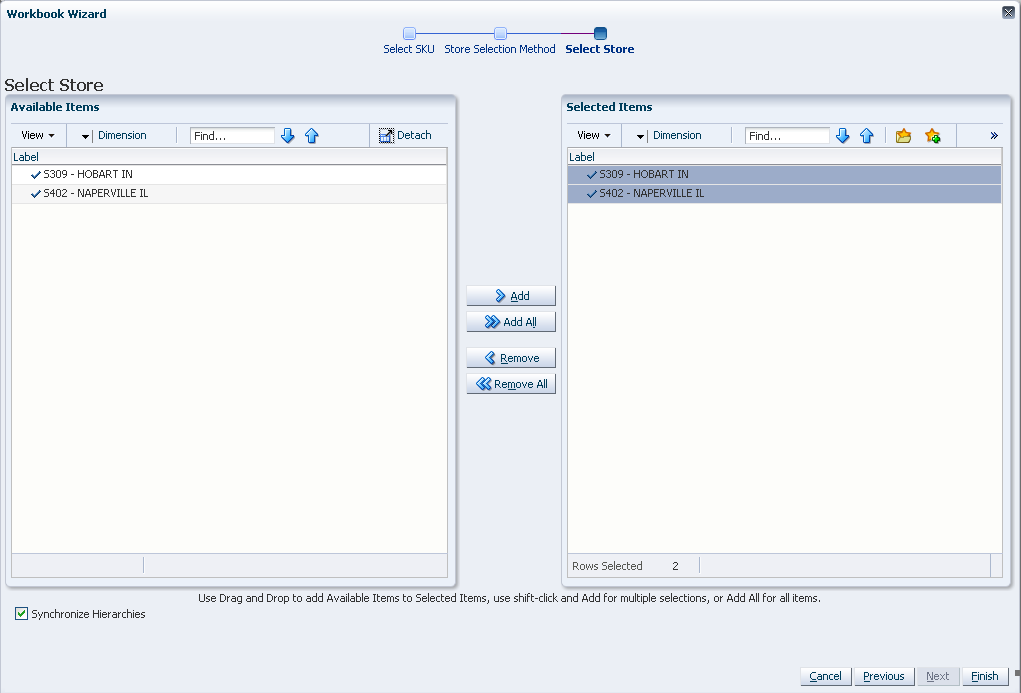
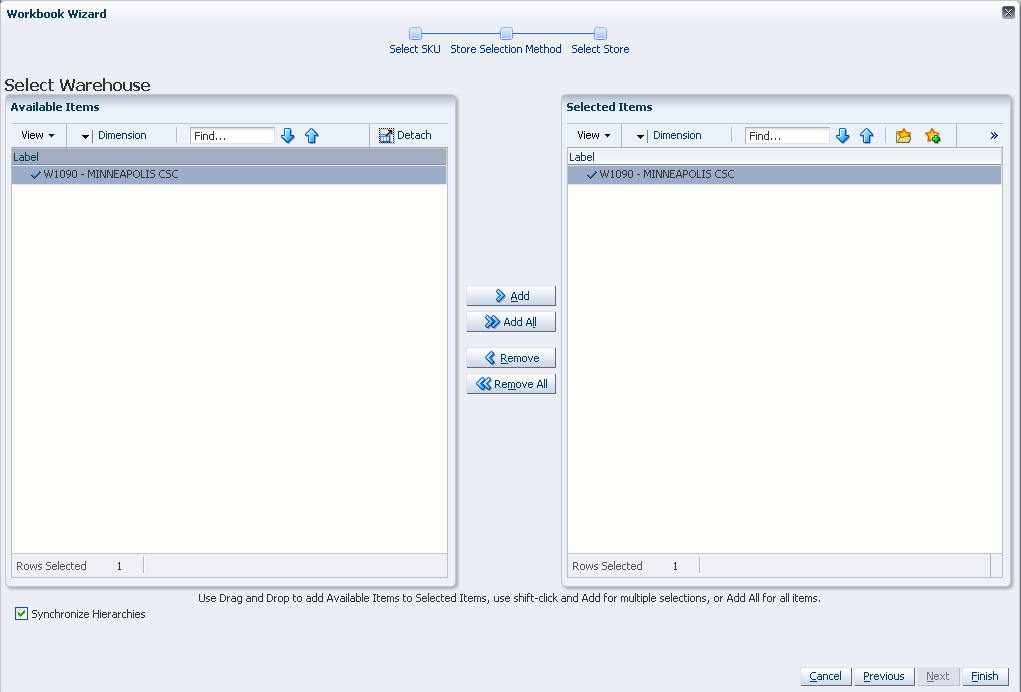
To build the SRP Intra-day workbook, perform these steps:
From the taskflow pane, select Reporting, then Intra-day Replenishment and then click the Create New Workbook icon from any of the steps.
|
Note: You must select a domain before the workbook wizard opens. Refer to the section, Begin Building New Workbooks, for additional information. |
The wizard opens and lists the available SKUs for the current day. Select the SKUs you want to work with and click Next.
The wizard allows you to select either specific stores or determine the store selection on the source warehouse of the available stores. Select the method, either 0 or 0 you want to work with and click Next.
Select individual stores
If your method is stores, the wizard displays a list of those stores that are to be re-planned on the current day for the current SKU selection. Select the stores that you want to view to in the workbook, and click Finish.
Select by source warehouse
If your method is warehouses, the wizard displays a list of the source warehouses that includes stores that are to be re-planned on the current day for the current SKU selection. Select the source warehouses that you want to view to in the workbook, and click Finish.
The SRP Intra-day workbook is built.
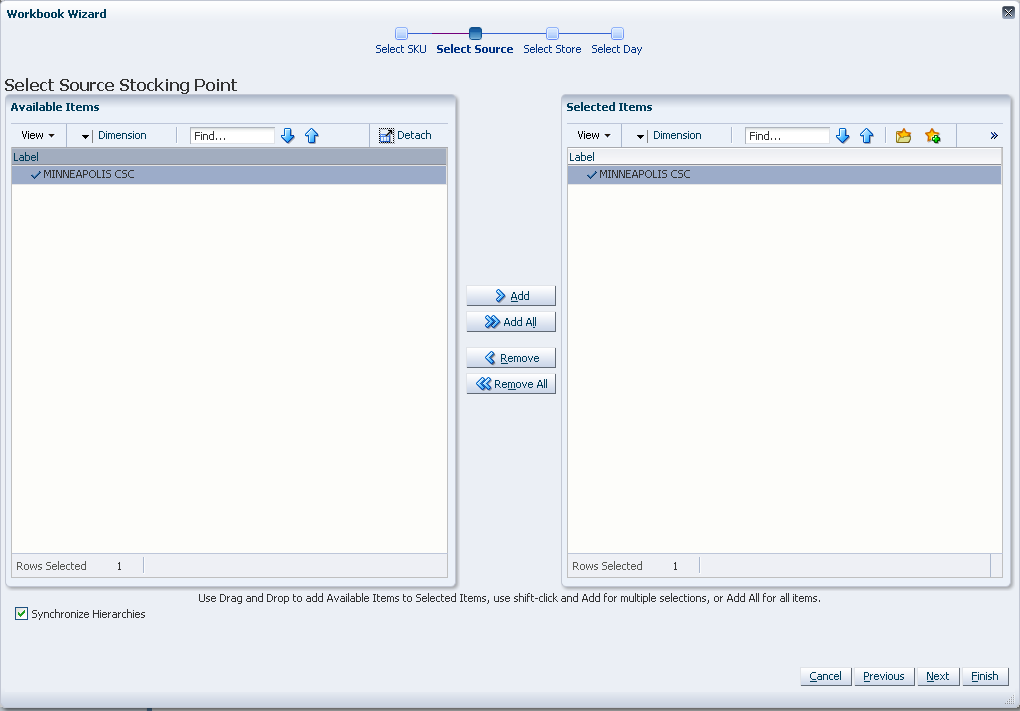
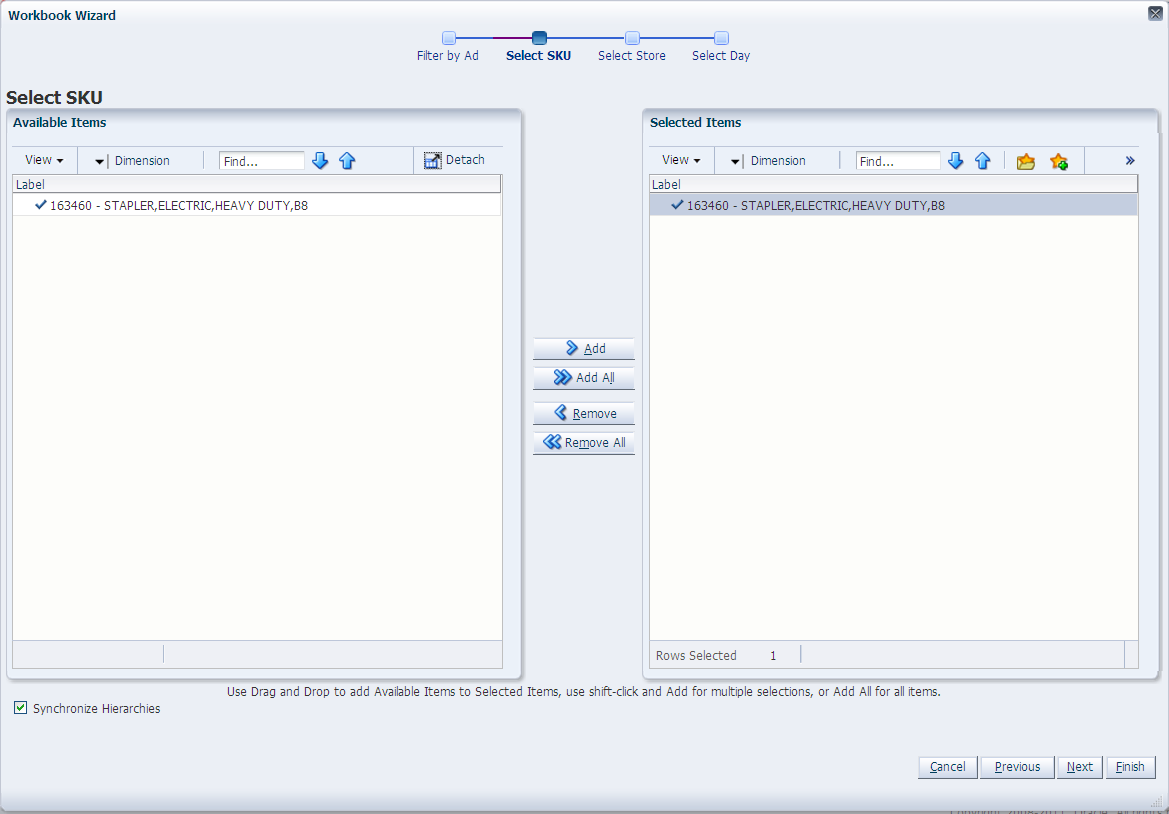
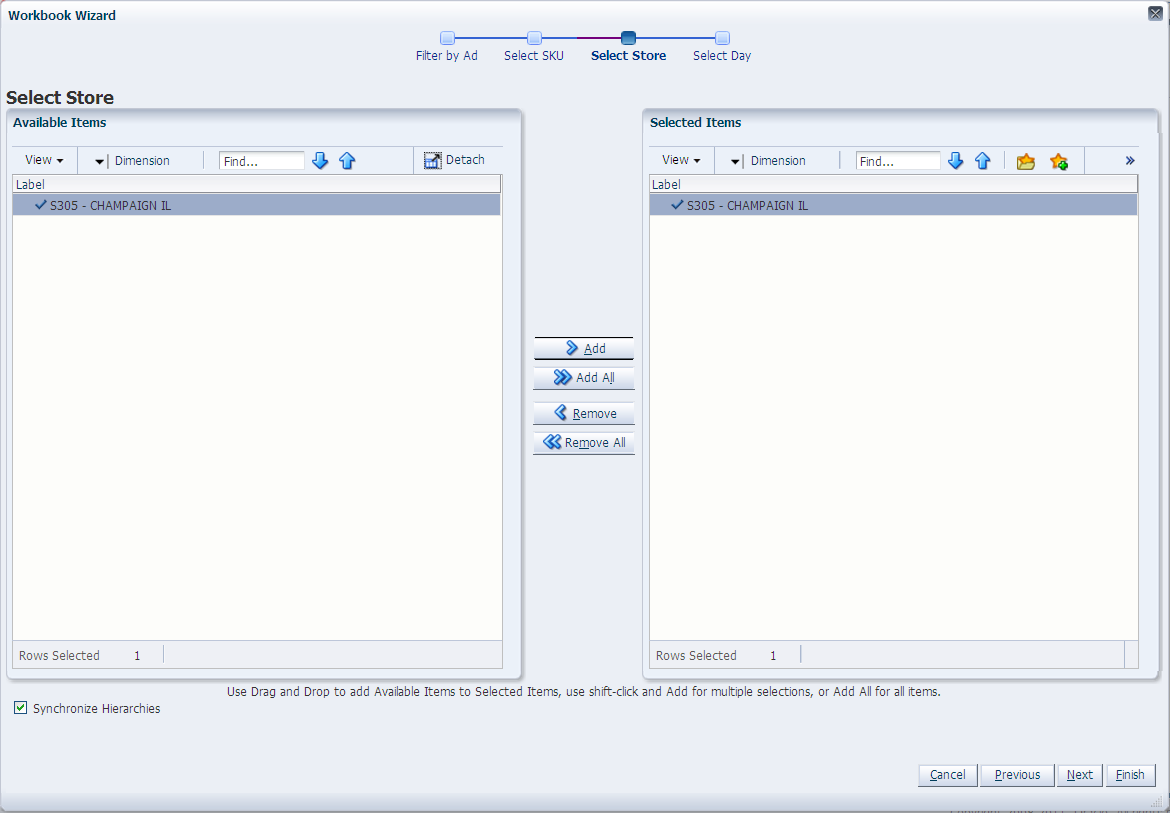
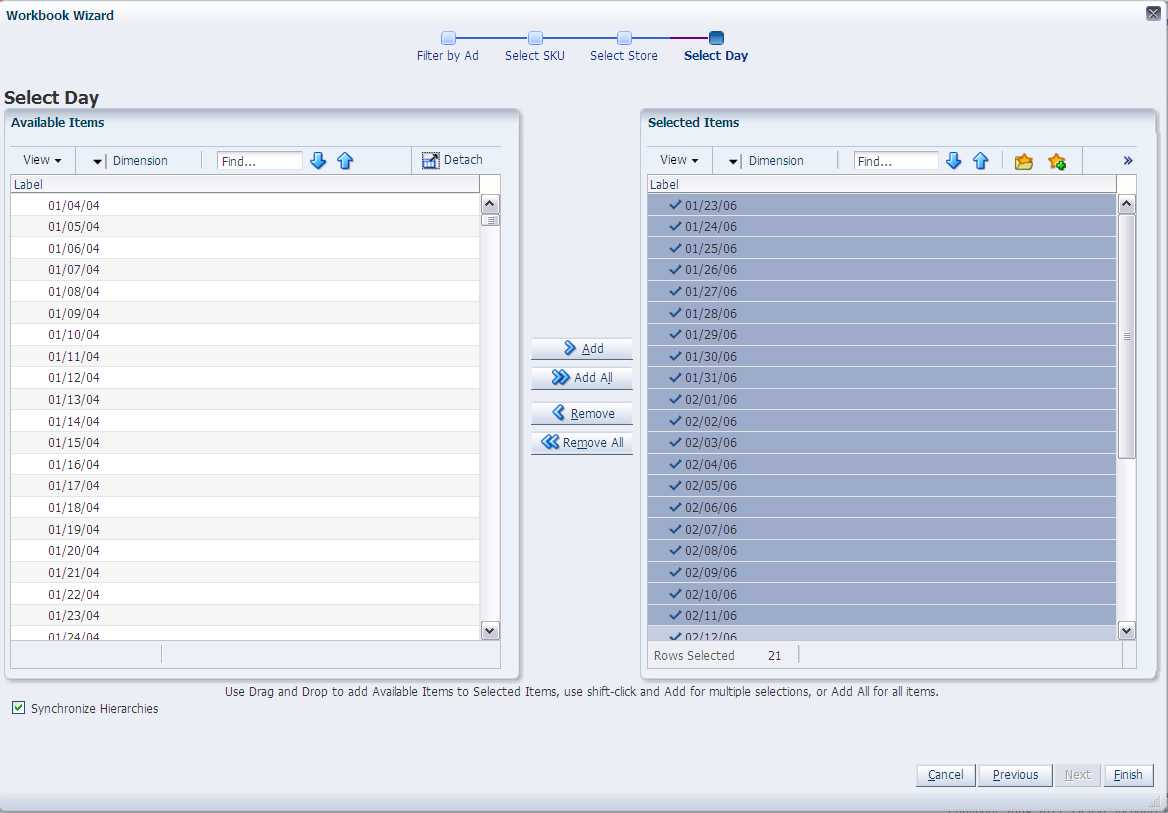
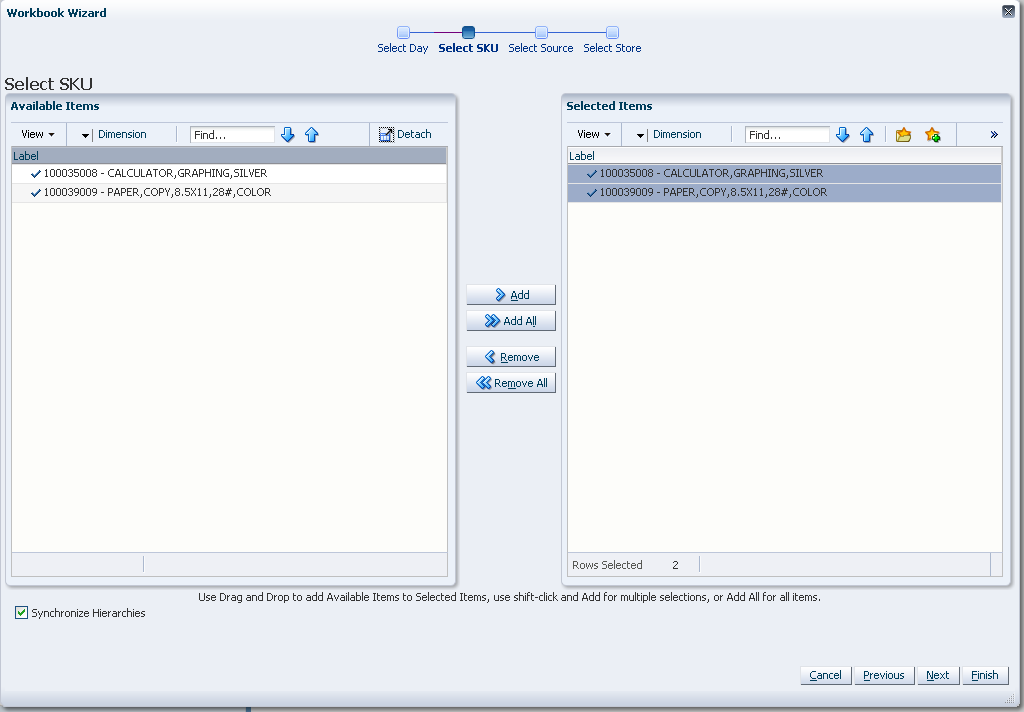
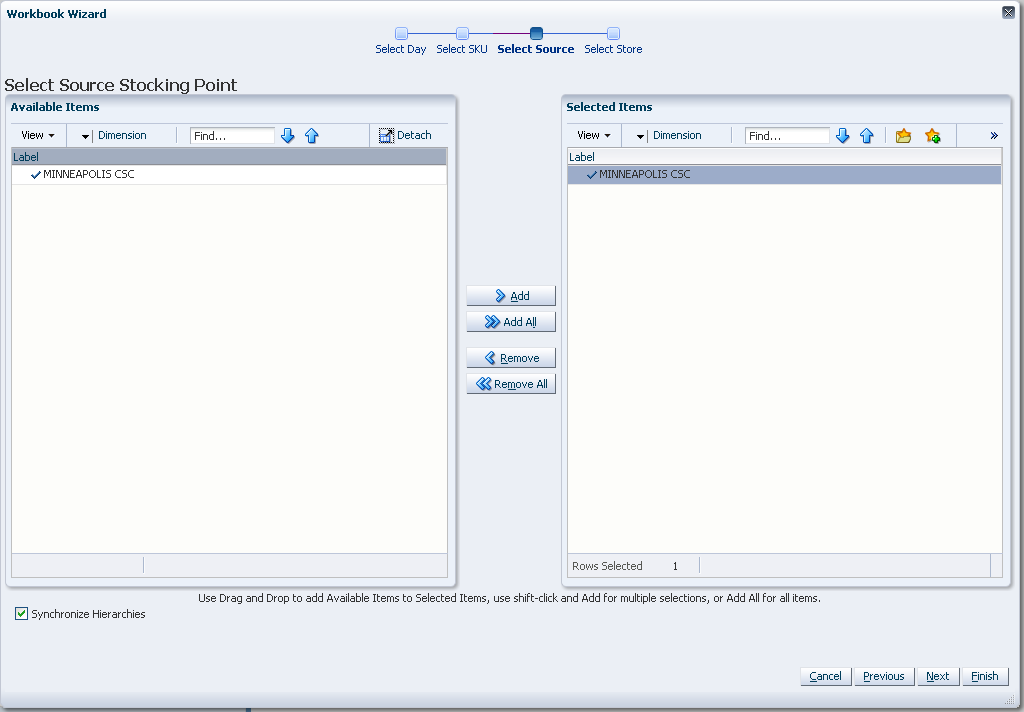
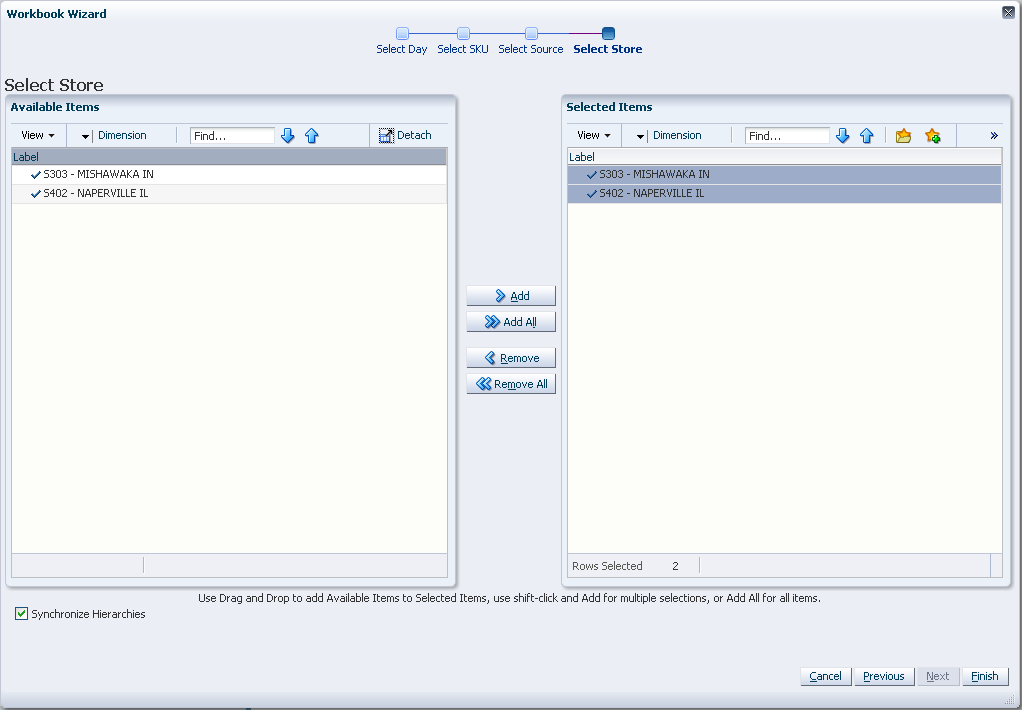
To build the By Source Distribution Review workbook, perform these steps:
From the taskflow pane, select Reporting, then Store Source Distribution and then click the Create New Workbook icon from any of the steps.
|
Note: You must select a domain before the workbook wizard opens. Refer to the section, Begin Building New Workbooks, for additional information. |
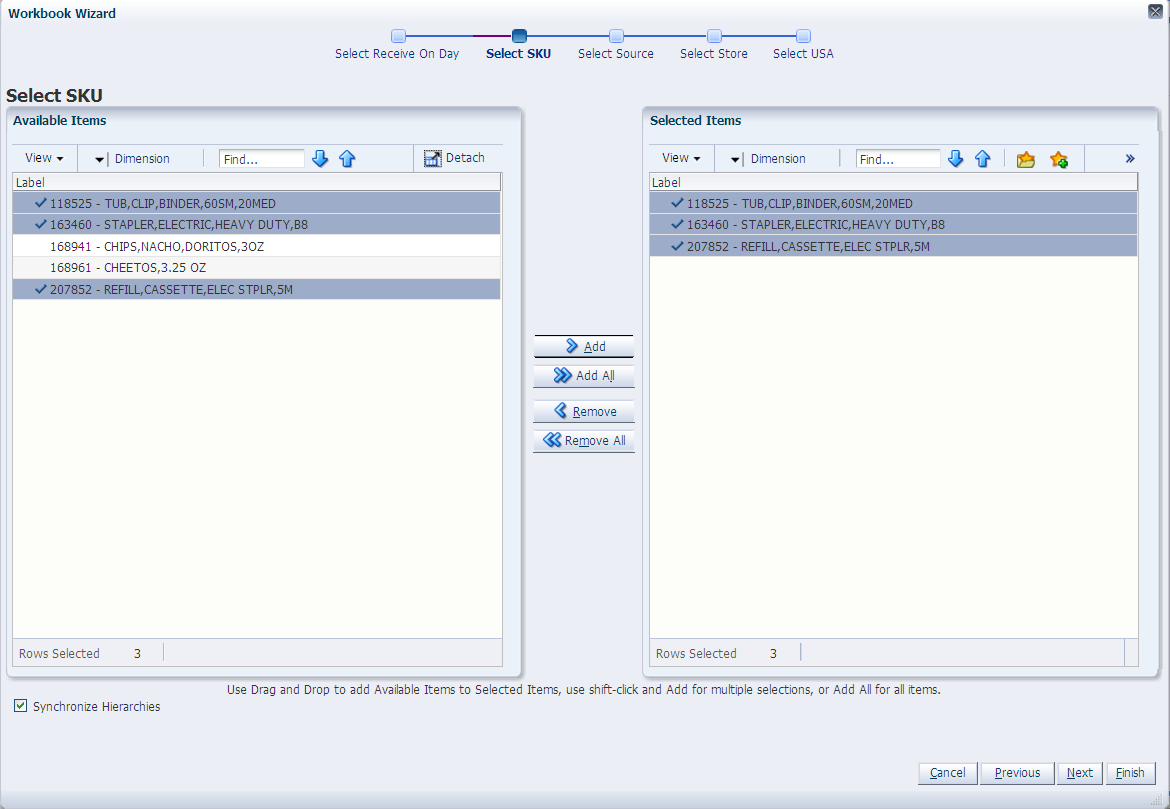
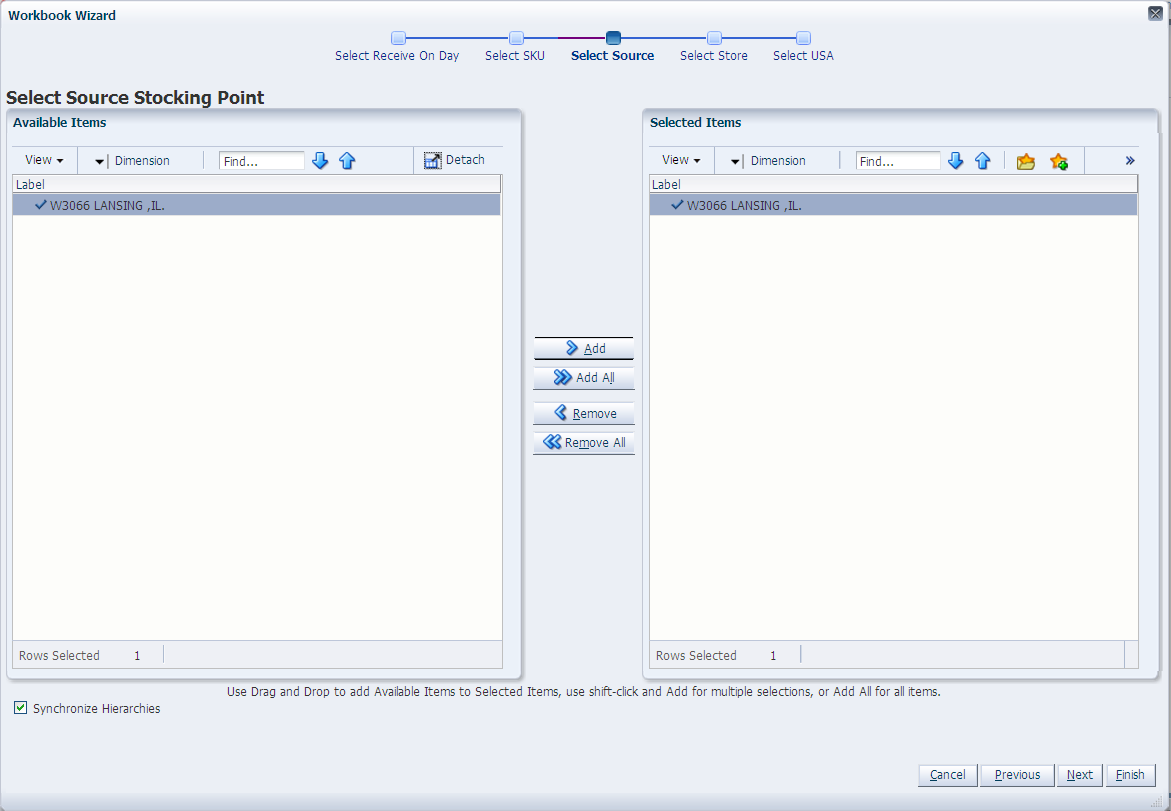
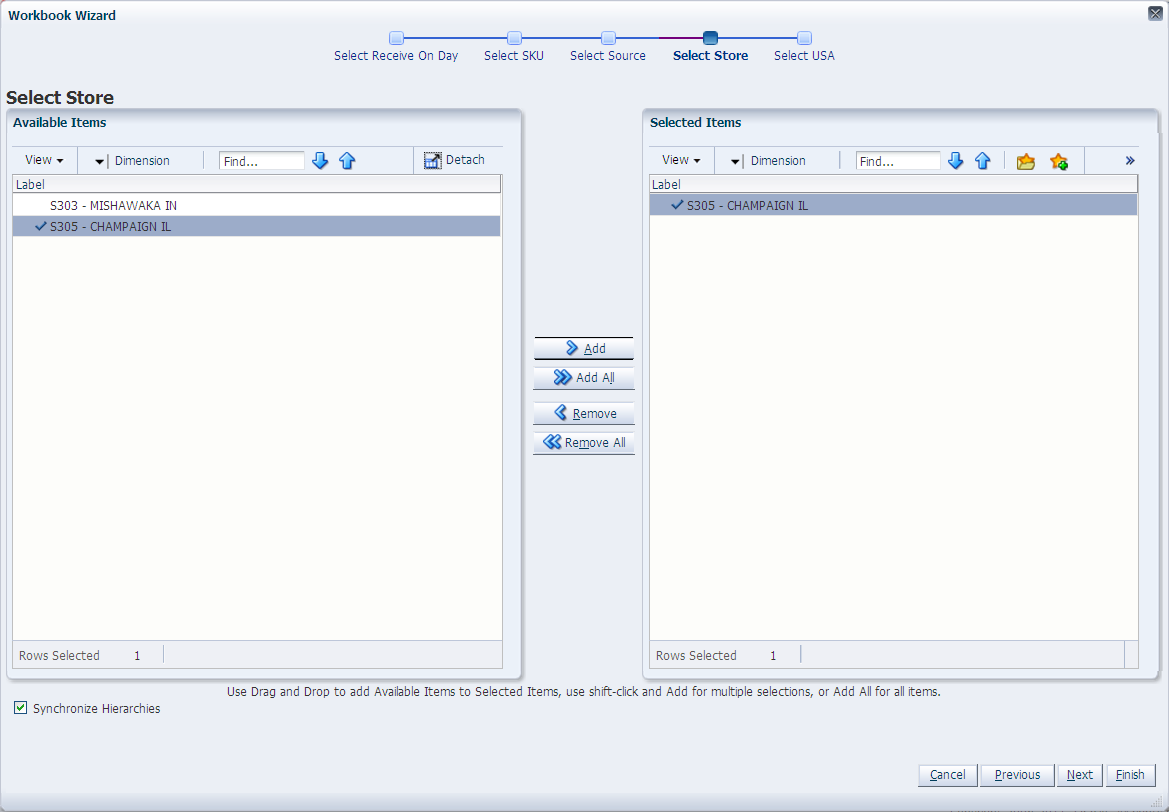
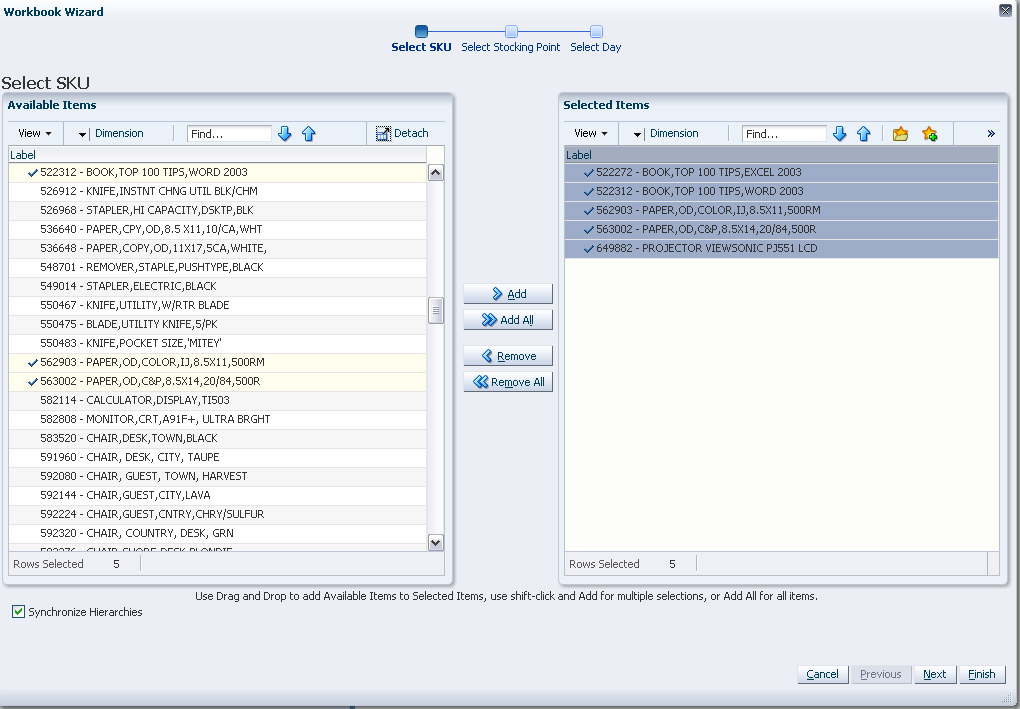
The wizard opens. Select the SKUs you want to work with and click Next.
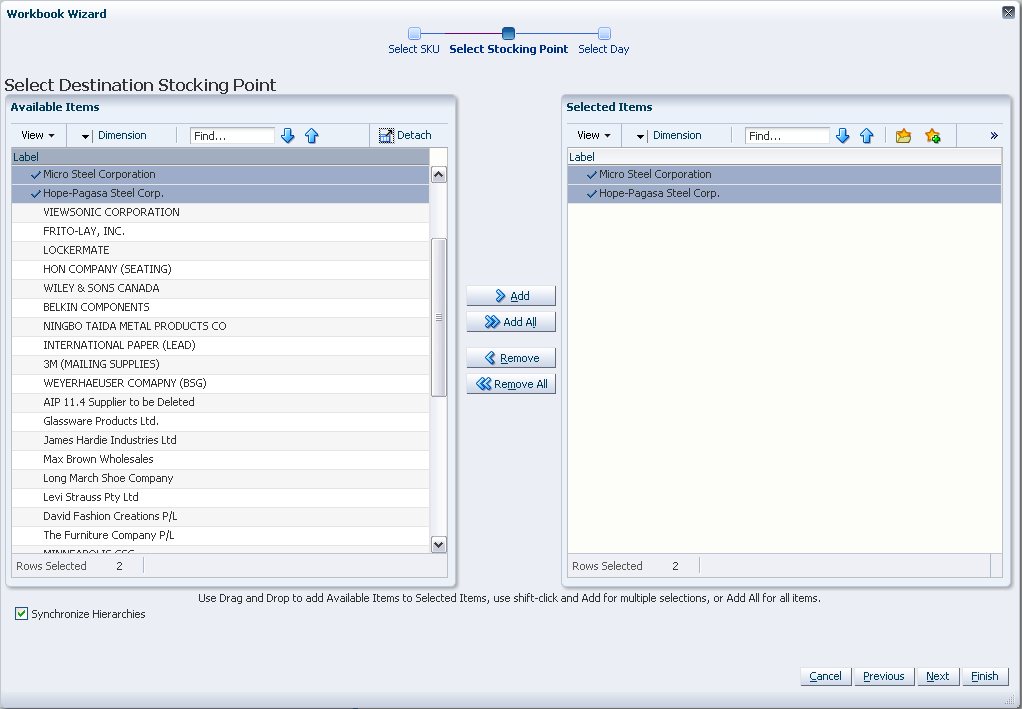
Select the select source stocking points you want to work with and click Next.
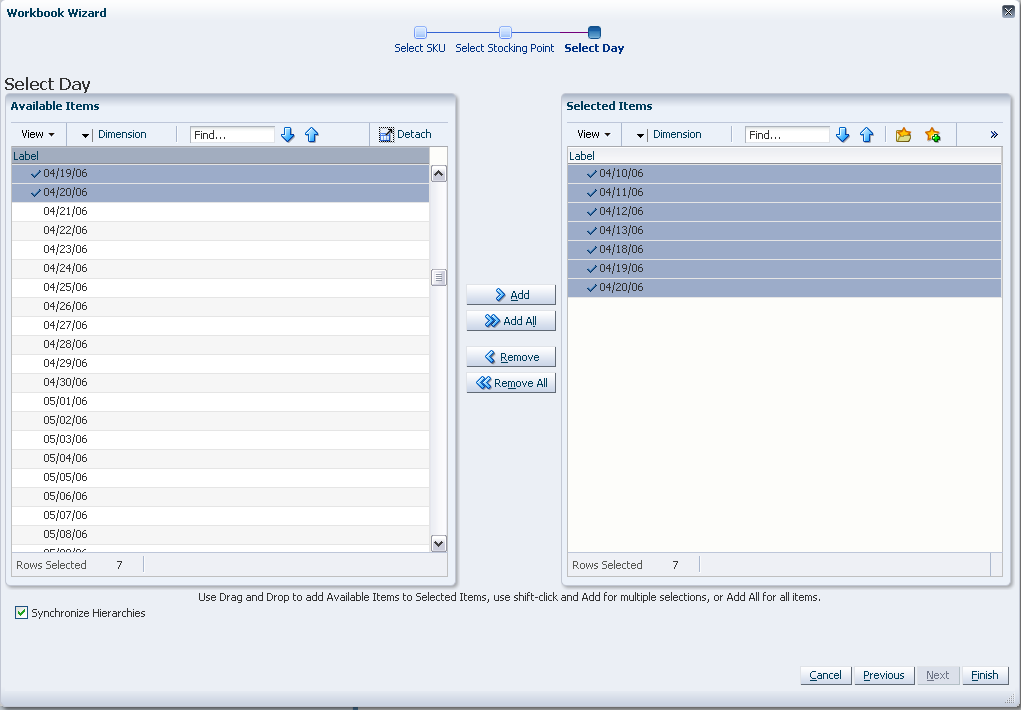
Select the stores you want to work with and click Next.
Select the days you want to work with and click Finish.
The By Source Distribution Review workbook is built.
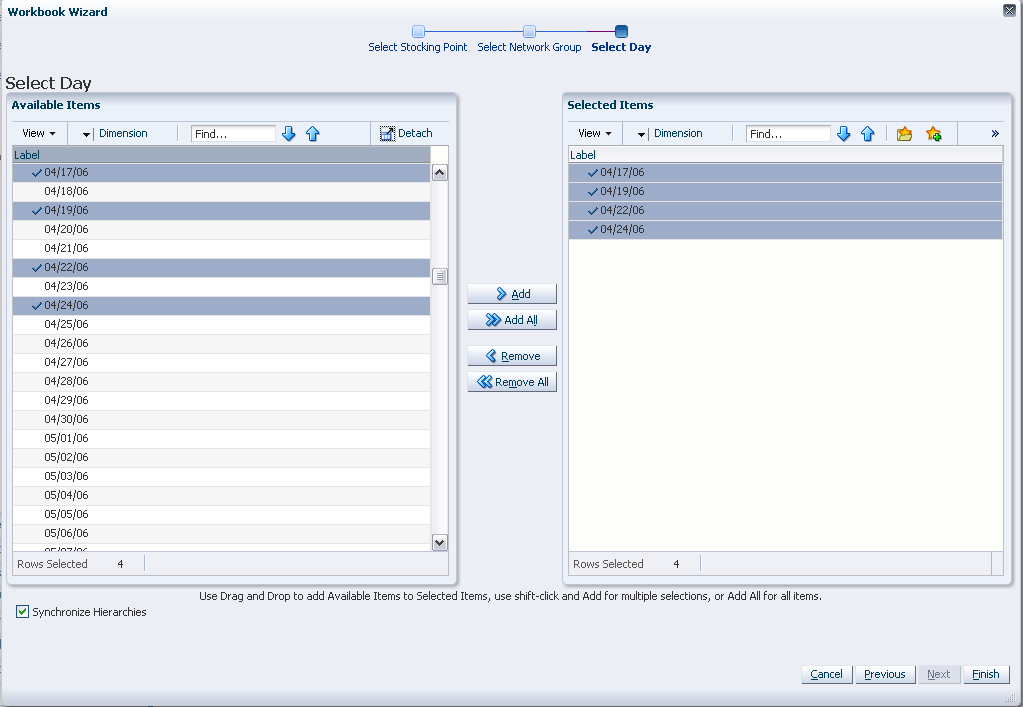
To build the WRP Network Throughput Plan workbook, perform these steps:
From the taskflow pane, select Reporting, then Network Throughput and then click the Create New Workbook icon from any of the steps.
|
Note: You must select a domain before the workbook wizard opens. Refer to the section, Begin Building New Workbooks, for additional information. |
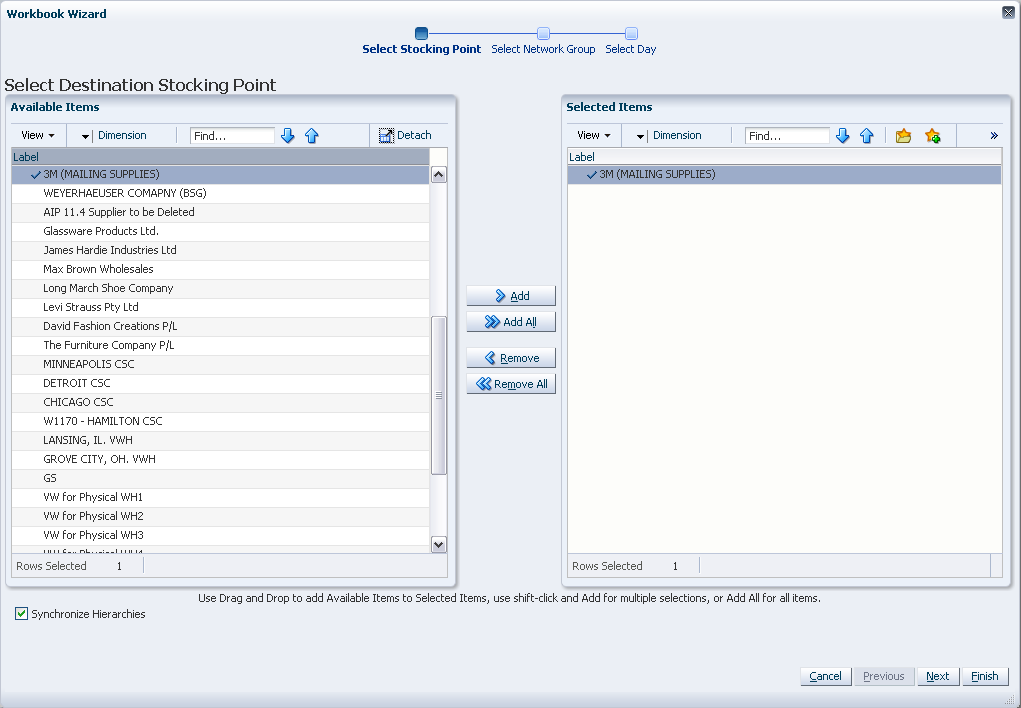
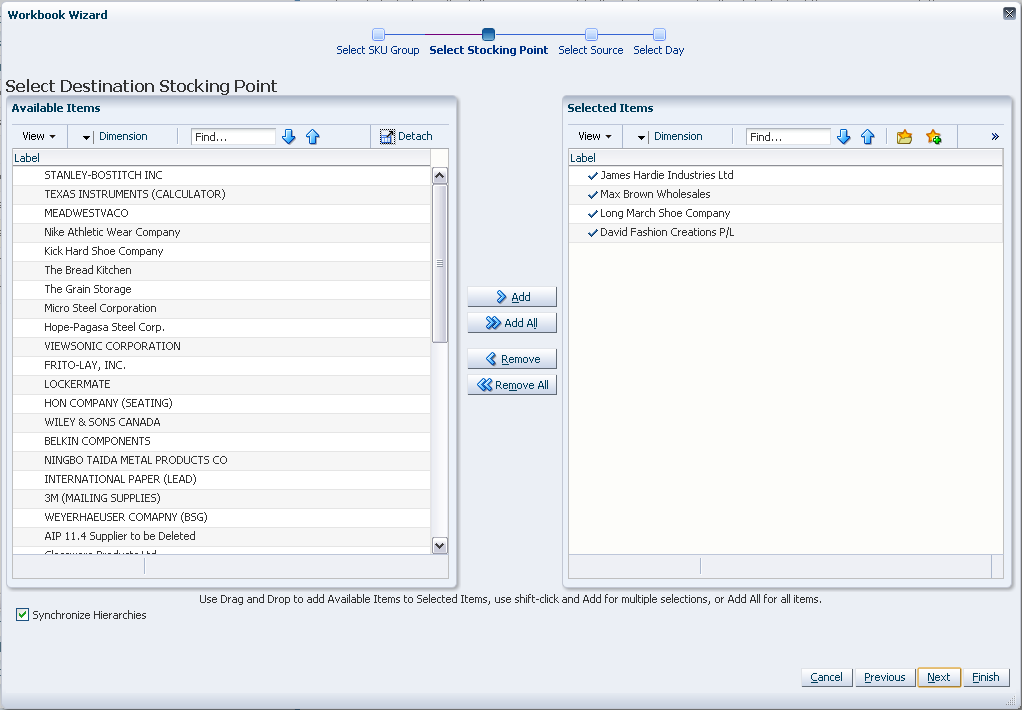
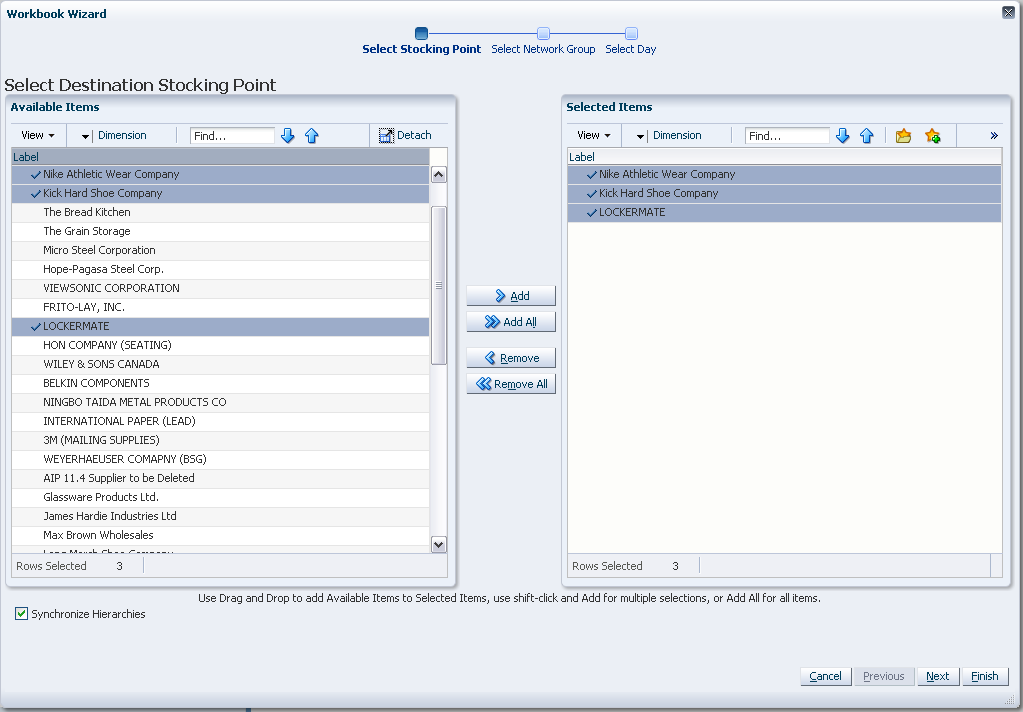
The wizard opens and lists all available Destination Stock Points in the AIP domain. Any previous selections are still selected, and you have the ability to reselect which Destination Stock Points are accessed in the workbook. Standard RPAS functionality is available for this wizard.
Select the Destination Stocking Points you want to work with and click Next.
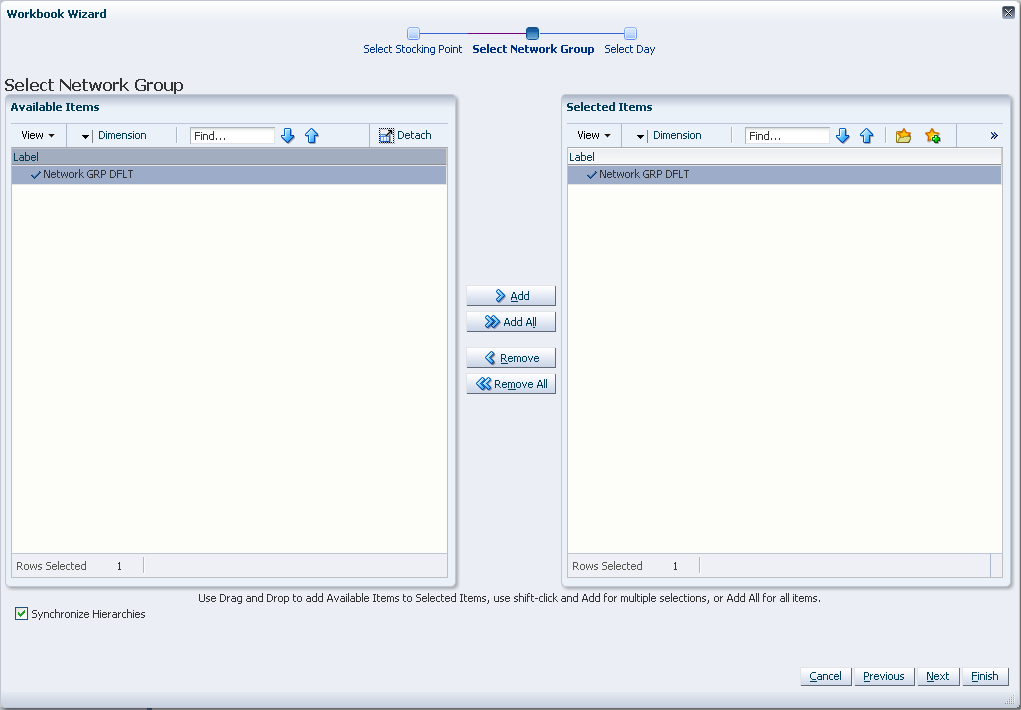
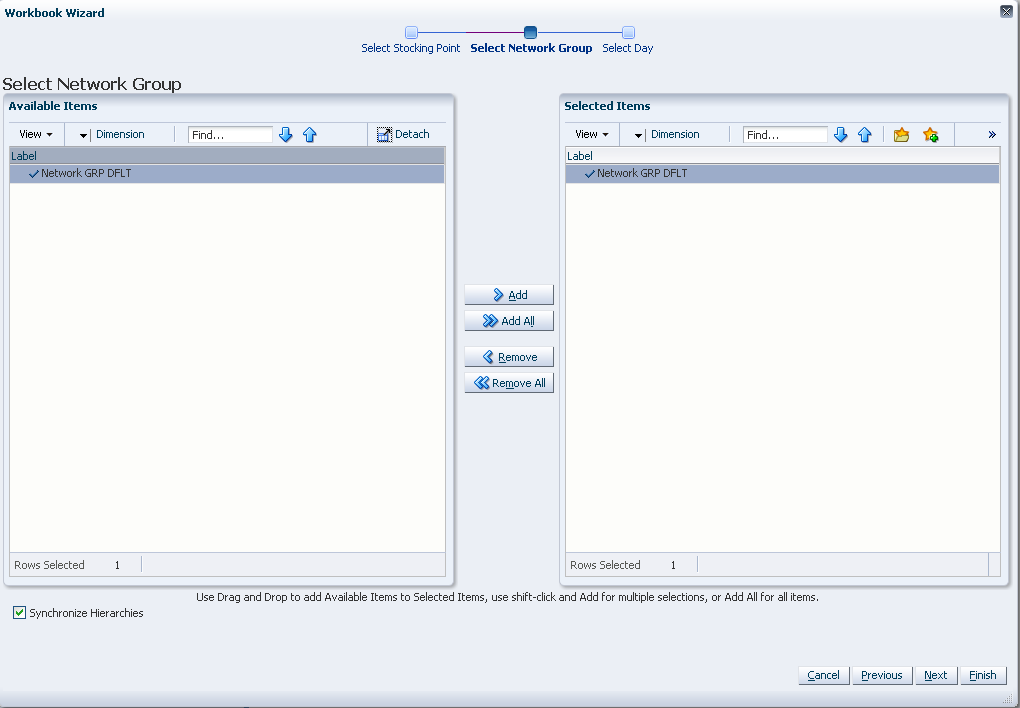
The wizard lists all available Network Groups in the AIP domain. Any previous selections are still selected, and you have the ability to reselect which Network Groups are accessed in the workbook. Standard RPAS functionality is available for this wizard.
Select the Network Groups you want to work with and click Next.
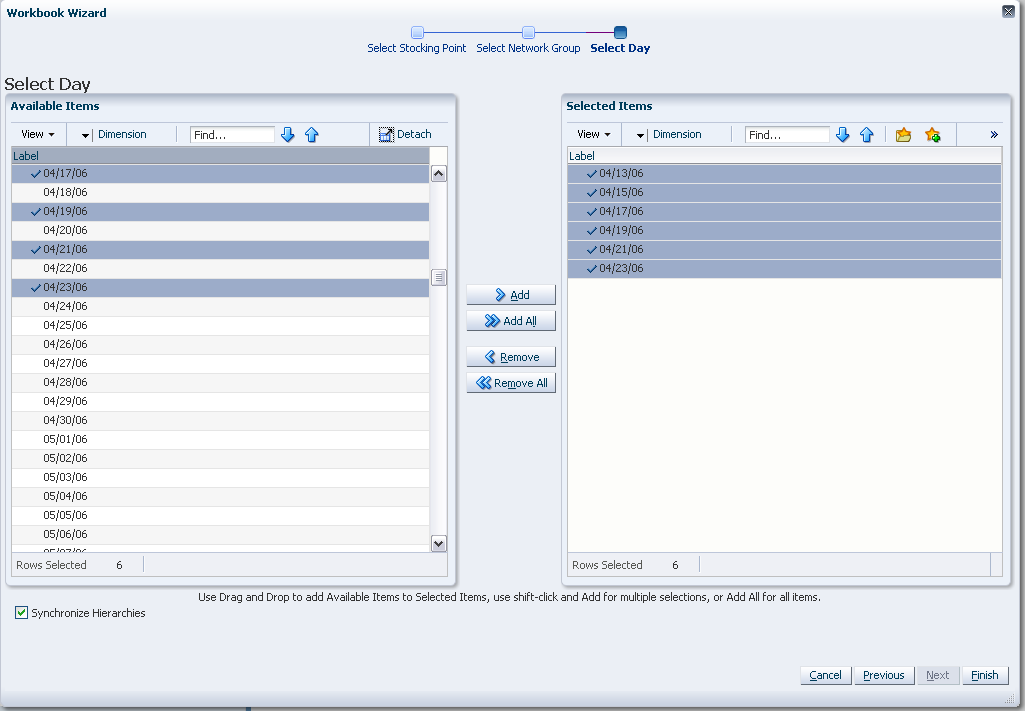
Select days from a list of all available days in the AIP domain. Any previous selections are still selected, and you have the ability to reselect which days are accessed in the workbook. Standard RPAS functionality is available for this wizard.
Select the days you want to work with and click Finish.
The WRP Network Throughput Plan workbook is built.
This section describes how to build these Analyzing Activity workbooks for AIP on the RPAS Fusion client that include:
Table 5-3 lists the tasks, steps and views for the Analyzing Activity workbooks.
Table 5-3 Analyzing Activity Workbooks
This section provides information about the SRP Interactive Evaluation Workbook and how to build it.
About the SRP Interactive Evaluation Workbook
The SRP Interactive Evaluation workbook is very similar to the SRP Evaluation workbook in that it allows users to review and examine the store replenishment plan. In addition, this workbook provides the capability to perform What-if analysis of the replenishment plan and commit any necessary parameter changes.
Steps to Build
To build the SRP Interactive Evaluation workbook, perform these steps:
From the taskflow pane, select Analyzing, then Store Replenishment and then click the Create New Workbook icon from any of the steps.
|
Note: You must select a domain before the workbook wizard opens. Refer to the section, Begin Building New Workbooks, for additional information. |
The wizard opens and allows you to choose whether or not to base the workbook selections on an ad. The wizard selection defaults to Do Not Use Ads.
|
Note: The wizard page, ”Filter by Ad” appears only when the Store Ads measure is populated or when ads exist for SKUs within your security level. The Store Ads measure is a Boolean measure at sku/str/ad. If this wizard page is not available, then skip to select from the Available SKUs as shown in Step 4. |
This wizard lists all Ads for a SKU/Store combination in the AIP domain. Standard RPAS functionality is available for this wizard. Select the Ads you want to work with and click Next.
The wizard lists all active SKUs in the AIP domain. A SKU is considered active if, for at least one SKU-pack-size at a particular destination, the lead time is >= 0 for any source on any day within the scheduled horizon. Standard RPAS functionality is available for this wizard. Select the SKUs you want to work with and click Next.
The wizard lists the available stores. The position defaults to the store level. Standard RPAS functionality is available for this wizard. Select the stores you want to work with and click Next.
The wizard lists all days in the AIP domain. If available, your previous selections are already selected. You have the ability to reselect which dates are accessed in the workbook. Note that if all days in the scheduled horizon are not selected, workbook calculations may display different values from batch. Standard RPAS functionality is available for this wizard. Select the days you want to work with and click Finish.
The SRP Interactive Evaluation workbook is built.
This section describes how to build these Product & Location Setup Activity workbooks for AIP on the RPAS Fusion client that include:
Table 5-4 lists the tasks, steps and views for the Product & Location Setup Activity workbooks.
Table 5-4 Product & Location Setup Activity workbooks
To build the SRP Administration workbook, perform these steps:
From the taskflow pane, select Product & Location Setup, then Store Parameter Defaults and then click the Create New Workbook icon from any of the steps.
|
Note: You must select a domain before the workbook wizard opens. Refer to the section, Begin Building New Workbooks, for additional information. |
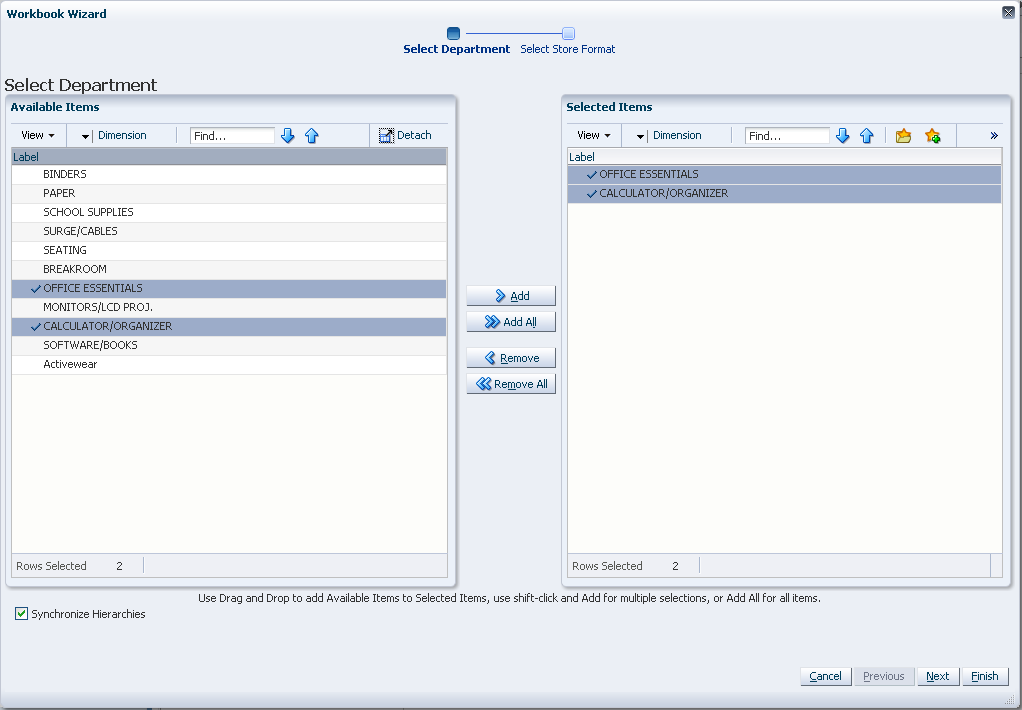
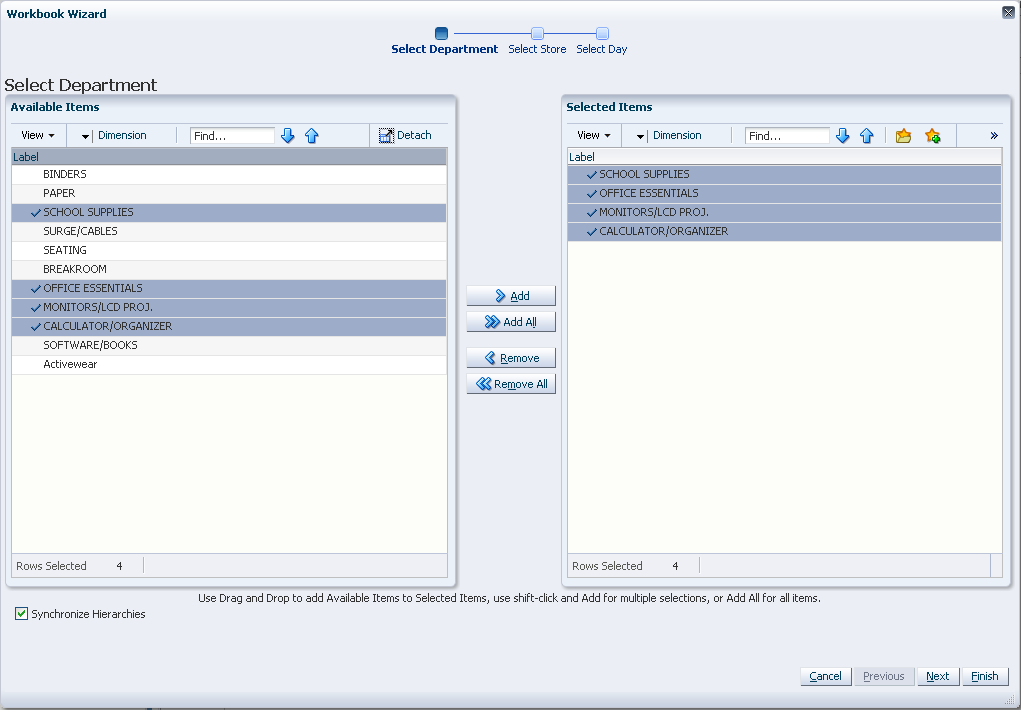
The wizard opens and lists all departments in the AIP domain. Your previous selections are already selected. You have the ability to reselect which departments are accessed in the workbook. The positions default to the department level. Standard RPAS functionality is available for this wizard.
Select the departments you want to work with and click Next.
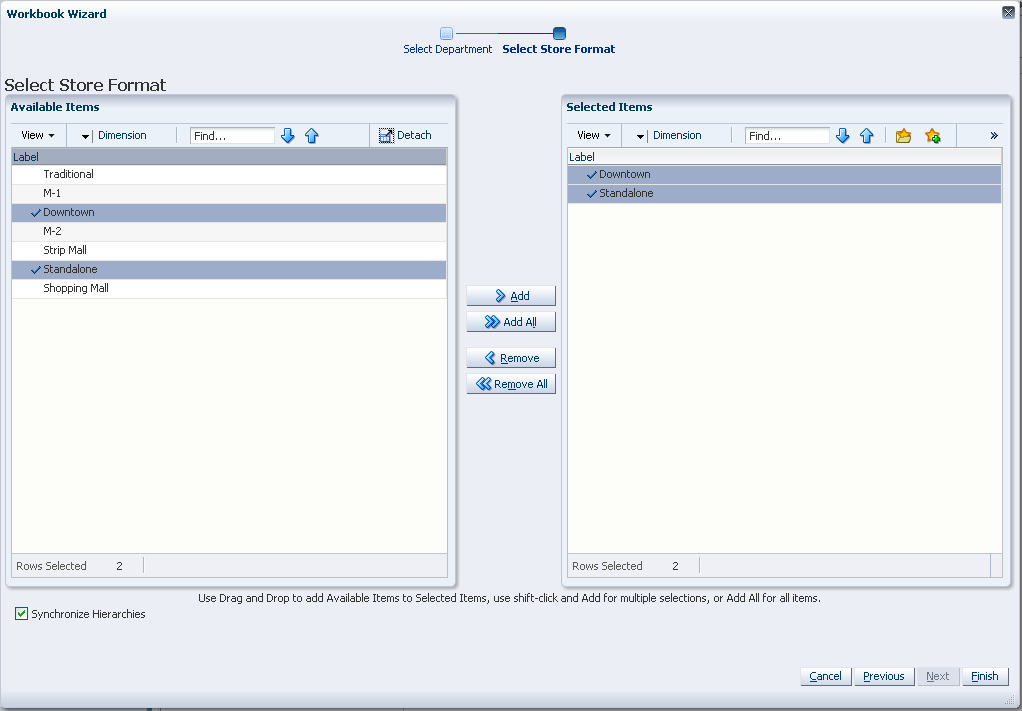
Available Store Formats lists all store formats in the AIP domain. Your previous selections are already selected. You have the ability to reselect which store formats are accessed in the workbook. The positions default to the store format level. Standard RPAS functionality is available for this wizard.
Select the store formats you want to work with and click Finish.
The SRP Administration workbook is built.
To build the WRP Administration workbook, perform these steps:
From the taskflow pane, select Product & Location Setup, then Warehouse Parameter Defaults and then click the Create New Workbook icon from any of the steps.
|
Note: You must select a domain before the workbook wizard opens. Refer to the section, Begin Building New Workbooks, for additional information. |
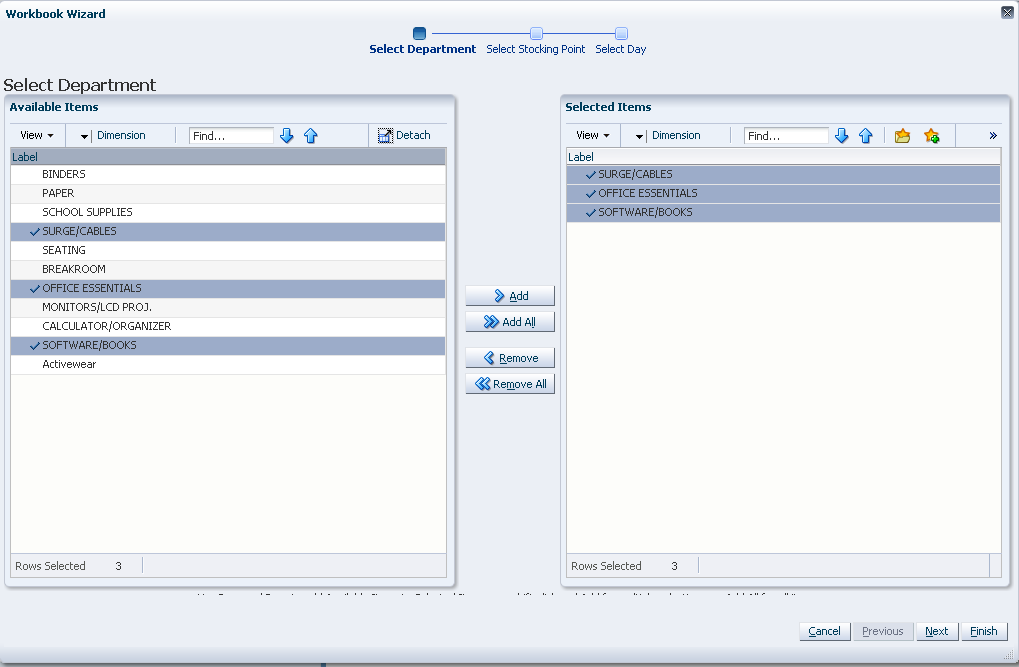
The wizard lists all available departments in the AIP domain. Any previous selections are still selected, and you have the ability to reselect which departments are accessed in the workbook. Standard RPAS functionality is available for this wizard.
Select the departments you want to work with and click Next.
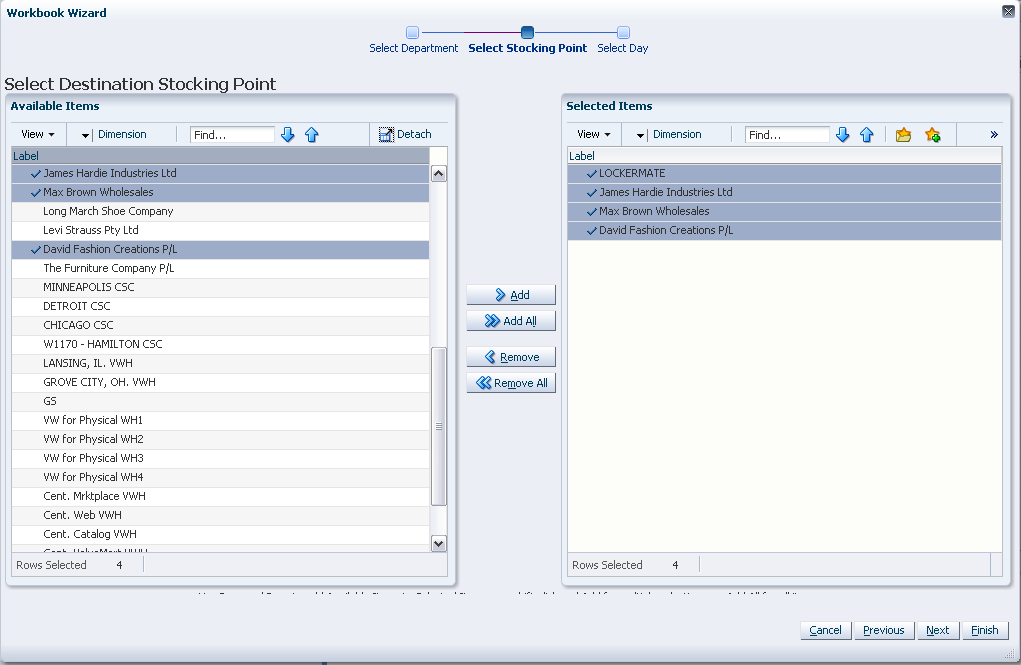
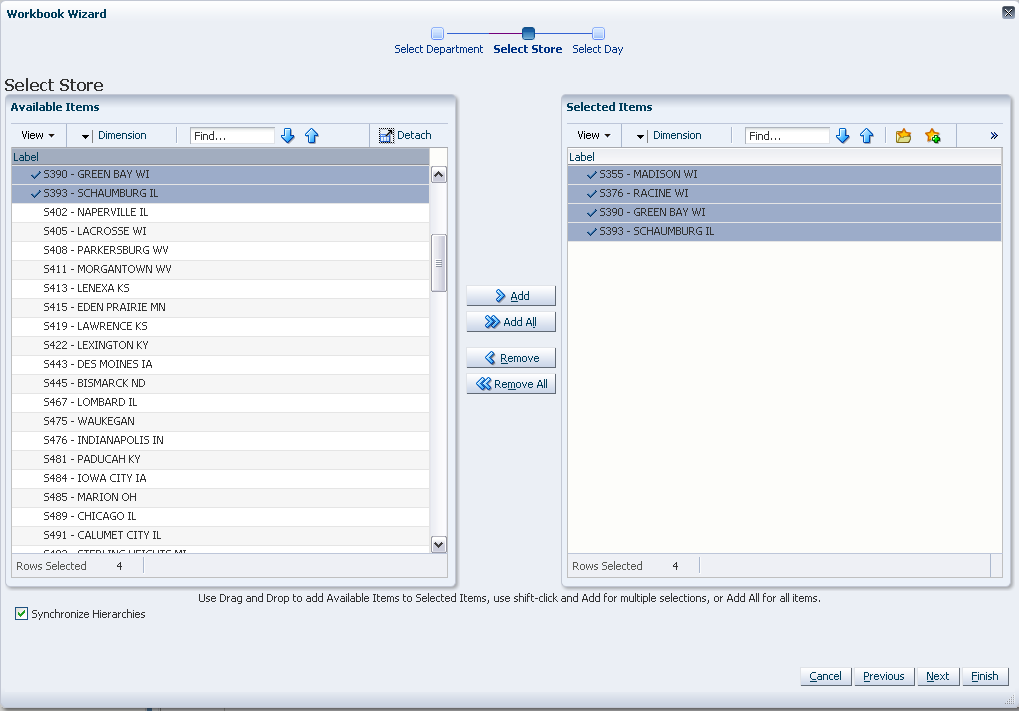
The wizard lists all available Destination Stock Points in the AIP domain. Any previous selections are still selected, and you have the ability to reselect which Destination Stock Points are accessed in the workbook. Standard RPAS functionality is available for this wizard.
Select the Destination Stocking Points you want to work with and click Next.
The wizard lists all Available Days in the AIP domain. Any previous selections are still selected, and you have the ability to reselect which Available Days are accessed in the workbook. Note that if all days in the scheduled horizon are not selected, workbook calculations may display different values from batch. Standard RPAS functionality is available for this wizard.
Select the days you want to work with and click Finish.
The WRP Administration workbook is built.
To build the SRP Maintenance workbook, perform these steps:
From the taskflow pane, select Product & Location Setup, then Store Parameter Exceptions and then click the Create New Workbook icon from any of the steps.
|
Note: You must select a domain before the workbook wizard opens. Refer to the section, Begin Building New Workbooks, for additional information. |
The wizard opens and lists all SKUs in the AIP domain. Your previous selections are already selected. You have the ability to reselect which SKUs is accessed in the workbook. The positions default to the SKU level. Standard RPAS functionality is available for this wizard. Select the SKUs you want to work with and click Next.
The wizard lists all stores in the AIP domain. Your previous selections are already selected. You have the ability to reselect which stores are accessed in the workbook. The positions default to the Store level. Standard RPAS functionality is available for this wizard. Select the stores you want to work with and click Next.
The wizard lists all dates in the AIP domain. Your previous selections are already selected. You have the ability to reselect which dates are accessed in the workbook. The positions default to the day level. Standard RPAS functionality is available for this wizard. Select the days you want to work with and click Finish.
The SRP Maintenance workbook is built.
To build the WRP Maintenance workbook, perform these steps:
From the taskflow pane, select Product & Location Setup, then Warehouse Parameter Exceptions and then click the Create New Workbook icon from any of the steps.
|
Note: You must select a domain before the workbook wizard opens. Refer to the section, Begin Building New Workbooks, for additional information. |
The wizard opens and lists all available SKU Groups in the AIP domain. Any previous selections are still selected, and you have the ability to reselect which SKU Groups are accessed in the workbook. Standard RPAS functionality is available for this wizard.
Select the SKU Groups you want to work with and click Next.
The wizard lists all available Destination Stock Points in the AIP domain. Any previous selections are still selected, and you have the ability to reselect which Destination Stock Points are accessed in the workbook. Standard RPAS functionality is available for this wizard.
Select the Destination Stocking Points you want to work with and click Next.
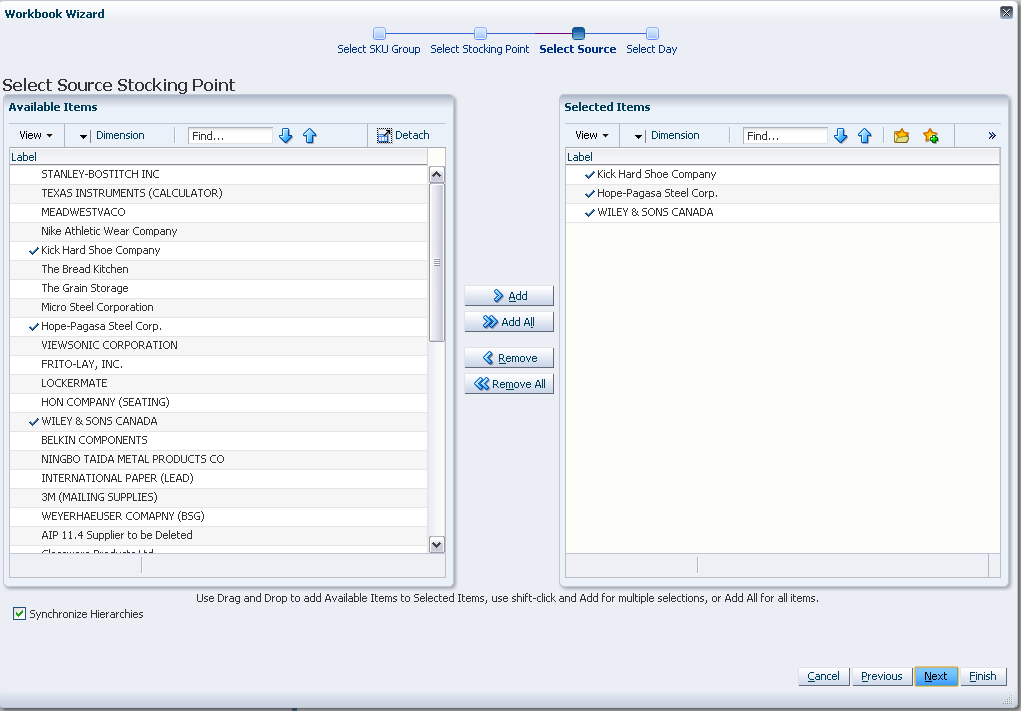
The wizard lists all available Source Stocking Points in the AIP domain. Any previous selections are still selected, and you have the ability to reselect which Source Stocking Points are accessed in the workbook. Standard RPAS functionality is available for this wizard. Select the Source Stocking Points you want to work with and click Next.
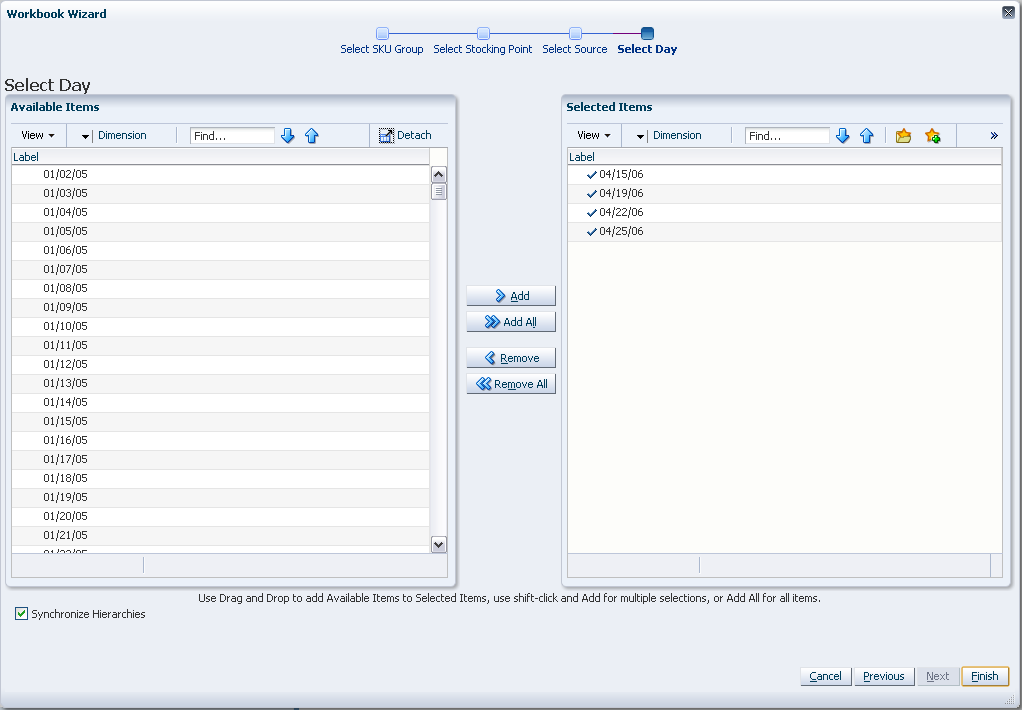
The wizard lists all available days in the AIP domain. Any previous selections are still selected, and you have the ability to reselect which days are accessed in the workbook. Standard RPAS functionality is available for this wizard. Select the days you want to work with and click Finish.
The WRP Maintenance workbook is built.
To run the WRP Additional Stock Maintenance wizard, perform these steps:
From the taskflow pane, select Product & Location Setup, then Warehouse Baseline & Contingency Stock, and then click the Create New Workbook icon.
|
Note: You must select a domain before the workbook wizard opens. Refer to the section, Begin Building New Workbooks, for additional information. |
The wizard opens and provides you with the option to create or modify a stock entry.
If New Stock Entry is selected, then enter the name for the text box for New Stock Entry.
If Modify Stock Entry is selected, then select the entry to be modified from the drop-down list of entries.
Click Next to continue.
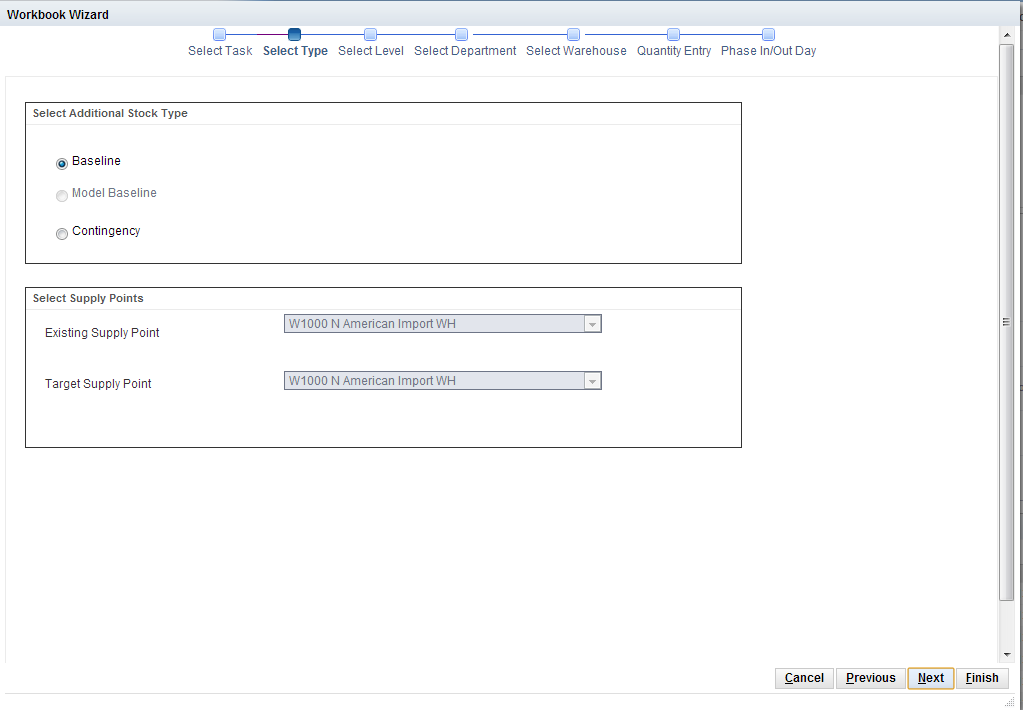
Select the stock type: baseline, model baseline, or contingency. Select any existing or target supply points. Click Next to continue.
Select the specific level - Profiles, Departments, Departments within Profile, or SKU Groups. Click Next to continue.
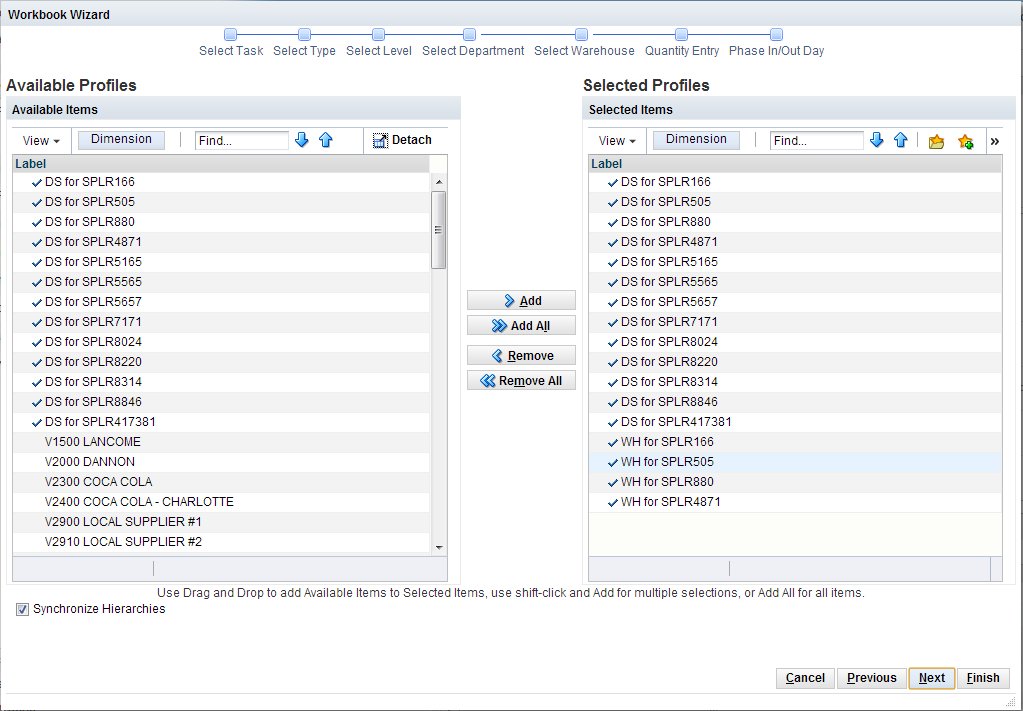
Once a specific level is selected, you must make selections for each of the elements that make up the chosen level. A different window exists for each element.Click Next to continue.
A filtered list of available warehouses is generated based on the prior selected level. You may select all warehouses or make warehouse selections from the list to which the additional stock quantity is applied.Click Next to continue.
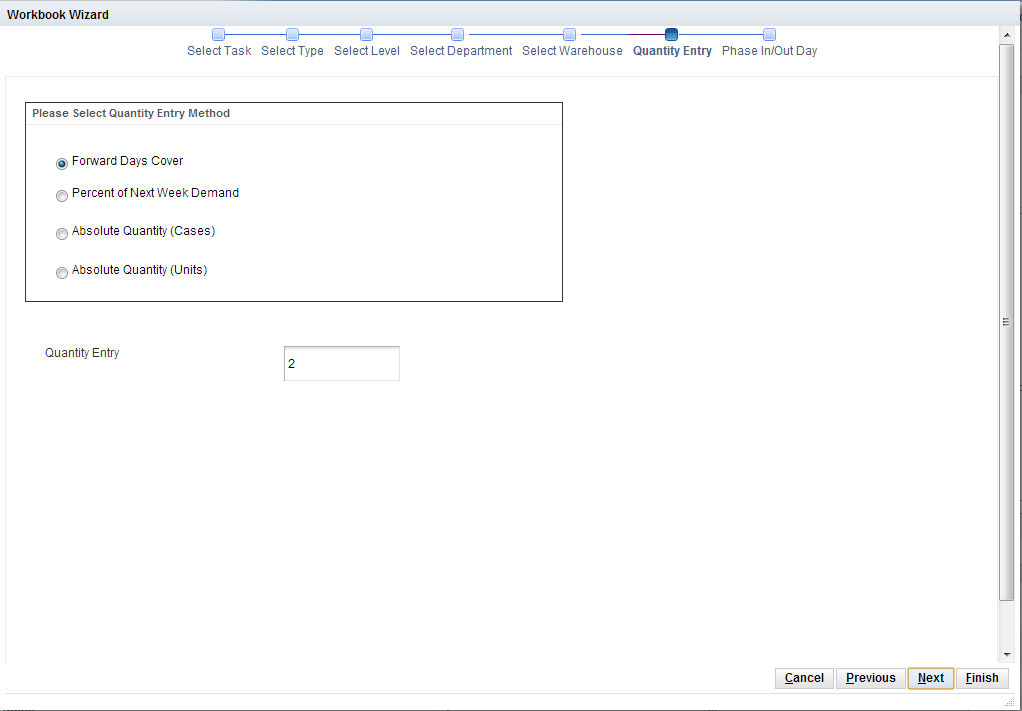
You now have the opportunity to add a baseline or contingency stock entry in units, in cases, as a number of days forward cover, or as a baseline or contingency percent. The ability to add baseline or contingency in an absolute number of units or cases applies to the SKU group level setting only. Click Next to continue.
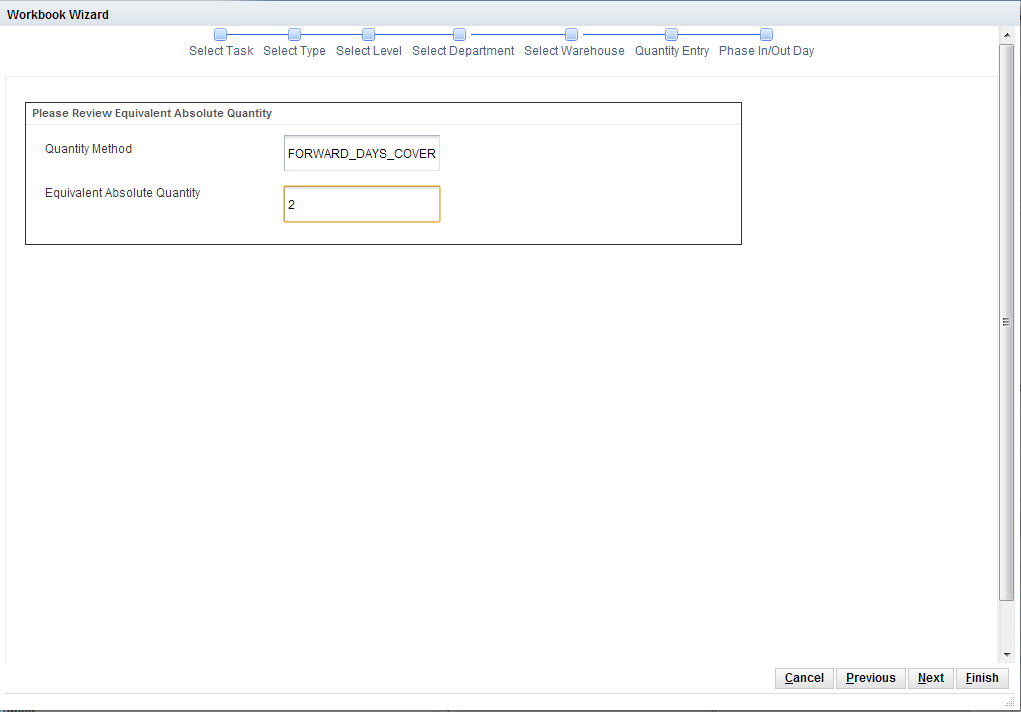
When you select stock entry as a number of days forward cover, or as percent, the following window displays the absolute quantity calculated based on the selected method. Click Next to continue.
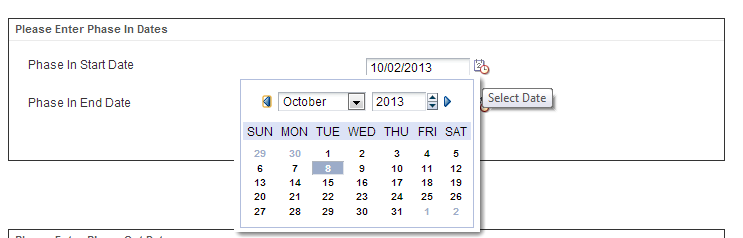
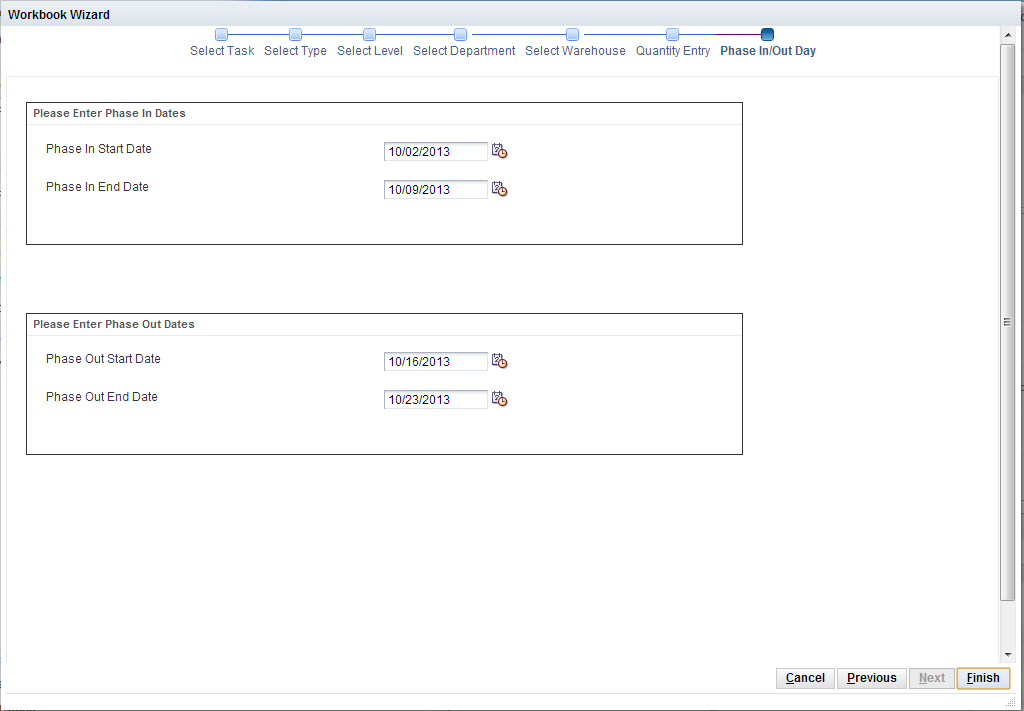
Four dates are required to determine how to Phase In Additional Stock and how to eventually Phase Out Additional Stock. You select Phase In start and end dates along with Phase Out start and end dates using the calendar. Click Next to continue.
Click Finish to complete the process and exit the wizard.
To build the SRP Presentation Stock Calculations workbook, perform these steps:
From the taskflow pane, select Product & Location Setup, then Presentation Stock Setup and then click the Create New Workbook icon from any of the steps.
|
Note: You must select a domain before the workbook wizard opens. Refer to the section, Begin Building New Workbooks, for additional information. |
The wizard opens and lists all active SKUs in the AIP domain. A SKU is considered active if, for at least one SKU-pack-size at a particular destination, the lead time is >= 0 for any source on any day within the scheduled horizon. Any previous selections are still selected, and you have the ability to reselect which SKUs are accessed in the workbook. The displayed positions default to the SKU level. Standard RPAS functionality is available for this wizard. Select the SKUs you want to work with and click Next.
The wizard lists all stores in the AIP domain. Your previous selections are already selected. You have the ability to reselect which stores is accessed in the workbook. The positions default to the store level. Standard RPAS functionality is available for this wizard. Select the stores you want to work with and click Next.
The wizard lists all days in the AIP domain. Any previous selections are still selected, and you have the ability to reselect which days are accessed in the workbook. The displayed positions default to the days level. If multiple days are selected, they must be consecutive days and must include today and yesterday. Standard RPAS functionality is available for this wizard. Select the days you want to work with and click Finish.
|
Note: Historical values in this workbook cannot be edited; thus, all historical measure values (that is, those values before and including today) are read-only. Edits are only permitted for measure values after today through the planning horizon displayed in the worksheet. Today is also read-only. |
The SRP Presentation Stock Calculations workbook is built.
To build the SRP Inventory Capping Parameters workbook, perform these steps:
From the taskflow pane, select Product & Location Setup, then Inventory Cap Setup Parameters and then click the Create New Workbook icon from any of the steps.
|
Note: You must select a domain before the workbook wizard opens. Refer to the section, Begin Building New Workbooks, for additional information. |
The wizard opens and lists all departments in the AIP domain. Your previous selections are already selected. You have the ability to reselect which departments are accessed in the workbook. The positions default to the department level. Standard RPAS functionality is available for this wizard. Select the departments you want to work with and click Next.
The wizard lists all stores in the AIP domain. Your previous selections are already selected. You have the ability to reselect which stores is accessed in the workbook. The positions default to the store level. Standard RPAS functionality is available for this wizard. Select the stores you want to work with and click Next.
The wizard lists all dates in the AIP domain. Your previous selections are already selected. You have the ability to reselect which dates are accessed in the workbook. The positions default to the day level. Standard RPAS functionality is available for this wizard. Select the days you want to work with and click Finish.
The SRP Inventory Capping Parameters workbook is built.
To build the Apply Inventory Capping SRP Apply Inventory Capping workbook, perform these steps:
From the taskflow pane, select Product & Location Setup, then Review & Approve Inventory Capping and then click the Create New Workbook icon from any of the steps.
|
Note: You must select a domain before the workbook wizard opens. Refer to the section, Begin Building New Workbooks, for additional information. |
The wizard opens and lists all departments in the AIP domain with capping enabled for one or more SKUs. Your previous selections are already selected. When a department is selected then all SKUs in the departments with an expanded Capping Flag set to Y is automatically included the workbook. The wizard filters out SKUs with a Capping Flag set to N.
If there are no departments to select because there are no SKUs with capping enabled, then this warning message displays: No capped SKUs available, please setup capped SKUs and the wizard is not invoked. Once you select OK, the system returns to its base state.
There is no selection of individual SKUs through the wizard. You have the ability to reselect which departments are accessed in the workbook. The positions default to the Department level. Standard RPAS functionality is available for this wizard.
Select the departments you want to work with and click Next.
The wizard lists all stores in the AIP domain. Your previous selections are already selected. You have the ability to reselect which stores are accessed in the workbook. The positions default to the Store level. Standard RPAS functionality is available for this wizard.
Select the stores you want to work with and click Next.
The wizard lists all dates in the AIP domain. Your previous selections are already selected. You have the ability to reselect which dates are accessed in the workbook. The positions default to the Day level. Standard RPAS functionality is available for this wizard.
Select the days you want to work with and click Finish.
The Apply Inventory Capping SRP Apply Inventory Capping workbook is built.
Apply SKU Cap Custom Menu Button
The Apply SKU Cap button provides you with the means to update the database with the desired cap values.
Selecting Apply SKU Caps populates the Active SKU Caps values on the view with the What-if SKU caps. All Cap Types are set back to the default value of Previous What-if.
To build the SRP Inventory Capping Management workbook, perform these steps:
From the taskflow pane, select Product & Location Setup, then Maintain Inventory Capping Values and then click the Create New Workbook icon from any of the steps.
|
Note: You must select a domain before the workbook wizard opens. Refer to the section, Begin Building New Workbooks, for additional information. |
The wizard opens and lists all departments in the AIP domain with capping enabled for one or more SKUs. Your previous selections are already selected. When a department is selected then all SKUs in the departments with an expanded Capping Flag set to Y is automatically included the workbook. The wizard filters out SKUs with a Capping Flag set to N.
If there are no departments to select because there are no SKUs with capping enabled, then this warning message displays: No capped SKUs available, please setup capped SKUs and the wizard is not invoked. Once you select OK, the system returns to its base state.
There is no selection of individual SKUs through the wizard. You have the ability to reselect which departments are accessed in the workbook. The positions default to the Department level. Standard RPAS functionality is available for this wizard.
Select the departments you want to work with and click Next.
The wizard lists all stores in the AIP domain. Your previous selections are already selected. You have the ability to reselect which stores are accessed in the workbook. The positions default to the Store level. Standard RPAS functionality is available for this wizard.
Select the stores you want to work with and click Next.
The wizard lists all dates in the AIP domain. Your previous selections are already selected. You have the ability to reselect which dates are accessed in the workbook. The positions default to the Day level. Standard RPAS functionality is available for this wizard.
Select the days you want to work with and click Finish.
The SRP Inventory Capping Management workbook is built.
Apply SKU Cap Custom Menu Button
The Apply SKU Cap button provides you with the means to update the database with the desired cap values.
Selecting Apply SKU Caps populates the Active SKU Caps values on the view with the What-if SKU caps. All Cap Types are set back to the default value of Previous What-if.
This section describes how to build these Allocate Activity workbooks for AIP on the RPAS Fusion client that include:
Table 5-5 lists the tasks, steps and views for the Allocate Activity workbooks.
Table 5-5 Allocate Activity Workbooks
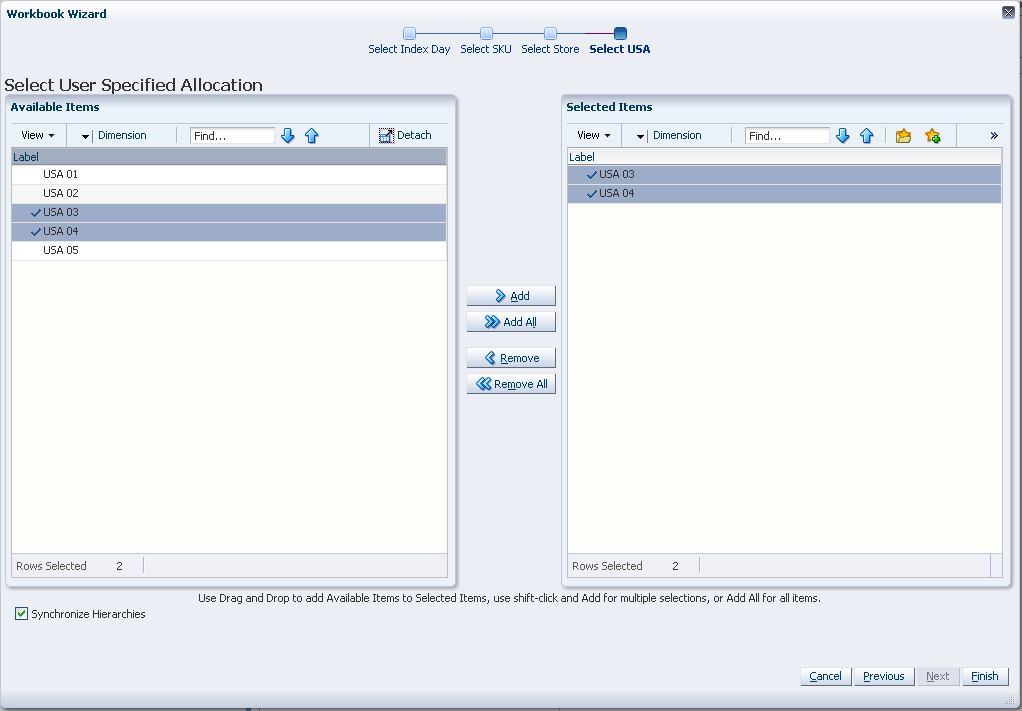
To build the USA Replacement, Additive, and Delivery Window workbook, perform these steps:
From the taskflow pane, select Allocate, then Create Additive, Replacement, Delivery Window USA and then click the Create New Workbook icon from any of the steps.
|
Note: You must select a domain before the workbook wizard opens. Refer to the section, Begin Building New Workbooks, for additional information. |
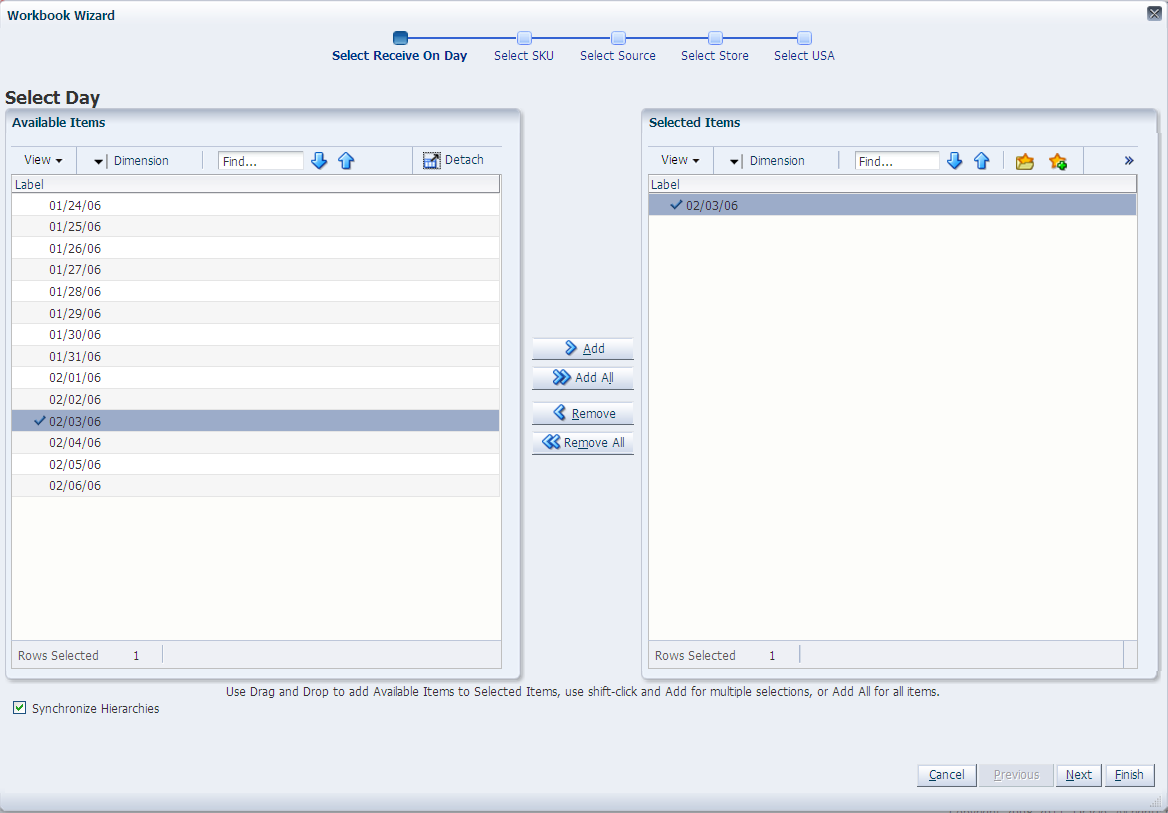
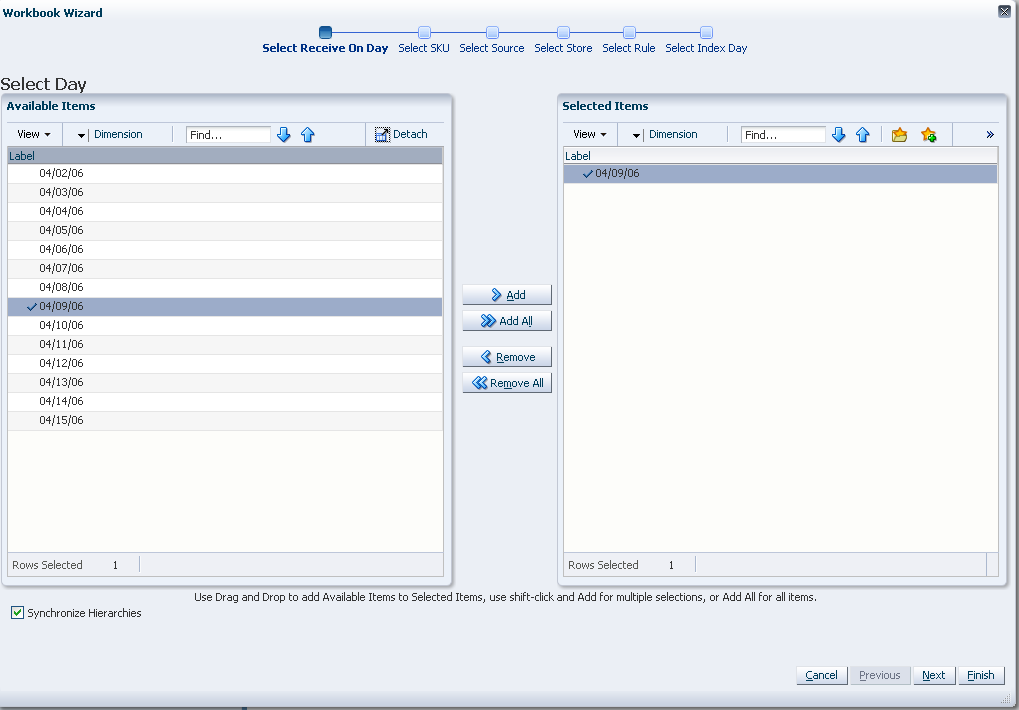
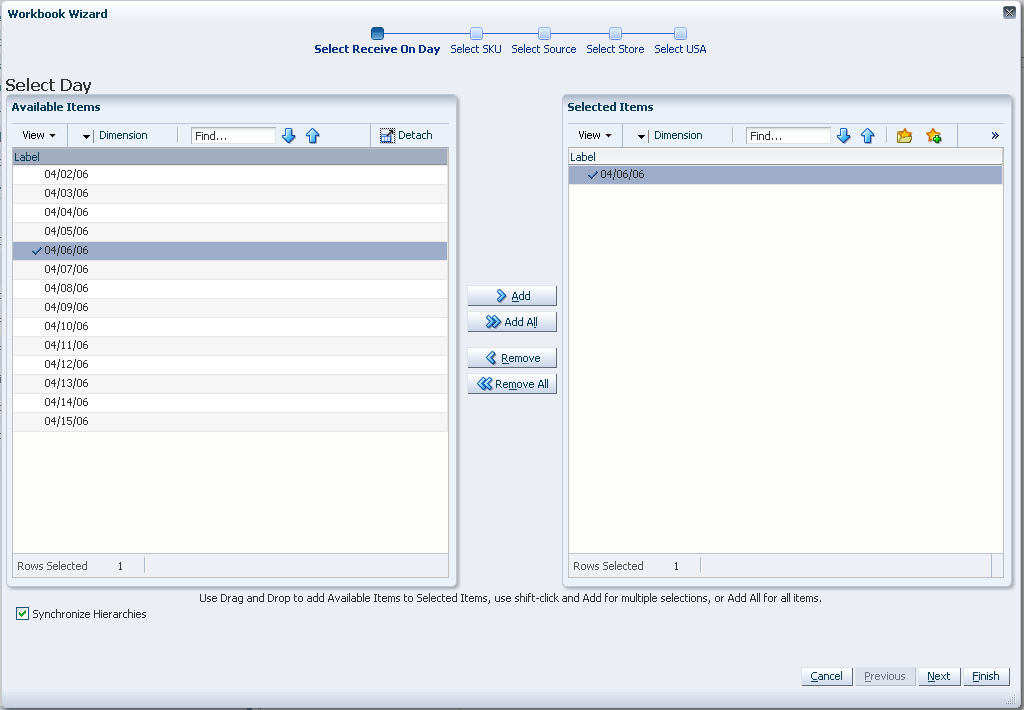
The wizard opens and displays a list of all dates from tomorrow through the maximum planning horizon. Your previous selection is not already selected. You have the ability to select which date is accessed in the workbook. Standard RPAS functionality is available for this wizard.
Select the day you want to work with and click Next.
|
Note: Only one Selected Receive On Day is allowed. |
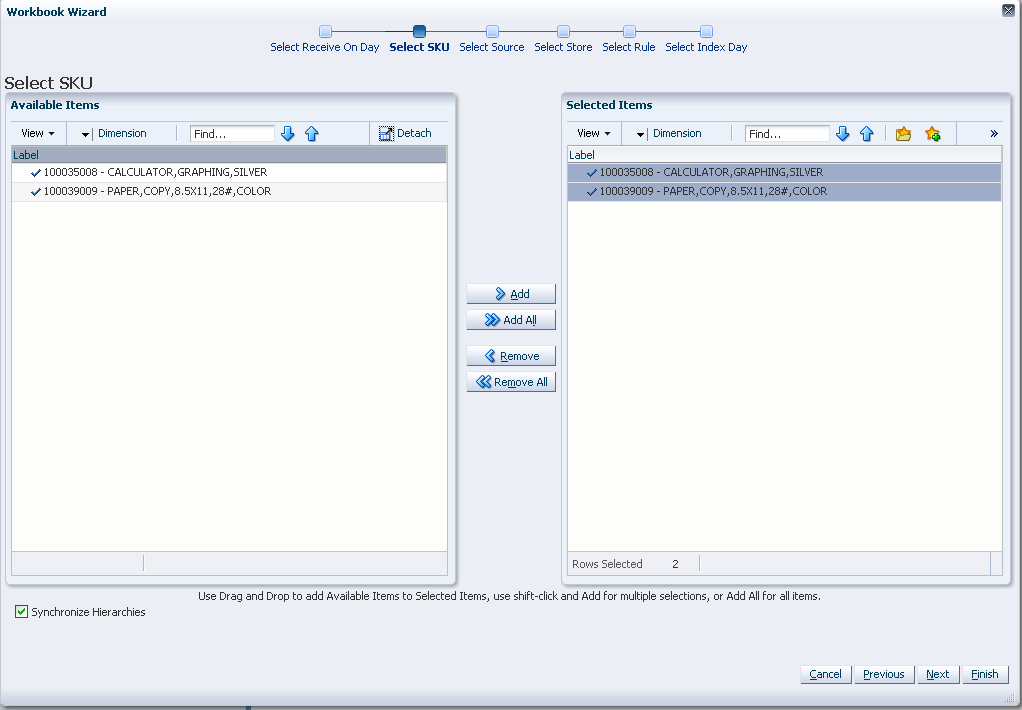
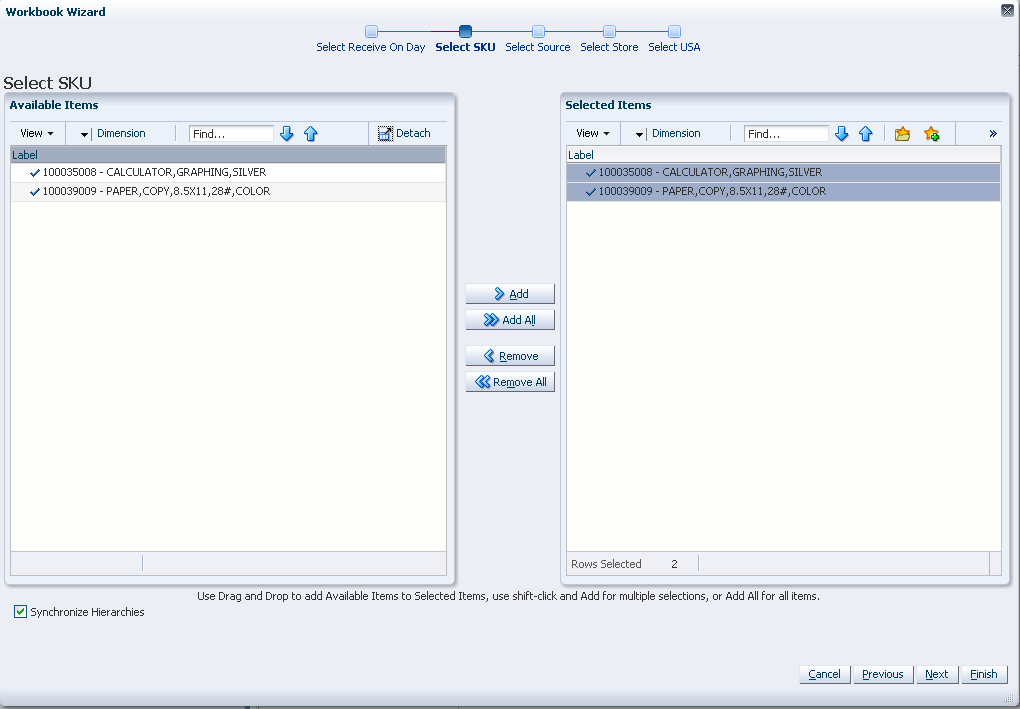
The wizard lists all SKUs that:
Have a Source for the store on the day selected
Are On Supply for any store on either the day selected or any date within the planning horizon
Have a valid Store Ordering Pack-size on the day selected
Your previous selections are not already selected. You have the ability to select which SKUs are accessed in the workbook. Standard RPAS functionality is available for this wizard.
Select the SKUs you want to work with and click Next.
|
Note: If no filtering criteria were met for any SKU based on the receive-on date selected from the previous wizard window, you are notified with this warning message: There is no store source for the day selected. |
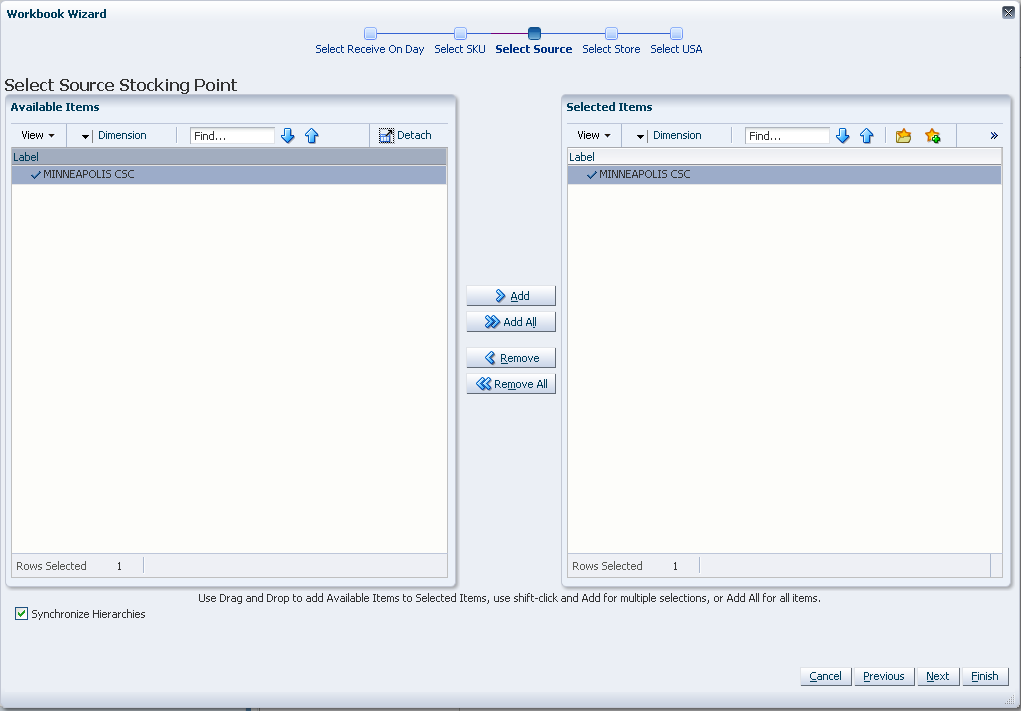
The wizard displays a list of all Source Stocking Points for the SKUs and day selected. Your previous selections are not already selected. You have the ability to select which Source Stocking Points are accessed in the workbook. Standard RPAS functionality is available for this wizard.
Select the Source Stocking Points you want to work with and click Next.
|
Note: If no warehouse stocking point is selected, the first warehouse found is brought into the workbook. If no supplier stocking point is selected, the first supplier found is brought into the workbook. Also, Delivery Window USAs can only be created for those items sourced by a warehouse. |
The wizard lists all stores sourced by the selected Source Stocking Point for the SKUs and day selected and the SKU is On Supply. Your previous selections are not already selected. You have the ability to select which Stores are accessed in the workbook. Standard RPAS functionality is available for this wizard.
Select the stores you want to work with and click Finish.
The USA Replacement, Additive, and Delivery Window workbook is built.
To build the USA Delete workbook, perform these steps:
From the taskflow pane, select Allocate, then Delete Additive, Replacement, Delivery Window USA and then click the Create New Workbook icon from any of the steps.
|
Note: You must select a domain before the workbook wizard opens. Refer to the section, Begin Building New Workbooks, for additional information. |
The wizard opens. Select the days you want to work with and click Next.
Select the SKUs you want to work with and click Next.
Select the stores you want to work with and click Finish.
The USA Delete workbook is built.
To build the USA Create Rule Based Index workbook, perform these steps:
From the taskflow pane, select Allocate, then Create Rule Based Index USA and then click the Create New Workbook icon from any of the steps.
|
Note: You must select a domain before the workbook wizard opens. Refer to the section, Begin Building New Workbooks, for additional information. |
The wizard opens and lists all dates with your previous selections already selected. You have the ability to reselect dates to be accessed in the workbook. If multiple days are selected, they must be consecutive days. Standard RPAS functionality is available for this page.
Select the days you want to work with and click Next.
|
Note: To use the Store Adjusted Sales as the basis for the rule based index you must select days in the past. For Store Receipt Plan or Store Forecast Demand, days in the future must be selected. |
The wizard lists all SKUs with your previous selections already selected. You have the ability to reselect which SKUs is accessed in the workbook. Standard RPAS functionality is available for this wizard.
Select the SKUs you want to work with and click Next.
The wizard lists all stores with your previous selections already selected. You have the ability to reselect which stores are accessed in the workbook. Standard RPAS functionality is available for this wizard.
Select the stores you want to work with and click Finish.
The USA Create Rule Based Index workbook is built.
To build the USA Allocation on Rule Based Index workbook, perform these steps:
From the taskflow pane, select Allocate, then Rule Based Index USA and then click the Create New Workbook icon from any of the steps.
|
Note: You must select a domain before the workbook wizard opens. Refer to the section, Begin Building New Workbooks, for additional information. |
The wizard opens and displays a list of all dates from tomorrow through the maximum planning horizon. Your previous selection is not already selected. You have the ability to select which date is accessed in the workbook. Standard RPAS functionality is available for this wizard. Select the day you want to work with and click Next.
|
Note: Only one Selected Receive On Day is allowed. If multiple days are selected you are warned that only one date may be chosen. |
The wizard lists all SKUs that:
Have a source for the store on the day selected
Are On Supply for any store on either the day selected or any date within the planning horizon
Have a valid Store Ordering Pack-size on the day selected
Your previous selections are not already selected. You have the ability to select which SKUs are accessed in the workbook. Standard RPAS functionality is available for this wizard.
Select the SKUs you want to work with and click Next.
|
Note: If no filtering criteria were met for any SKU based on the receive-on date selected from the previous wizard window, you are notified by the following warning message: There is no store source for the day selected. |
The wizard displays a list of all Source Stocking Points for the SKUs and day selected. Your previous selections are not already selected. You have the ability to select which Source Stocking Points are accessed in the workbook. Standard RPAS functionality is available for this wizard. Select the Source Stocking Points you want to work with and click Next.
|
Note: If no warehouse stocking point is selected, the first warehouse found is brought into the workbook. If no supplier stocking point is selected, the first supplier found is brought into the workbook. Also, Delivery Window USAs can only be created for those items sourced by a warehouse. |
The wizard lists all stores sourced by the selected Source Stocking Point for the SKUs and day selected and the SKU is On Supply. Your previous selections are not already selected. You have the ability to select which stores are accessed in the workbook. Standard RPAS functionality is available for this wizard.
Select the stores you want to work with and click Next.
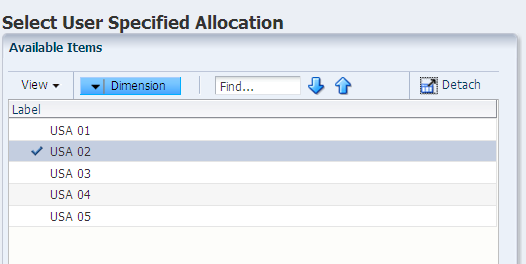
The wizard lists all USAs with your previous selections already selected. You have the ability to re-select which USAs are accessed in the workbook. Standard RPAS functionality is available for this wizard.
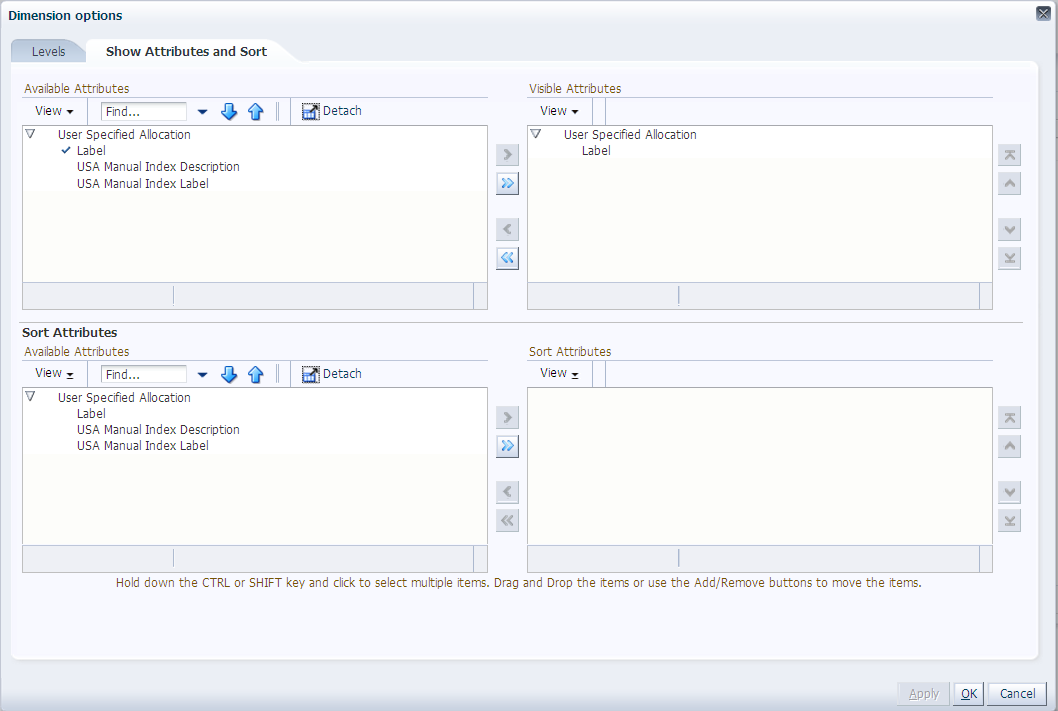
You can display position attributes to view the associated label and description for each USA that was set up using the USA Create Store Based Index workbook.
To view and sort the attributes, select the USA and then click the Dimension list.
Then select the Show Attributes and Sort tab to view, find, and sort the available attributes.
To finish the USA Allocation on Rule Based Index workbook, select the USA you want to work with and click Next.
The USA Allocation on Rule Based Index workbook is built.
To build the USA Allocation on Dynamic Rule Based Index workbook, perform these steps:
From the taskflow pane, select Allocate, then Dynamic Rule Based Index USA and then click the Create New Workbook icon from any of the steps.
|
Note: You must select a domain before the workbook wizard opens. Refer to the section, Begin Building New Workbooks, for additional information. |
The wizard opens and displays a list of all dates from tomorrow through the maximum planning horizon. Your previous selection is not already selected. You have the ability to select which date is accessed in the workbook. Standard RPAS functionality is available for this wizard. Select the day you want to work with and click Next.
|
Note: Only one Selected Receive On Day is allowed. |
The wizard lists all SKUs that:
Have a source for the store on the day selected
Are On Supply for any store on either the day selected or any date within the planning horizon
Have a valid Store Ordering Pack-size on the day selected
Your previous selections are not already selected. You have the ability to select which SKUs are accessed in the workbook. Standard RPAS functionality is available for this wizard.
Select the SKUs you want to work with and click Next.
|
Note: If no filtering criteria were met for any SKU based on the receive-on date selected from the previous wizard window, you are notified by the following warning message: There is no store source for the day selected. |
The wizard displays a list of all Source Stocking Points for the SKUs and day selected. Your previous selections are not already selected. You have the ability to select which Source Stocking Points are accessed in the workbook. Standard RPAS functionality is available for this wizard. Select the Source Stocking Points you want to work with and click Next.
|
Note: If no warehouse stocking point is selected, the first warehouse found is brought into the workbook. If no supplier stocking point is selected, the first supplier found is brought into the workbook. Also, Delivery Window USAs can only be created for those items sourced by a warehouse. |
The wizard lists all stores sourced by the selected Source Stocking Point for the SKUs and day selected and the SKU is On Supply. Your previous selections are not already selected. You have the ability to select which stores are accessed in the workbook. Standard RPAS functionality is available for this wizard. Select the stores you want to work with and click Next.
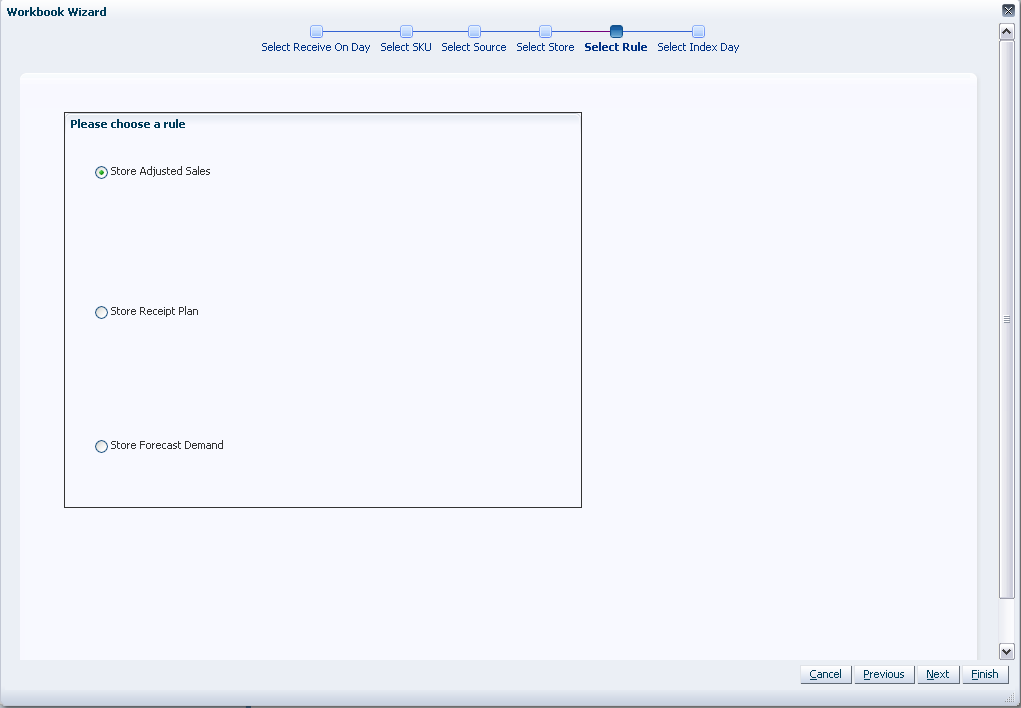
The wizard allows you to choose a rule from these options:
Store Adjusted Sales
Store Receipt Plan
Store Forecast Demand
Select the rule you want to work with and click Next.
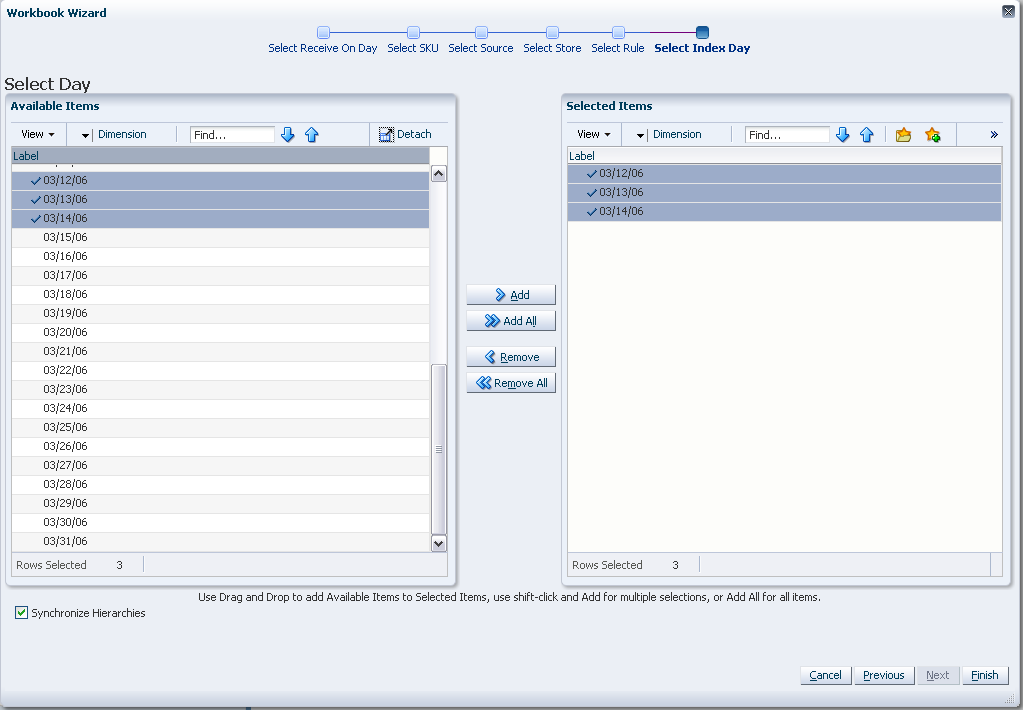
Select the days for the Select Days to Build Index you want to work with and click Finish.
The Available Days to Include in the index calculations are selected based on the rule selected.
For Store Adjusted Sales, select days before today to include in the index calculation.
For Store Receipt Plan or Store Forecast Demand, select days after today to include in the index calculation.
In all cases the days selected must be consecutive days.
The USA Allocation on Dynamic Rule Based Index workbook is built.
To build the USA Create Store Based Index workbook, perform these steps:
From the taskflow pane, select Allocate, then Create Store Based Index USA and then click the Create New Workbook icon from any of the steps.
|
Note: You must select a domain before the workbook wizard opens. Refer to the section, Begin Building New Workbooks, for additional information. |
The wizard opens and lists all dates with your previous selections already selected. You have the ability to reselect dates to be accessed in the workbook. If multiple days are selected, they must be consecutive days. Standard RPAS functionality is available for this page. To use the Store Adjusted Sales as the basis for the rule based index you must select days in the past. For Store Receipt Plan or Store Forecast Demand, days in the future must be selected. Select the days you want to work with and click Next.
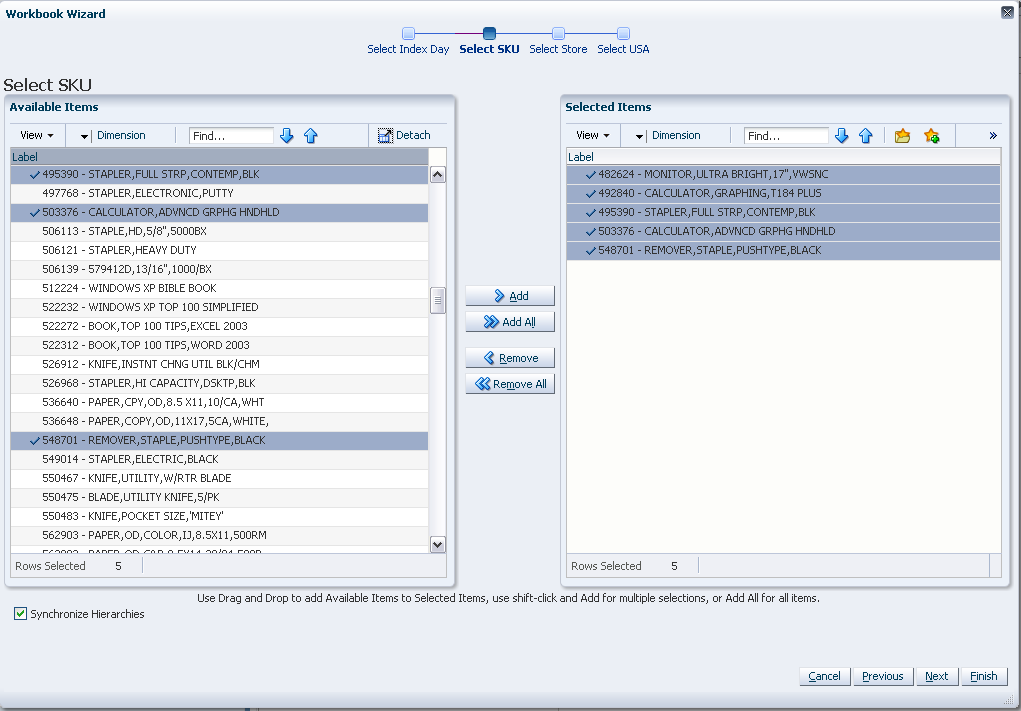
The wizard lists all SKUs with your previous selections already selected. You have the ability to reselect which SKUs are accessed in the workbook. Standard RPAS functionality is available for this wizard. Select the SKUs you want to work with and click Next.
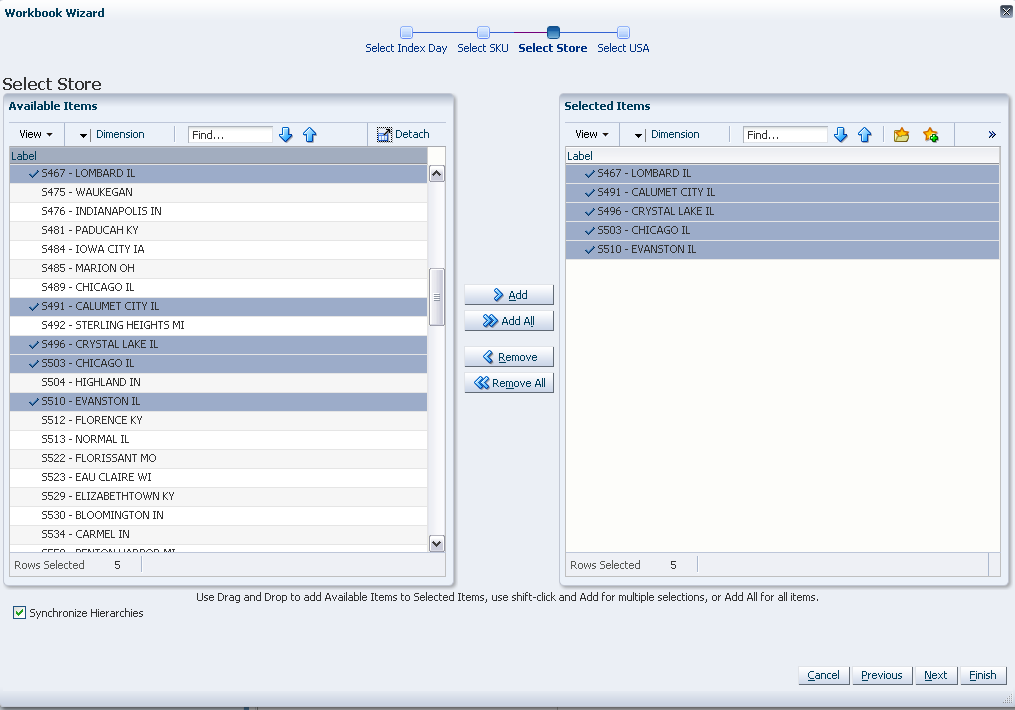
The wizard lists all stores with your previous selections already selected. You have the ability to reselect which stores are accessed in the workbook. Standard RPAS functionality is available for this wizard. Select the stores you want to work with and click Next.
The wizard lists all USAs with your previous selections already selected. You have the ability to reselect which USAs are accessed in the workbook. Standard RPAS functionality is available for this wizard.
You can display position attributes to see the associated label and description for each USA that was set up using the USA Create Store Based Index workbook. In order to see this, right click on the USA, click Select Display and sort attributes and click the USA Manual Index Label and USA Manual Index Description to the right for Display Attributes.
Select the USAs you want to work with and click Finish.
The USA Create Store Based Index workbook is built.
To build the USA Allocation on Store Based Index workbook, perform these steps:
From the taskflow pane, select Allocate, then Store Based Index USA and then click the Create New Workbook icon from any of the steps.
|
Note: You must select a domain before the workbook wizard opens. Refer to the section, Begin Building New Workbooks, for additional information. |
The wizard opens and displays a list of all dates from tomorrow through the maximum planning horizon. Your previous selection is not already selected. You have the ability to select which date is accessed in the workbook. Standard RPAS functionality is available for this wizard.
Select the one day you want to work with and click Next.
|
Note: Only one Selected Receive On Day is allowed. If multiple days are selected you are warned that only one date may be chosen. |
The wizard lists all SKUs that:
Have a Source for the store on the day selected
Are On Supply for any store on either the day selected or any date within the planning horizon
Have a valid Store Ordering Pack-size on the day selected
Your previous selections are not already selected. You have the ability to select which SKUs are accessed in the workbook. Standard RPAS functionality is available for this wizard.
Select the SKUs you want to work with and click Next.
|
Note: If no filtering criteria were met for any SKU based on the receive-on date selected from the previous wizard window, you are notified by the following warning message: There is no store source for the day selected. |
The wizard displays a list of all Source Stocking Points for the SKUs and day selected. Your previous selections are not already selected. You have the ability to select which Source Stocking Points are accessed in the workbook. Standard RPAS functionality is available for this wizard.
Select the Source Stocking Points you want to work with and click Next.
|
Note: If no warehouse stocking point is selected, the first warehouse found is brought into the workbook. If no supplier stocking point is selected, the first supplier the first supplier found is brought into the workbook. |
The wizard lists all Stores sourced by the selected Source Stocking Point for the SKUs, day selected, and the SKU is On Supply. Your previous selections are not already selected. You have the ability to select which Stores are accessed in the workbook. Standard RPAS functionality is available for this wizard.
Select the stores you want to work with and click Next.
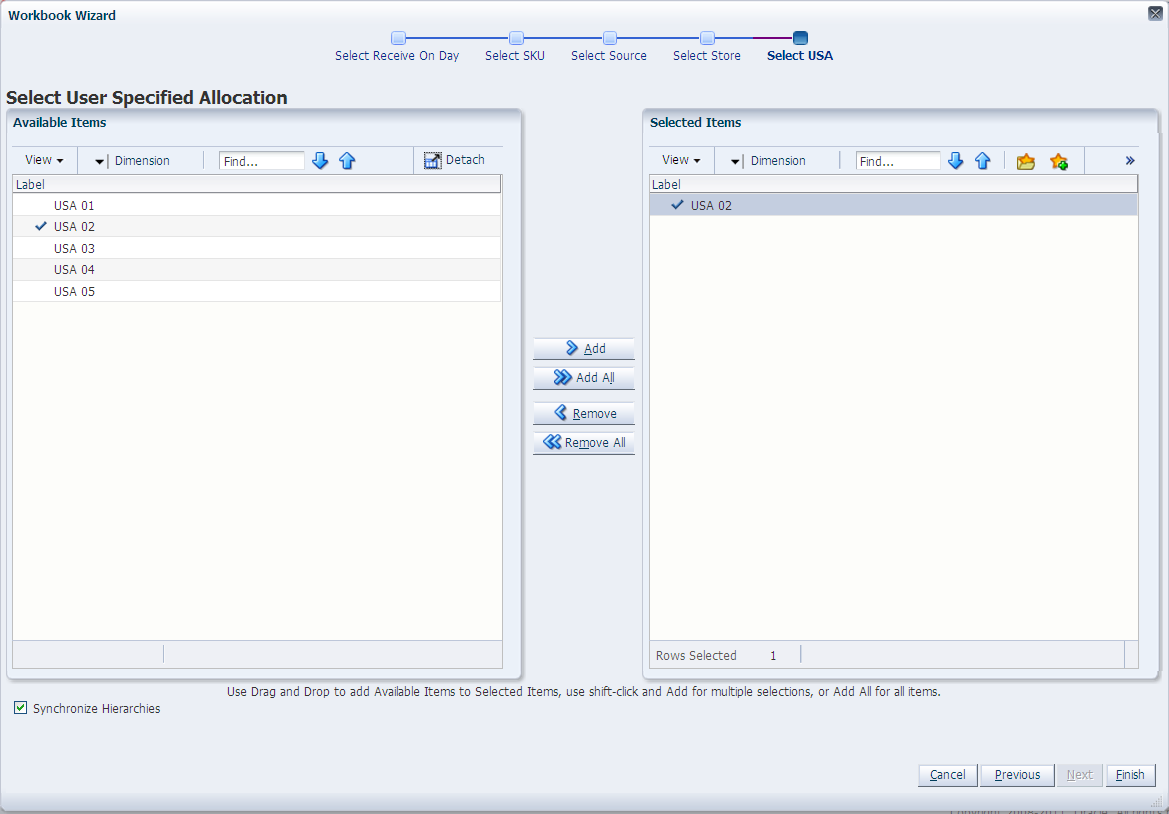
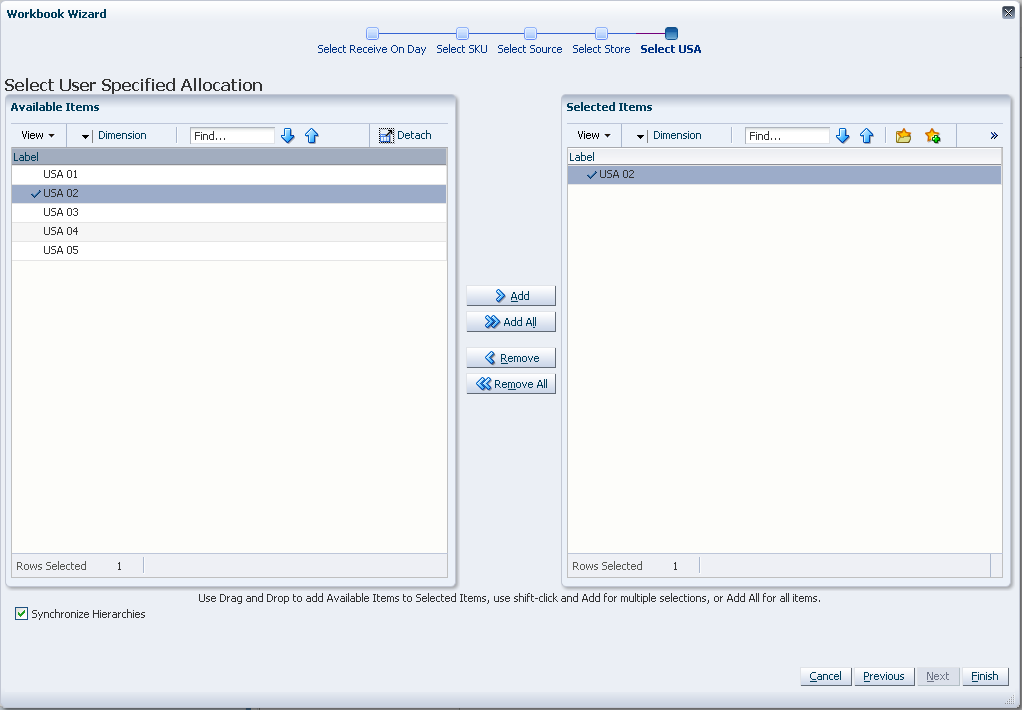
The wizard lists all USAs. Your previous selection is already selected. You have the ability to reselect which USA is accessed in the workbook. Standard RPAS functionality is available for this wizard.
Select the one USA you want to work with and click Finish.
|
Note: If you select more than one USA, you are notified by this warning message: Only one USA position can be selected. |
The USA Allocation on Store Based Index workbook is built.
This section describes how to build these System Setup Activity workbooks for AIP on the RPAS Fusion client that include:
Table 5-6 lists the tasks, steps and views for the System Setup Activity workbooks.
Table 5-6 System Setup Activity Workbooks
To build the SRP Alert Maintenance workbook, perform these steps:
From the taskflow pane, select System Setup, then Store Alert Thresholds & Masks and then click the Create New Workbook icon from any of the steps.
|
Note: You must select a domain before the workbook wizard opens. Refer to the section, Begin Building New Workbooks, for additional information. |
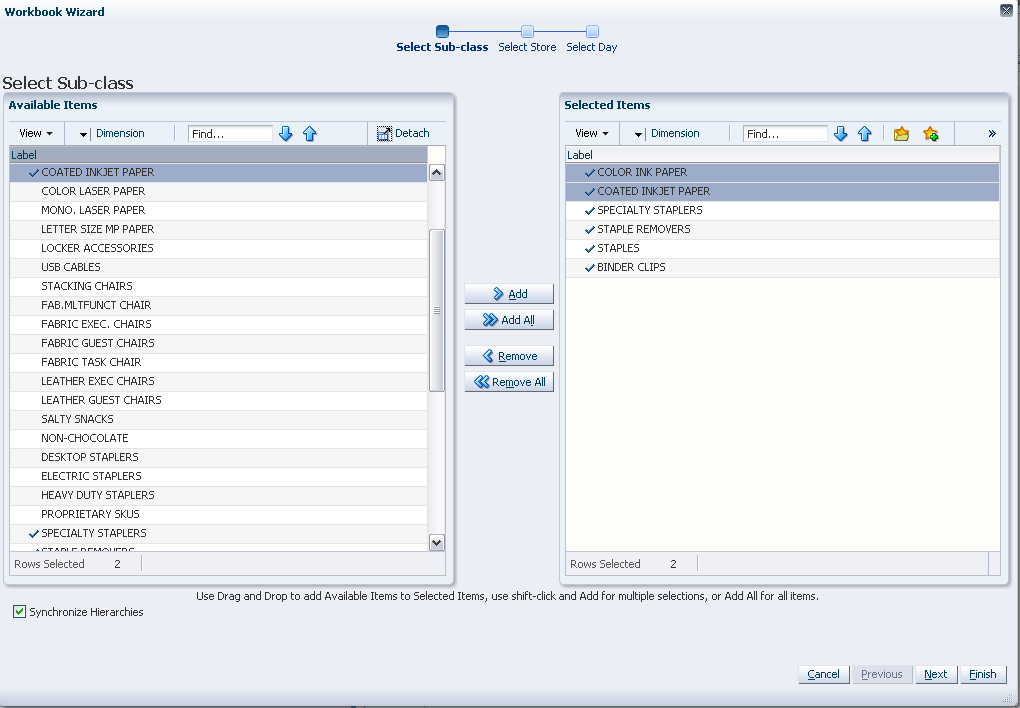
The wizard opens. Select the Sub-classes you want to work with and click Next.
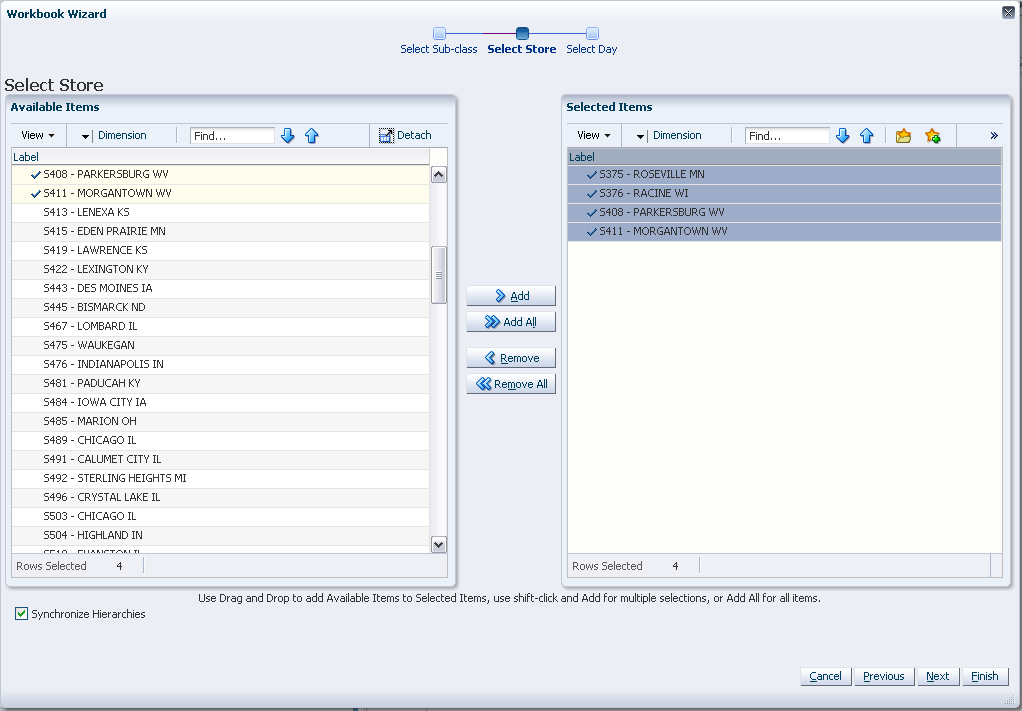
Select the stores you want to work with and click Next.
Select the days you want to work with and click Finish.
The SRP Alert Maintenance workbook is built.
To build the WRP Alert Maintenance workbook, perform these steps:
From the taskflow pane, select System Setup, then Warehouse Alert Thresholds & Masks and then click the Create New Workbook icon from any of the steps.
|
Note: You must select a domain before the workbook wizard opens. Refer to the section, Begin Building New Workbooks, for additional information. |
The wizard opens and lists all SKUs with your previous selections already selected. You have the ability to reselect which SKUs are accessed in the workbook. Standard RPAS functionality is available for this wizard. Select the SKUs you want to work with and click Next.
The wizard lists all available Destination Stock Points in the AIP domain. Any previous selections are still selected, and you have the ability to reselect which Destination Stock Points are accessed in the workbook. Standard RPAS functionality is available for this wizard. Select the Destination Stocking Points you want to work with and click Next.
The wizard lists all available days in the AIP domain. Any previous selections are still selected, and you have the ability to reselect which days are accessed in the workbook. Standard RPAS functionality is available for this wizard. Select the days you want to work with and click Finish.
The WRP Alert Maintenance workbook is built.
To build the WRP Network Threshold Maintenance workbook, perform these steps:
From the taskflow pane, select System Setup, then Network Thresholds & Masks and then click the Create New Workbook icon from any of the steps.
|
Note: You must select a domain before the workbook wizard opens. Refer to the section, Begin Building New Workbooks, for additional information. |
The wizard opens and lists available Destination Stocking Points in the AIP domain. Any previous selections are still selected, and you have the ability to reselect which Destination Stock Points are accessed in the workbook. Standard RPAS functionality is available for this wizard.
Select the Destination Stocking Points you want to work with and click Next.
Select Network Groups from a list of all available Network Groups in the AIP domain. Any previous selections are still selected, and you have the ability to reselect which Network Groups are accessed in the workbook. Standard RPAS functionality is available for this wizard.
Select the Network Groups you want to work with and click Next.
Select days from a list of all available days in the AIP domain. Any previous selections are still selected, and you have the ability to reselect which days are accessed in the workbook. Standard RPAS functionality is available for this wizard.
Select the days you want to work with and click Finish.
The WRP Network Threshold Maintenance workbook is built.
|
Note: Because values in this workbook are used by the entire SRP system, it is recommended that security is set to allow a single or limited number of super users access to this workbook. |
To build the SRP Implementation Parameters workbook, perform this step:
From the taskflow pane, select System Setup, then Store System Setup Parameters Task and then click the Create New Workbook icon from any of the steps.
|
Note: You must select a domain before this workbook is created. Refer to the section, Begin Building New Workbooks, for additional information. Since this workbook is scalar, no wizard is required. |
The SRP Implementation Parameters workbook is built.