| Oracle® Retail Merchandising Cloud Services Administration Guide Release 16.0.027 E96476-02 |
|

 Previous |
 Next |
| Oracle® Retail Merchandising Cloud Services Administration Guide Release 16.0.027 E96476-02 |
|
Previous |
Next |
This chapter describes the processes for maintaining users and roles as well as batch processes. For information regarding standard end user activities like creating and viewing reports, please see the Oracle Retail Merchandising Cloud Services User Guide.
It is considered to be a best practice to have all Oracle Retail Merchandising Cloud Services support requests submitted through a single point of contact for that customer environment; the client designated administrator is usually designated to perform this role.
The link to use when submitting Service Requests (SR) is:
Before users can access the Oracle Retail Merchandising Cloud Services applications it is necessary to provision each user access to the system, and assign roles to each user to control what functionality will be available to them. The access provisioning is done using Oracle Identity Management (OIM). The following steps explain how to define users, assign roles and revoke access for users when needed. The OIM Application URL and the login with the required administrator access would be needed to execute the below steps:
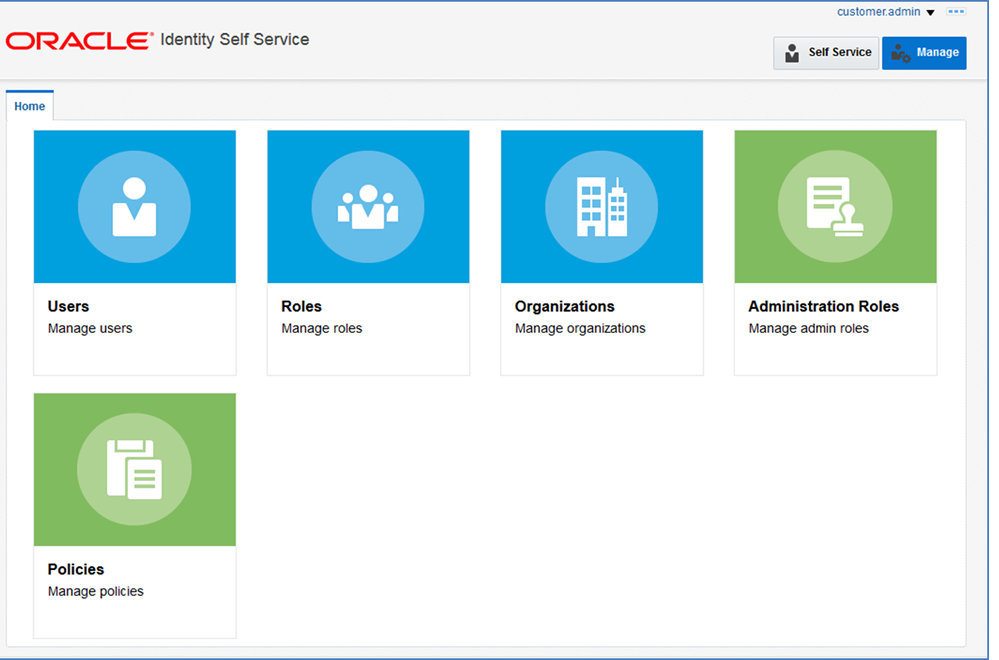
Log into the OIM application.
Under Administration, click Users.
Under Actions, click Create.
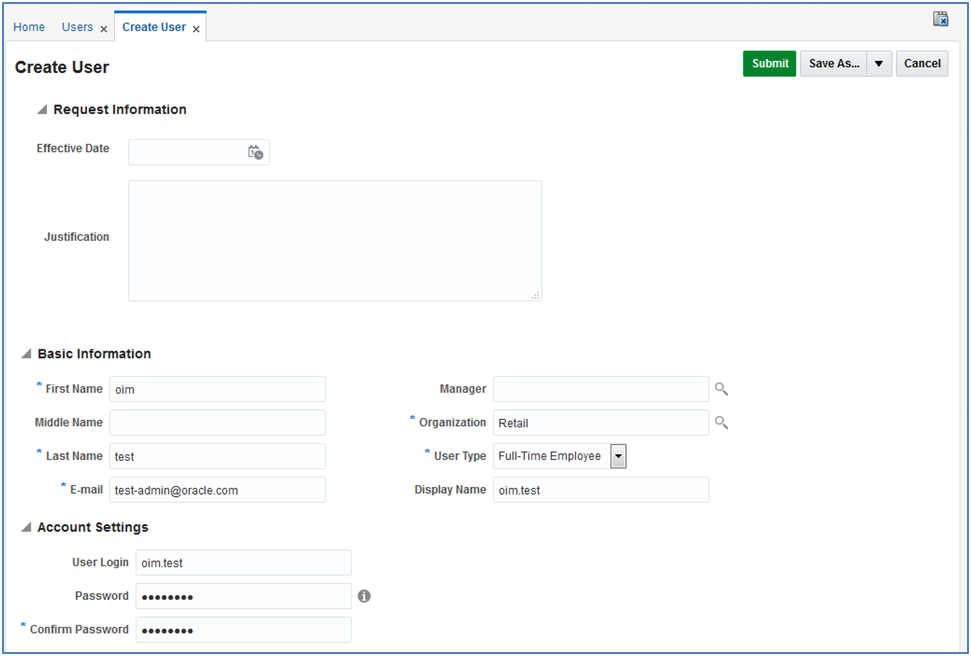
The Create User screen opens.
Under Basic Information, enter the following:
First Name
Last Name
For Organization, enter Retail
For User Type, enter Full time employee
For E-mail, enter the e-mail address of the employee
Under Account Settings, enter the following:
User Login: <firstname>.<lastname>
Password, enter a password
Confirm Password, reenter the password
Click Submit.
To create a role, complete the following:
Log into the OIM application.
Click Roles.
Under Actions, click Create.
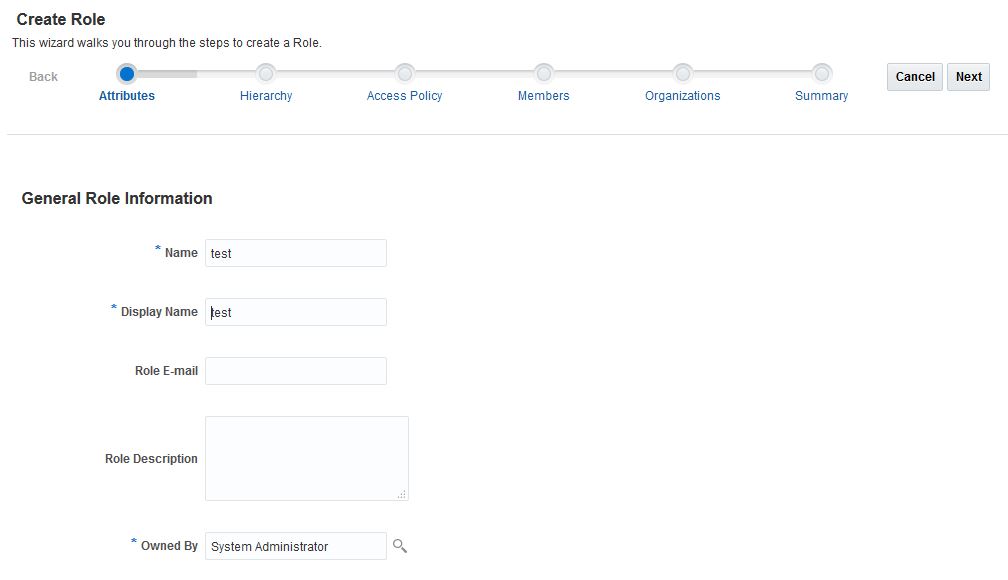
The Create Role screen opens.
Under General Role Information, enter the following:
Name: <RoleName>
Display Name: <RoleName>
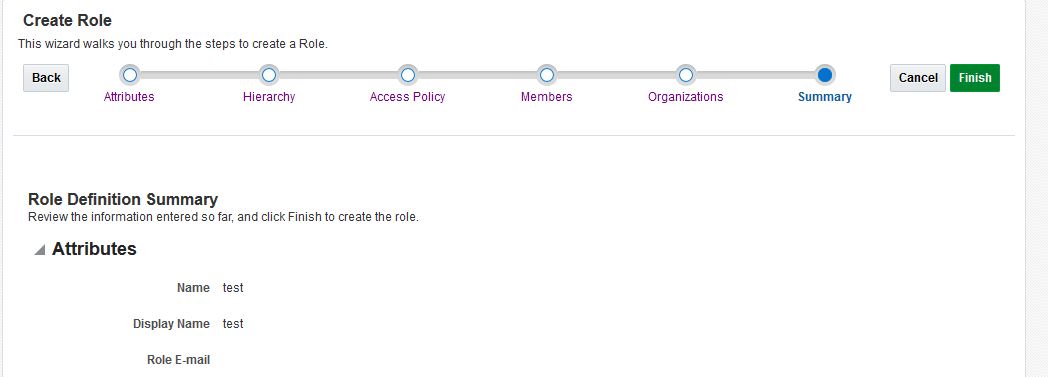
Click Next and provide the required details in the coming screens. For Organization, select retail. After reviewing the summary, click Finish to create the role.
To assign users to a role, complete the following:
Log into the OIM application.
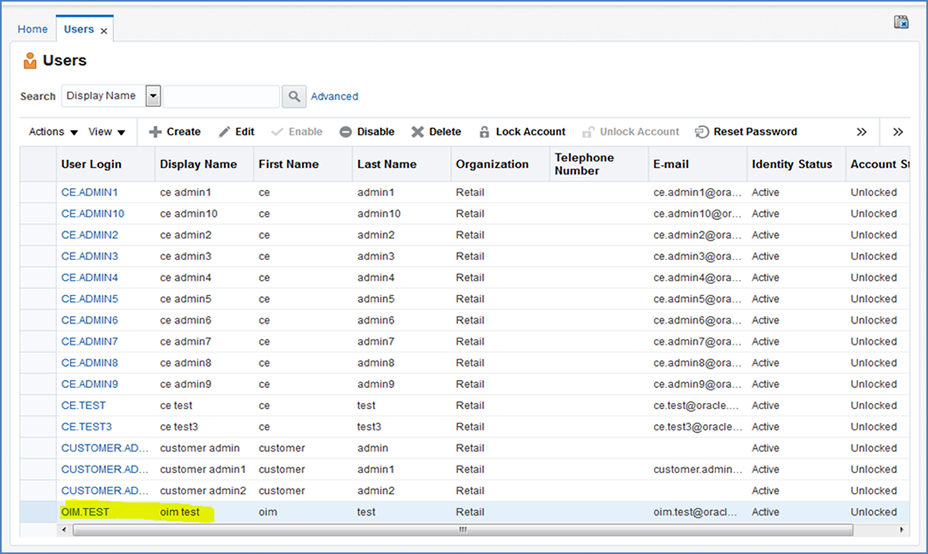
Click Users.
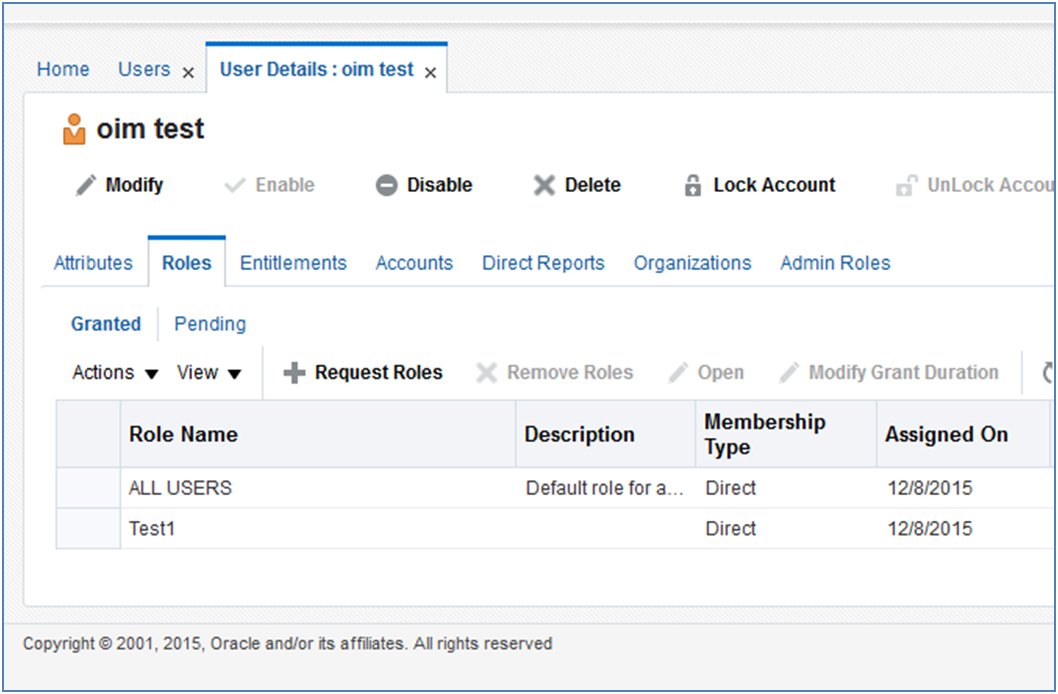
Click the oim.test user.
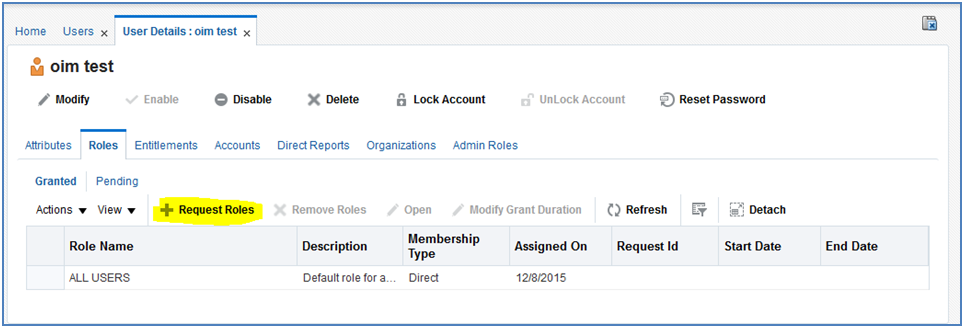
Click the Roles tab.
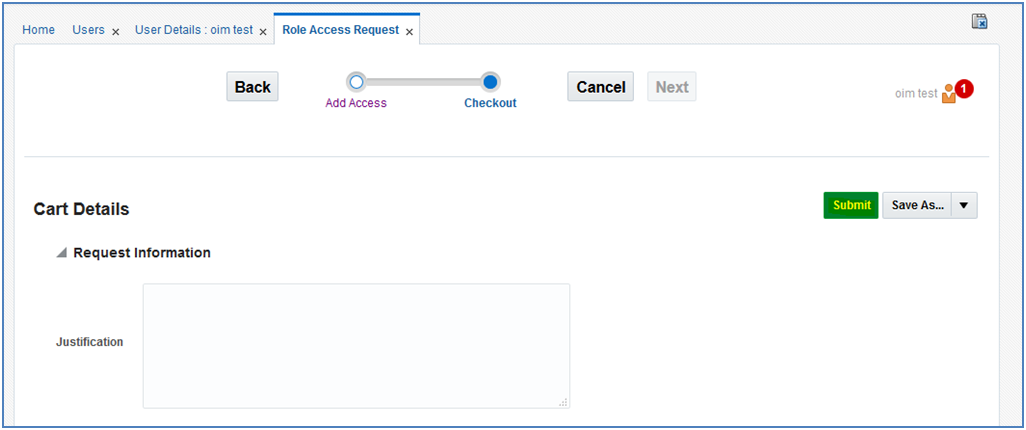
Click the Request Roles button.
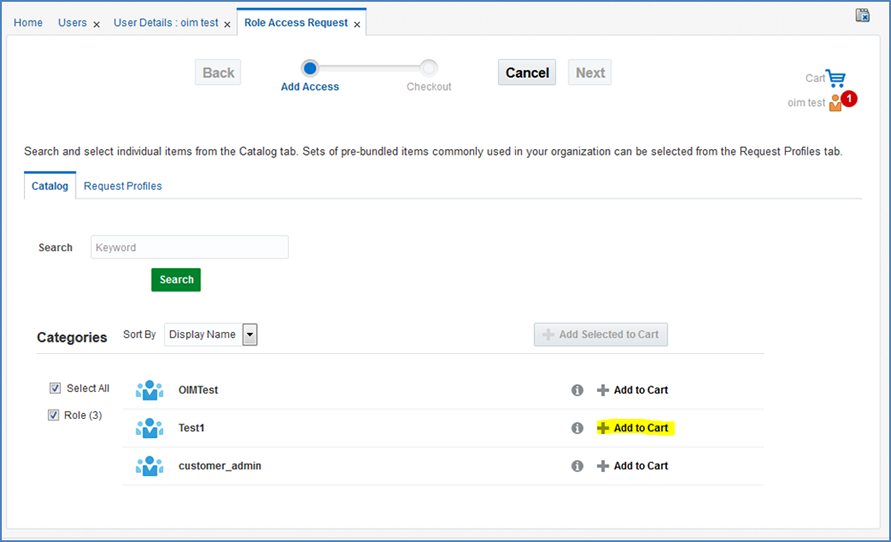
Click the Add to Cart button next to the role you want to assign.
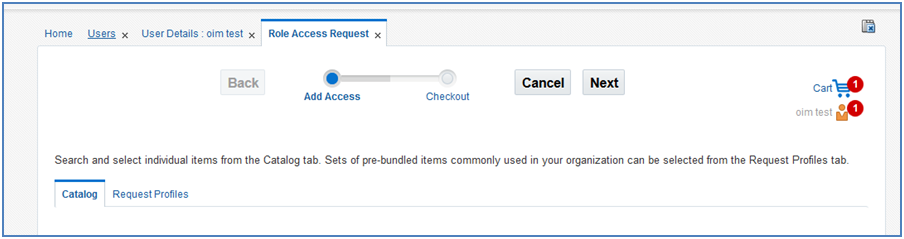
Click Next.
Click Submit.
The role is now assigned to the User.