| Oracle® Retail Functional Artifact Generator Guide Release 14.0 E48988-01 |
|

 Previous |
 Next |
This appendix provides step-by-step instruction (with illustrations) for installing the Artifact Generator as a Web application in Oracle WebLogic.
To create a role/user in the Artifact Generator, do the following:
Log in to the WLS. In the Domain Structure menu, click Security Realms.
Click myrealm and then on Users and Groups.
Click Groups. Create a new group called agAdminGroup.
Click Users. Add a new user.
Under settings for the new user, click the Groups tab. Add the agAdminGroup to the new user.
This section describes the steps you need to complete to install the Artifact Generator as a Web application in Oracle WebLogic.
Using the WebLogic Server Administration Console, complete the following steps:
Navigate to the Deployments page.
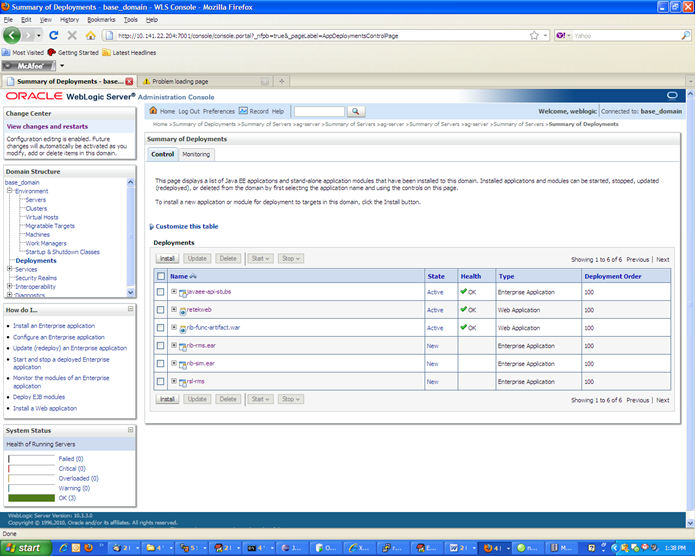
Click Install. 
|
Note: If the application has already been installed, see the section, "Redeploying the Application." |
The Locate deployment to install and prepare for deployment page is displayed. Follow the instructions to locate the retail-func-artifact-gen-gui.war file.
Select Upload your File(s).
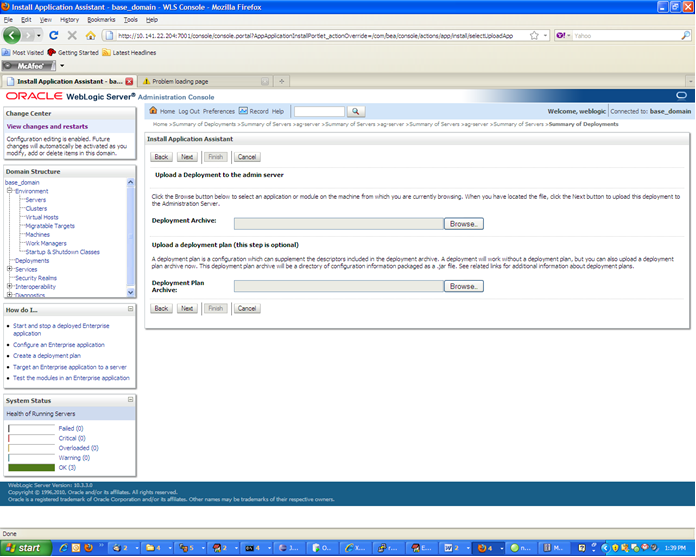
On the Upload a Deployment to the admin server page, use the Browse button to locate the retail-func-artifact-gen-gui.war file in the Deployment Archive.

Select retail-func-artifact-gen-gui.war.
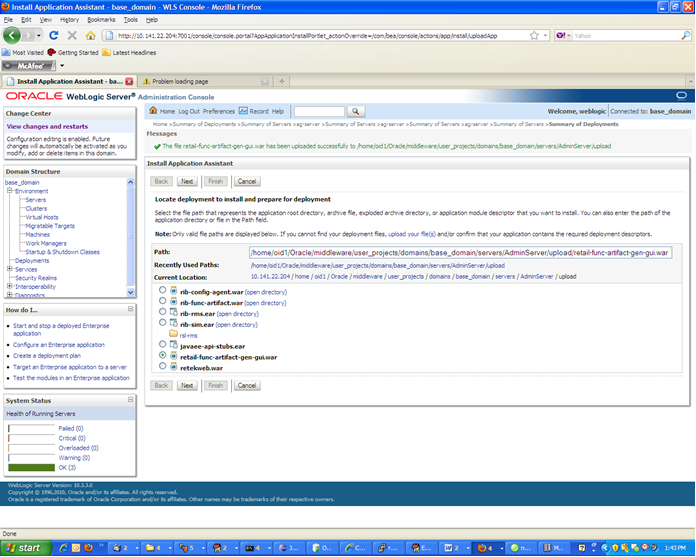
Click Next and move to Choose targeting style.
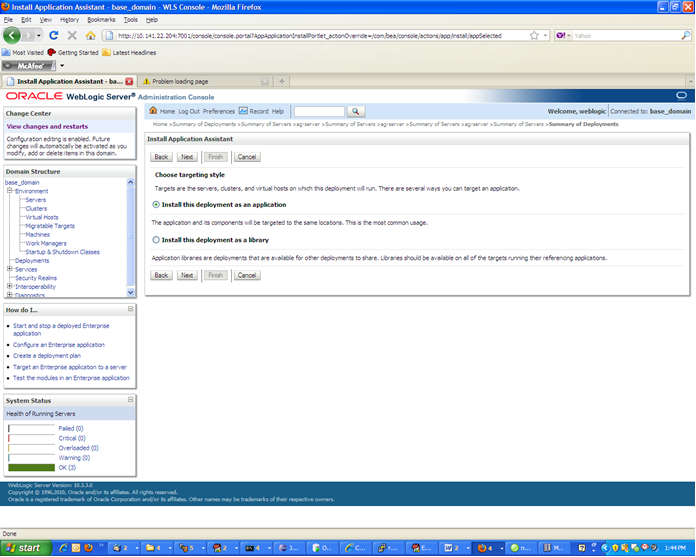
Select Install this deployment as an application.
Click Next and move to Select deployment targets.
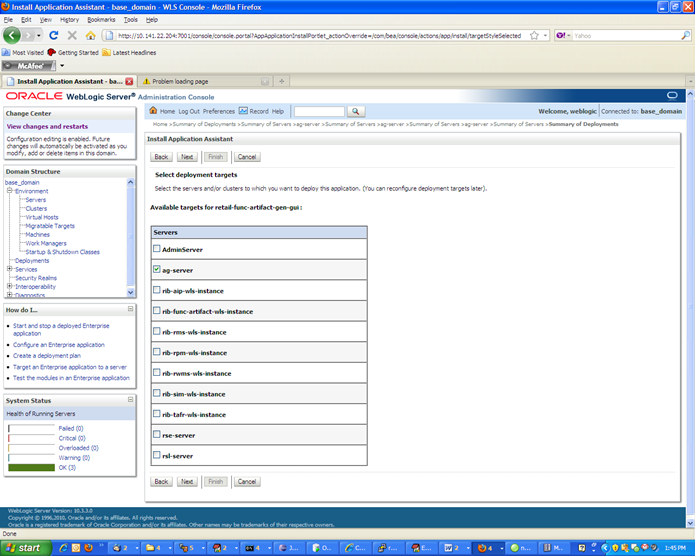
Click the managed server to which the application will be deployed. Click Next and move to Optional Settings.
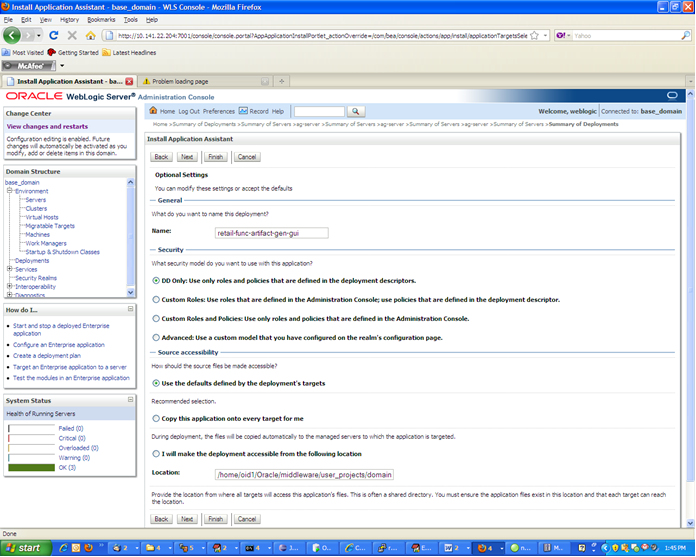
Select Next and move to Review your choices and click Finish.
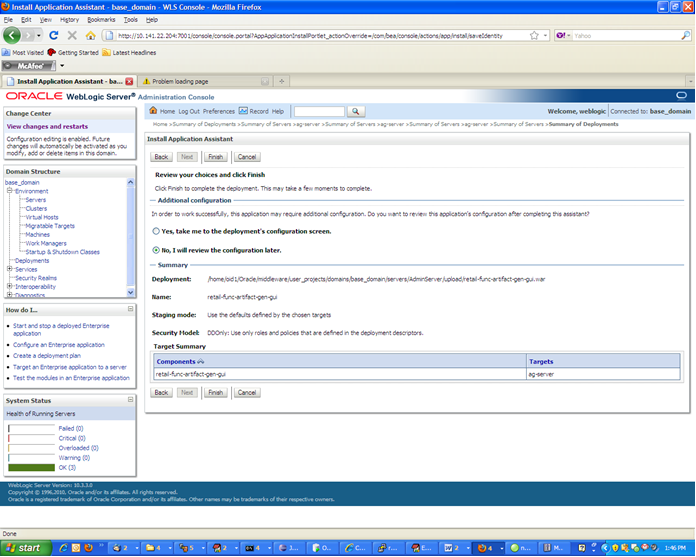
Select No, I will review the configuration later.
Click Finish to deploy the application.
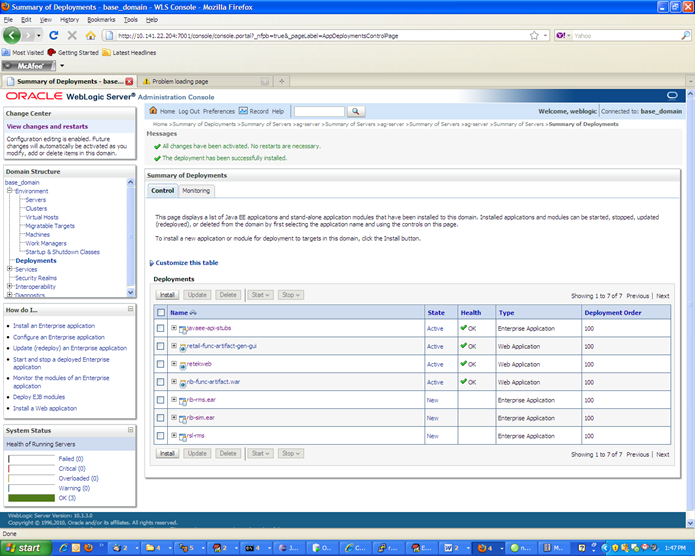
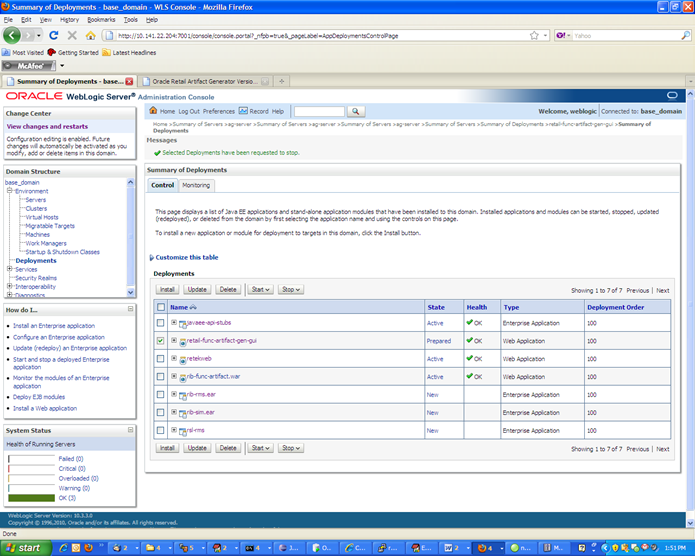
Navigate to the Deployments page.

Locate the retail-func-artifact on the Summary of Deployments page.
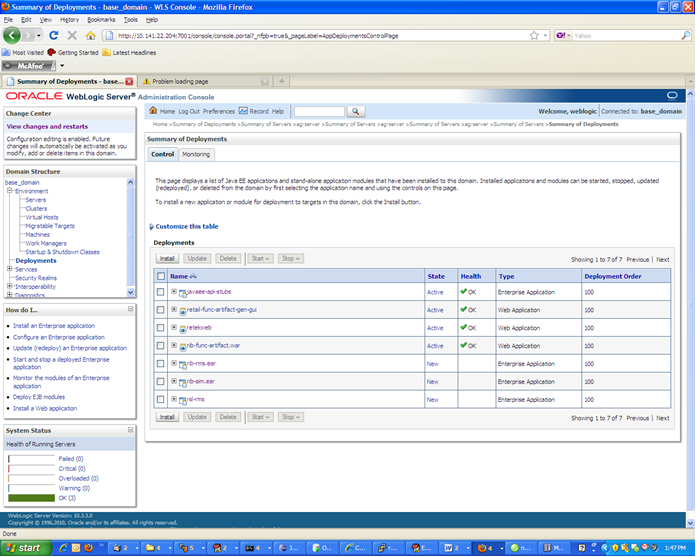
Click the name, retail-func-artifact-gen-gui, to move to the Settings for the rib-func-artifact-gen-gui.
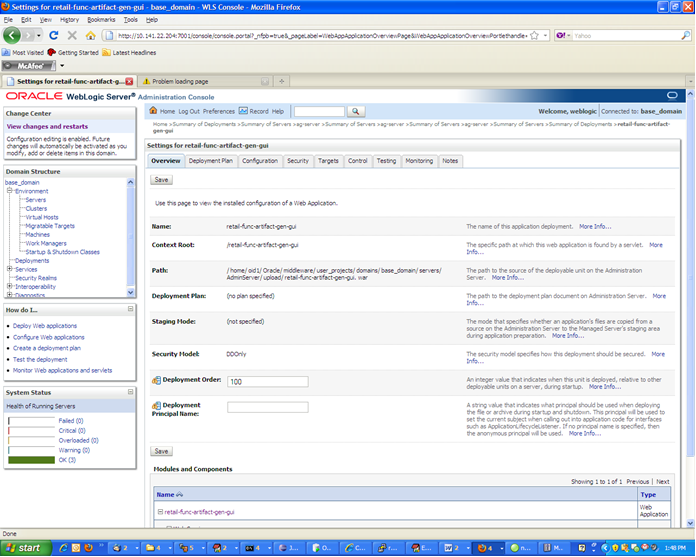
Select the Testing tab.
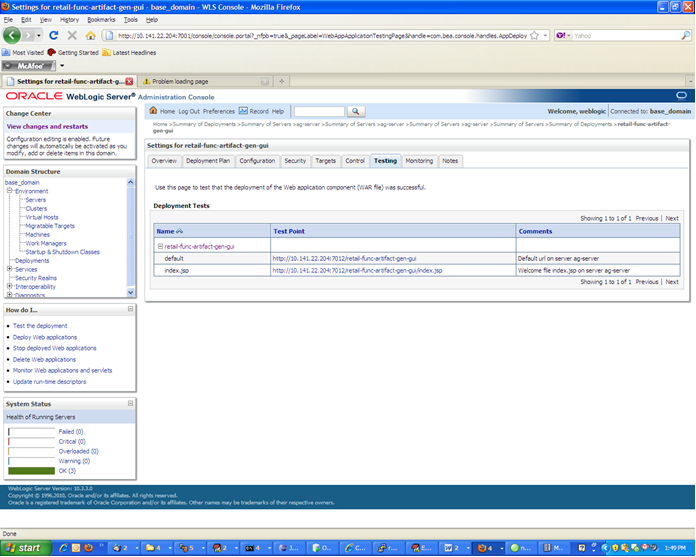
Click index.jsp URL in the Test Point. The URL should open to the Retail Artifact Generator Login page. The installation is complete.
If the retail-func-artifact-gen-gui application has already been deployed, follow these steps:
If the retail-func-artifact-gen-gui application is running, select Stop and When Work Completes or Force Stop Now, depending on the environment. The recommended option always is When Work Completes.
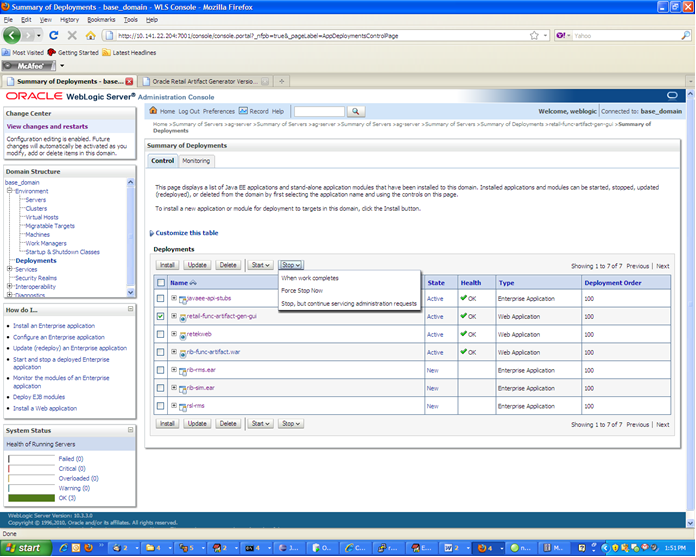
Select Delete. Now, the retail-func-artifact-gen-gui should not show on the Summary of Deployment page.
Return to the appropriate step in the section, Deploying the Artifact Generator Application."
|
 Copyright © 2013, Oracle and/or its affiliates. All rights reserved. Legal Notices |
|