| Oracle® Retail Service Backbone Installation Guide Release 14.1.2 E68063-02 |
|

 Previous |
 Next |
Before you begin installation, check to be sure that you have the most recent version of this installation guide. Oracle Retail installation guides are available on the Oracle Technology Network.
Oracle Service Bus (OSB) supports 3 types of topologies: Admin-only, Admin + Managed Server and Cluster. The first two topologies are non-clustered topologies which are not high-available, therefore we recommend using Cluster topology and this document describes how to configure a sample cluster topology for RSB applications.
This section describes step-by-step process of creating and configuring an OSB domain using the configuration wizard. In this configuration, there are following servers:
One Admin Server
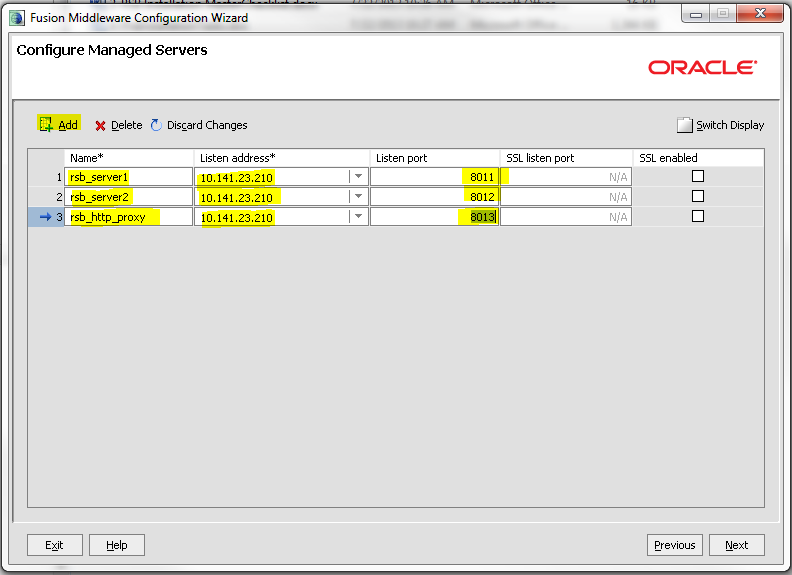
Three Managed Servers: rsb_server1, rsb_server2 and rsb_http_proxy.
Cluster: The cluster consists of rsb_server1 and rsb_server2 as managed servers. OSB features are deployed on this cluster. Also, rsb_server1 hosts the singleton resources of OSB.
Managed server rsb_http_proxy acts as the proxy server of the cluster. It does not have OSB code installed on it.
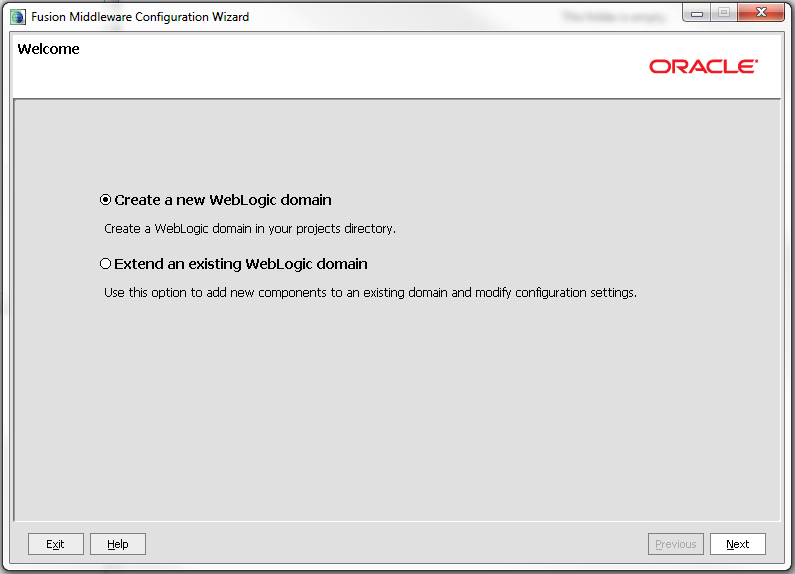
Perform the following steps to create a new WebLogic domain:
Run <WLS_HOME>/wlsserver_10.3/common/bin/config.sh.
Select Create a new WebLogic domain option. Click Next.
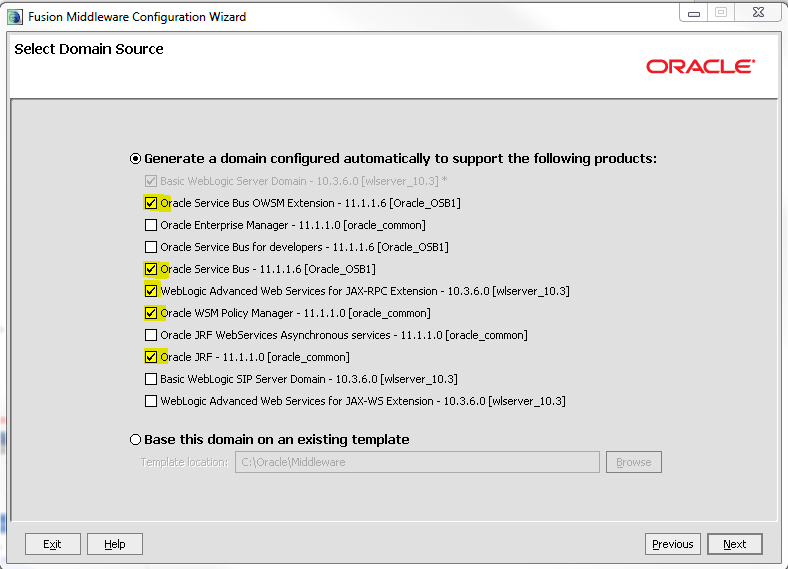
Select the OSB features for the domain.
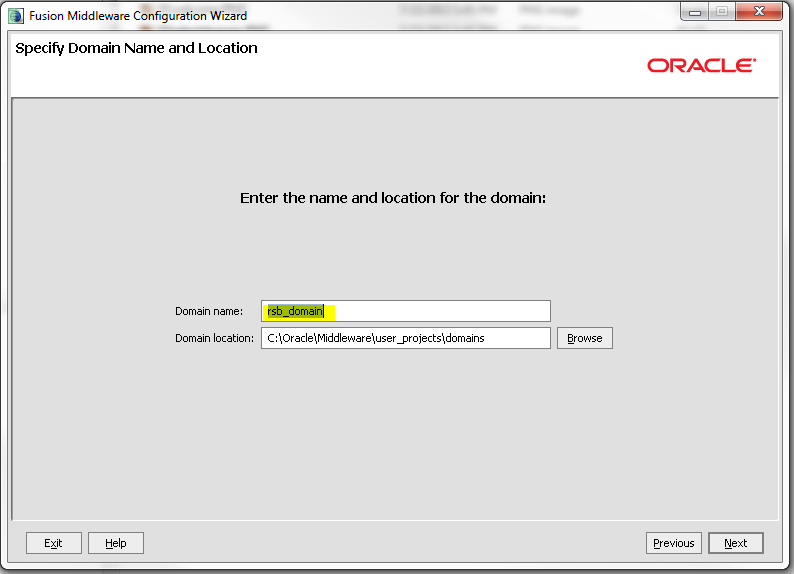
Enter the Domain name, for example: rsb_domain.
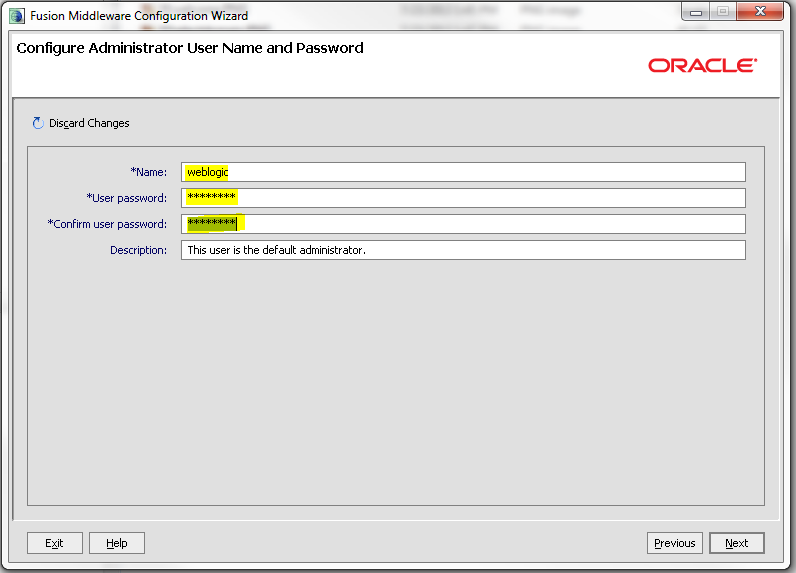
Enter Name (Username) and User password for the domain. Please note down the username and password. These are required again in the compilation phase of RSB.
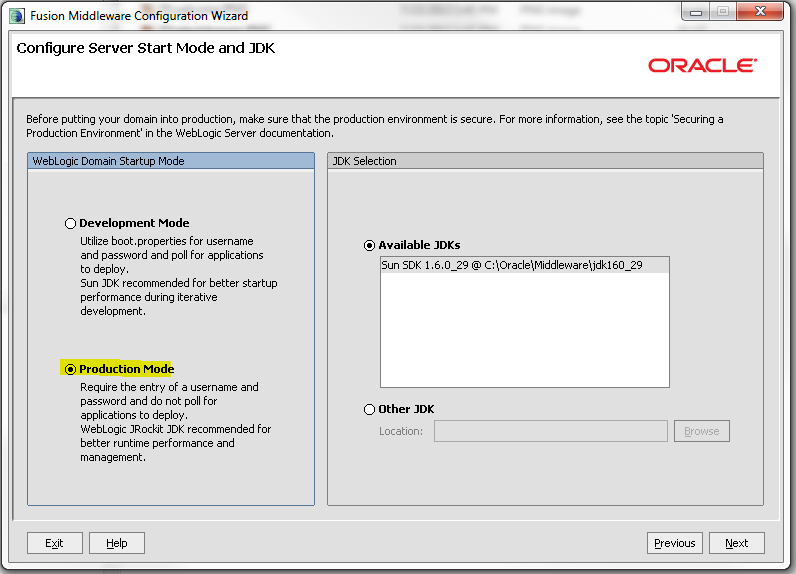
Select the JDK (1.7) and Start Mode.
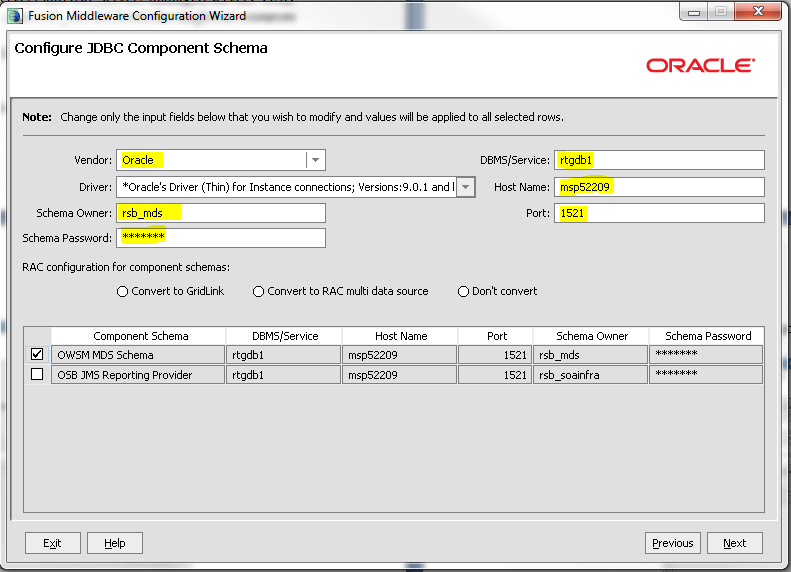
Provide the database details for SOAINFRA and MDS Schema. Connection details (as highlighted in the screenshot) for both schemas must be provided. The schema must be created already using the RCU tool. Specify configuration information for both schemas (in this example; rsb_soainfra and rsb_mds).
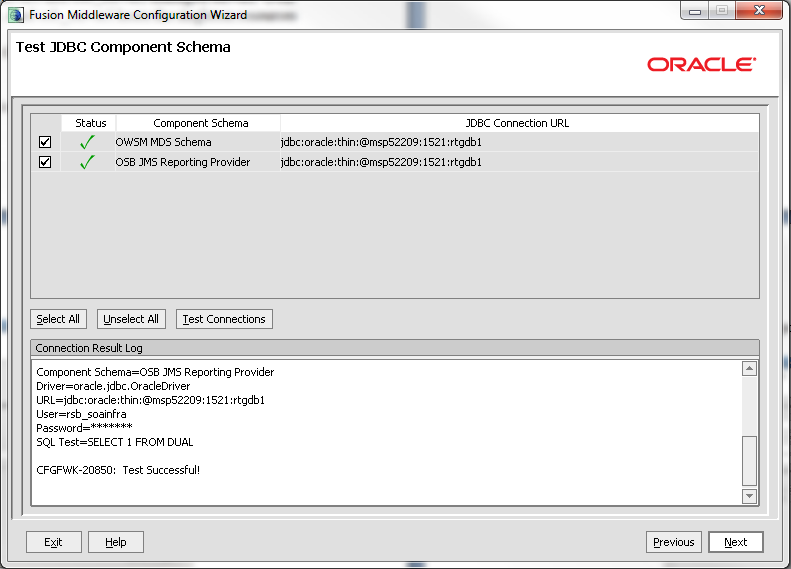
Test the JDBC Schema connection.
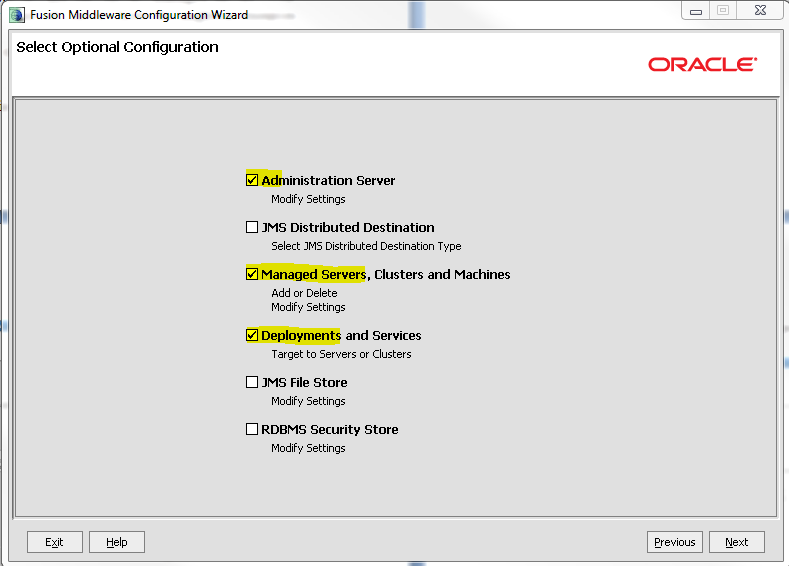
Select the options for creating managed servers and cluster.
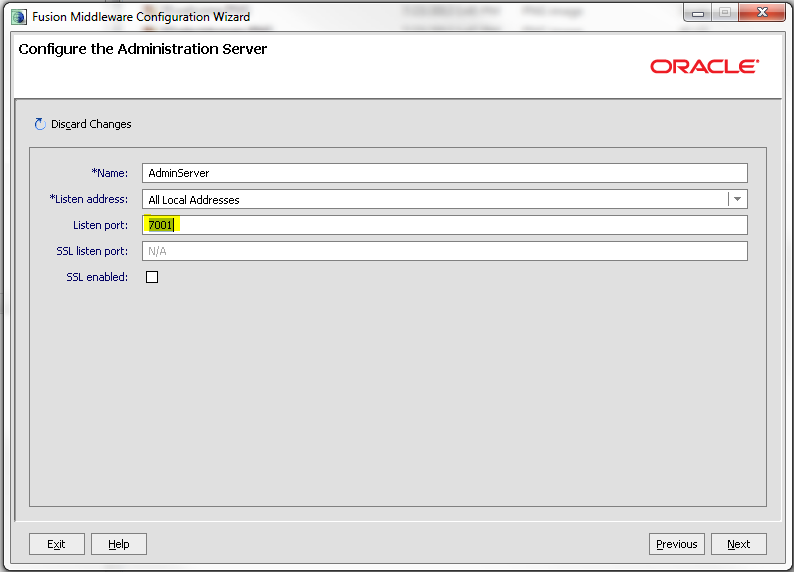
Enter Admin Server details. If you are using SSL, you can enable SSL in this step and specify the SSL port.
Enter details of all managed servers. If you are using SSL, you can enable the SSL in this step and specify the SSL port. Click Next.
|
Note: Due to known vulnerabilities, SSLv3.0 is not considered secure and should be disabled in WLS. For secured installations the latest TLS version is recommended |
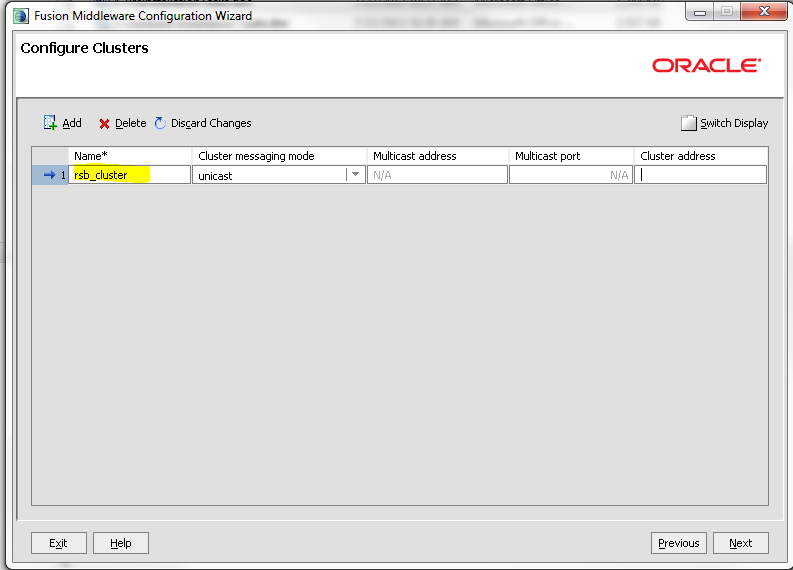
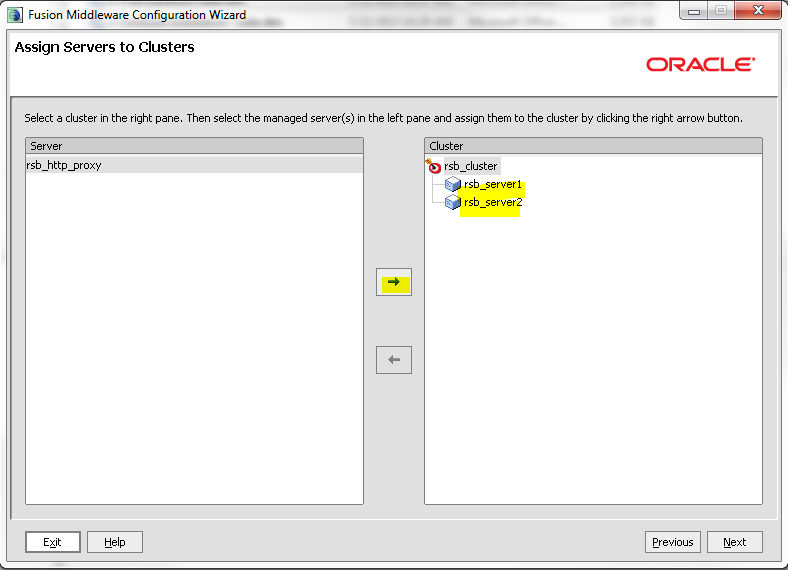
Enter the cluster name.
Add managed servers to the cluster. Notice that the proxy server, rsb_http_proxy, is not added to the cluster because we need that server as the HTTP proxy of the cluster.
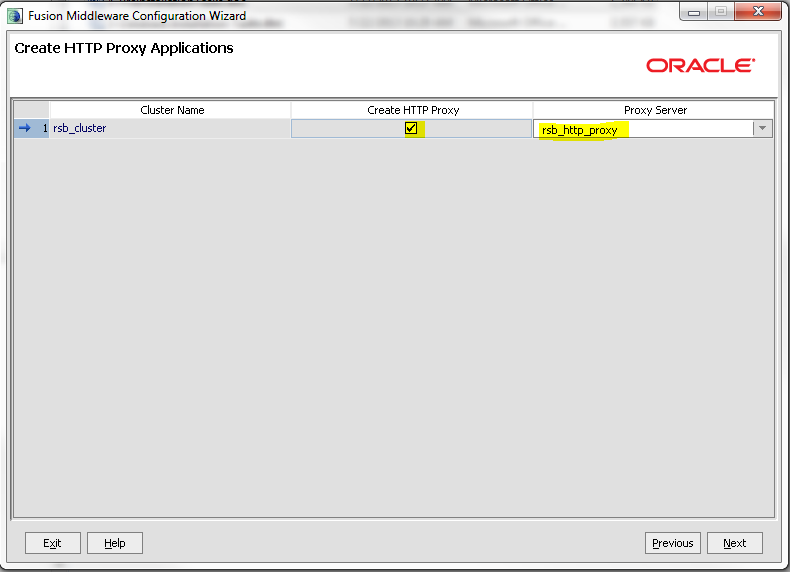
Enter HTTP Proxy details.
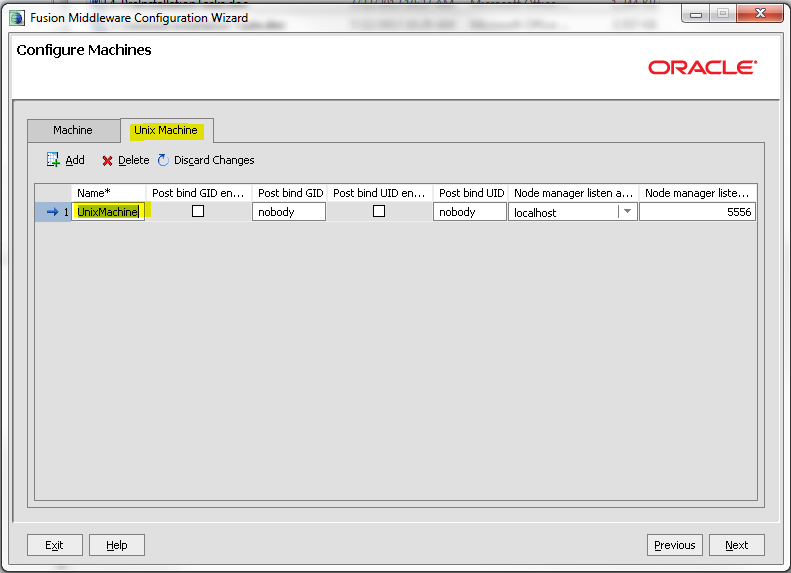
Configure Machine details. Click Unix Machine and specify the Name, Node Manager hostname and port. Click Next.
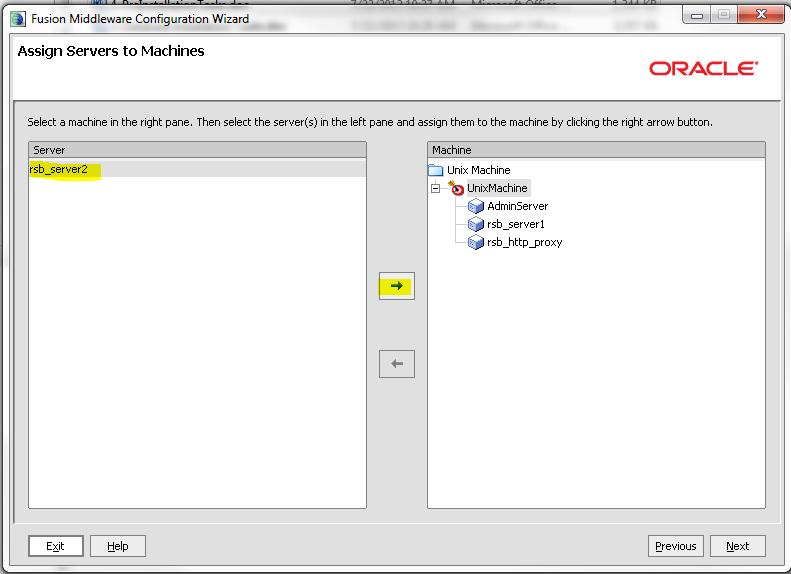
Add servers to the machine. Add all the servers.
The next screen shows all the deployments that have been targeted to appropriate servers. You must not make any changes in this screen.
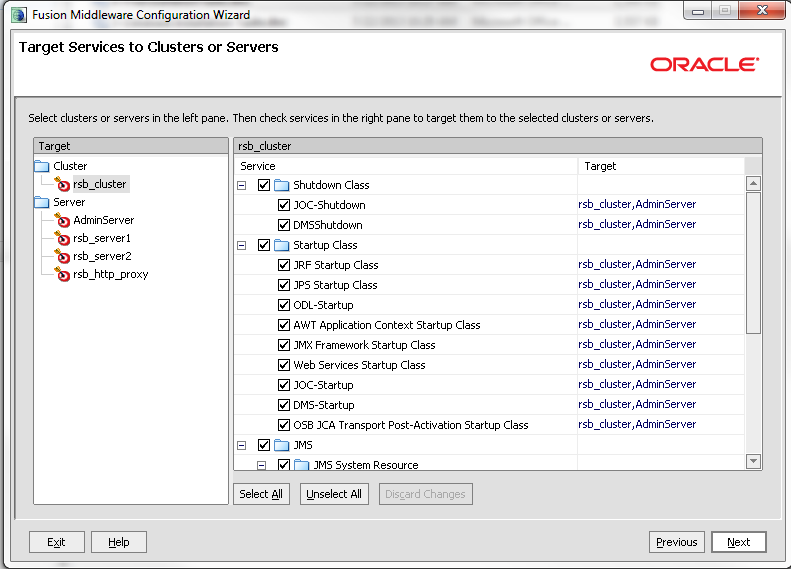
The next screen shows all the services that have been targeted to appropriate servers. You must not make any changes in this screen.
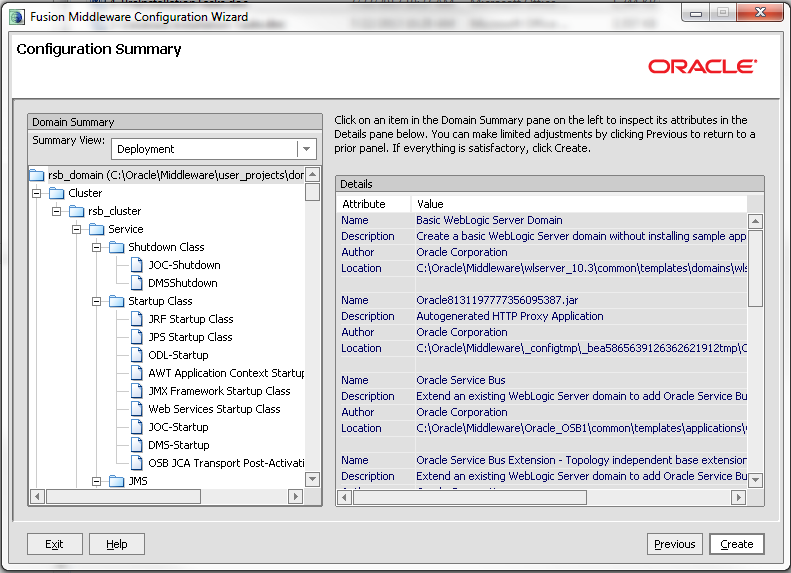
From the Configuration Summary page, click Create.
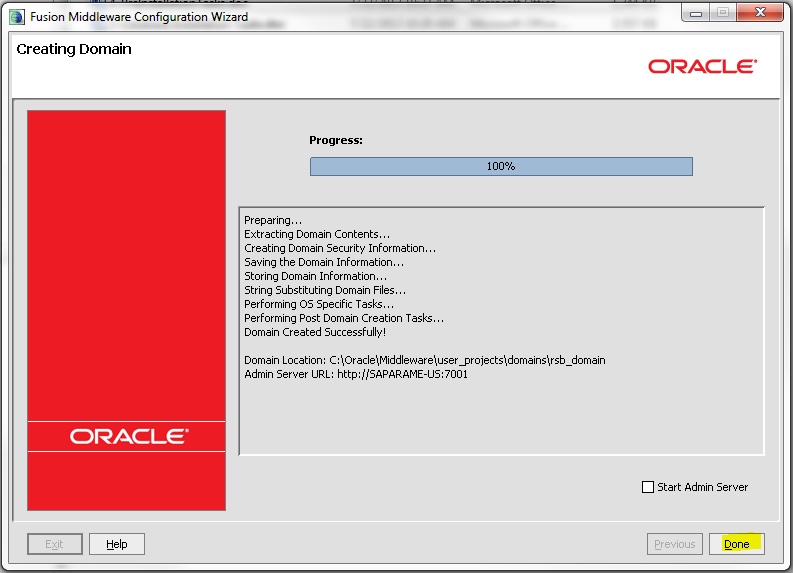
Domain creation confirmation page
Grant required permission for WebLogic to access the credential store. Edit the <wlsHome>/wlserver_10.3/server/lib/weblogic.policy file and add the following permission, after replacing <domain-home> with the correct value.
grant codeBase "file:<domain-home>/-" {
permission java.security.AllPermission;
permission oracle.security.jps.service.credstore.CredentialAccessPermission "credstoressp.credstore", "read,write,update,delete";
permission oracle.security.jps.service.credstore.CredentialAccessPermission "credstoressp.credstore.*", "read,write,update,delete";
};
Edit the DOMAIN-HOME/bin/setDomainEnv.sh to add the max and min memory requirement for the servers. It is recommended to use 2GB or more for max memory.
USER_MEM_ARGS="-Xms1024m -Xmx2048m -XX:MaxPermSize=1024m"
If NodeManager is used to control the servers in the cluster, edit WL_HOME/common/nodemanager/nodemanager.properties file to change the StartScriptEnabled property to true and make sure the StartScriptName property is set to startWebLogic.sh. Below is a sample from the file:
StartScriptName=startWebLogic.sh
StartScriptEnabled=true
If you are using https (for Policy A), you will have to configure the following:
|
Note: For additional information on configuring Policy A or Policy B, see the Oracle Retail Service Backbone Security Guide. |
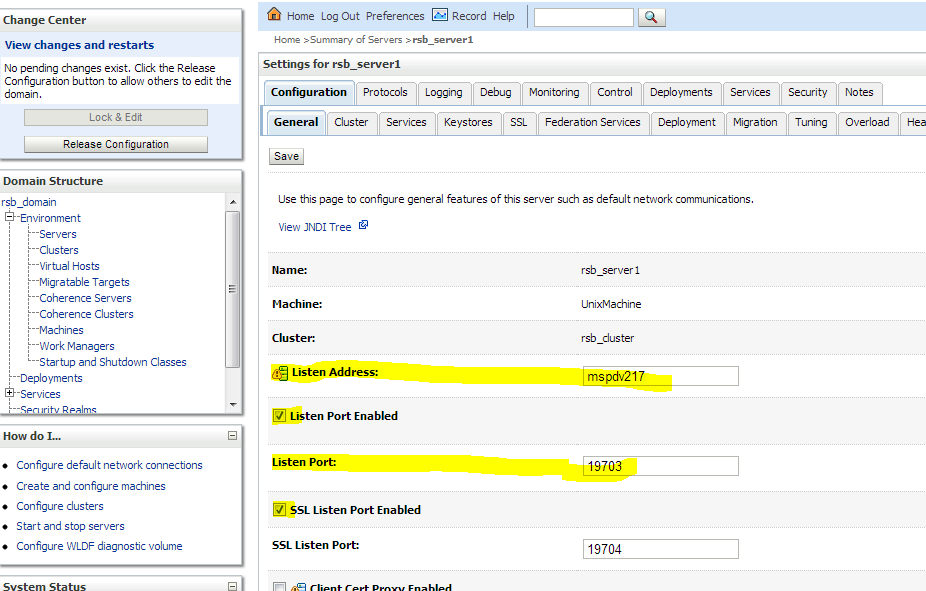
Enable https port for AdminServer, Http Proxy Server and all managed servers. Specify the Listen Address. The Listen Address must match the CN entry of the server certificate. Sometimes the CN entry of the server certificate is the fully qualified name (for example, rsbhost.example.com) instead of the short hostname (for example, rsbhost). If the entries do not match, the security configurations will not work.
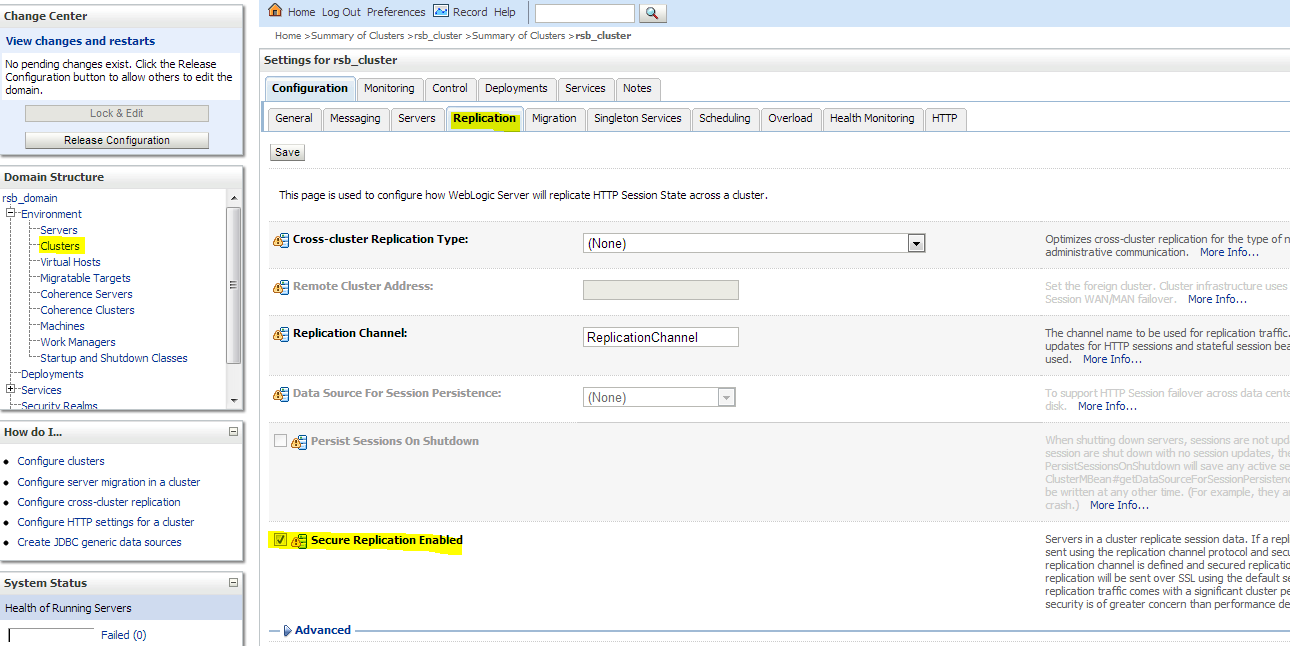
Enable secure replication. Enable the Secure Replication Enabled option available in Environment --> Clusters --> <cluster name> --> Configuration --> Replication
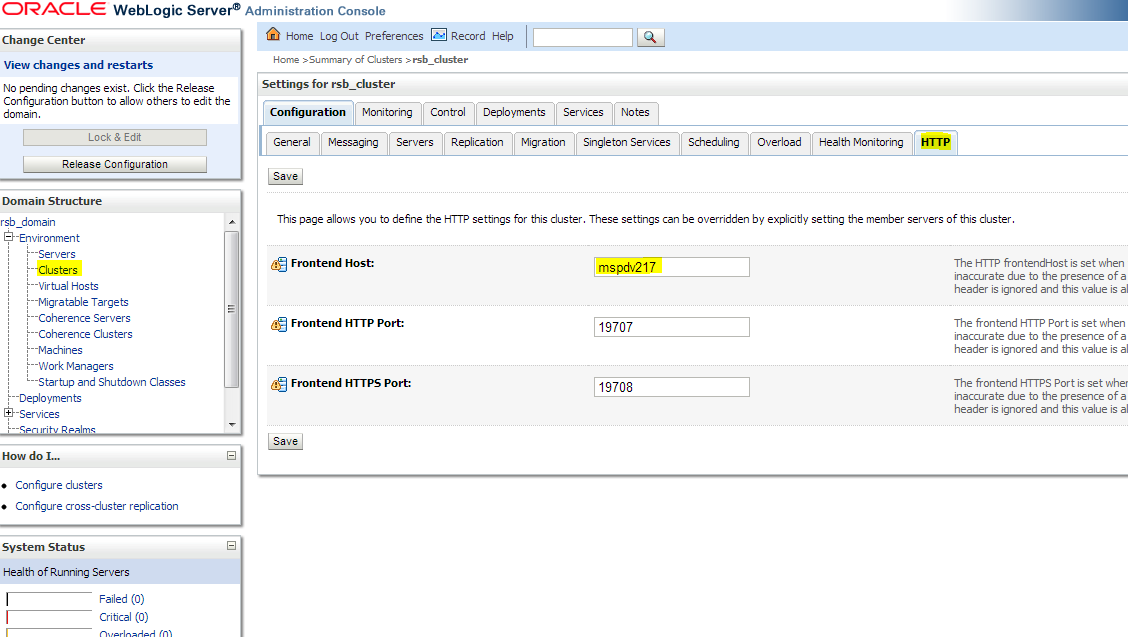
Set the Frontend Hostname for the cluster. This should match the CN entry of the certificate. Environment --> Clusters --> <cluster name> --> Configuration --> HTTP
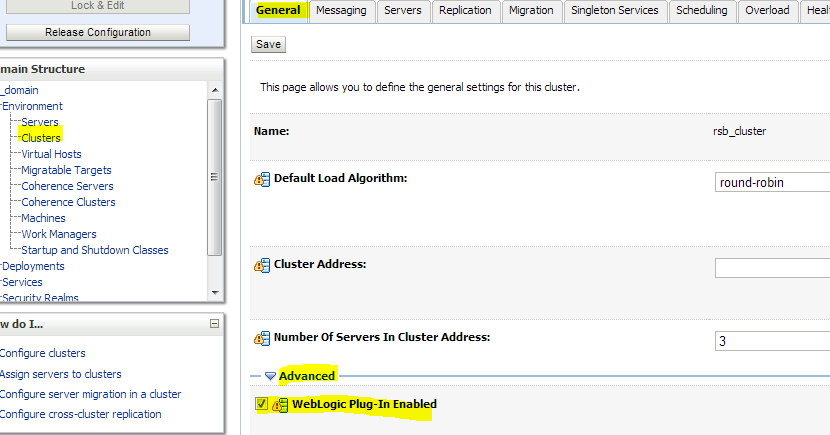
Enable WebLogic plug-in. Check WebLogic Plug-In Enabled checkbox in Environment --> Clusters --> <cluster name> --> Configuration --> General --> Advanced. After the change, Save, Activate Changes and restart the Admin Server.