| Oracle® Retail and WMS Cloud Implementation Guide Release 16.0.040 F23400-02 |
|

 Previous |
 Next |
This chapter covers configuration that needs to be done in order to schedule jobs and the outbound interfaces.
Create a schedule job for Inventory History that will extract the relevant information during scheduled intervals from WMS Cloud. This needs to be set up for Receipts, RTVs, Stock Orders, Inventory Adjustments, and Outbound ASNs. You can create one schedule for all of these entities, or separate schedules by functional area. Segregating has the advantage of setting different frequency on each scheduled job which is set using the Every and Period fields. The example below shows how the Generate Inventory History extract in WMS Cloud could be setup in three different schedules based on the activity code that correlates to an RMFCS entity.
Table 5-1 Inventory History Extract in WMS Cloud
| Job Type | Activity Code | Schedule Name | Schedule Type | Every | Period |
|---|---|---|---|---|---|
|
Generate Inventory History Extract |
1 |
Receipts |
Interval |
Set these fields to values between 1 and 5 minutes, depending on the volume of transactions that are being processed in your warehouse. The more transactions being processed, the shorter the interval should be. |
|
|
Generate Inventory History Extract |
10 |
SOStatus |
Interval |
||
|
Generate Inventory History Extract |
19 |
InvAdj |
Interval |
||
Outbound interface configurations must be created in WMS Cloud for each facility, one for each of the following exports:
Inventory History
Outbound Loads
Outbound Manifest
The Inventory History export is used to communicate updates to receipts, for purchase orders, transfers, and allocations, stock order status updates, and inventory adjustments. To configure this for export, set the interface format to XML on the Output Interface Configuration for Inventory History Export.
Next, create three targets for Inventory History Export, using the appropriate host and port for your implementation in the URL definition. The target creation can be done in the WMS Cloud application under the Output Interface Configuration tab.
Target 1: Receipts
URL: http://<host>:<port>/usm/EventListener.do?app=rib-lgf&family=Receiving&type=ReceiptMod
Output Interface Target Criteria:
Column name = Activity Code
SQL operator = '='
Column value = '1'
1 - Container Received
Target 2: SOStatus
URL: http://<host>:<port>/usm/EventListener.do?app=rib-lgf&family=SOStatus&type=SOStatusCre
Output Interface Target Criteria:
Column name = Activity Code
SQL operator = IN
Column value = '10|27'
10 - Container Detail Packed
27 - Order Cancellations
Target 3: InvAdj
URL: http://<host>:<port>/usm/EventListener.do?app=rib-lgf&family=InvAdjust&type=InvAdjustCre
Output Interface Target Criteria:
Column name = Activity Code
SQL operator = IN
Column value = '19|24|25|63|64'
19 - Inventory Adjustment Cycle Count Active
24 - Unlock Container - Before ASN Verification
25 - Unlock Container - After ASN Verification
63 - Lock Update pre-verification LPN
64 - Lock Update post-verification LPN
The Outbound Loads export is used to map shipments that are shipped via TL/LTL from the warehouse to RMFCS (RTVs and stock order shipments), SIOCS (stock order shipments to stores), and OROB (stock order shipments for customer orders), as opposed to via a parcel service such as UPS or FedEx. To configure this for export, set the interface format to XML on the Output Interface Configuration for Outbound Loads Export.
|
Note: This determination is made based on the presence or absence of a parcel service in the Ship Via field for an order. |
Next, create two targets for Outbound Loads Export, using the appropriate host and port for your implementation in the URL definition. The target creation can be done in the WMS Cloud application under the Output Interface Configuration tab.
Target 1: RTV
URL: http://<host>:<port>/usm/EventListener.do?app=rib-lgf&family=RTV&type=RTVCre?interfaceType=ObLoad
Output Interface Target Criteria:
Column name = Order type
SQL operator = IN
Column value = RTV
Target 2: ASNOut
URL: http://<host>:<port>/usm/EventListener.do?app=rib-lgf&family=ASNOut&type=ASNOutMod?interfaceType=ObLoad
Output Interface Target Criteria:
Column name = Order Type
SQL operator = IN
Column value = B2B | B2C
The Outbound Manifest export is also used to map shipments to RMFCS (RTVs and stock order shipments), SIOCS (stock order shipments to stores), and OROB (stock order shipments for customer orders). But unlike the Outbound Load Export, it is done via a parcel service. To configure this for export, set the interface format to XML on the Output Interface Configuration for Outbound Manifest.
|
Note: This determination is made based on the presence or absence of a parcel service in the Ship Via field for an order. |
Next, create two targets for Outbound Manifest, using the appropriate host and port for your implementation in the URL definition. The target creation can be done in the WMS Cloud application under the Output Interface Configuration tab.
Target 1: RTV
URL: http://<host>:<port>/usm/EventListener.do?app=rib-lgf&family=RTV&type=RTVCre?interfaceType=ObManifest
Target 2: ASNOut
URL: http://<host>:<port>/usm/EventListener.do?app=rib-lgf&family=ASNOut&type=ASNOutMod?interfaceType=ObManifest
For ALL of the targets listed above, include the following:
Interface Protocol = REST Web Service
Username = <username for your XXX account>
Password = <password for your XXX account>
|
Note: If the account password expires or is changed, it needs to be changed here as well. |
There are a few other configurations you'll need to consider in WMS Cloud that are used in the integrations with RMFCS, SIOCS, and OROB. These include:
You will need to configure the sequence length for specific counters in the Sequence Counters tab in WMS Cloud to ensure the generated sequence numbers do not exceed the length supported by the integration to RMFCS. The following are the counter codes that need to be configured:
The sequence count used for generating BOL numbers is used in the integration of stock order shipments from the warehouse and mapped to the BOL number in RMFCS. It must be configured such that the combined prefix and sequence number does not exceed 17 characters in length that are allowed by the integration.
The sequence counter used for generating shipment numbers is used in the integration of DC to DC shipments. It must be configured such that the combined prefix and sequence number do not exceed 30 characters.
The sequence counter used for generating load and parcel manifest numbers is mapped to the RTV external reference number in RMFCS. It is also used for mapping to the ASN number for outbound shipments from the warehouse. For both of these, the sequence must be configured such that the combined prefix and sequence number do not exceed 14 characters.
RMFCS supports up to 4 decimal places for quantity and currency values. Hence, it must be ensured that WMS Cloud is also configured to support that many decimal places as well. This is done using the Companies view in WMS Cloud. You will need to configure both the Max Qty Decimal Precision and the Max Weight Volume Dimension Decimal Precision.
Next decimal tracking has to be enabled on the items that would be handled in decimal quantities. In the Items View, select the item and click on the edit icon. In the edit pane, check the Handle Decimal Qty check box.
In USM, URLs will need to be configured for your environment to allow the RIB to communicate with WMS Cloud. This configuration will be done by the Oracle Cloud Operations team, but you may be asked to help provide the URLs for this configuration. These are the two URLs that need to be configured:
LogFire_Host_Url_Key – this is your link to the WMS Cloud application; configure this appropriately to allow USM to connect to the WMS Cloud application.
RibLgf_host_UrlKey – this is the link to the RIB application for this integration; set this field in USM to enable it to connect with the RIB
Once the links to the end applications are configured, the static DVMs have to be configured with values from your specific implementation for company code and facility codes. These are mandatory values. The DVMs that are to be edited are:
CompanyCode_dvm.LogFireIntegration – this is where the company code is to be set. The company code to use here can be found in the WMS Cloud Companies screen. The entry to be made in the DVM is "CompanyName" in the name column and your company code in the value column. Company code is case sensitive.
FacilityCode_dvm.LogFireIntegration – this is where the facility codes are to be set - one record for each physical warehouse that you configured in WMS Cloud in the Warehouse conversion section. The entry to be made in the DVM is the warehouse ID in the FacilityId column, facility type in the FacilityType column and facility time zone in the FacilityTimeZone column. This should match exactly how you have configured your facilities in WMS Cloud.
|
Note: There is also a static DVM for country code, however this is not required for the integration so does not need a configuration. |
More details about the configuration of the USM application can be found in the Oracle Retail Integration Cloud Service Universal Service Mapper User Guide, a link for which is provided in the Appendix C section of the document.
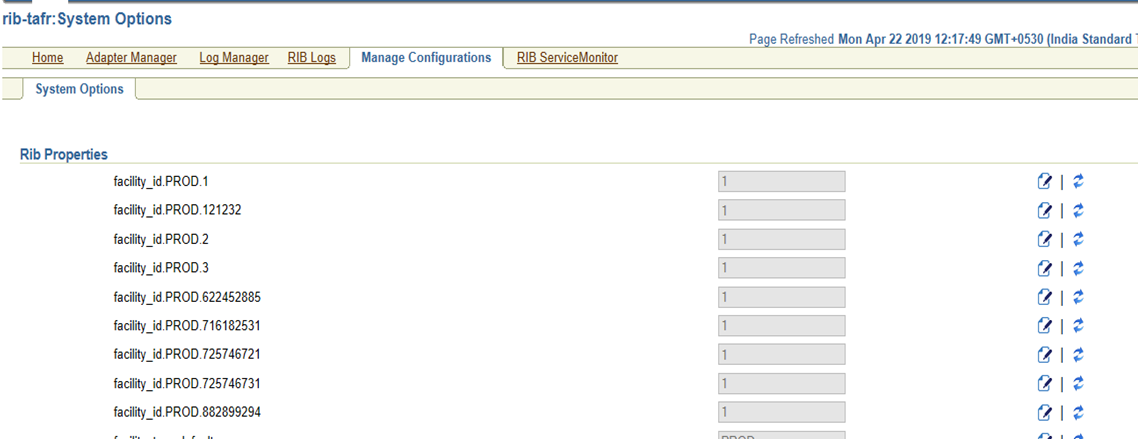
When being sent from RMFCS to WMS Cloud, data passes through an application called RIB-TAFR (Transformation Addressing Filtering Routing). As part of the standard RIB configuration, the warehouse facility IDs need to be configured in the RIB in order for the TAFR logic to filter and route messages. This is done by the Oracle Cloud Operations team. Once you have your warehouse facilities set up in WMS Cloud, you will need to provide these IDs to the Oracle Cloud Operations team for them to do this configuration. More details can be found in the Oracle Retail Integration Bus Operations Guide.
The standard RIB messages used for WMS Cloud integration with RMFCS are generally the same as those that are used for integration with other solutions, such as SIOCS. However, for certain integrations, due to the way that WMS Cloud requires data to be sent in a different manner for modified data. In the standard RIB messages used for SIOCS, only the data elements that have changed are sent. For example, if an item description is updated, only the item ID and description that changed are included in the published modification. However, for WMS Cloud, the full item details need to be resent in the case of a modification or delete. To support this, the Publish Full Objects system option in RMFCS must be checked (Y) in order for the modified data to correctly update WMS Cloud.
Another configuration that must be done in RMFCS is to coordinate the inventory status codes that are used in RMFCS with the lock code used in receiving by WMS Cloud. Lock codes are used by WMS Cloud to "lock" some inventory on receipt until after it has been inspected or fully processed, prior to the put-away process. To allow the receipt to be processed by RMFCS, but have the inventory likewise be moved into an unavailable status in RMFCS during this process, the code PP must be configured into both solutions. Then you should also configure this lock code to be used for inbound shipments, if this is your business process. This is applicable for both PO and Transfer receipts.
Although OROMS does not connect directly to WMS Cloud, customer order details are integrated through RMFCS, necessitating coordination of codes used in both solutions. In particular, the Ship Via codes in OROMS, which identify the shipping company to be used for the customer order, need to be setup to match the Ship Via codes in WMS Cloud. For more details on how customer orders integrate to WMS Cloud from OROMS, OROB, and RMFCS, see the Merchandising and SIM Integration with OMS and OB white paper found on My Oracle Support under ID 2088235.1.
|
Note: There is no special configuration required in SIOCS or OROB in order for it to receive messages from WMS Cloud. That is all managed through RICS. |