6. Application Entry
6.1 Introduction
The first step in the Lease origination process is entering credit application data into Oracle Financial Services Lending and Leasing Application. The Application Entry screen enables you to specify information from credit application into the system and request a credit bureau report.
This chapter explains how to use the Applications screen to specify and validate a credit application.
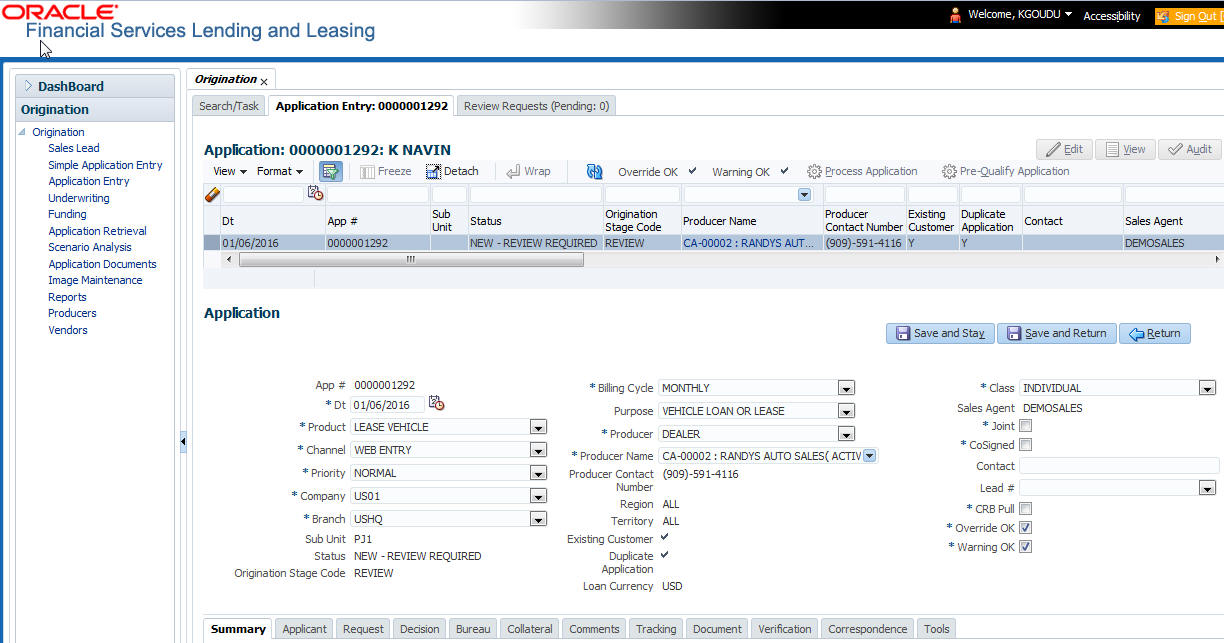
6.2 Entering a Credit Application
There are four main steps in entering an application
- Select product type and producer at the top of the Application screen in Applications section. The product defines the type of credit application: Lease as well as any collateral, such as vehicles or homes, associated with the Lease. When you save the application, system activates the links on Applications screen that are associated with the product, streamlining the application process. The producer is the dealer supplying the application. When selected, the status of the Producer is displayed along with Producer Name.
- Enter information regarding the primary applicant, such
as name, social security number, address, place of employment and financial
assets and liabilities. Enter this same information for any other applicants,
such as co-signers or joint applicants, if they exist.
System displays the error message as “The Application does not exist” if the provided details does not match with any application details. - Enter information about the requested credit for the Lease such as Lease amount and number of terms.
- Enter information about the collateral.
You can also enter credit application data into Oracle Financial Services Lending and Leasing Application using the Fax-In container. For more details, refer to ‘Application Entry using Fax-In’ section.
Once the basic details are entered, the user has to check whether the application pre qualifies or not. Once the pre-qualified edits are satisfied, click Submit in the Application screen. Pre-qualification edits can be viewed from the 'Verification' sub tab.
When finished, Oracle Financial Services Lending and Leasing checks the application for completeness using a predefined set of edits. These edits search for errors and warnings based on your system setup. Status change of the application can be determined by credit bureau and scoring model of the application. The prescreening checks ensure that automatic credit bureau reports are pulled only for applications which meet set criteria, thus saving cost.
After an application clears the edits check, click Process Application in the Applications section. The system begins the processes of prescreening the application and pulling a credit bureau while you can begin entering the next application in your queue.
To enter a new application
- Click Origination > Origination > Application Entry.
- The Application Entry screen appears, opened at the Search
link’s Results screen.

The Recreate Instance button appears only when the BPEL parameter is YES.
- In the Results tab’s Quick Search section,
click New Application. The Search link’s Applications
Entry screen opens at the Application Entry tab.
For details on this screen refer Applications section in Underwriting chapter.
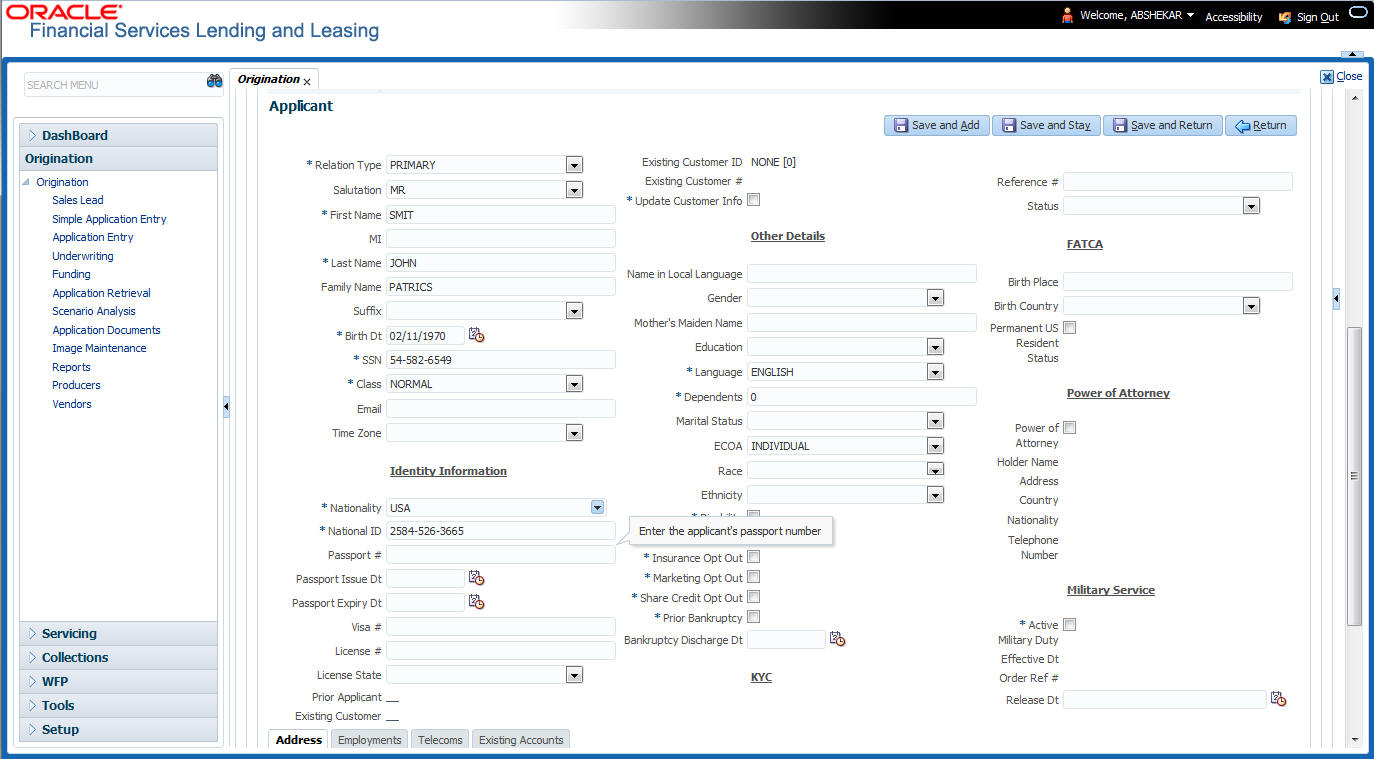
6.3 Applicants Tab
Using the information supplied on application, complete Applicants tab details and the following sub tab details:
- Address
- Employments
- Telecoms
- Financials
- Liabilities
- Other Incomes sub screens
- Summary
- Credit Scores
- Duplicate Applicant
- Existing Accounts
- Tracking Attributes
The system uses the information on the Financial and Liabilities sub tabs in determining the applicant’s net worth. The system uses information on the Employments screen and Other Incomes sub screen to calculate the applicant’s debt-to-income ratio.
To complete the Applicants Details screen
- On the Application Entry tab, click Applicant
> Applicant.
For details on this screen refer Applicant Tab section in Underwriting chapter.
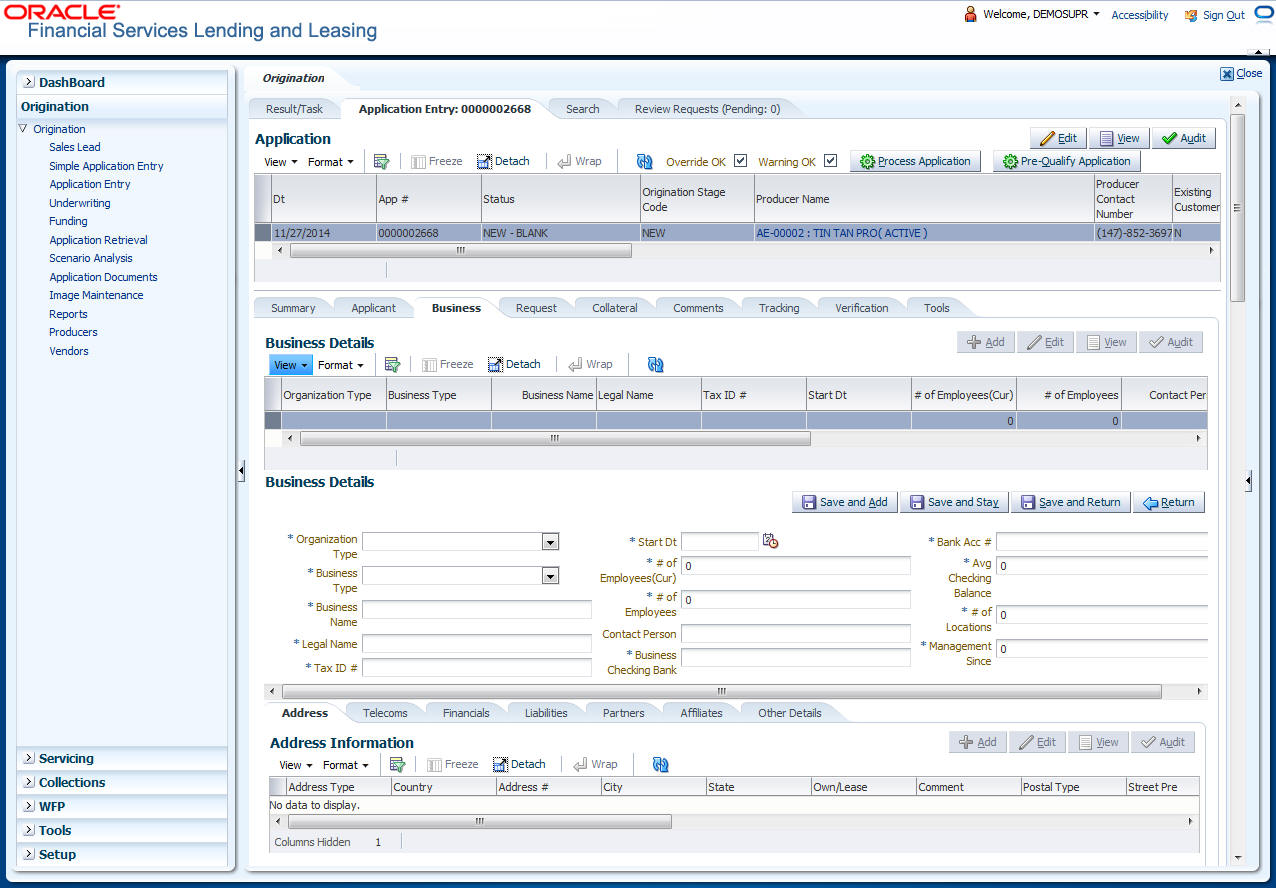
6.4 Business Applicants Tab
Oracle Financial Services Lending and Leasing can record SME business related financial information and business partners on the Business screen to assist in approving the Lease application during underwriting. The Business Applicant screen is available for Lease and contains the following sub screens:
- Address
- Telecoms
- Financials
- Liabilities
- Partners
- Affiliates
- Other details
To complete the Business Applicant screen
- If SME business information is included on the application, select small business inClass field on Applications section and click Save.
The Business tab appears on the Application Entry screen.
- On the Application Entry screen, click Business.
For details on this screen refer Business Tab section in Underwriting chapter.
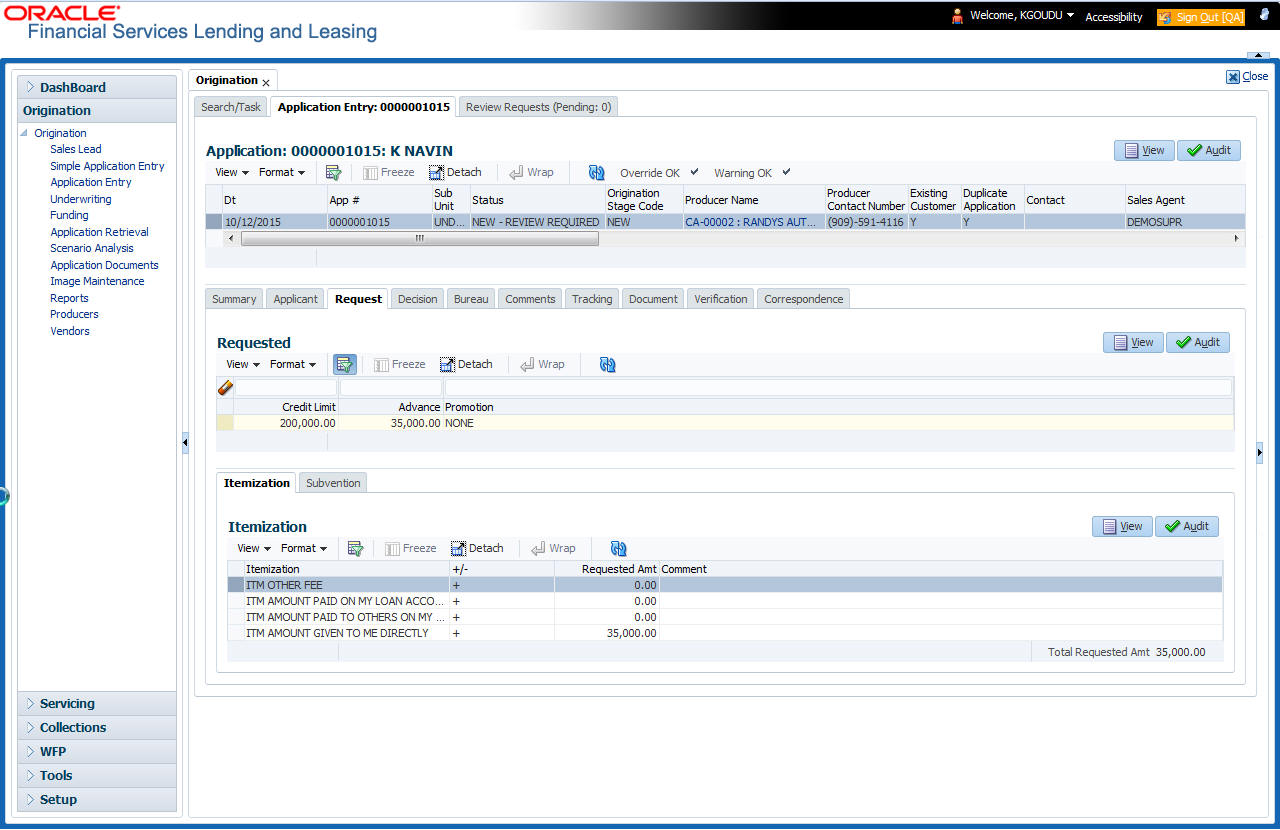
6.5 Request Tab
Depending on the type of product you select, the following screen will be available from Requested link
To complete the request tab:
- On the Application Entry tab, click Request
tab.
For details on this screen refer Request Tab section in Underwriting chapter.
6.6 Bureau Tab
The Bureau tab displays credit report (if pulled) for an applicant. If there is a need for another pull for any applicant, it can be done here manually using the New Request section.
To verify the credit bureau data using the Bureau tab
- Open the Application Entry screen and load the application you want to work with.
- Click Bureau
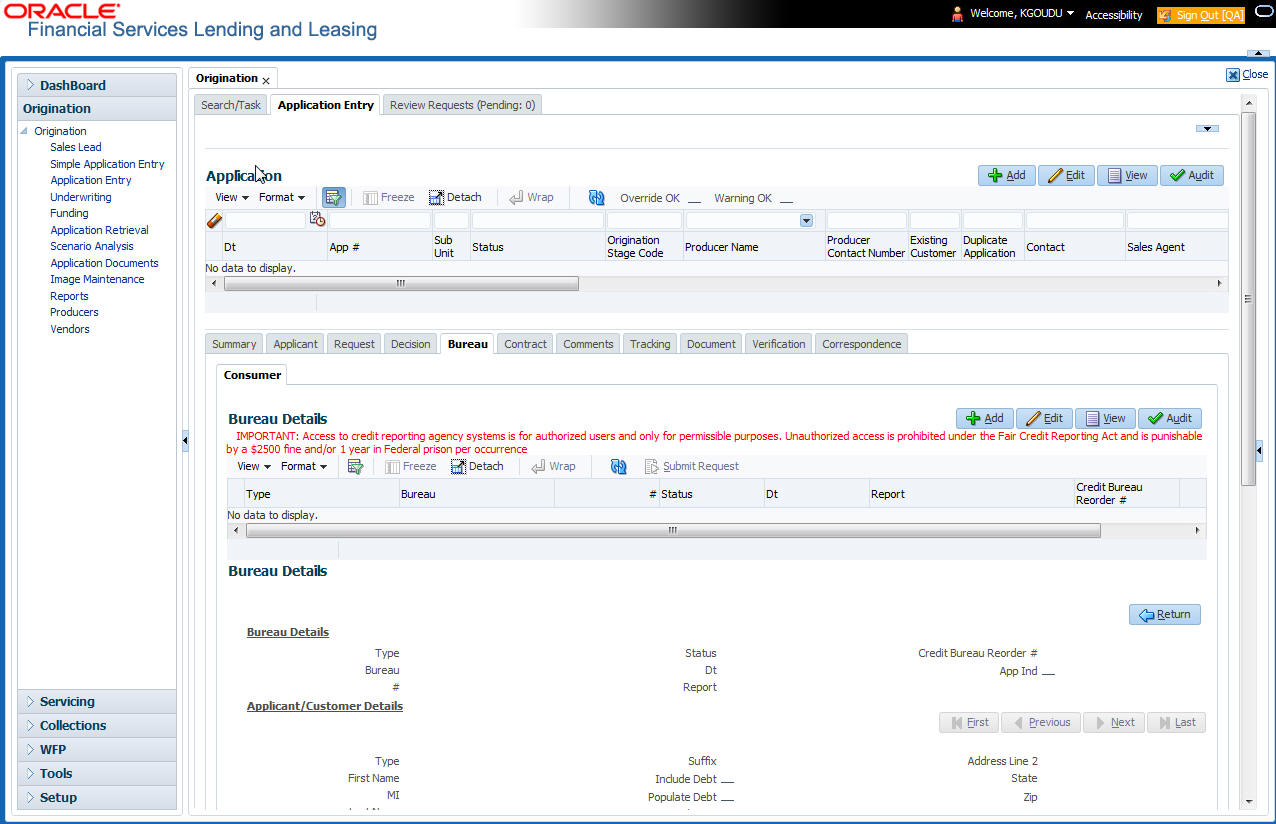
For details on this screen refer Bureau Tab section in Underwriting chapter.
6.7 Collateral Tab
Depending on the type of product or producer you select, the Collateral tab opens one of the three following collateral screen: a vehicle information screen, a home information screen or an other information screen. Complete the screen that is available on your Applications screen. After that, complete the Valuation and Tracking sub screen, which the Collateral link’s screens share. If you are entering an unsecured Lease, the Collateral link is present but inactive; in which case, skip this step.
To enter vehicle information from the Collateral tab
- On the Application Entry link bar, click Collateral.
If the collateral is a vehicle, the Collateral link displays information
about the vehicle
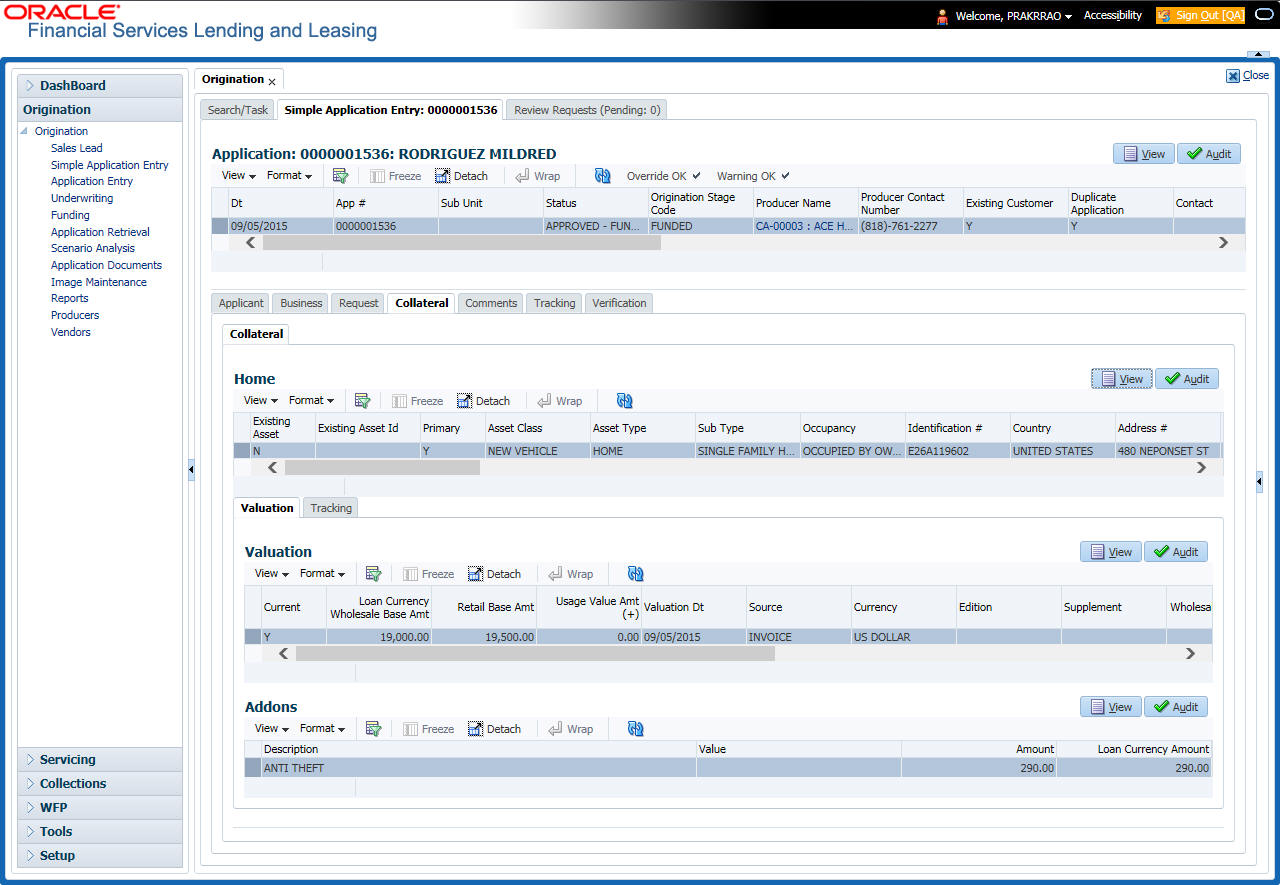
If the collateral is a home, the Collateral link displays information about the home.
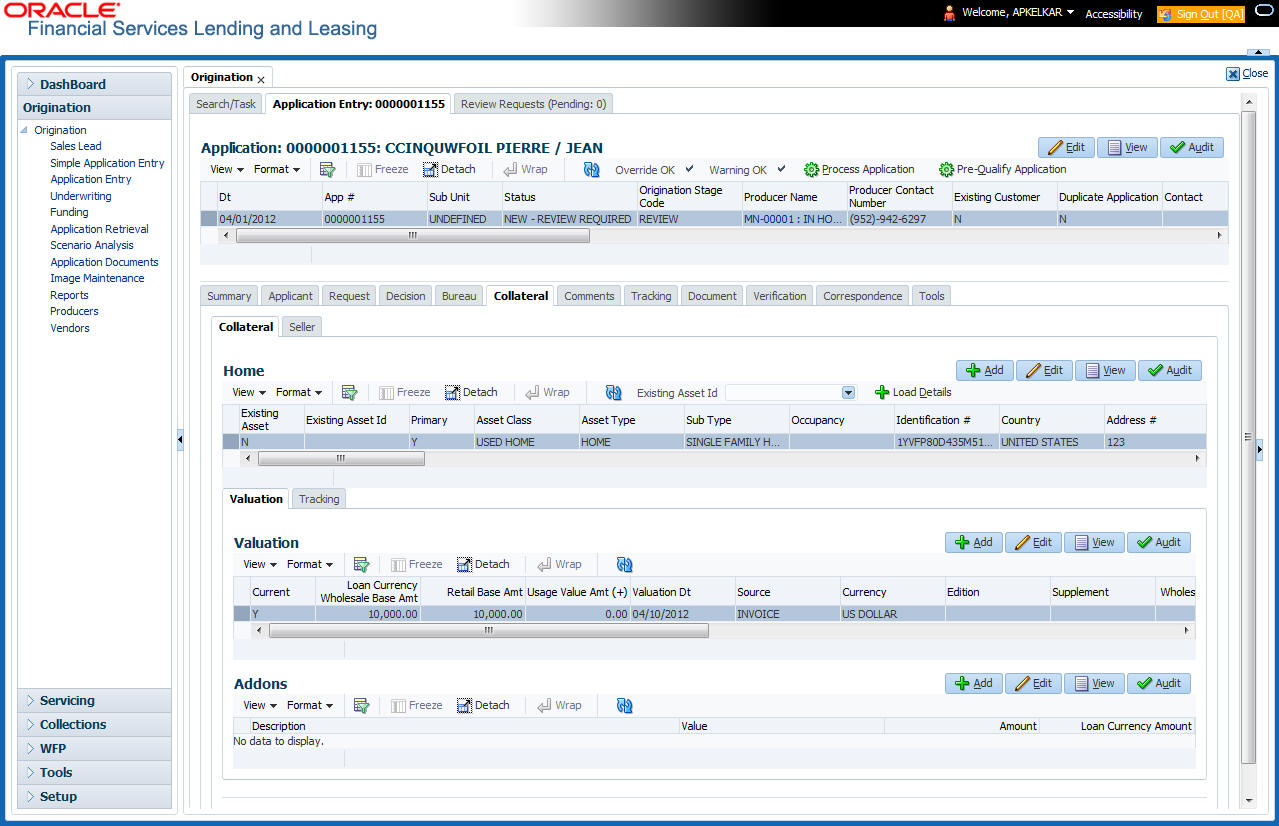
If the collateral is any other, the Collateral link displays information about that collateral.
For details on this screen refer Collateral Tab section in Underwriting chapter.
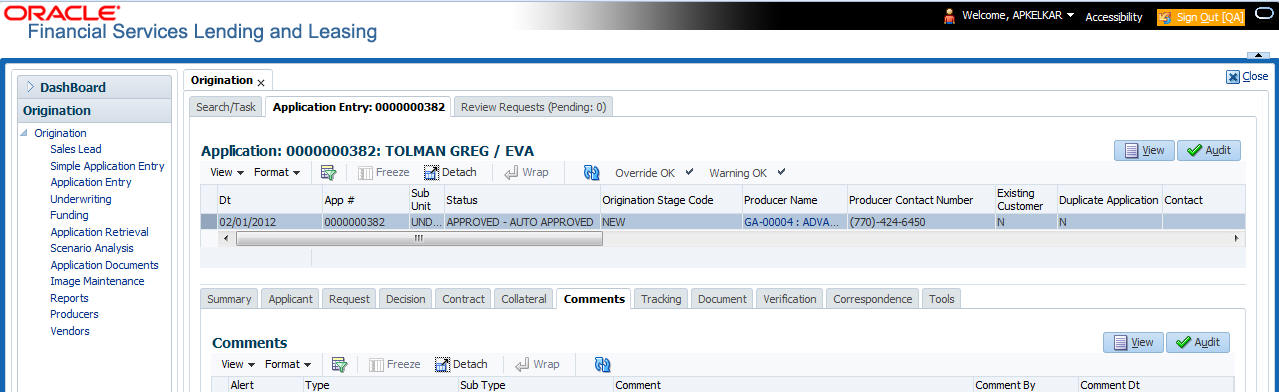
6.8 Comments Tab
When using the Application Entry screen, you can add comments to an application at any time in the application entry process by clicking the Tracking tab.
To complete the Comments screen
On the Application Entry tab, click Comments.
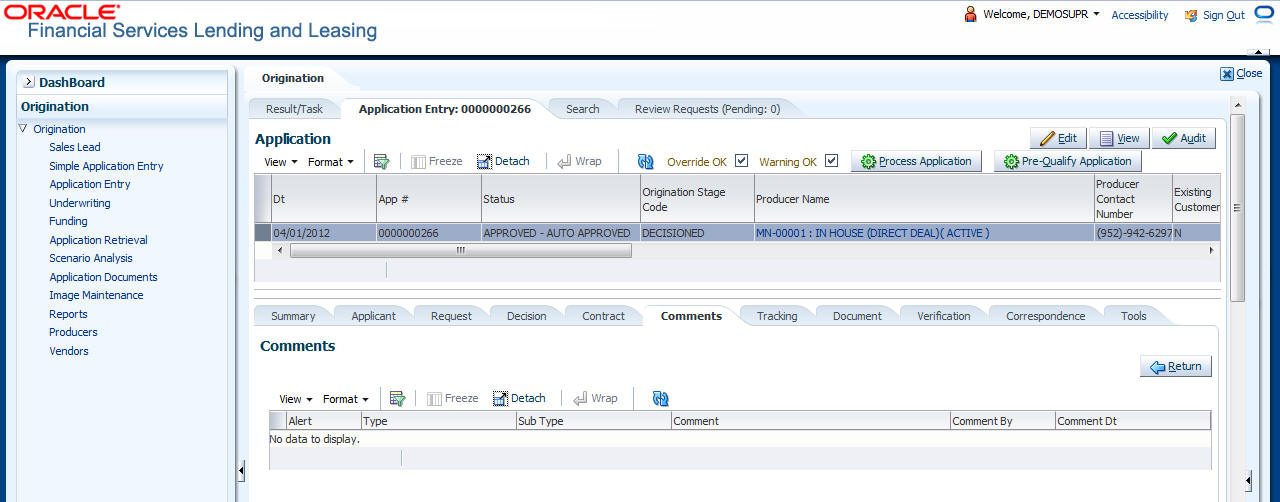
For details on this screen refer Comments Tab section in Underwriting chapter.
6.9 Tracking Tab
The Tracking tab enables you to record further information associated with the application. What items you choose to track are setup during implementation.
To track attributes
- On the application entry screen, click Tracking
tab.
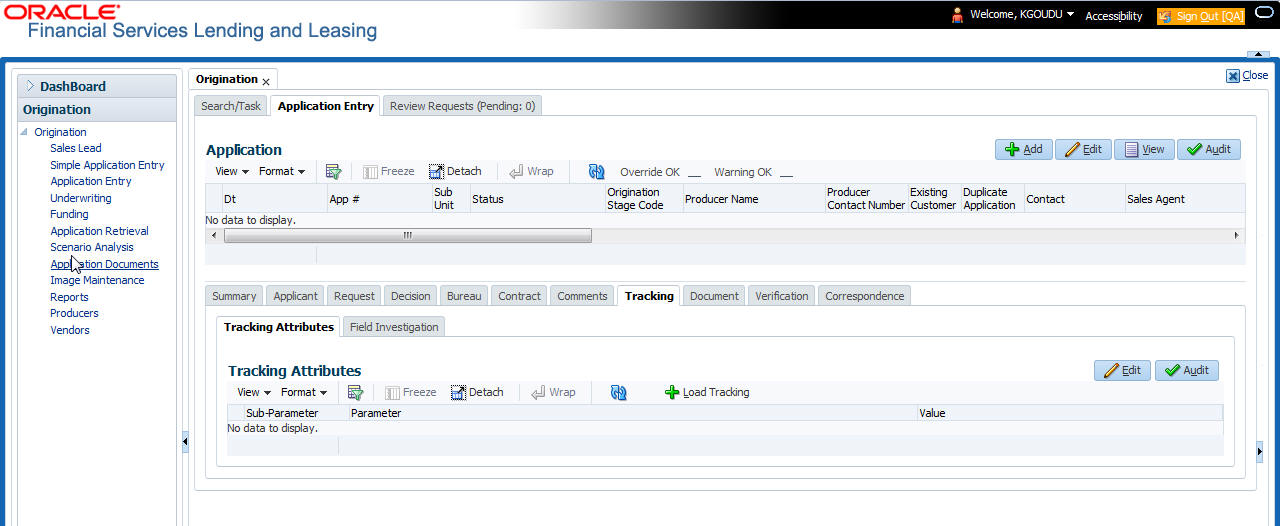
For details on this screen refer Tracking Tab section in Underwriting chapter.
6.10 Document Tab
6.10.1 Document Sub Tab
Application Entry’s Documents screen enables you to view Application Documents and Application Documents Details.

For details on this screen refer Document Tab section in Underwriting chapter.
6.11 Verification Tab
Oracle Financial Services Lending and Leasing can be configured to automatically validate portions of an application when you attempt to change its status. The results of this data check appear on the Verification link’s Edit screen as an Error, a Warning or an Override.
If it is an Error, the system will not allow you change the application’s status and approve the Lease until you fix all the errors.
If it is a Warning, the system enables you to change an application’s status without correcting the matter. While you should still investigate the problem, Warning messages are of a lesser importance than Error messages.
If it is an Override, the system displays a dialog box informing you that an override is needed; your responsibility level does not have the authority required to process this step. (Choose Yes on the dialog box to move application to queue of the user with required authority.)
To validate a credit application
- Enter all the information associated with the application on the Application Entry screen.
- When you are finished entering data, on the Application
Entry tab, click Verification sub tab, then click the Edits
sub tab.
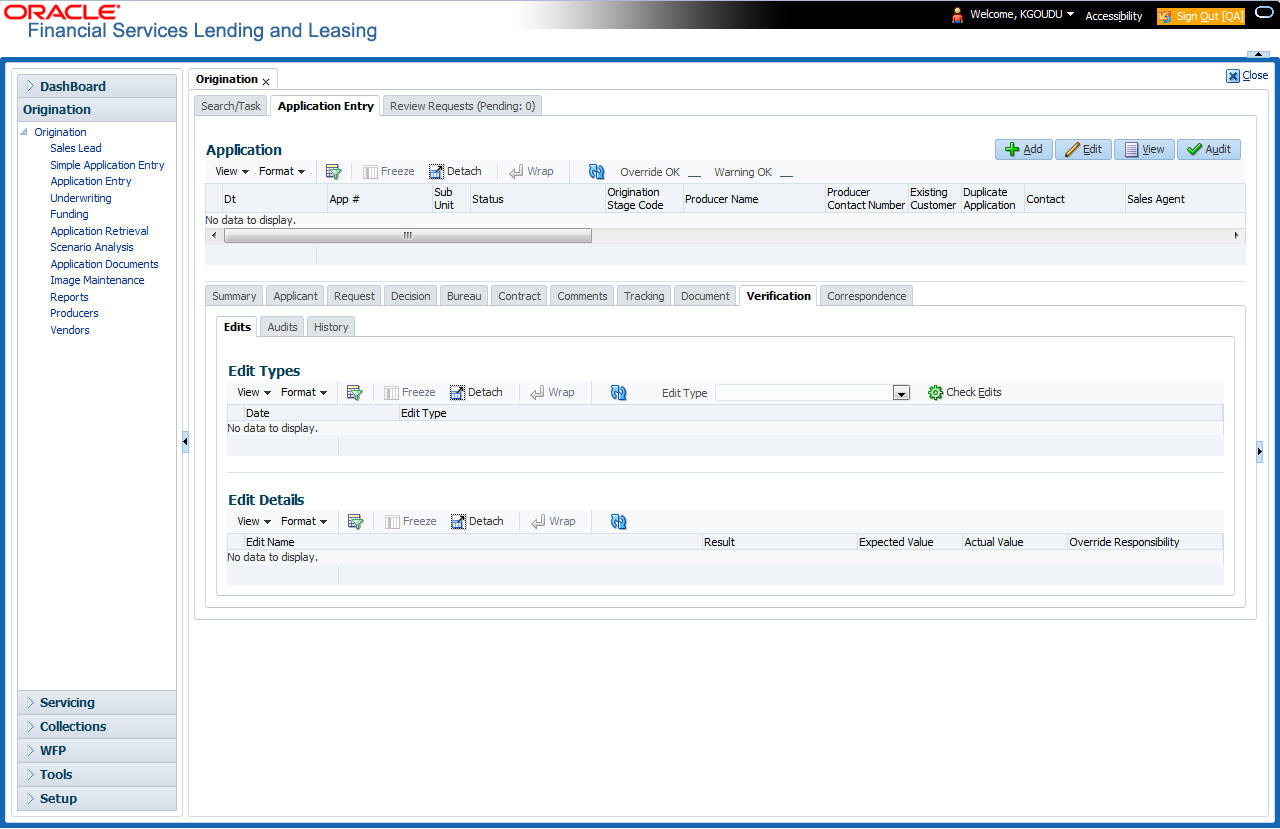
For details on this screen refer Verification Tab section in Underwriting chapter.
6.12 Tools tab
The Tools tab calculates the payment amount, term, interest rate, Lease amount, amortization schedule and allows for the printing of a report.
For detailed information on using the tools, refer Tools chapter.
6.12.1 Application Entry using Fax-In
You can enter credit application data into Oracle Financial Services Lending and Leasing Application using the Fax-In image functionality using the Fax-In container. Once the all the images are loaded into the system using the steps mentioned in ‘Entering a Credit Application’ section, you can view those images in the Fax-In container and perform data entry concurrently.
The Fax-In container option is a simple image holder which is available to the user on clicking the ‘New Application’ button. The option is available only if has been enabled in the system settings by the administrator.
If you are the administrator, you can enable/disable this feature to the users in the access screen. However, you can view the availability of this feature by navigating to Main Menu > Setup > Administration > User > Access screen. Select Screen tab and in the Security Access Definition section, the status of “ACCESS TO MENU IMAGE MAINTAINENCE” flag defines the availability of this feature. If the flag is set to ‘Y’ then the Fax-In container is available in Application Entry screen.
The image container displays the image with the header information stored in the tables loaded as a part of the loading process. You can navigate through the pictures using the navigation buttons (First, Previous, Next and Last) available on the top right.
After entering the Application details, you need to select the Image check box placed on the top of Fax Image container. By doing so the system will automatically associate the current image with the application and save it along with the other application details. Also the image will no longer be available in the container since the container only holds those images which are not associated with any application.