Creating Pivot Grid Models Using Query Manager
From the Query Manager component, the Pivot Grid designer, application developers, or report administrators can use the Publish as Pivot Grid link to create or edit Pivot Grid models.
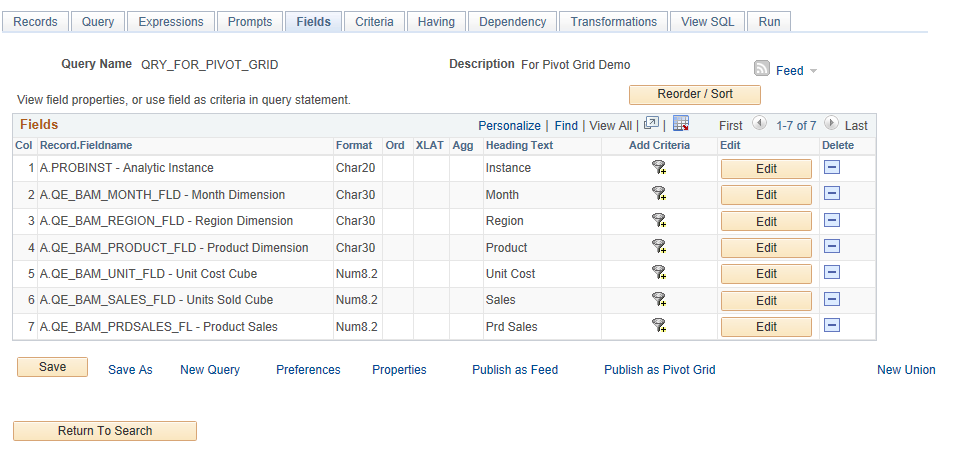
Image: Fields page
This example shows the Fields page in Query Manager, including the Publish as Pivot Grid link:
Steps Used to Create a Pivot Grid Model Using Query Manager
To create a Pivot Grid model using Query Manager:
From the Main Menu, select .
Open an existing query; in this example, open query QE_PIVOT_GRID.
Select the Fields tab.
Click the Publish as Pivot Grid link.
The Review Pivot Grids page appears listing all existing Pivot Grid models that currently use the query definition, if any.
Image: Review Pivot Grids page
This example shows the Review Pivot Grids page. No existing Pivot Grid model is attached to the current query.
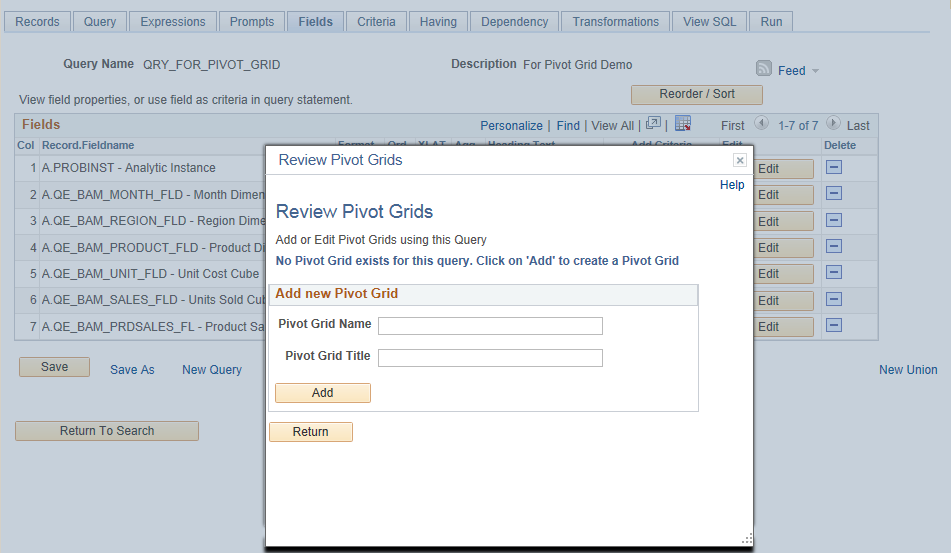
From the Review Pivot Grid page, you can click either the Edit or the Add button to access the Pivot Grid Wizard – Select Data Source page (Step 2), where you can add new Pivot Grid models or update existing ones that are based on the current query.
If you add a new Pivot Grid, you must enter a unique value in the Pivot Grid Name field and a Pivot Grid title. The query name and Select Columns section are populated in the Select Data Source page. The security is the same as in Pivot Grid Wizard. You are able to open and edit the Pivot Grid models that you are granted permission for (for example, Pivot Grid administrator or Pivot Grid model creator).
Image: Pivot Grid Wizard – Select Data Source page
This example shows the Pivot Grid Wizard – Select Data Source page.
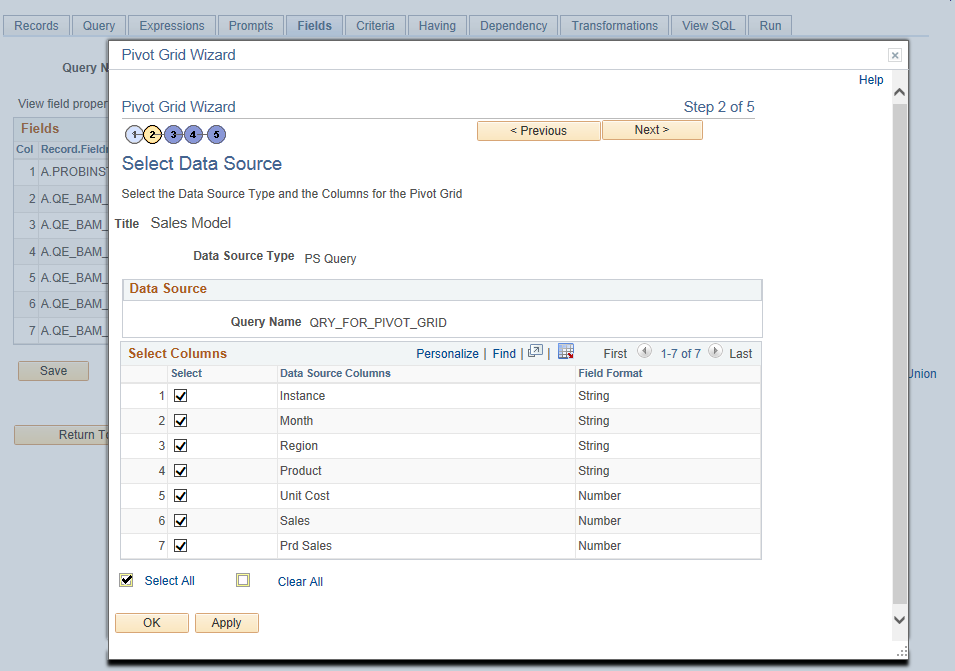
Note: From this step, you can navigate through each wizard step and complete the Pivot Grid model creation as in Pivot Grid Wizard.
Click the Next button to access the Specify Data Model Values page, where you can define the column type, aggregate functions, and so on for the selected data model.
Image: Pivot Grid Wizard – Specify Data Model Values page
This example shows the Pivot Grid Wizard – Specify Data Model Values page (Step 3).
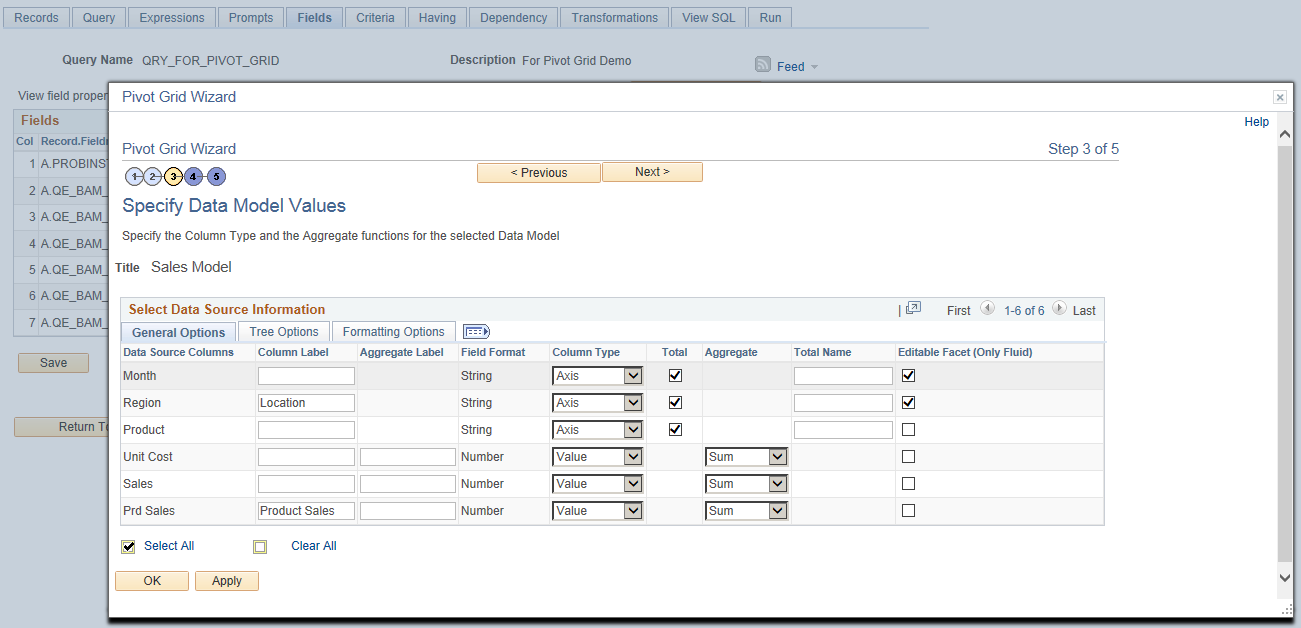
Click the Next button to access the Specify Data Model Options page, where you can define the initial layout of the grid and the chart.
Image: Pivot Grid Wizard – Specify Data Model Options page
This example shows the Pivot Grid Wizard – Specify Data Model Options page (Step 4).
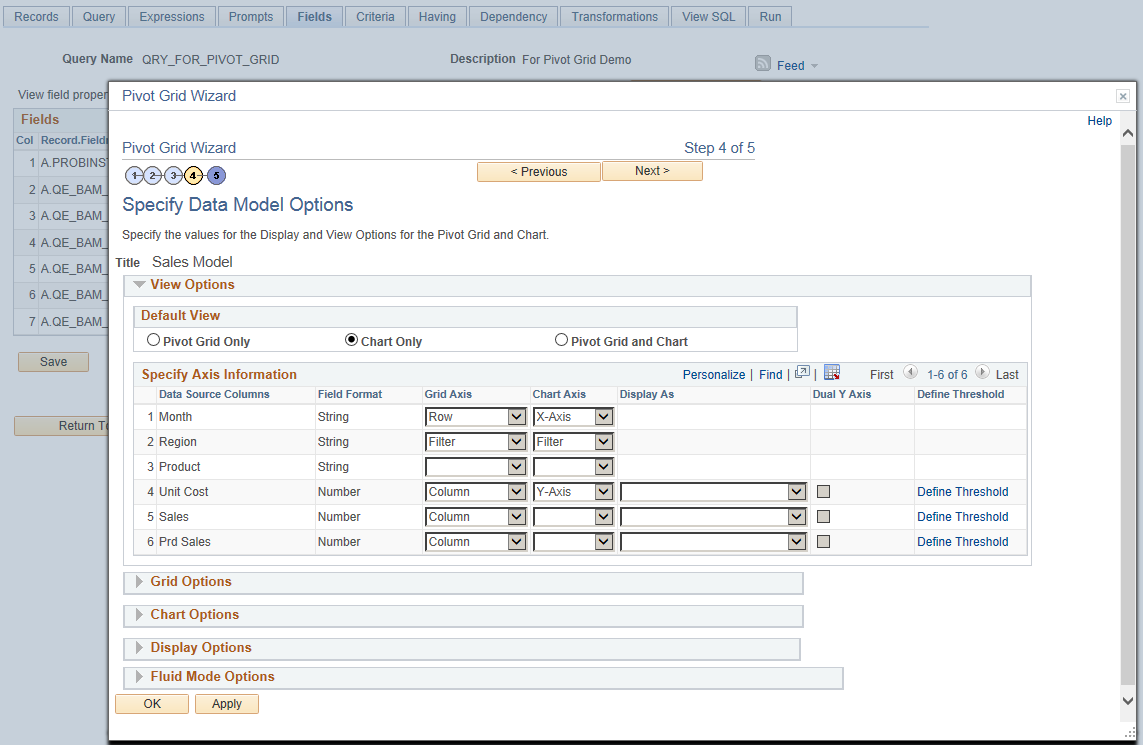
Click the Next button to access the Pivot Grid Display page, where you can review the Pivot Grid model based on the display options and layouts selected or modify the Pivot Grid model to finalize the design.
Image: Pivot Grid Wizard – Pivot Grid Display page
This example shows the Pivot Grid Wizard – Pivot Grid Display page (Step 5).
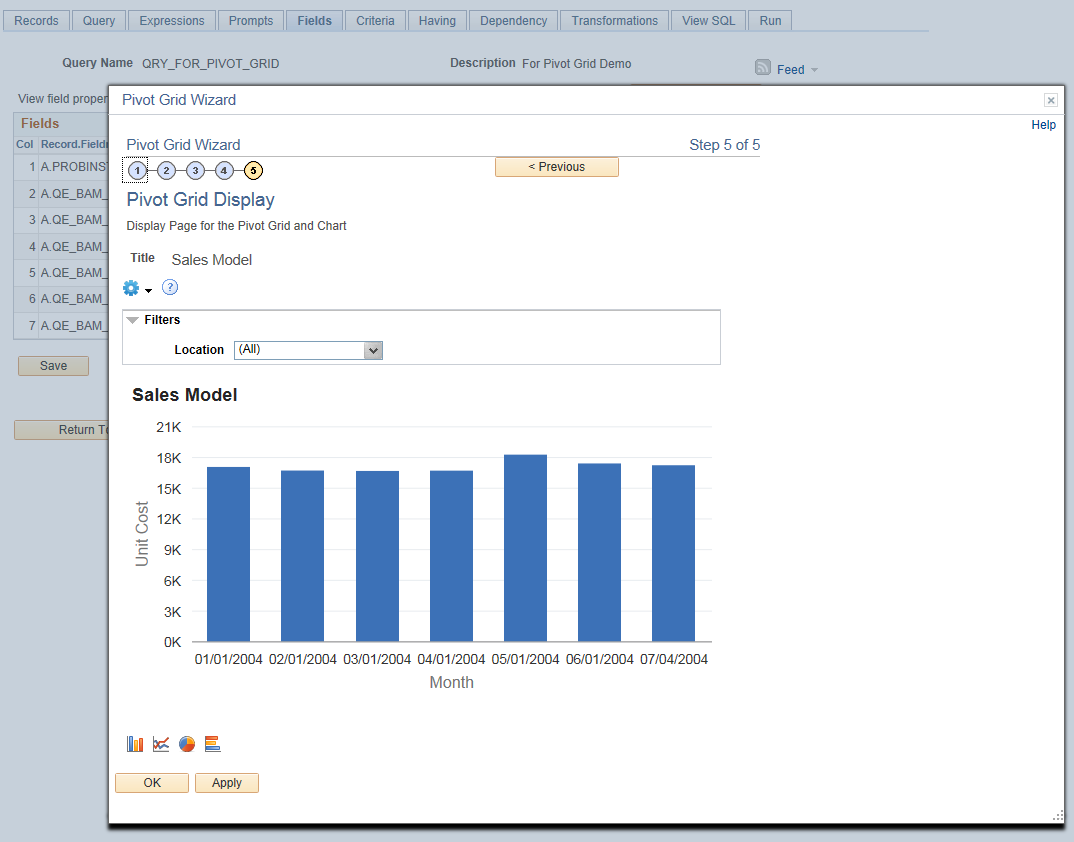
From the Pivot Grid Display page:
Click the Apply button to save the wizard.
Click the OK button to save and close the Pivot Grid Wizard window and return to the Review Pivot Grids page.
Image: Review Pivot Grid page
This example shows the Review Pivot Grid page after you click the OK button from the Pivot Grid Display page. The Sales Model is created and listed as part of existing models.
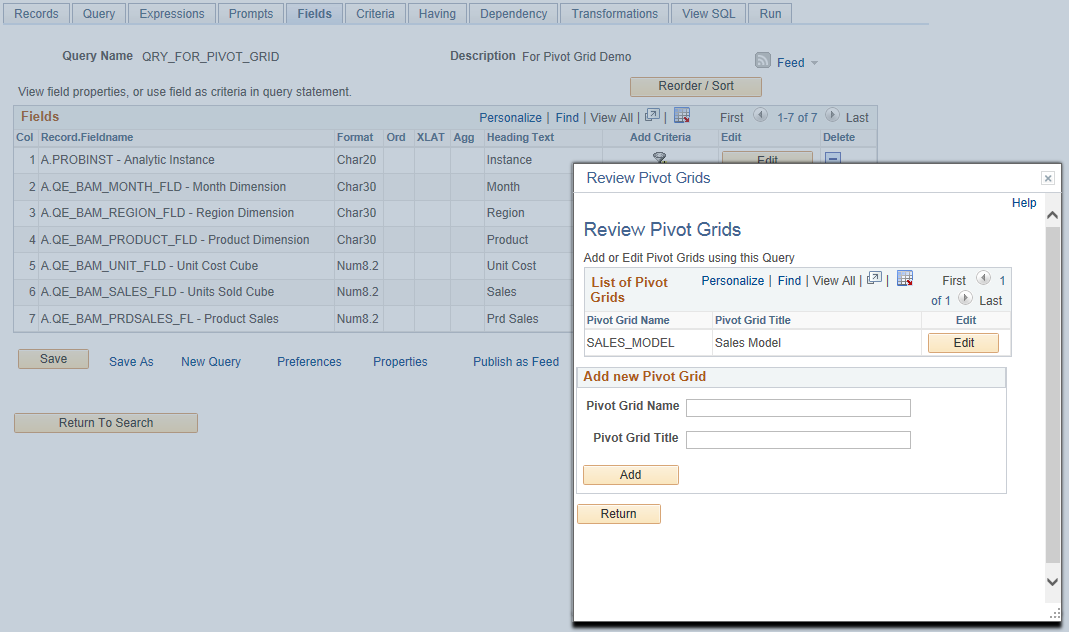
Click the Return button to return to Query Manager.