Go to primary content
Oracle® Communications EAGLE Database Administration - System Management User's Guide
Release 46.6
E93319 Revision 1
Go To Table Of Contents
Contents

Previous
Previous
Next
Next

Setting Up a Secure Telnet Connection to the EAGLE using PuTTY

This appendix describes the steps to set up a Telnet connection to to the EAGLE using the PuTTY client program.

The PuTTY client program must be installed on the machine that will be connecting to the EAGLE before this procedure can be performed. The PuTTY client program can be obtained at this website.

http://www.chiark.greenend.org.uk/~sgtatham/putty/download.html

Note:

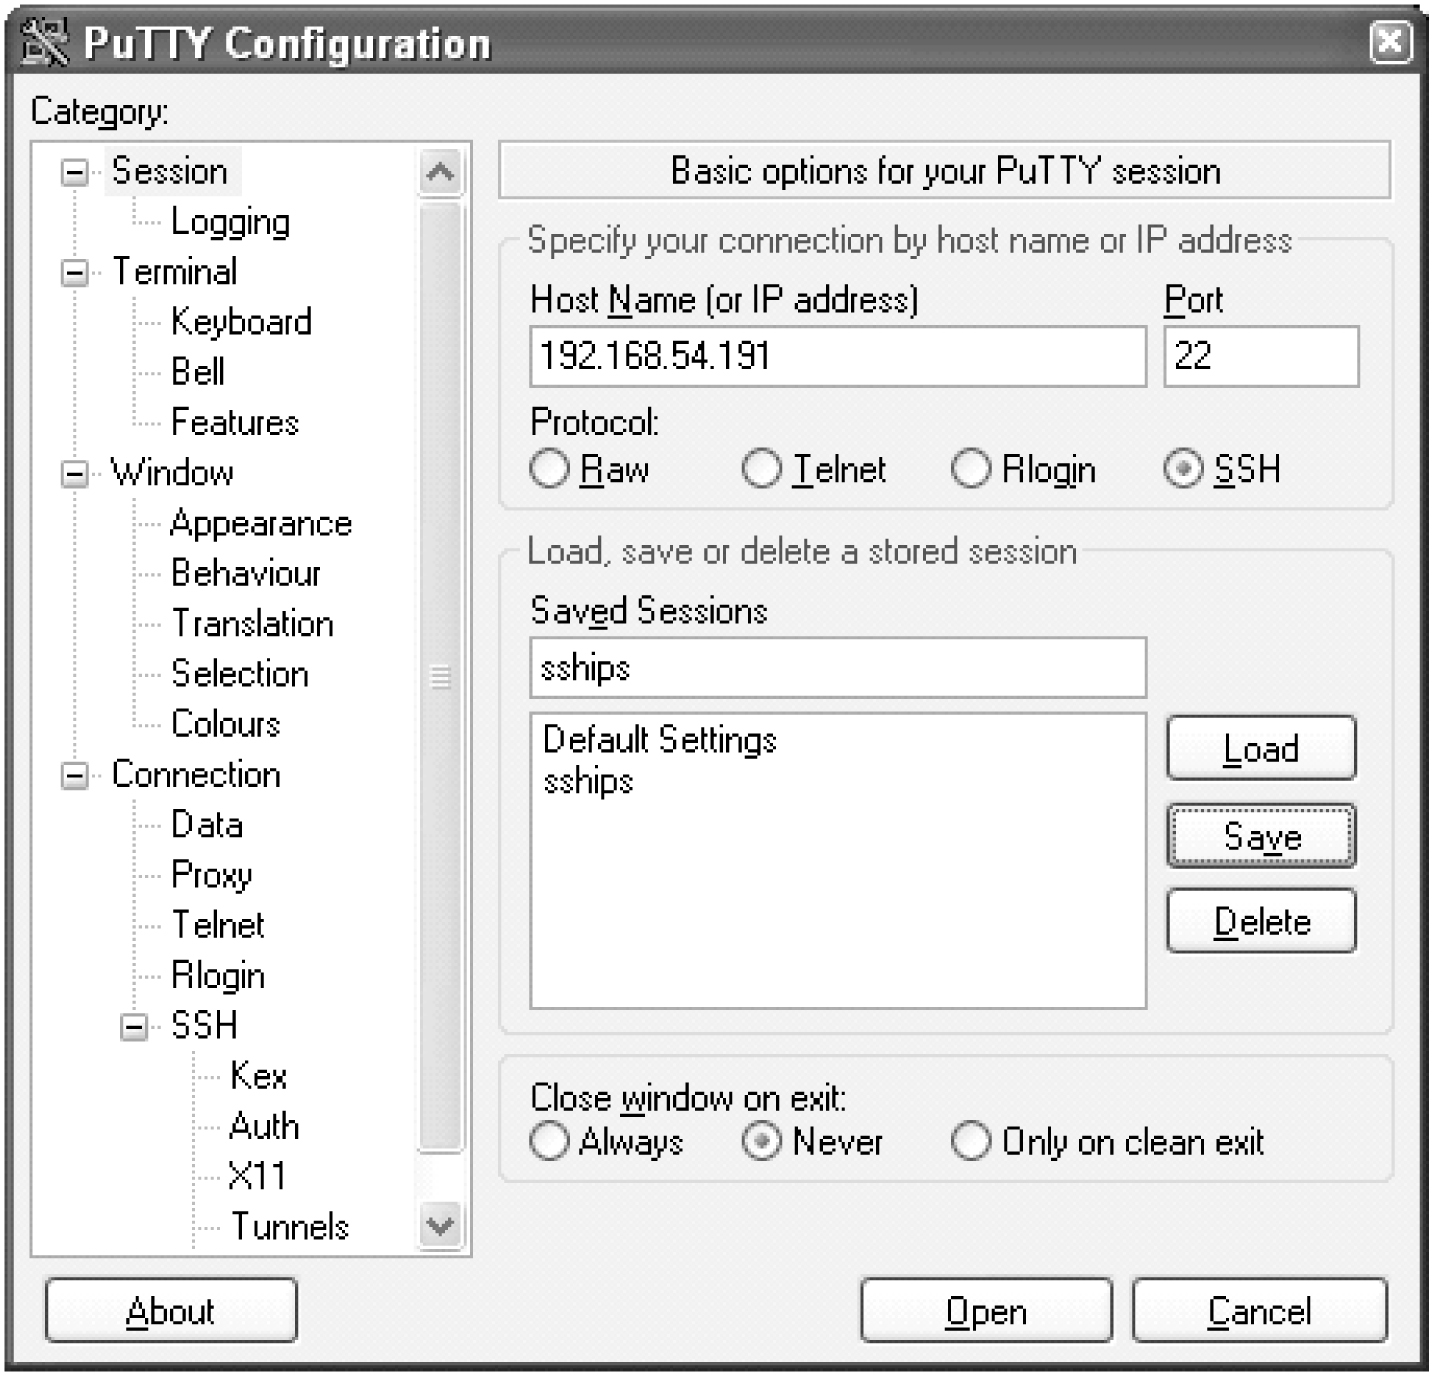
The examples shown in this procedure are based on version 0.58 of the PuTTY client program.
  1. Start the PuTTY client program by double clicking the PuTTY icon on the desktop.

    The PuTTY Configuration Window is displayed. See Figure B-1.

    Figure B-1 PuTTY Configuration Window - Initial Session Setup
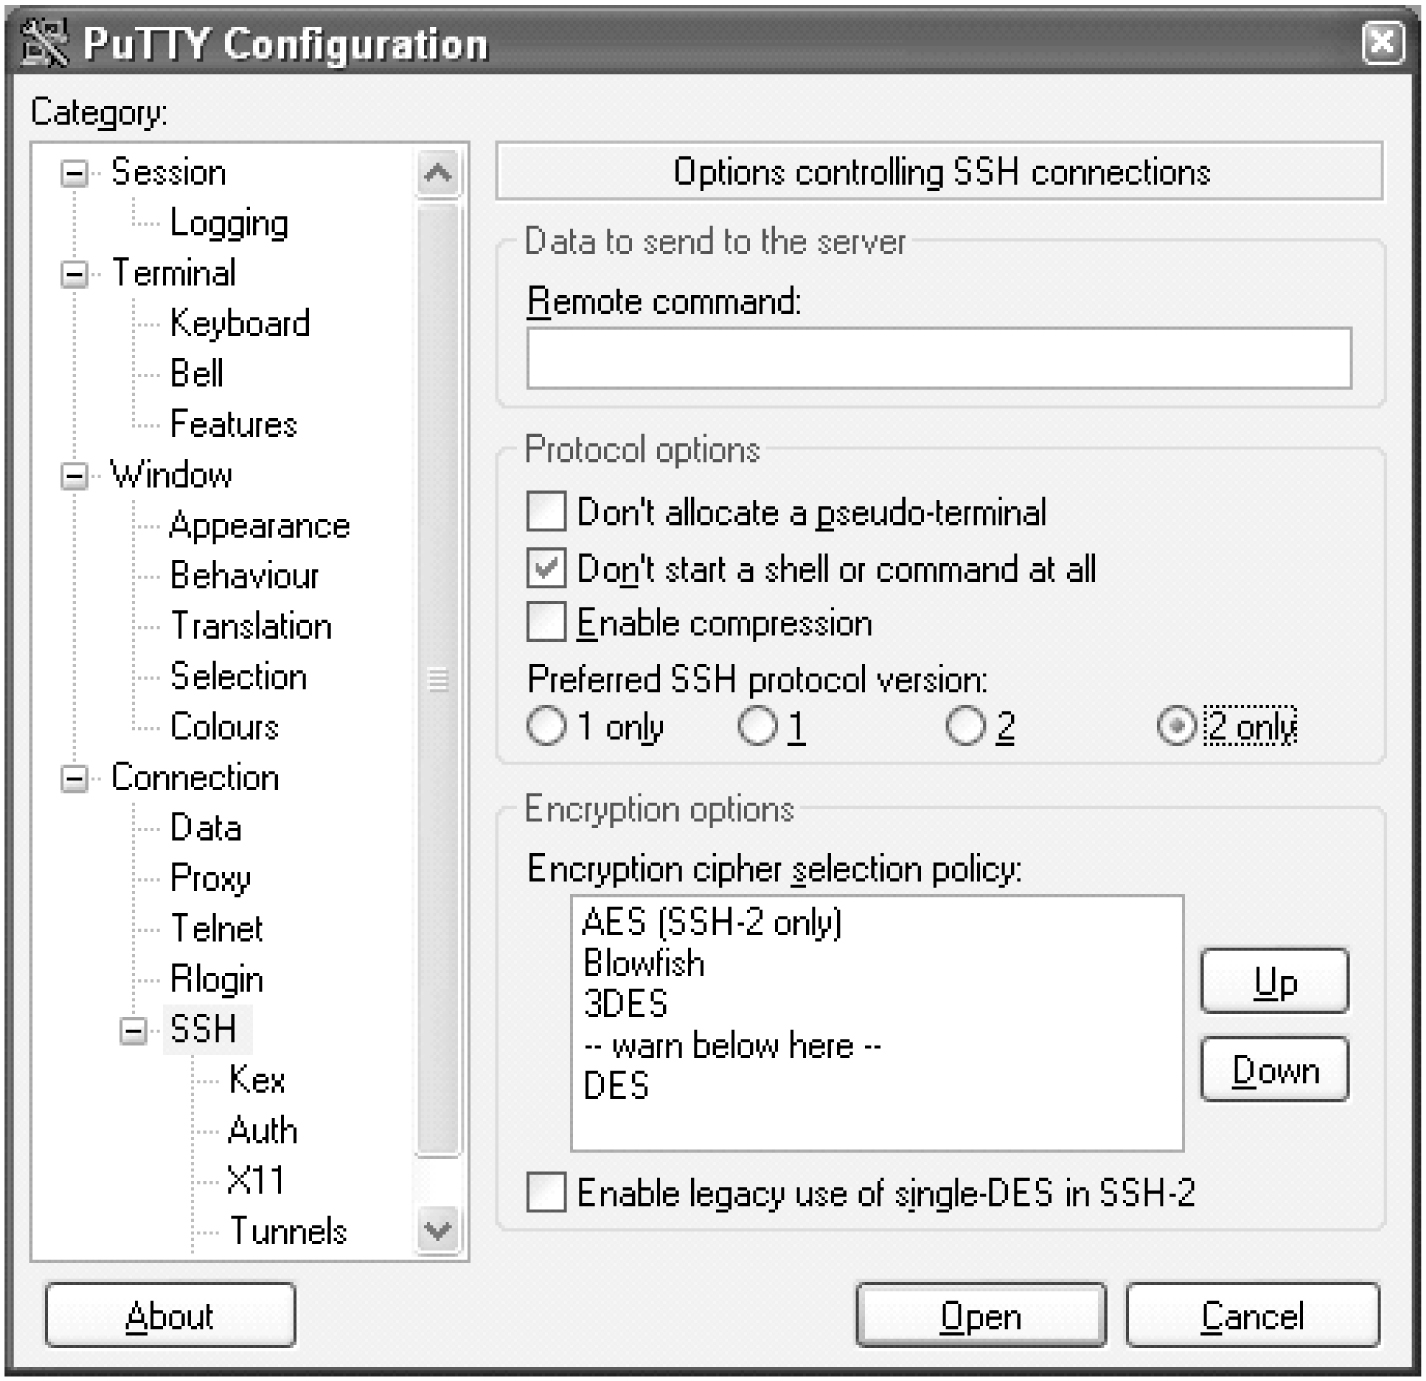
  2. Select Session in the Category list window in the PuTTY Configuration window.
  3. Enter the IP address of the IPSM in the EAGLE that is provisioned as a secure SSHD server in the Host Name (or IP Address) box.

    Enter 22 in the Port box.

  4. Click the SSH radio button for the Protocol selection.
  5. Enter a name for this session in the Saved Sessions box, for example, sships.
  6. Click the Never radio button for the Close window on exit option.
  7. Click the Save button to save this session.

    For this example, clicking the Save button saves the sships session.

  8. Select Connection > SSH in the Category list window in the PuTTY Configuration window.

    See Figure B-2.

    Figure B-2 PuTTY Configuration Window - SSH Connection Setup

  9. Click the 2 only radio button in the Preferred SSH protocol version: section of the PuTYY Configuration window.

    Click the Don’t start a shell or command at all checkbox in the Protocol options section of the PuTTY Configuration window. See Figure B-2.

  10. Select Connection > SSH > Auth.

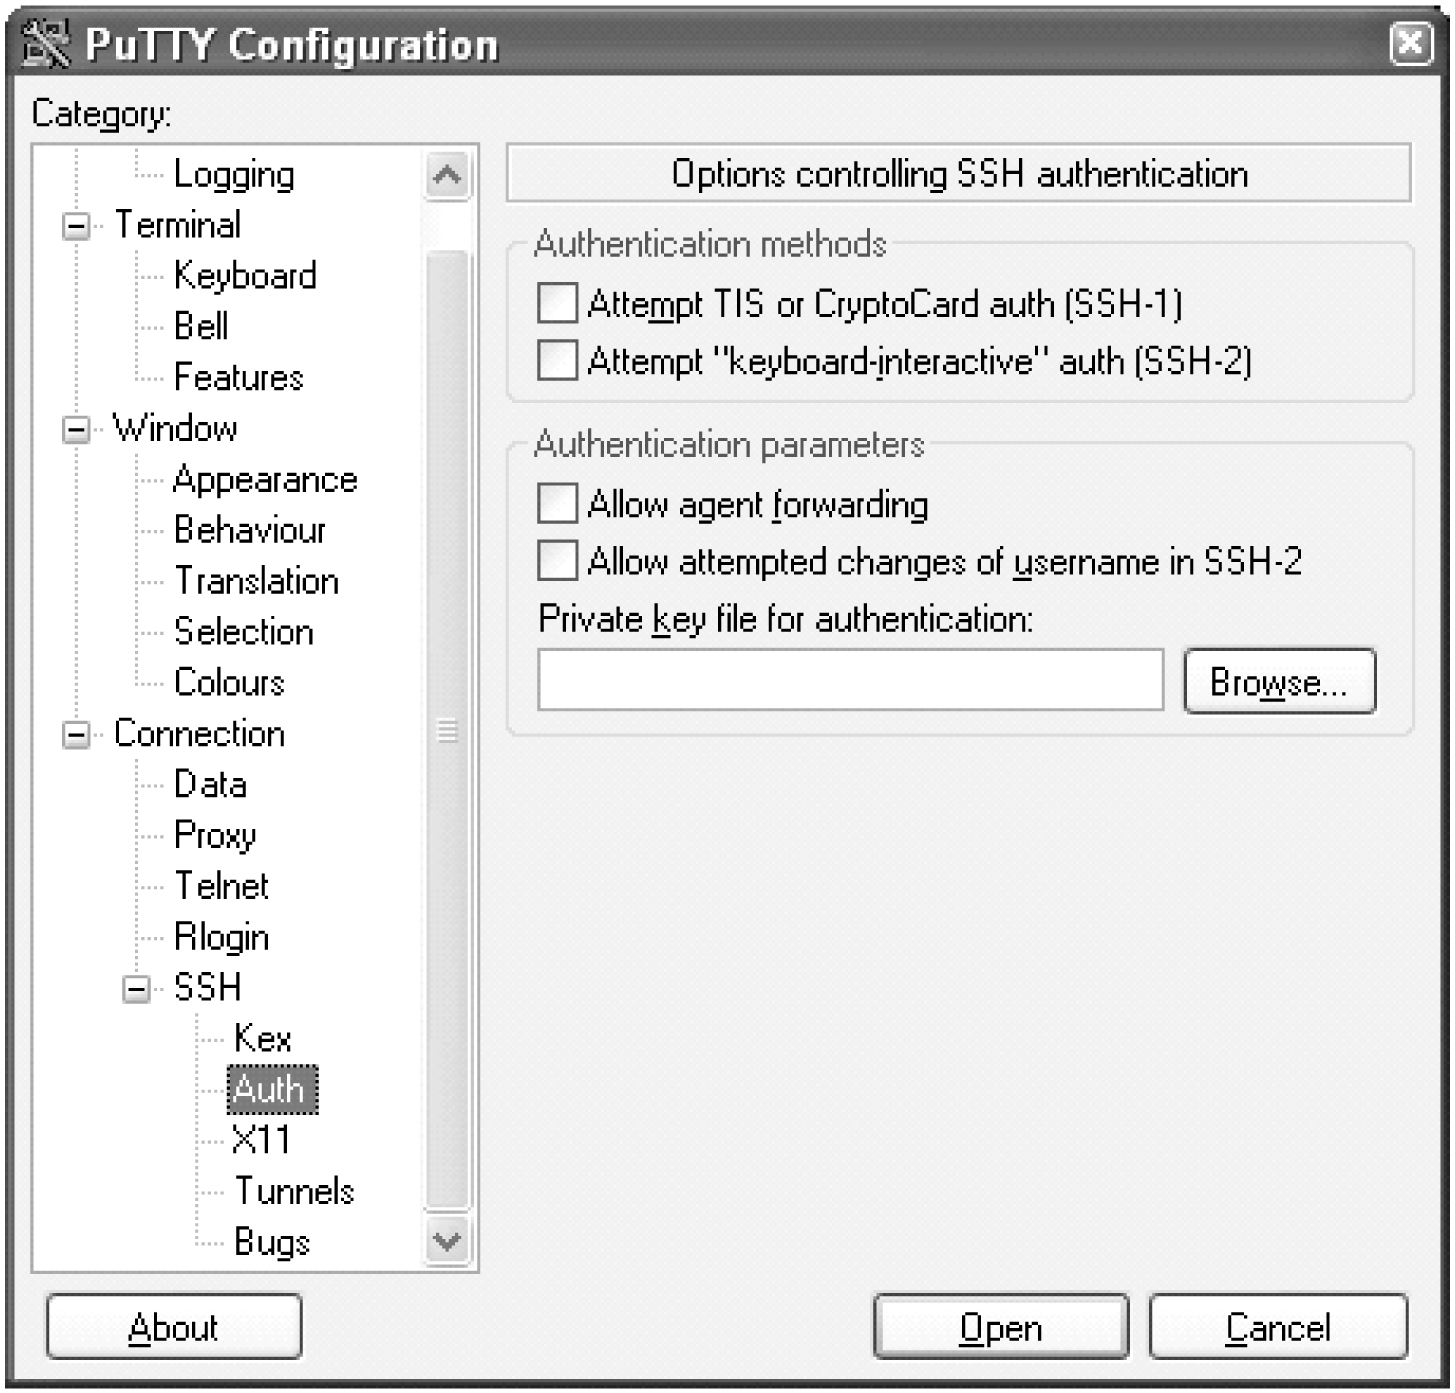
    Verify that the checkboxes are not checked. Verify that the Private key file for authentication text box is empty. See Figure B-3.

    Figure B-3 PuTTY Configuration Window - SSH Auth Setup

  11. Select Connection > SSH > Tunnels.

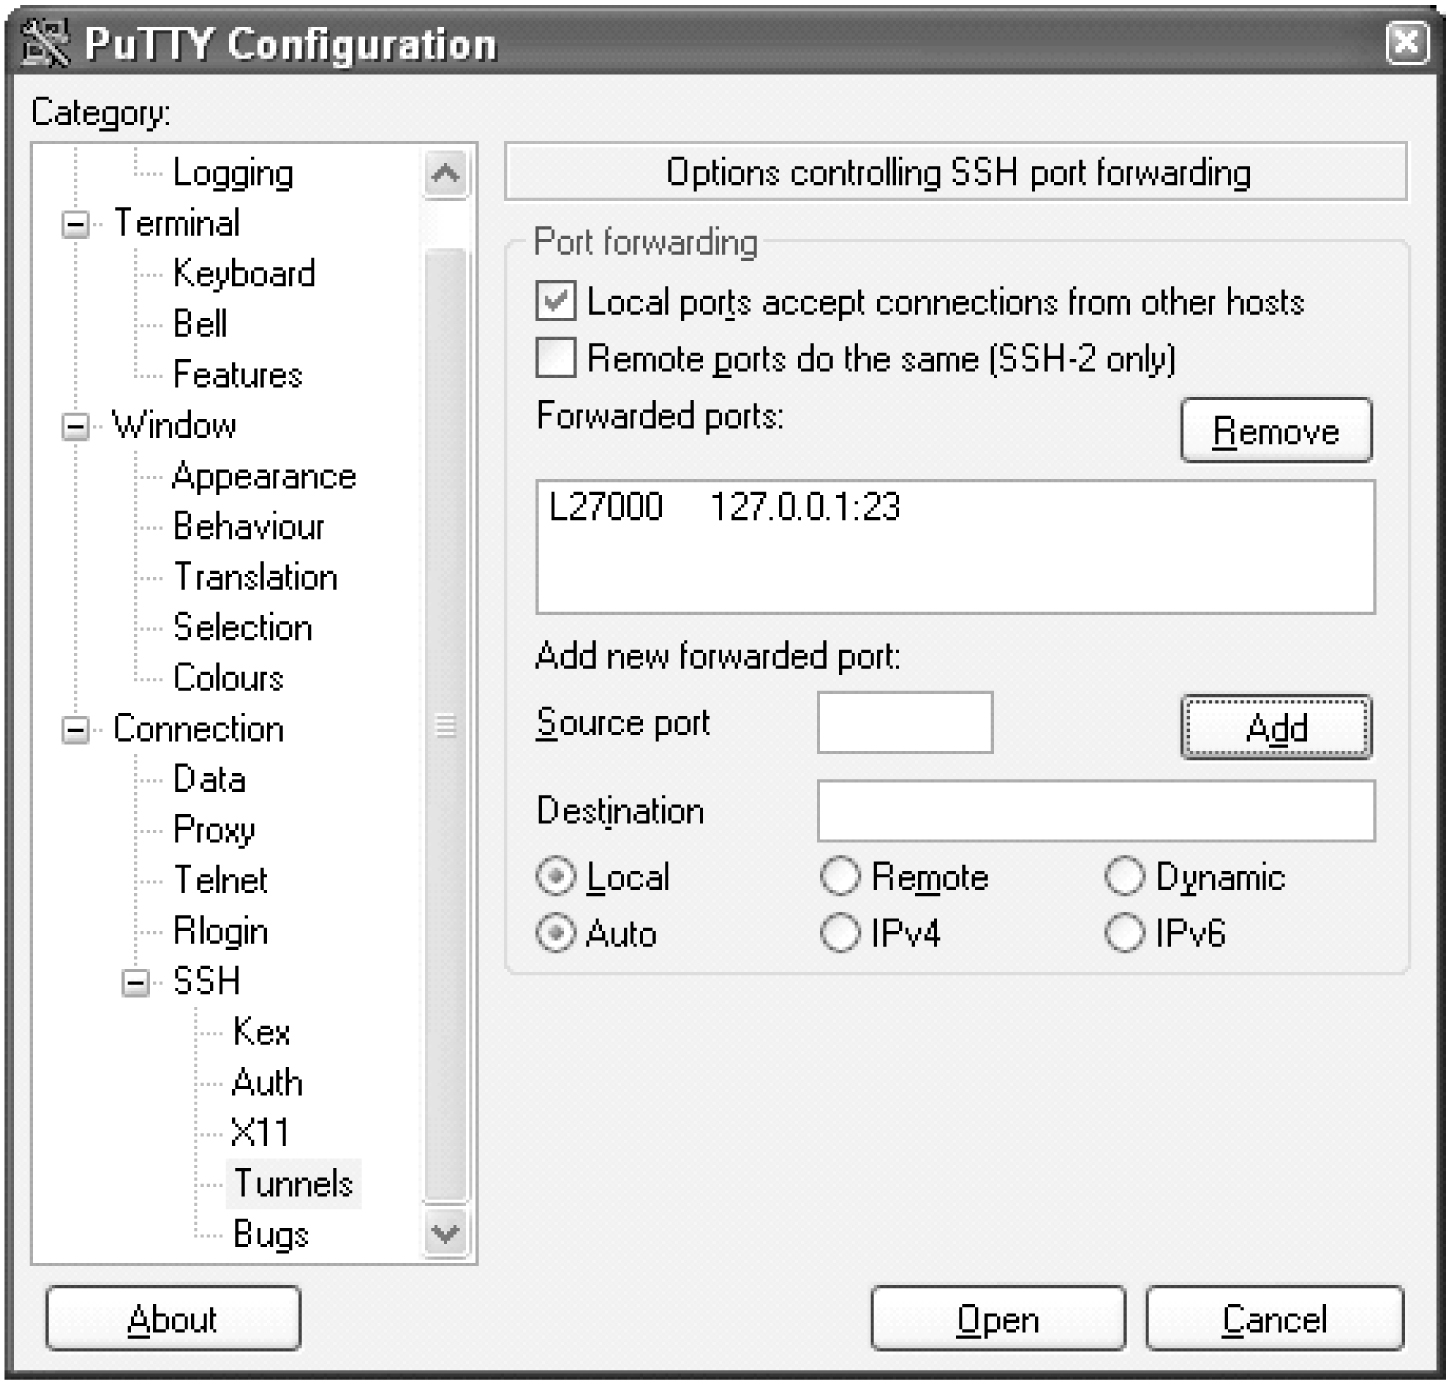
    Click the Local ports accept connections from other hosts check box in the Port Forwarding section of the PuTTY Configuration window (Figure B-4), to accept connections from other hosts.

    Figure B-4 PuTTY Configuration Window - SSH Tunnel/Port Forwarding Setup

  12. In the Add new forwarded port section of the PuTTY Configuration window (Figure B-4), click the Local radio button.

    Enter the forwarding port on the local machine in the Source port box. The Source port value must be greater than 1024 and must be available.

  13. The Destination box in the Add new forwarded port section of the PuTTY Configuration window (Figure B-4) contains the IP address and port of the remote machine.

    The forwarding port on the local machine communicates with the IP address and port shown in the Destination box. Enter the IP address and port of the remote machine in the Destination box.

    The forwarding port on the local machine communicates with the IP address and port shown in the Destination box. Enter 127.0.0.1:23 in the Destination box.

  14. Click the Add button in the Add new forwarded port section of the PuTTY Configuration window to complete adding the forwarded port information.

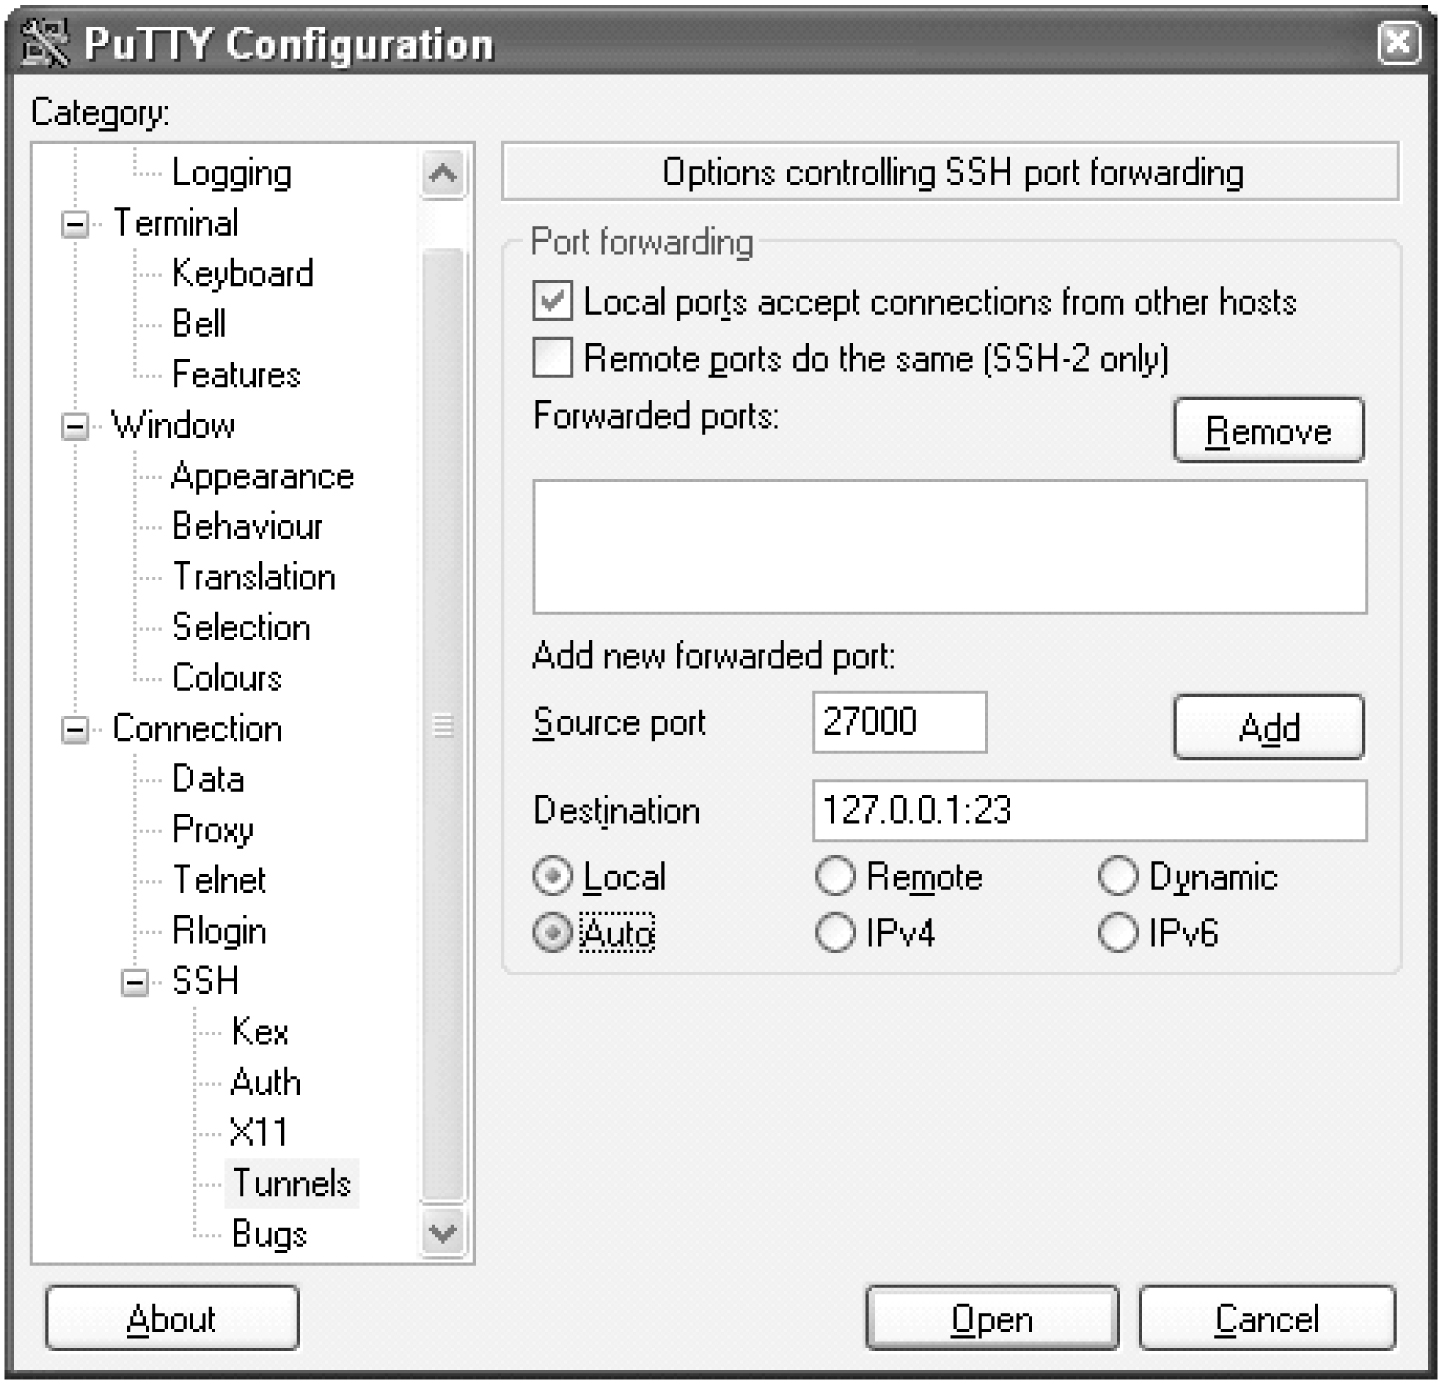
    The forwarding port (Source port value) and the IP address and port of the remote machine (the Destination value) appear in the Forwarded ports: box and the Source port and Destination boxes are empty. See Figure B-5.

    Figure B-5 PuTTY Configuration Window - SSH Tunnel/Port Forwarding Completion

  15. Select Session in the Category list window in the PuTTY Configuration window.

    See Figure B-1. Click the Save button.

  16. Click the Open button in the PuTTY Configuration window.

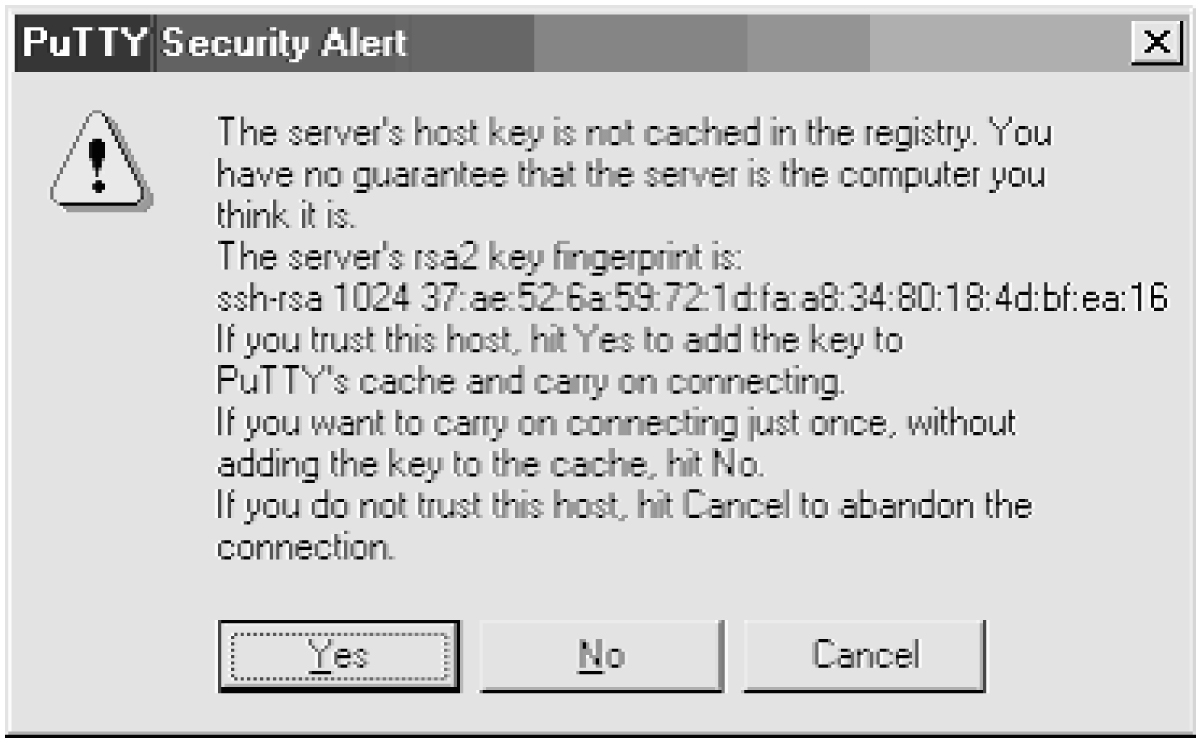
    The dialog box shown in Figure B-6 appears. Click the Yes button.

    Figure B-6 Key Acceptance Dialog Box

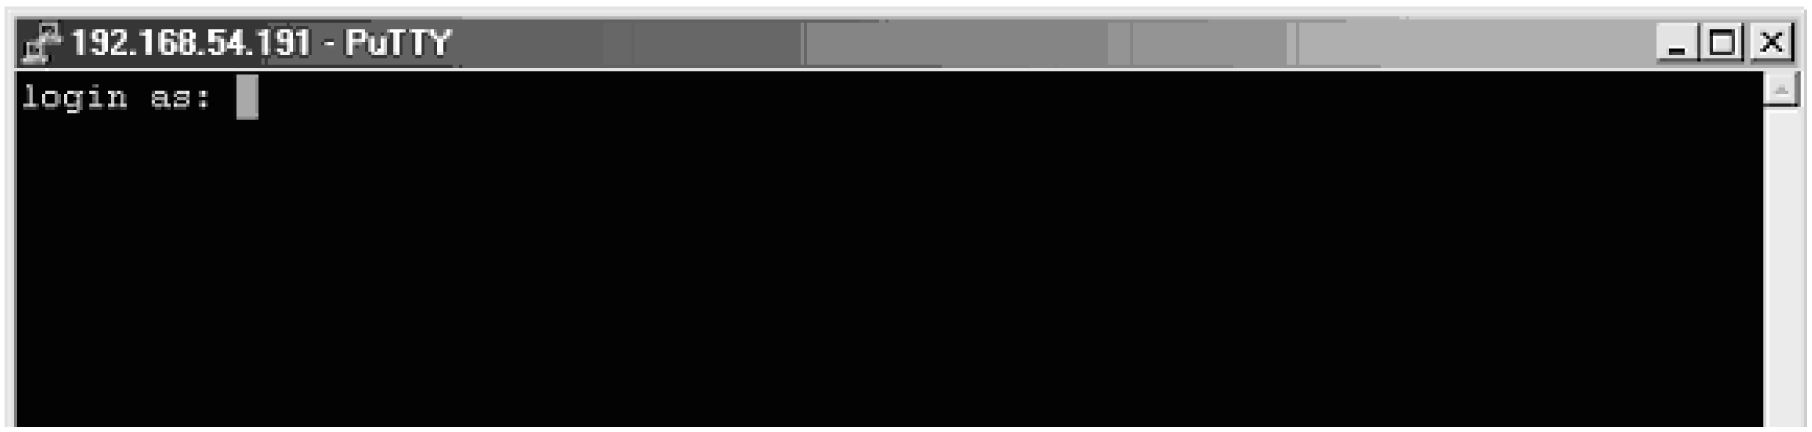
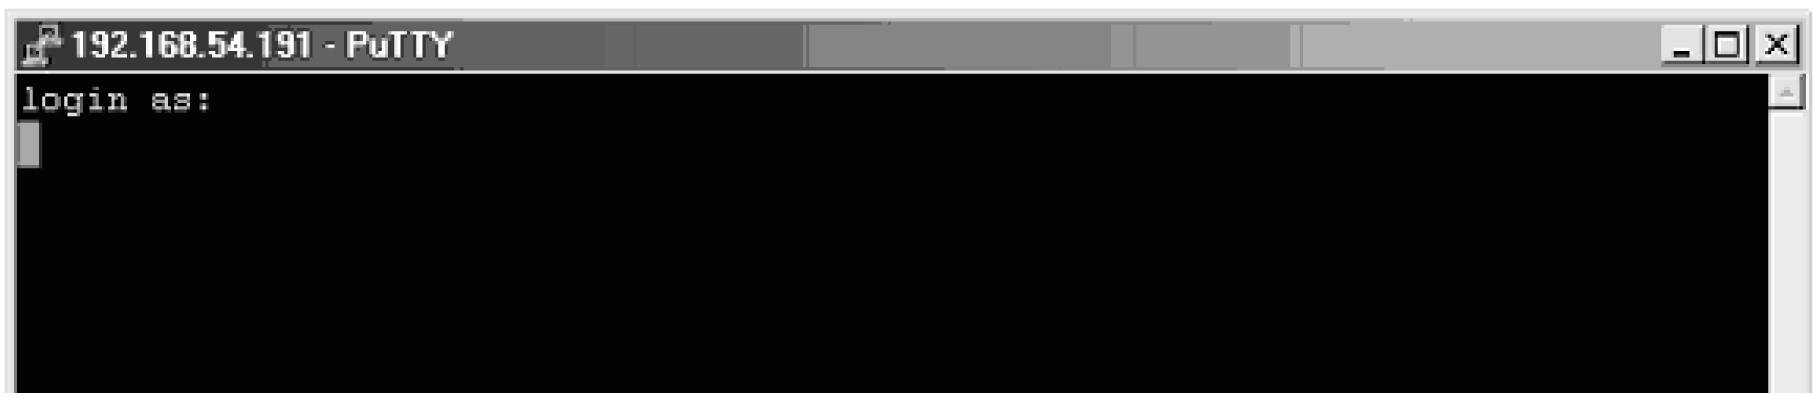
    The Login window is displayed. See Figure B-7.

    Figure B-7 PuTTY Login Window

  17. Press the Enter key.

    Verify that the screen is displayed as shown in Figure B-8.

    Figure B-8 Logged in Window for SSH Session

    Press the Enter key at the prompt to allow an empty login. Minimize this window.

    Note:

    This window must not be closed until all the testing is complete and you decide to shutdown the secure shell connection to the EAGLE.
  18. Initiate a telnet connection to the local host at the forwarded port configured in step 14 (see Figure B-5).

    At the prompt, enter the telnet command with the IP address and Source port value shown in Figure B-5. For this example, enter the telnet command with the IP address 127.0.0.1 and the source port value 27000, as shown in Figure B-9. Press the Enter key.

    Figure B-9 Telnet Connection to Local Host Forwarded Port

  19. The connection to the EAGLE is established and functions as any other telnet terminal connected to the EAGLE.
  20. Verify that all the eight telnet connections assigned to this IPSM can be opened and all EAGLE commands that are allowed to be executed from a telnet terminal can be executed from the telnet terminals assigned to the IPSM.

This procedure is finished.