8 Attachments
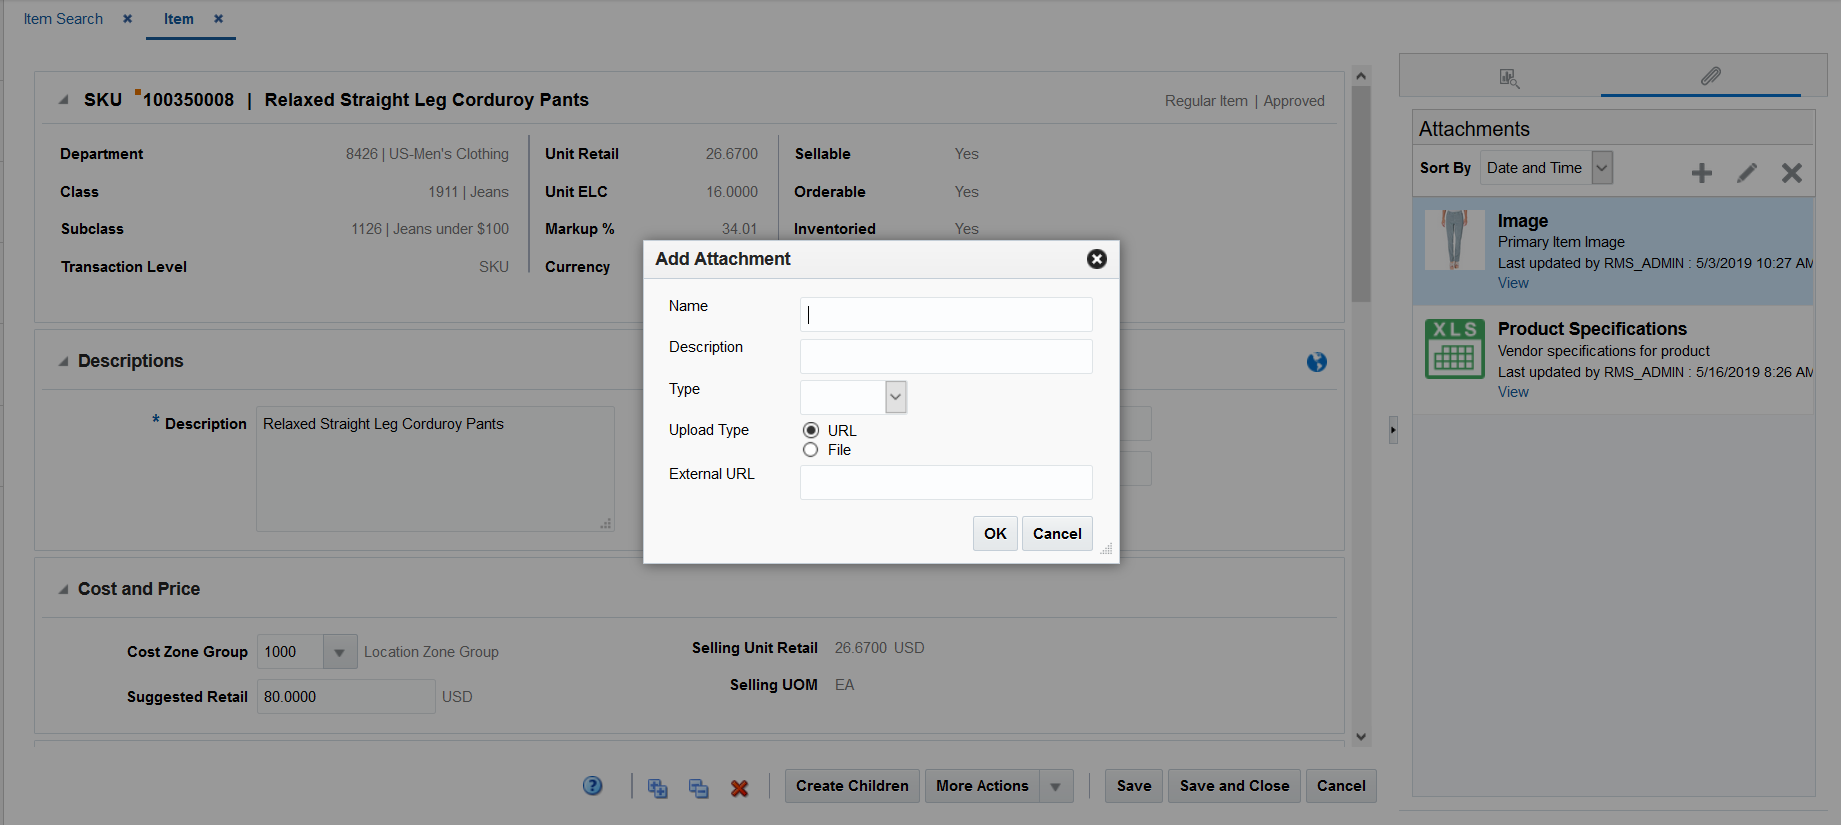
In certain functional areas in the Merchandising Suite, such as Items, there is the ability to associate attachments with the entity. Examples of how this could be used include attaching fabric sample files or other item specifications with an item, or import related documentation with a purchase order. Attachments can be either an actual file or a URL. For the file-based attachments, both images files and documents file types are supported. The functional areas where this is enabled will have an option in the contextual panel that can be displayed by clicking on the paperclip icon ( ![]() ).
).
Attach a File or URL
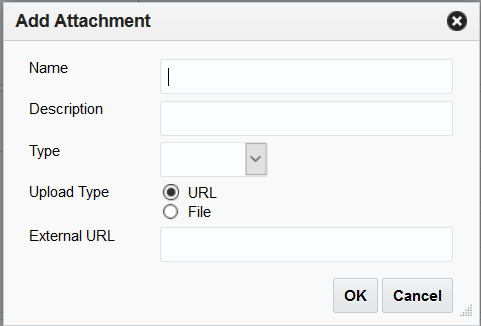
To add an attachment, click on the Add icon on the Attachments panel ( ![]() ) and the Add Attachment pop-up appears.
) and the Add Attachment pop-up appears.
-
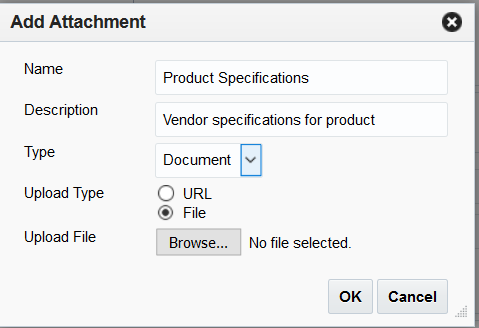
Enter the name, description and the type of file being attached (Image, Document or Other).
-
Choose the source of the attachment by choosing either "URL" or "File" for the Upload Type.
-
If you've chosen URL, then a field will be displayed to allow you to paste in the URL string.
-
If you choose File as upload type, then a button will appear allowing you to select the file location and file to attach.
-
-
Click OK to save the attachment and close the pop-up or Cancel to close the pop-up without saving the changes.
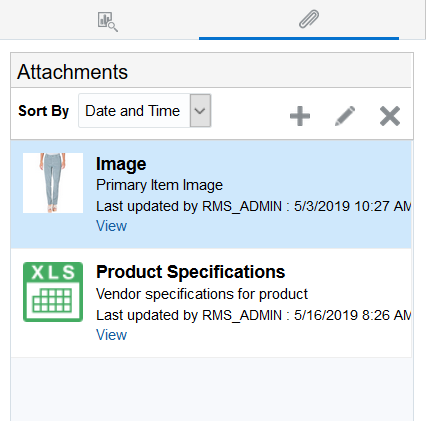
After adding the attachment, it will be shown in a list in the contextual panel for the entity where it was added. For images, it will include a thumbnail of the image as well.
Edit an Attachment
To edit an attachment, highlight the attachment from the list that requires editing and click on the Edit icon on the Attachments panel ( ![]() ) and the Edit Attachment pop-up appears.
) and the Edit Attachment pop-up appears.
-
Update the name, description, type, file or URL details.
-
Click OK to save the changes and close the pop-up or Cancel to close the pop-up without saving the changes.