Creating and Printing Banquet Guest Checks From a POS Workstation
Beginning a Banquet Check
Once EMC configuration is complete, you can now begin to generate banquet guest checks from a point-of-sales (POS) workstation.
-
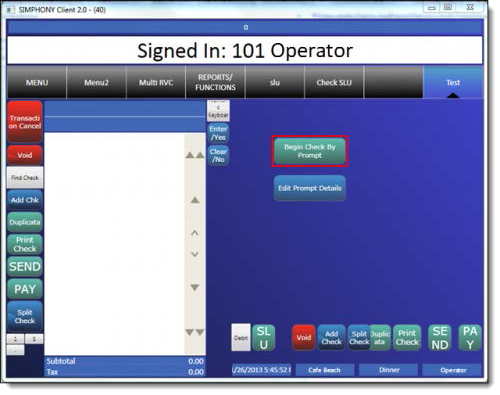
After configuring a Begin Check By Prompt button in the EMC’s Page Design module, access a workstation and press the Begin Check By Prompt button.
Figure 41-27 Begin Check By Prompt
Note:
If a user cancels any one of the sequential Banquet Check prompts, the entire check/transaction is cancelled. -
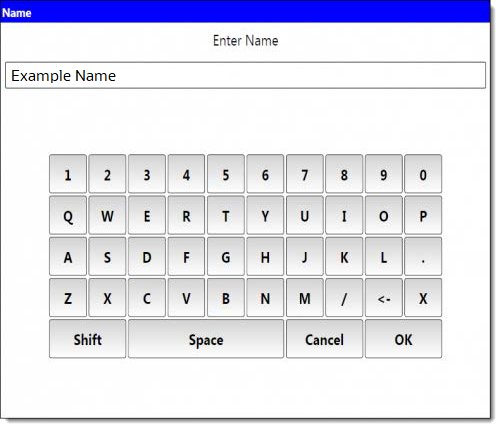
Add the Banquet Check’s header detail through prompts.
Figure 41-28 Banquet Check - Enter Name Window
-
Select the Room name. This step uses the EMC Tables module data to show a list of room names.
-
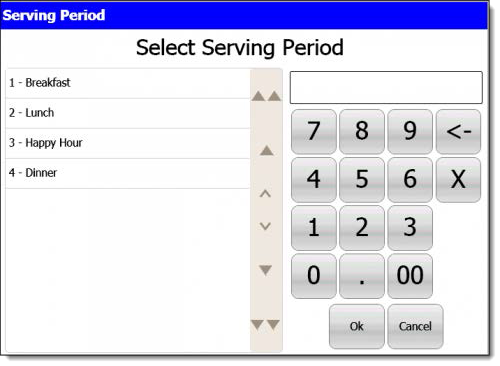
Select the Serving Period.
Figure 41-29 Banquet Check - Select Serving Period
-
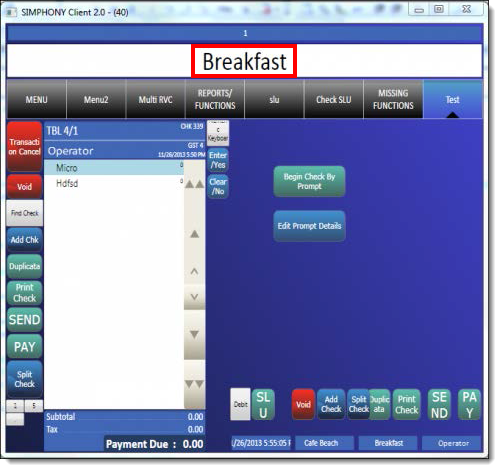
The workstation’s Check Detail area displays the selected serving period.
Figure 41-30 Banquet Check - Shows Selected Serving Period
-
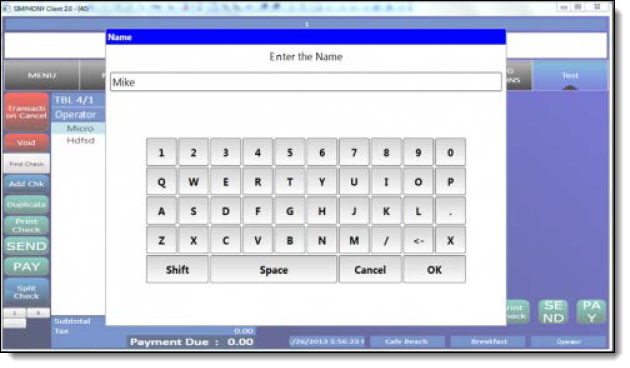
Select the header content in the Name field to edit. Press OK when finished.
Figure 41-31 Banquet Check - Edit the Header Content
-
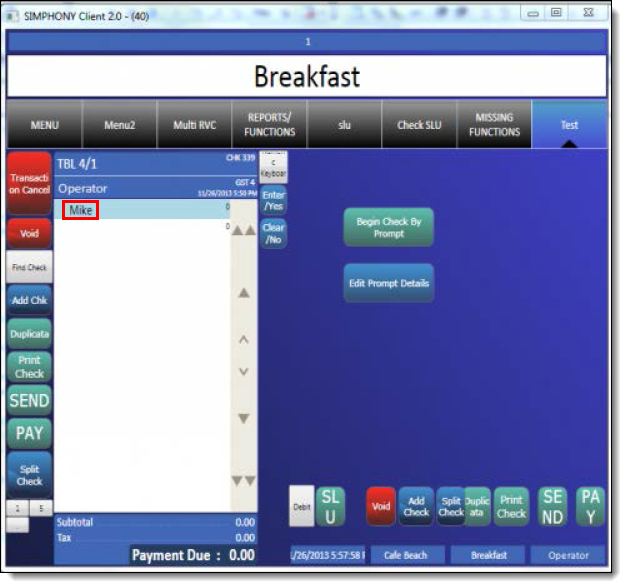
The Check Detail area displays the newly entered header text.
Figure 41-32 Banquet Check - Edited Header Content
Utilizing Banquet Checks With Serving Periods
-
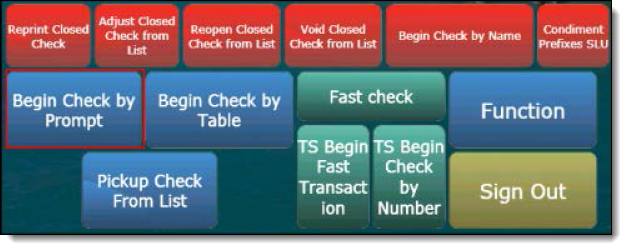
Log onto a POS workstation and press the Begin Check By Prompt button.
Figure 41-33 Banquet Check - Begin Check By Prompt
-
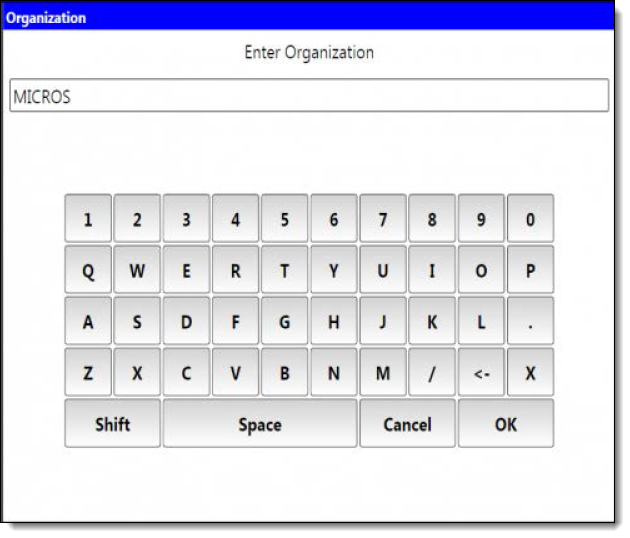
Enter the header prompt details and press OK to continue.
Figure 41-34 Banquet Check - Editing Header Prompt Details
-
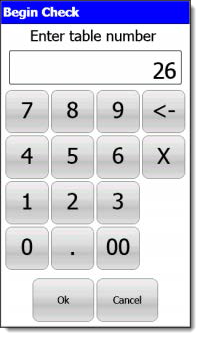
Enter a table number and press Ok.
Figure 41-35 Begin Check - Enter Table Number
-
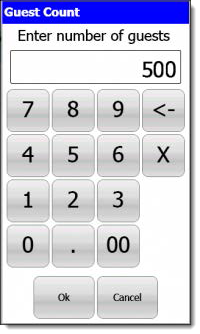
Enter the number of guests and press Ok.
Figure 41-36 Begin Check - Enter Guest Count
-
Select a serving period and press Ok.
Figure 41-37 Banquet Check - Select Serving Period

Configuring Check Printing Privileges
Printing of all checks, including Banquet Checks, requires privileges to be assigned to employees Roles. Other EMC options also need to be enabled. To assign guest check printing privileges:
-
Access the EMC and the select the Enterprise level, click the Configuration tab, and then select Roles. Select the Role to be edited and toggle to Form view.
-
Click the Operations tab, click the Printing tab and enable the 23 - Authorize/Perform Unlimited Reprinting/Printing of a Check option.
-
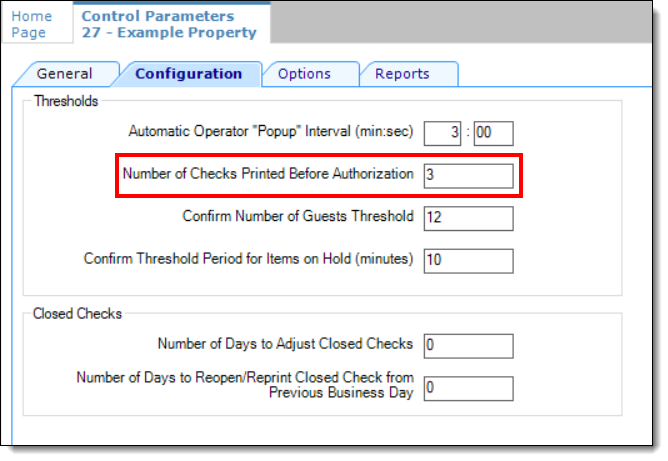
To control how many checks may be printed by employees before requiring authorization, access the EMC and select the Property or Revenue Center level. Click the Setup tab, and then click the Control Parameters module (under the Parameters heading). Click the Configuration tab and from the Number of Checks Printed Before Authorization field, enter a digit (from 0–99) to allow staff to print Banquet Checks until the threshold limit is exceeded.
Figure 41-38 EMC Control Parameters - Number of Checks to Print Before Authorization Setting
-
Access the EMC, select a Property, click the Configuration tab, and then click Tender/Media (under the Sales header).
-
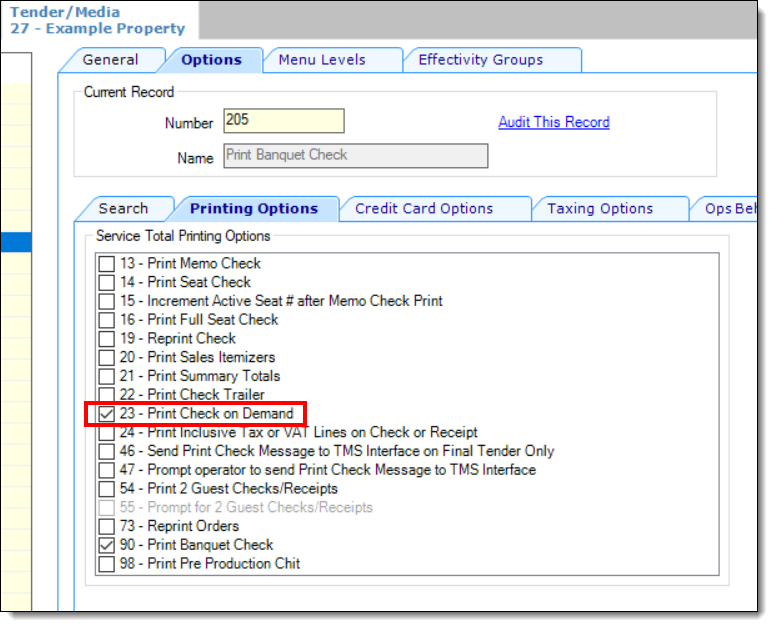
Click the Options tab, click the Printing Options tab, and then enable the 23 - Print Check on Demand option and Save.
Figure 41-39 EMC Tender/Media Printing Options
-
Finally, each employee allowed to immediately print guest checks, needs to have another privilege assigned to them. This setting can be accessed from the EMC by selecting a Property, click the Configuration tab, click the Employee Classes module, and then click the Operator Options tab. From the Operator Type field, select 1 - On Demand from the drop-down list and Save.