Protect an Application Deployed in WebLogic Server with Oracle Access Management 12c
Introduction
This tutorial shows you how to deploy a sample application to WebLogic Server and protect it with Oracle Access Management 12c.
This is the tenth and final tutorial in the series Getting Started with Oracle Access Management 12c. Read them sequentially.
- Getting Started with Oracle Access Management 12c Series - Overview
- Install Oracle Database for Oracle Access Management 12c
- Create an Oracle Database for Oracle Access Management 12c
- Install Oracle Access Management 12c
- Configure Oracle Access Management 12c
- Configure SSL for Oracle Access Management 12c
- Configure Oracle Unified Directory for Oracle Access Management 12c
- Install and Configure Oracle HTTP Server for Oracle Access Management 12c
- Create and Configure a WebGate
- Protect an Application Deployed in WebLogic Server with Oracle Access Management 12c
Objective
Most organizations deploy applications to WebLogic Server and want to protect them with Oracle Access Management.
Prerequisites
To have followed Create and Configure a WebGate.
Create a New Domain and Managed Server
In this section you will create a new WebLogic domain and Managed Server ready to deploy a sample application.
-
Launch a terminal window as
oracleand enter the following command:cd /u01/app/oracle/product/middleware/oracle_common/common/bin ./config.sh -
Follow the table below to guide you through the configuration screens:
Step Window Description Choice or Values 1 Create Domain Select Create a new domain
Domain Location:/u01/app/oracle/admin/domains/app_domain2 Templates Select Create Domain Using Product Templates
Select: Basic WebLogic Server Domain3 Administrator Account Name: weblogic
Password:<password>
Confirm:<password>4 Domain Mode and JDK Domain Mode: Production
JDK:Oracle Hotspot5 Advanced Configuration Select: Administration Server, Node Manager, and Topology 6 Administration Server Listen Port: 8001 7 Node Manager Node Manager Type: Per Domain Default Location
Username:weblogic
Password:<password>
Confirm Password:<password>8 Managed Servers Click Add
Server Name:app_server1
Listen Port:80039 Clusters Click Next 10 Server Templates Click Next 11 Machines Click Add
Name: app_machine
Port: 555712 Assign Servers to Machines Select: Admin Server and app_server1
Highlight app_machine and click the right arrow13 Virtual Targets Click Next 14 Partitions Click Next 15 Configuration Summary Click Create 16 Configuration Progress Click Next 17 End of Configuration Click Finish
Start the Application Domain Servers
-
Launch a terminal window as
oracleand enter the following commands to start the application domainAdminServer. Enter the WebLogic administrator credentials (weblogic/<password>) when prompted:cd /u01/app/oracle/admin/domains/app_domain/ ./startWebLogic.shWait until the terminal displays the message
Server started in RUNNING mode. Minimize the window. -
In another terminal window start Node Manager by running the following command:
cd /u01/app/oracle/admin/domains/app_domain/bin ./startNodeManager.sh -
Start the
app_server1Managed Server by starting a browser and logging into the Oracle WebLogic Server Administration console athttp://oam.example.com:8001/console. Login with username and passwordweblogic/<password>. -
In the Domain Structure pane, expand app_domain > Environment > Servers.
-
Click the Control tab and select the app_server1 checkbox. Click Start.
-
In the Server Life Cycle Assistant page click Yes.
-
Click the refresh icon and wait for the
app_server1to sayRUNNING.
Deploy a Sample Application to WebLogic Server
-
In this section you will download and deploy a sample bank application and deploy it to
app_server1. -
Download the mybank.war file and move to
/stage.Note: Oracle accepts no responsibility for this application. It is intended for use as a test sample application only.
-
In a browser access the Oracle WebLogic Server Administration console at
http://oam.example.com:8001/console. Login with username and passwordweblogic/<password>. -
Under Domain Structure > app_domain, click Deployments.
-
Click Lock and Edit in the Change Center panel.
-
Under Deployments click Install.
-
Change the Path to
/stageand press Enter. Select the mybank.war radio button and click Next. -
In the Install Application Assistant page, ensure Install this deployment as an application is selected and click Next.
-
Select the app_server1 checkbox and click Next.
-
Click Finish.
-
Once the mybank application is deployed, click Activate Changes in the Change Centre panel.
-
In the Summary of Deployments page click the Control tab.
-
Select the mybank checkbox and click Start > Servicing all Requests. Select Yes to start the deployment.
-
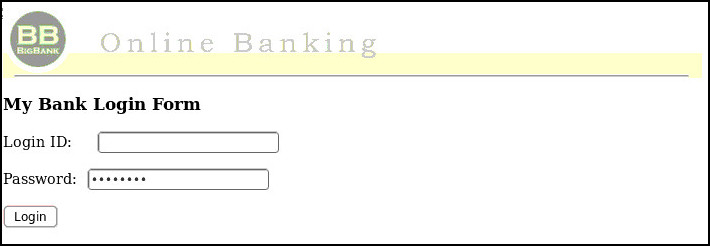
Test you can access the mybank application by accessing the url
http://oam.example.com:8003/mybank. The page should display as follows:
Configure MOD_WL_OHS
In this section you will configure mod_wl_ohs so you can access the mybank application via Oracle HTTP Server.
-
Launch a browser and access Fusion Middleware Control via
https://oam.example.com:7002/em. Login withweblogic/<password>. -
Click on the oam_domain navigation tree in the top left of the page. Select HTTP Server > ohs1.
-
From the Oracle HTTP Server drop down menu select Administration > mod_wl_ohs Configuration.
-
Click the unlocked padlock icon in the top right of the page and select Lock and Edit.
-
Select the Provide WebLogic Server Host and Port details radio button and enter the following details:
- WebLogic Host:
oam.example.com - WebLogic Port:
8003
- WebLogic Host:
-
In the Locations field click Add Row and enter the following details and click Apply:
- Location:
/mybank - WebLogic Host:
oam.example.com - WebLogic Host:
8003
- Location:
-
Click the Padlock in the top right corner and select Activate Changes.
-
Once the Confirmation message is returned, click the Restart button and confirm the restart. Once complete you should see the
Completed Successfullymessage.
Configure WebLogic Plugin
In this section you set WebLogic Plugin Enabled to true. This is required because in the /mybank scenario we are terminating SSL at OHS. The path of communication is:
Browser -> https -> OHS:4443 -> http -> app_server1:8003
Failure to set WebLogic Plugin Enabled to true will result in the browser redirecting to an HTTP URL http://oam.example.com:4443/mybank after login instead of HTTPS https://oam.example.com:4443/mybank, and the connection will fail.
-
In a browser access the Oracle WebLogic Server Administration console at
http://oam.example.com:8001/console. Login with username and passwordweblogic/<password>. -
Navigate to app_domain > Environment > Servers > app_server1.
-
Click on Advanced.
-
Click Lock and Edit.
-
Set WebLogic Plug-In Enabled to
yes, and click Save. -
Click Activate Changes.
-
Navigate to the Domain Structure pane, expand app_domain > Environment > Servers.
-
Click the Control tab and select the app_server1 checkbox. Click Shutdown > Force shutdown now.
-
In the Server Life Cycle Assistant page click Yes. Click on the refresh icon and wait until the server says
SHUTDOWN. -
Select the app_server1 checkbox. Click Start. In the Server Life Cycle Assistant page click Yes. Click on the refresh icon and wait until the server says
RUNNING. -
Launch an Incognito or private browser. Access the mybank application via the OHS URL:
https://oam.example.com:4443/mybank.Note : As all OHS pages are currently protected via Oracle Access Management, you should be redirected to the OAM SSO login page.
-
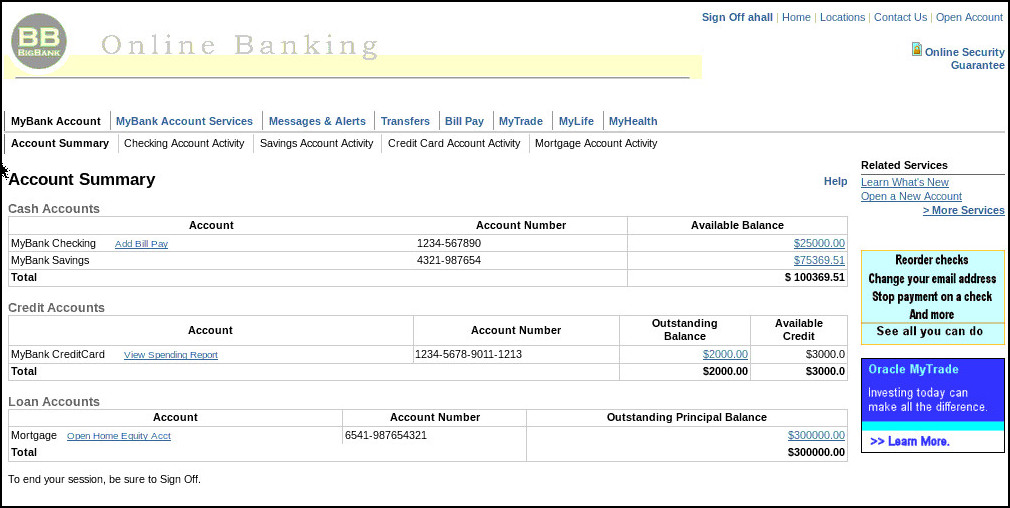
Log in as
weblogic/<password>if using the Embedded LDAP server, or if you configured OUD then login asahall/welcome1.If successful the Online Banking page should be displayed:

Protect the Application
By default the Oracle WebGate and Oracle Access Management is protecting all OHS URL’s under http://oam.example.com:7777 and https://oam.example.com:4443. In this section you will unprotect all OHS URL’s and then configure OAM to protect only the /mybank application.
-
Launch a browser and access the OAM console
https://oam.example.com:7002/oamconsole. Login withweblogic/<password>. -
In the Application Security launch pad, under the Access Manager pane, click Application Domains.
-
In the Search Application Domains pane click Search.
-
Click webgate_7777 and then Resources.
-
Click Search and in the Search Results select the Resource URL
/**and click Edit. -
Under Protection, set Protection Level to Excluded. Click Apply. Changing Protection Level to Excluded means that all URL’s under
http://oam.example.com:7777andhttps://oam.example.com:4443are now unprotected. -
Close the current tabs to return to the webgate_7777 Resources tab.
-
Set up a policy to protect the mybank application
/mybank, by clicking Create. Create the/mybankresource as follows and click Apply:Name Value Type HTTPDescription mybank applicationHost Identifier webgate_7777Resource URL /mybankProtection Level ProtectedAuthentication Policy Protected Resource PolicyAuthorization Policy Protected Resource PolicyLeave the rest of the fields as default.
-
Click the Duplicate button and change the Resource URL to
/mybank/.../*and click Apply. -
Launch an Incognito or private browser. Access the OHS homepage URLs
http://oam.example.com:7777andhttps://oam.example.com:4443As the homepage is now unprotected you should see the OHS home page without being challenged for a password. -
Access the mybank application
https://oam.example.com:4443/mybank.As this application is protected you should be redirected to the OAM login page.Log in as
weblogic/<password>if using the Embedded LDAP server, or if you configured OUD then login asahall/welcome1. If successful the Online Banking page should be displayed.Repeat with the HTTP URL
http://oam.example.com:7777/mybank.
Learn More
Feedback
To provide feedback on this tutorial, please contact idm_user_assistance_ww_grp@oracle.com.
Acknowledgements
- Author - Russ Hodgson
Protect an Application Deployed in WebLogic Server with Oracle Access Management 12c
E89985-02
June 2022
Copyright © 2022, Oracle and/or its affiliates.