4 IIS Web Server Configuration
Note:
For a secure communication, customers need to obtain the SSL certificates from a recognized Certificate Authority. If they fail to do so, they may use the self-signed certificates, which are vulnerable and not secure.To start the IIS server, you need to create a self-signed certificate. To create a self-signed certificate and configure follow the below steps:
-
Run the Install.bat file as administrator located in the below path of the FMS version 9.1 software downloaded.
\FMS Web Applications Enablement\ Install.bat. -
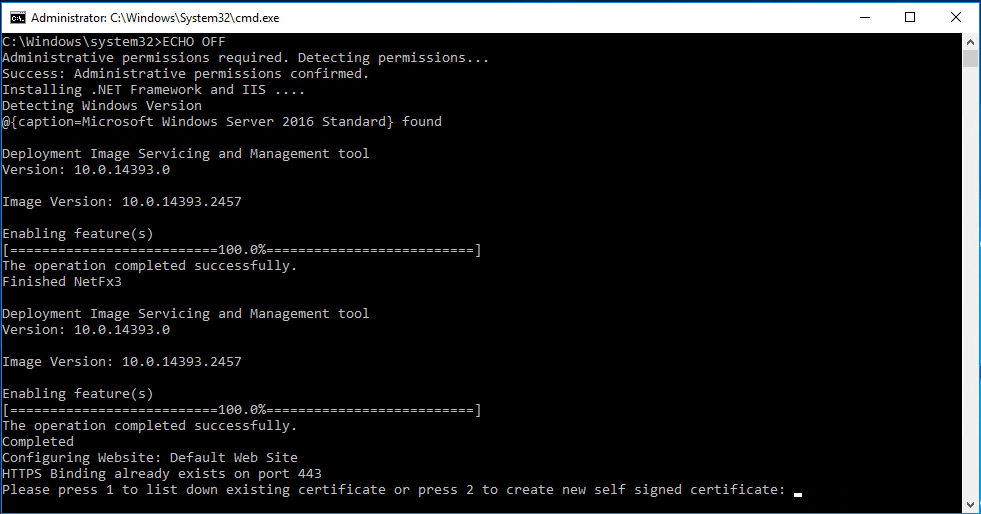
Installation commences with the registration of .NET and to enable the IIS enablement. Once IIS is enabled, Hyper Text Transfer Protocol Secure (HTTPS) binding is created on port 443 and Hyper Text Transfer Protocol (HTTP) Binding is deleted on port 80.
Figure 4-1 IIS Certificate Binding
-
Process to bind certificate starts. The screen will prompt you to “Please press 1 to list down existing certificate or press 2 to create new self-signed certificate”
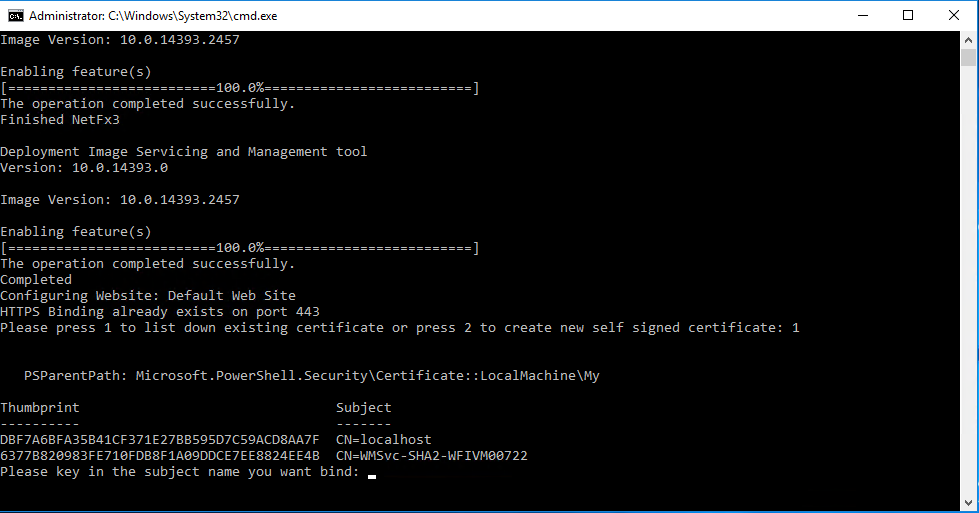
Figure 4-2 Certificate available for binding
-
Enter 1 to list of all the existing certificates.
-
Write down the subject name to bind the certificate.
-
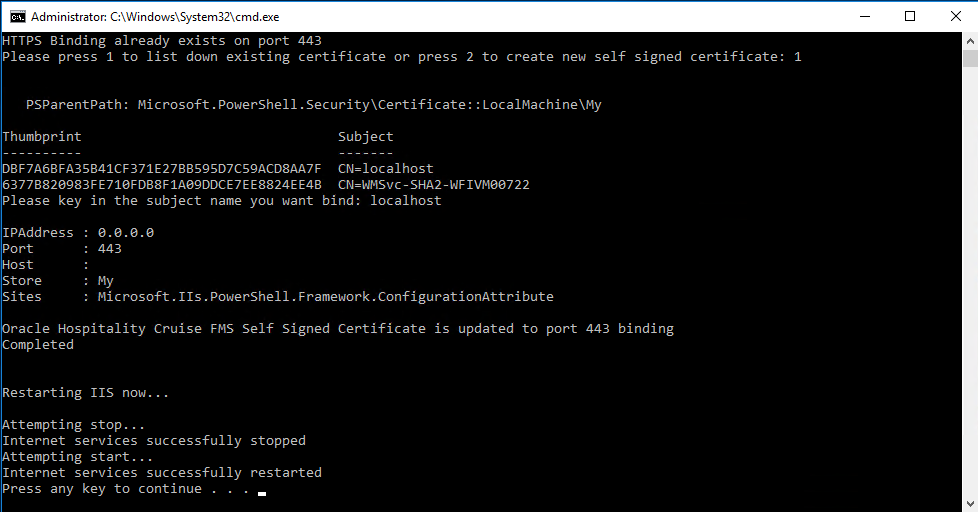
IIS restarts when the selected certificate is bound to port 443.
Figure 4-3 Binding IIS to Port
-
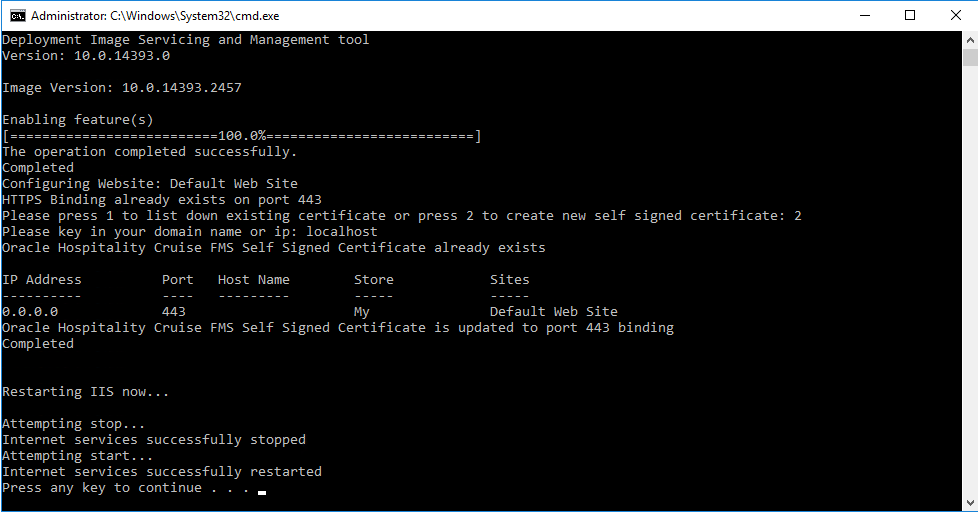
Enter 2 and you are prompted to enter the domain or the Internet Protocol (IP) address.
Figure 4-4 Domain or Internet Protocol Address Entry
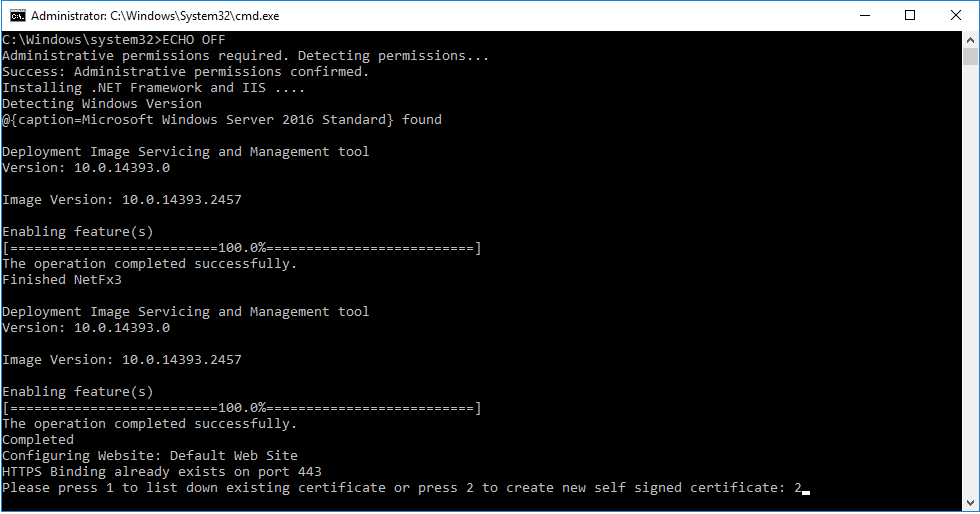
Figure 4-5 Self-signed Certificate Created
-
IIS restarts when the self-signed certificate is created and bound to port 443.