2 Create Scheduled Allocation
The Worksheet window allows you to view items that are selected for allocation, the quantity available, the item type, and source information. You can add or delete items from the worksheet.You can review the items selected for the allocation in the Worksheet window. To create a worksheet:
-
From the Tasks menu, select Create Scheduled Allocation. The Create Scheduled Allocation window appears.
-
Search for the items that you want to add to the worksheet.
-
Select the required items from the search results. The Create Worksheet button is activated.
-
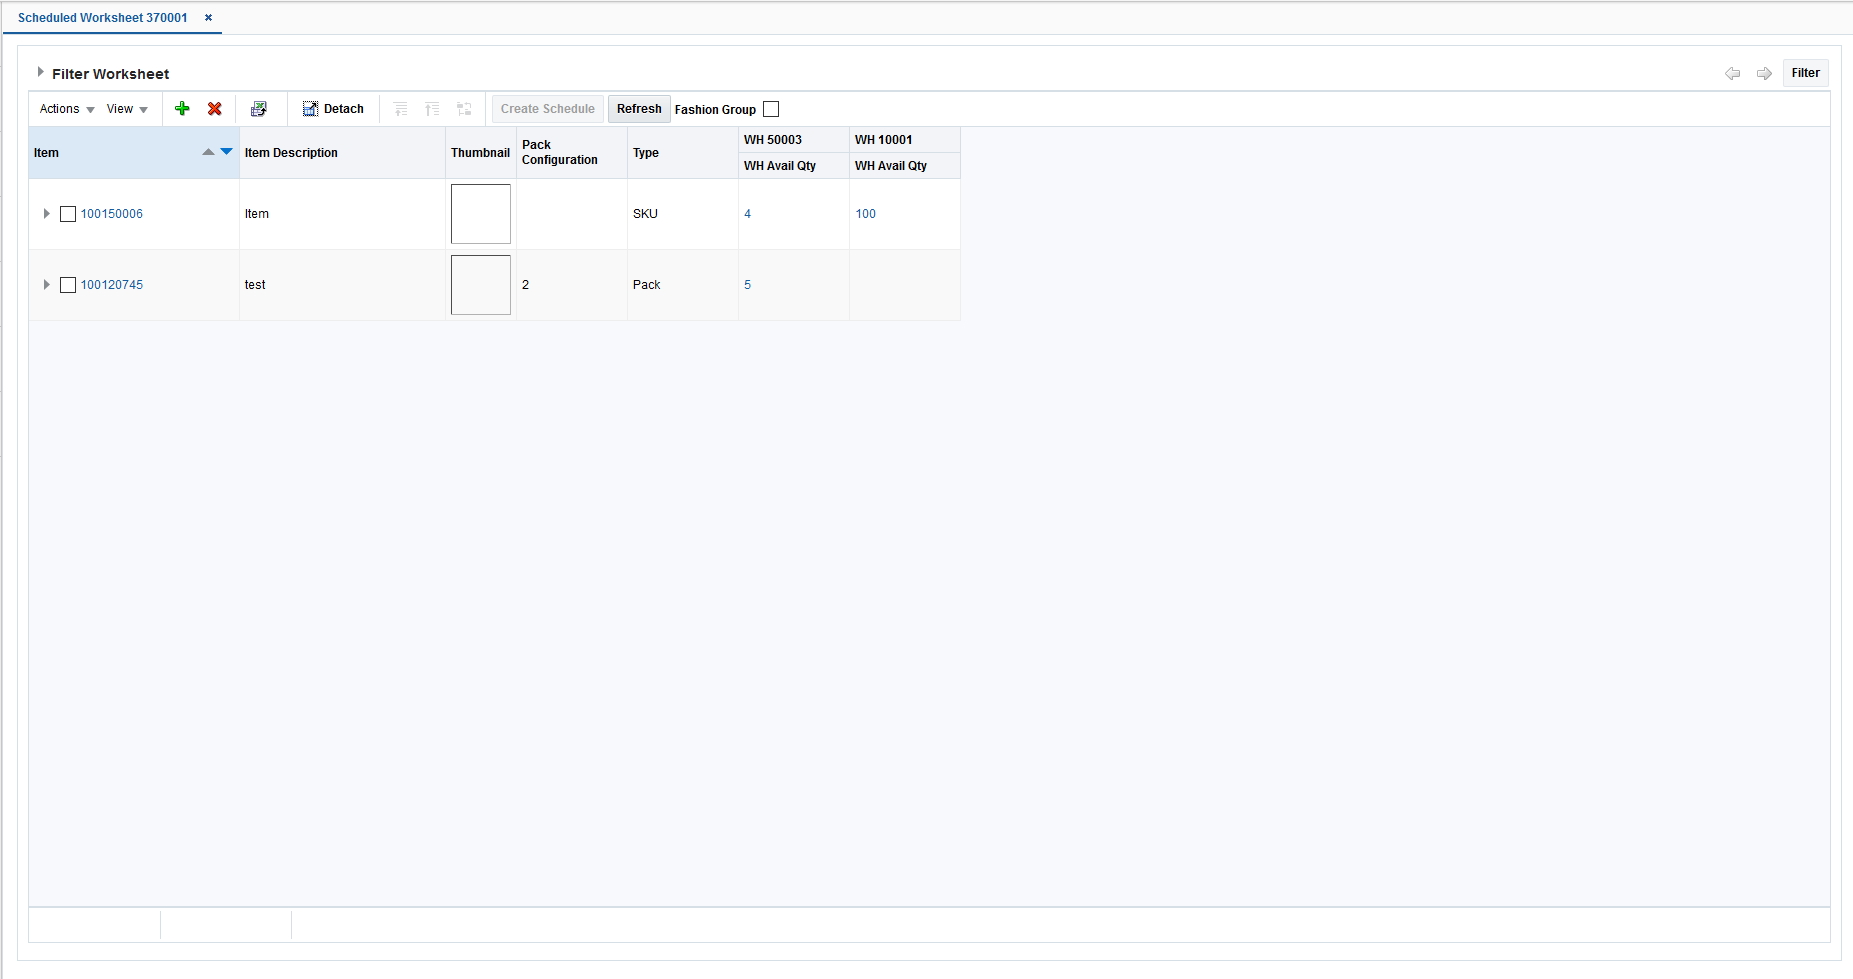
Click Create Worksheet. The Worksheet window appears with the selected items listed.
-
Click the arrow next to Filter Worksheet to filter the worksheet based on the criteria available. You may filter the Worksheet based on the Warehouse, Inventory, or Pack.
Select Items
The Create Scheduled Allocation window allows you to search for and select items to allocate. The scheduled allocation is applicable only for item-source Warehouse.
To select items for a scheduled allocation:
-
From the Tasks menu, select Create Scheduled Allocation. The Create Scheduled Allocation window appears.
-
In the Search section, enter the search criteria in the available fields. You must enter at least one item search criteria.
-
Click Search to view items that meet the criteria.
Note:
To reset the search criteria, click Reset to refresh all fields. -
Select the item that you want to include in the allocation.
Saving an Item Search
To save an item search:
-
From the Tasks menu, select Create Scheduled Allocation. The Create Scheduled Allocation window appears.
-
Enter the search criteria in the available fields.
-
Click Save to save the search criteria. The Create Saved Search window appears.
-
Enter a unique name in the Name field.
-
Select Set as Default if you want to set this search as the default search.
-
Select Run Automatically to run this search automatically every time the Create Standard Allocation window is opened.
-
Select Save Results Layout to save the column layout of the search result. This column layout is applied every time the saved search is run.
-
Click OK to save the item search.
Adding Items to the Worksheet
To add items to the worksheet:
-
On the Worksheet window, click the Quick Item Add icon. The item search fields are displayed in a pop-up window.
-
Search and retrieve the items that you want to add.
-
Select the items and click Add to Worksheet. The items are added to the current worksheet.