1 Configure Zones
The zone structure in Pricing Cloud Service allows you to define groupings of locations for pricing purposes and eliminates the need to manage pricing at the, more granular, location level. At the highest level, these groupings are divided into categories called zone groups. Zone groups are used in regular, clearance and promotional pricing. You can determine how zone groups are created for your business based on a number of different factors, the type of pricing event, regular and/or clearance, or the items being priced, such as by department or division.
Within zone groups are groupings of locations (stores or warehouses) called zones. The function of these zones is to group locations together in a manner that best facilitates company pricing strategies. For example, you might choose to create a zone group based on geographic region such as the North America. Then, within the North America Zone Group, you could have regional zones, such as:
-
US East region
-
US West region
-
Mexico stores
Similarly, you can create a zone group based on customer characteristics. Then, within the zone group create zones with similar geographical or customer characteristics, such as
-
US urban stores
-
US rural stores
There are no restrictions on the number of locations a zone can contain and a location can (and likely will) exist in multiple zone groups. For example, a New York City store might exist in the US urban stores zone as well as the US East region zone, which is part of the North American Zone Group. However, two rules apply to the relationship between locations and zones:
-
A location cannot exist in more than one zone within a zone group.
-
All locations within the same zone must use the same currency.
Add New Stores or Warehouses
When new stores or warehouses are added in Merchandising, a pricing location is designated for the new store or virtual warehouse. Pricing Cloud Service will take this information for the new location and attempt to add the new location to every zone group/zone in which the pricing location exists across all zone groups. If the pricing location and the new location are not of the same currency, then the new location will be added to every zone group where the pricing location exists, and the system will create a new zone for the location with the currency of the new location. This process applies for all store types, including company and customer (franchise, or wholesale) stores and stockholding or non-stockholding locations.
Note:
Pricing of warehouses is determined by a system option in Pricing Cloud Service.Empty Zones
You can create an empty zone and add locations to the zone at a later date. Price events can also be created against a zone with no locations, based on a system option setting; however, conflict checking will not run and future price detail is not created for these zones. Once locations have been added to those zones, any new item/location relationships created will be added to price events created for those zones.
Zone Maintenance
When a location is added to an existing zone, the location will participate in any price events which are approved in the future, but it will not inherit any existing approved events. When a location is removed from a zone, it will stay on any existing approved events, but will not be included in any new events created for that zone. If a location needs to be added to or removed from an existing event, setting the event back to worksheet and then re-approving will add that location.
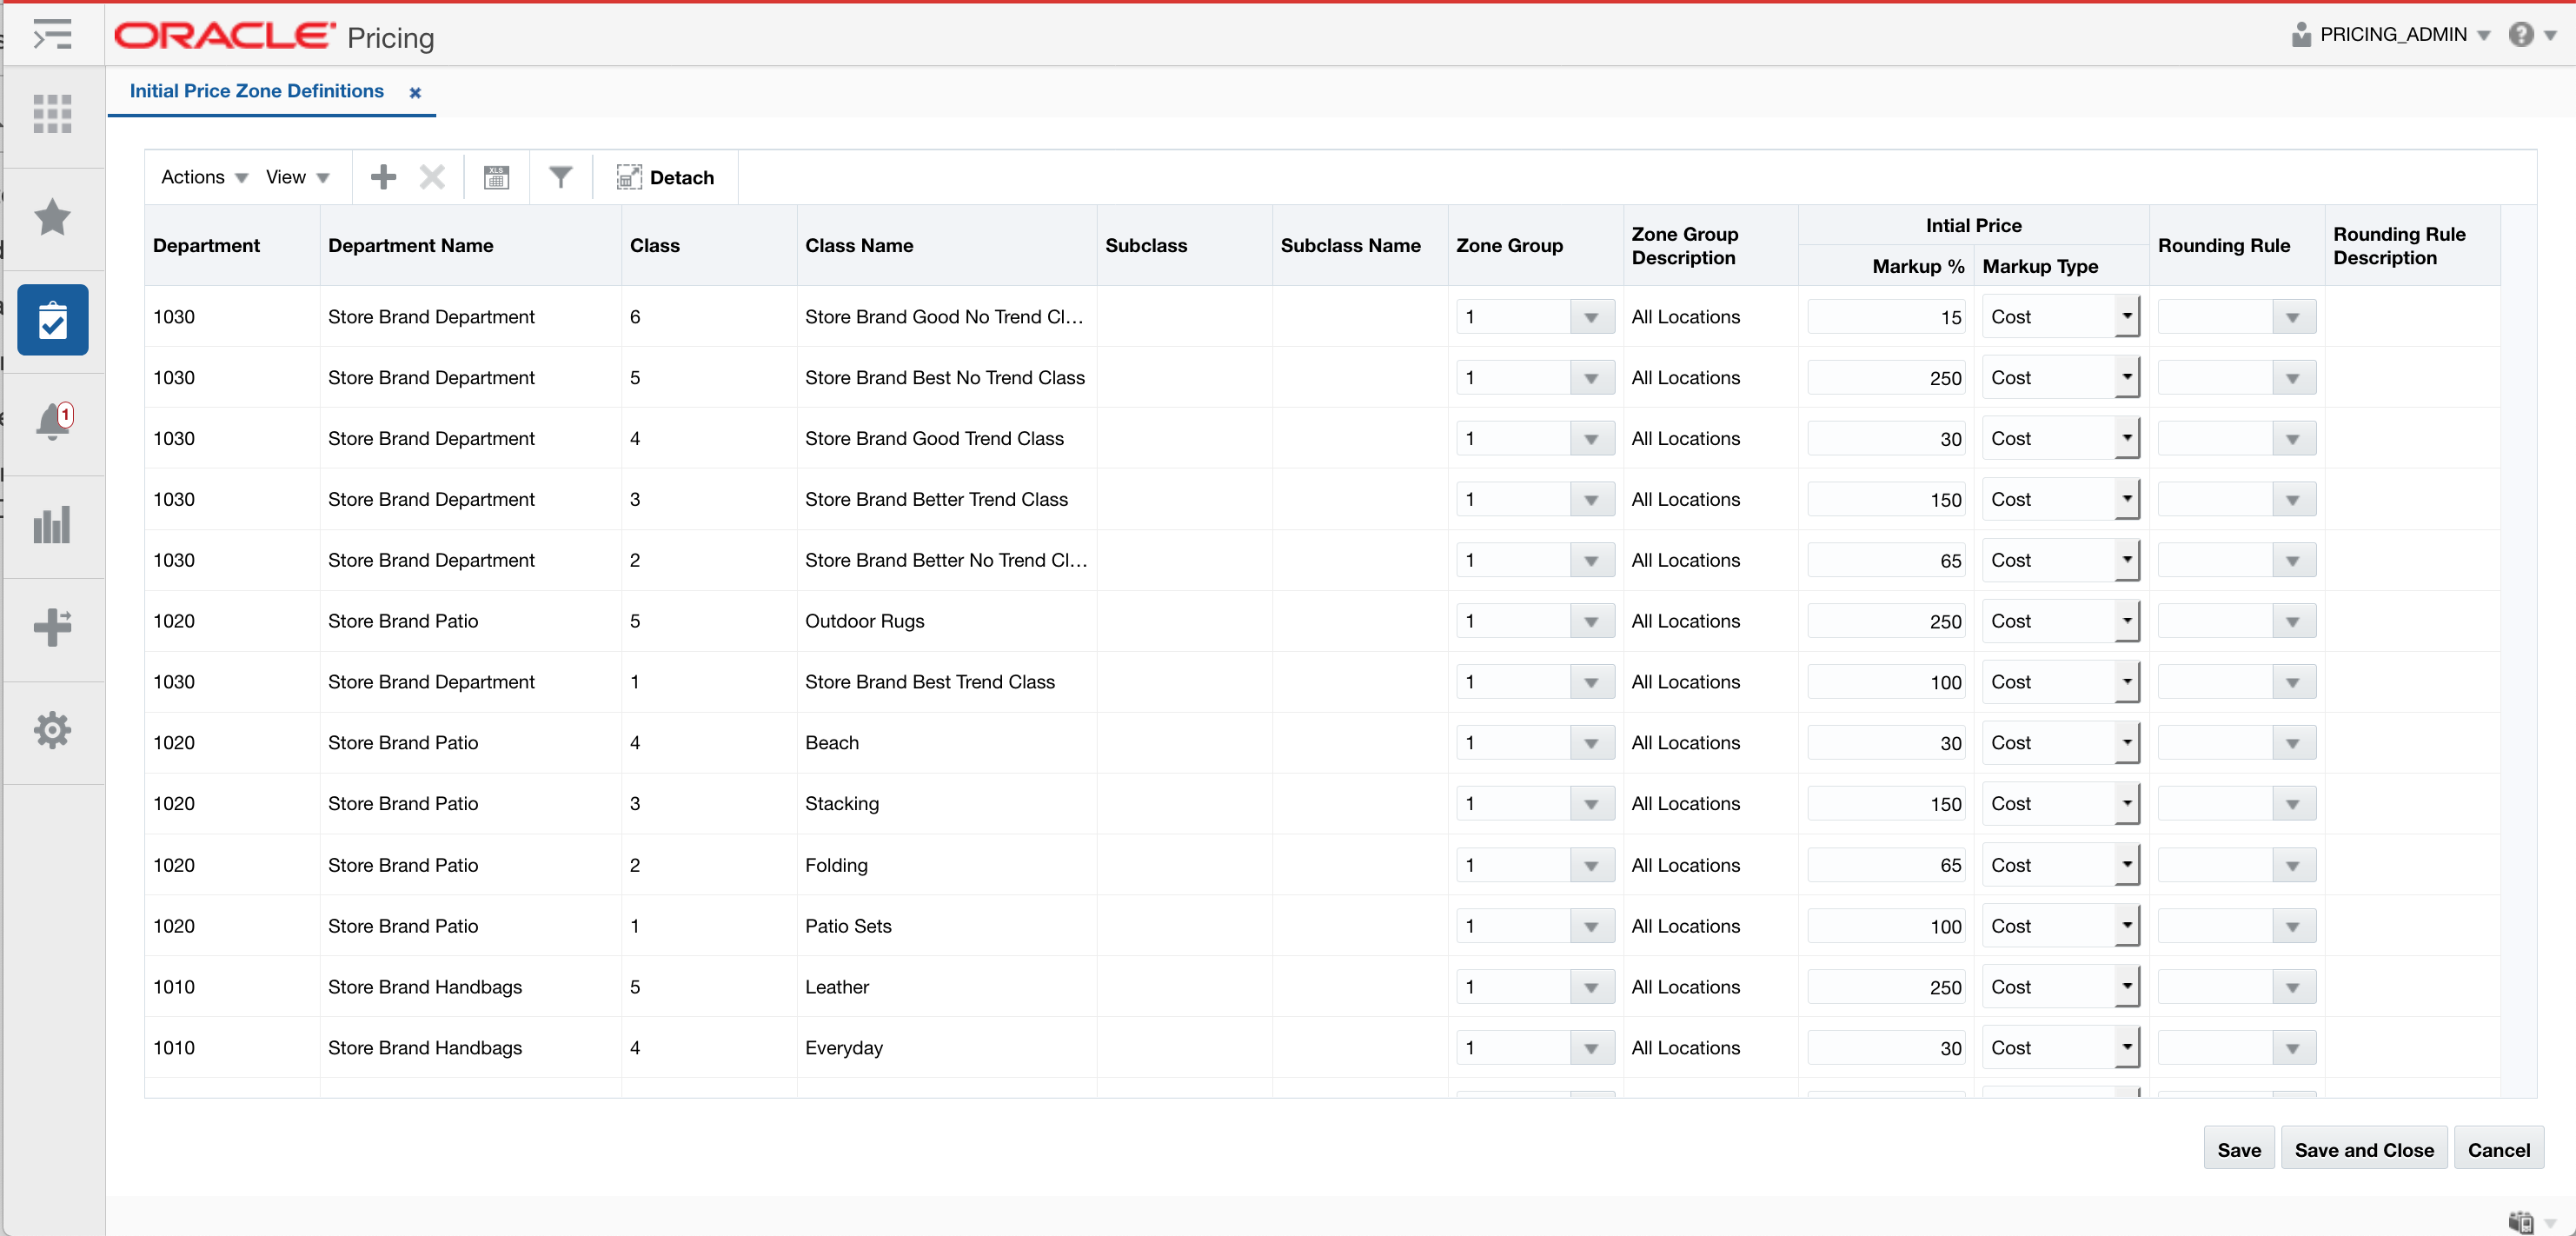
Initial Price Zone Definition
Once zone groups are created in Pricing Cloud Service, you are able to assign them to Initial Price Zone Definitions. This allows you to specify the zone structure that is used when pricing new items added in a particular department, class, or subclass, including markup percentage, and markup type (cost or retail), and rounding rules.
Note:
Markup is also defined as part of the department creation process, but Pricing Cloud Service uses the Initial Zone Definition to determine initial price markup.Create Price Zone Groups
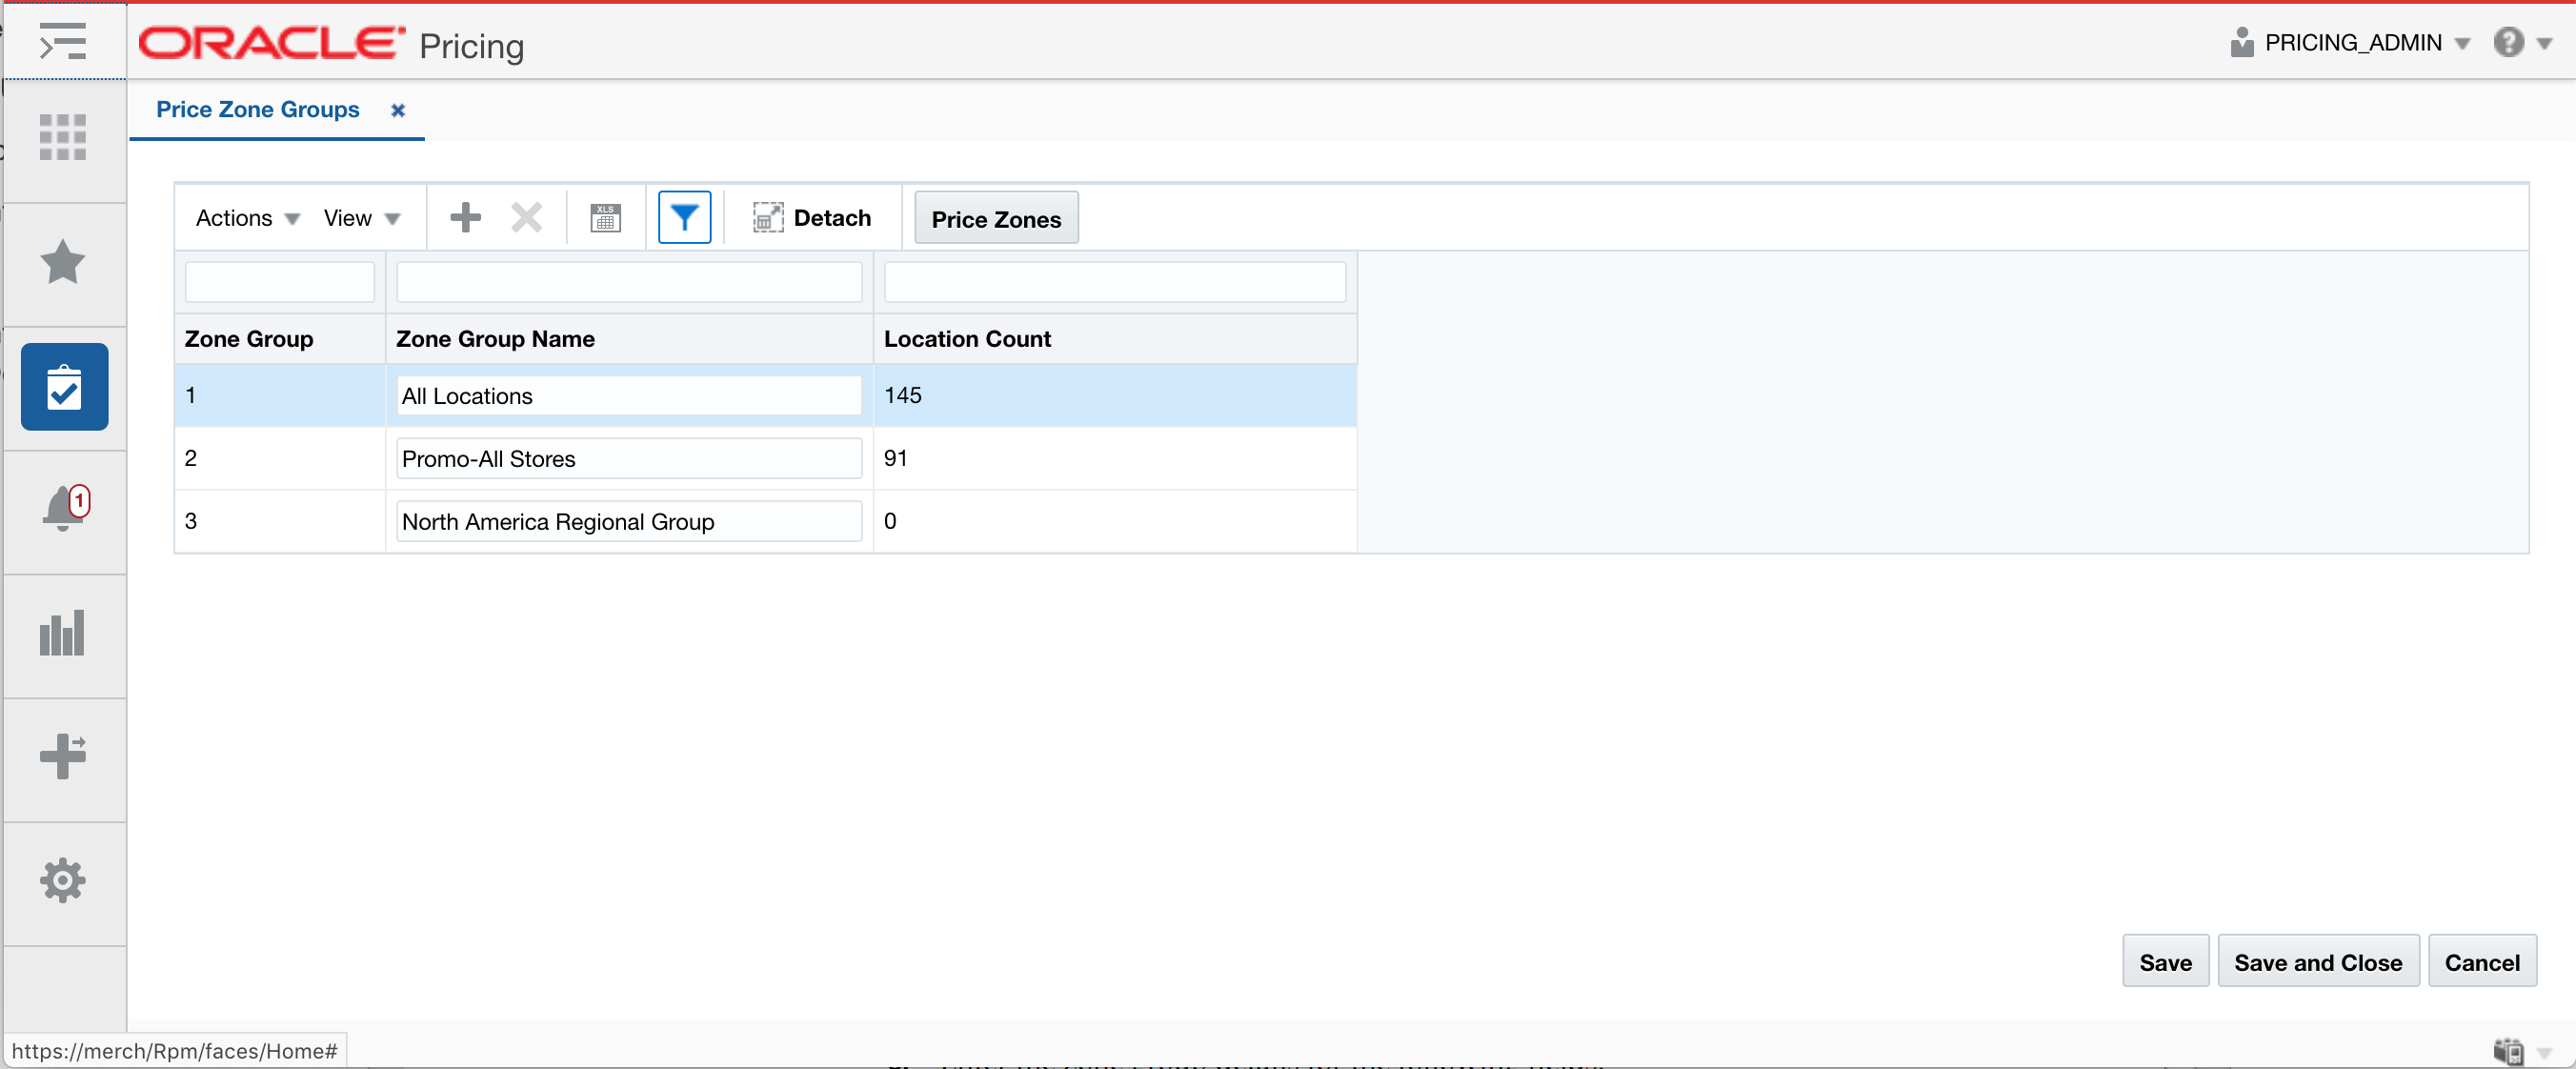
A Zone Group identifies a particular way of grouping locations for pricing purposes.
Perform the following procedure to create a price zone group:
-
From the Tasks menu, select Price Zones under Foundation Data. The Price Zone Groups tab appears.
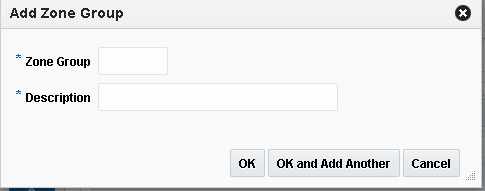
-
Select Add Zone Group from the Action menu. The Add Zone Group dialog appears.
-
Enter the zone group details for the following fields:
-
Zone Group – This field is a unique price zone group identifier.
-
Description – The description of the zone group.
-
-
Click OK to add the new price zone group. You are returned to the Price Zone Groups tab.
Click OK and Add Another to add the current price zone group to the table and add another without leaving the Add Zone Group dialog.
Manage Zone Groups
Perform the following procedure to edit a price zone group:
-
From the Tasks menu, select Price Zones under Foundation Data. The Price Zone Groups tab appears.
-
From the Zone Group table, highlight the zone group you want to edit and select Price Zones from the Actions menu. Alternatively, highlight the zone group and click the Price Zones button. The Price Zones tab appears.
-
From the Zones tab, you can perform the following actions:
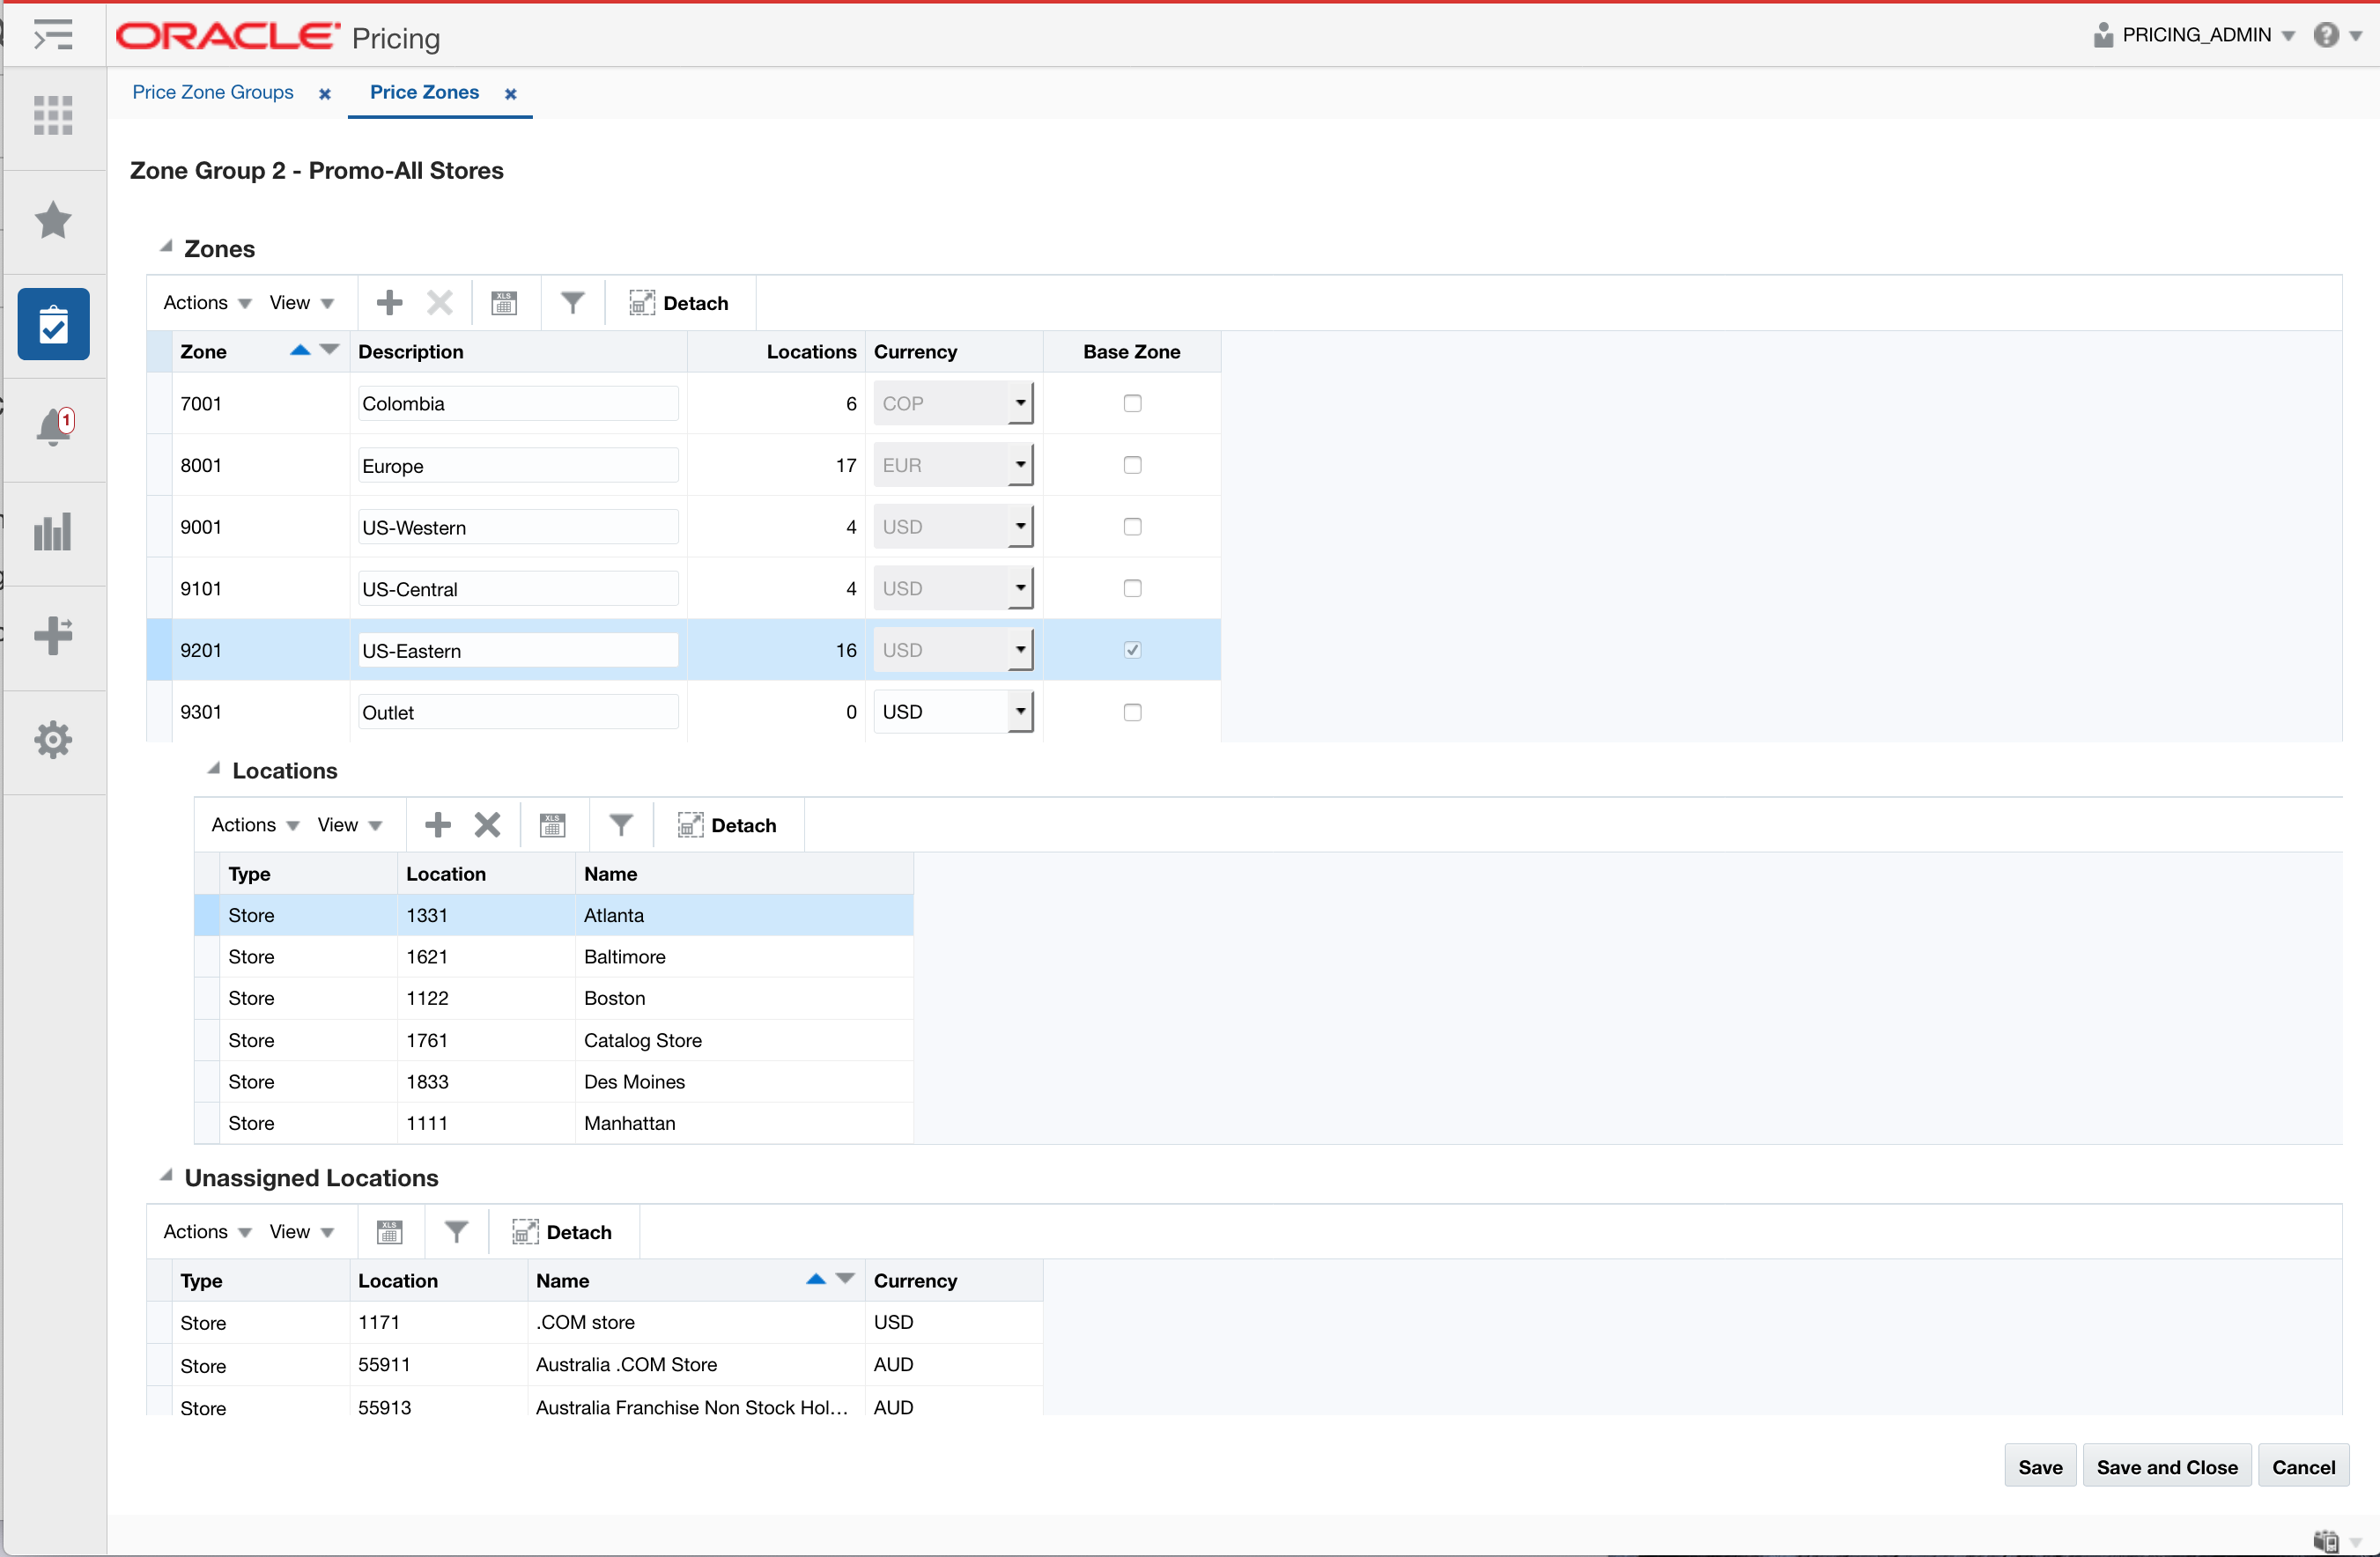
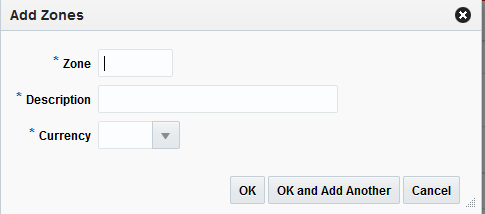
Add Zones
-
From the Zones table, select Add Zone from the Actions menu. The Add Zones dialog appears.
-
In the Zones field, enter a unique price zone identifier.
-
In the Description field, enter a description for the zone.
-
In the Currency field, select the currency for the price zone from the drop-down list.
-
Click OK to add the new zone. You are returned to the Zones tab.
Click OK and Add Another to add the current zone to the table and add another without leaving the Add Zones dialog.
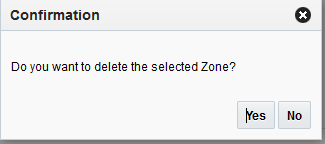
Delete Zones
-
From the Zones table, highlight the zone you want to delete and select Delete from the Action menu. The delete zone confirmation dialog appears.
-
Click Yes to confirm the deletion. You are returned to the Zones tab.
Add Locations
The Add Locations dialog allows users to assign locations to an existing zone.
Note:
If a location is already in the Locations table, it will not be added a second time.-
From the Locations table, select Add Locations from the Actions menu. The Add Locations dialog appears.
-
From the Group field, select the group type for the location. Options are:
-
Location List
-
Chain
-
Area
-
Region
-
District
-
Store
-
Warehouse
Note:
Warehouse is only shown as an option for group type if the Recognize Warehouses as Locations system option is enabled. -
Unassigned Locations
-
-
Once a Group is selected, select or enter a Group Value.
-
Click Apply to add the new location to the Location table.
-
When all locations are added, click OK to add the new locations. You are returned to the Zones tab.
Click OK and Add Another to add the current location to the table and add another without leaving the Add Locations dialog.

Delete Locations
The Delete function allows a location to be removed from a zone.
-
From the Zones table, highlight the zone you want to delete and select Delete from the Action menu. The delete location confirmation dialog appears.
-
Click Yes to confirm the deletion. You are returned to the Zones tab.
Assign to Hierarchies
Perform the following procedure to set up initial price zone definitions:
-
From the Tasks menu, select Initial Price Zone Definitions under Foundation Data. The Initial Price Zone Definitions tab appears.
-
Select Add from the Action menu. The Add Initial Price Zone Definition dialog appears.
-
Enter the initial price zone definition details for the following fields:
-
Department – Enter or select a single department.
Note:
The Department, Class, and Subclass fields have a cascading relationship. You can enter or select values for the three fields in any order but the values will vary depending on selections. -
Class – Enter or select a single class.
-
Subclass – Enter or select a single subclass.
-
Zone Group – The Zone Group specified here is used as the structure for the initial price setting for new items added to the defined level of the Merchandise Hierarchy.
-
Markup Type – The value entered in this field determines how markup is calculated for items existing in the defined hierarchy.
-
Markup – This percentage field is used to calculate the initial retail based on the item's cost.
-
Rounding Rule – This field allows you to assign a rounding rule to the initial price zone definition. The rounding rule is used to adjust final price used for the initial price of new items to meet the retailer pricing strategy.
-