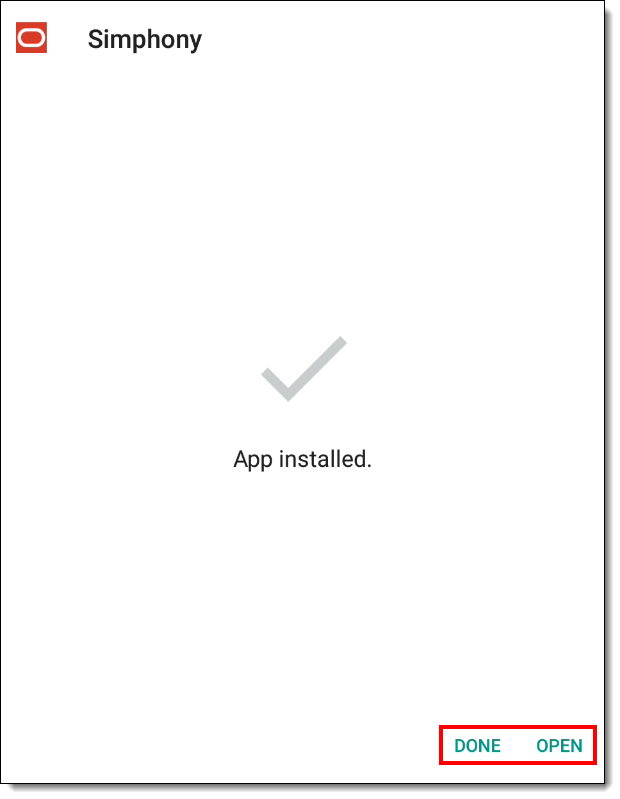
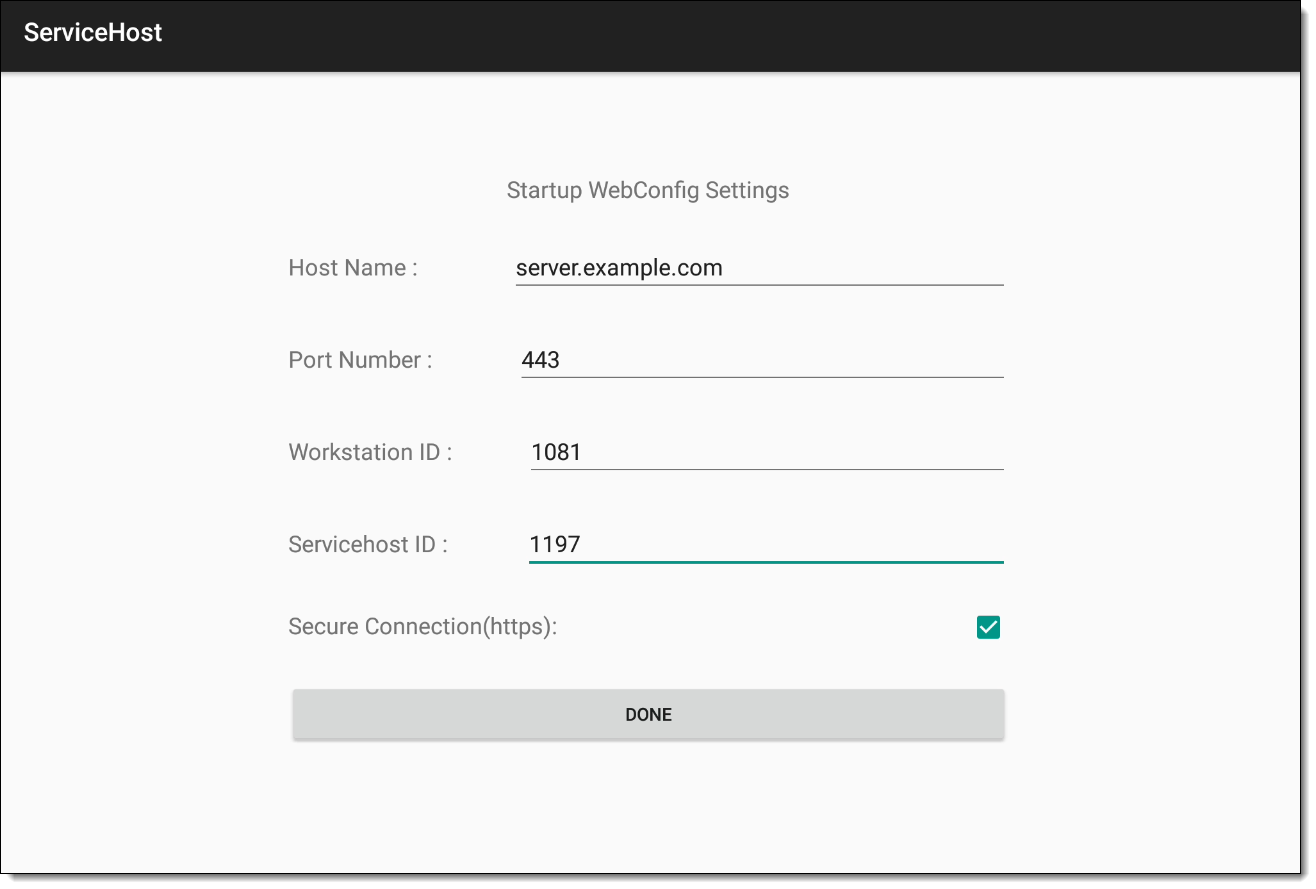
Installing the Simphony Service Host on an Android Device
Simphony release 19.2 is compatible with Android CAL version 148. You must first install or upgrade to Android CAL version 148 to successfully use Android ServiceHost.
You must ensure that you have the privileges assigned to you to access, download, and install the Android ServiceHost CAL on clients. See Allowing Employees to Install and Authenticate POS Clients and Service Hosts for information about configuring the privileges.
When working with Android devices (Android version 5.0 and later), Simphony requires you to ensure that data encryption and a lock mechanism is enabled on the device that prevents unauthorized people from accessing it. To protect your Android device, configure a Personal Identification Number (PIN) by accessing the device’s Settings, select Security, and then select Encrypt Device. This requires users to provide a PIN before they can start the Android ServiceHost (POS Client).
If you are using an earlier Simphony release (prior to 18.2), follow steps 1 through 4.

