Installing CAL on the Android Device

You must first install or upgrade to the latest Android CAL version to successfully use Android ServiceHost.

You must ensure that you have the privileges assigned to you to access, download, and install the Android ServiceHost CAL on clients. See Allowing Employees to Install and Authenticate POS Clients and Service Hosts for information about configuring the privileges.

You must also schedule and execute a CAL Package deployment for your Android devices. Configuring the Deployment Schedule to Install CAL on Workstations contains more information on deploying CAL packages.

When working with Android devices that have version 5.0 and later, Simphony requires you to ensure that data encryption and a lock mechanism is enabled on the device that prevents unauthorized people from accessing it. To protect your Android device, configure a Personal Identification Number (PIN) by accessing the device’s Settings, select Security, and then select Encrypt Device. This requires users to provide a PIN before they can start the Android ServiceHost (POS Client).

  1. To initiate a CAL installation on an Android device with Simphony version 18.2 or later:
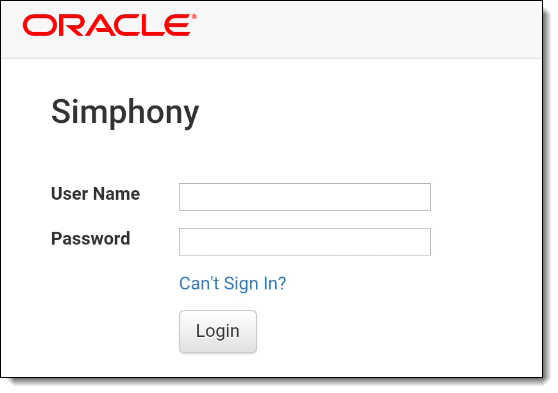
    1. Open a web browser on the Android device, and then enter the following address: https://[Fully Qualified Domain Name]:[Port]/SimphonyApp to access the Simphony Web Portal (SWP).
    2. Enter your Simphony EMC User Name and Password, and then press the Login button.

      If you are running a Simphony Standard or Premium Cloud Service environment, enter the Organization name or Organization Short Name in the Org (or sometimes the Company field), and then press OK.

      Figure 7-11 SWP Sign In Window


      This figures shows the SWP Sign In window.

      After performing an upgrade to, or a fresh installation of Simphony release 18.2 or later, when using Android devices, you must first configure your EMC logon Security Questions from a Win32 device before attempting to recover your lost password using the Can’t Sign In link from an Android device. The Oracle Hospitality Simphony Security Guide contains more information about configuring security questions.

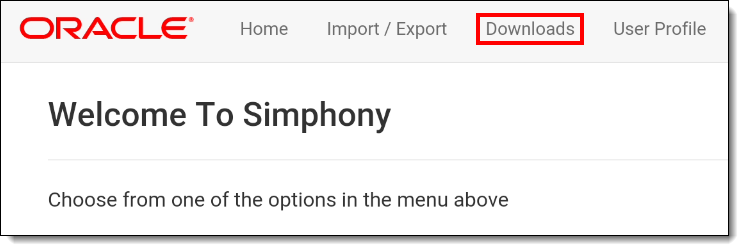
    3. Select Downloads.

      Figure 7-12 SWP Downloads Link


      This figure shows the SWP page, highlighting the Downloads link.
      If you are using an Android device with the pre-installed Chrome browser, the SWP home page may not show the menu options in portrait view. To work around this issue:
      1. Go to the SWP at: https://<ServerName>:<Port>/SimphonyApp/Download/AndroidCAL.

      2. Log in if prompted, and then download the CAL setup.apk file on the Android device.

    4. Select Client Application Loader (CAL) - Android from the Download Type drop-down list, and then click the Download button.

      Figure 7-13 SWP Downloads Page


      This figure shows the SWP Downloads page.
    5. If prompted on the Android device, select the device’s Package Installer or local application for Android file installation, and then tap Always.
    6. If you receive a prompt for clearing instructions, tap OK.
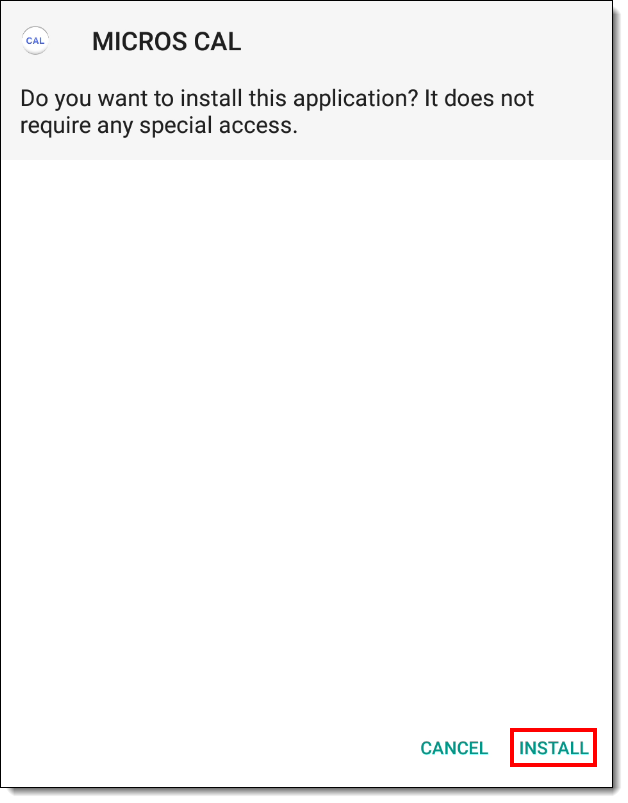
    7. Tap Install. CAL installs and notifies you upon completion.

      Figure 7-14 CAL Installation Window


      This figure shows the CAL installation window.
    8. When the application installation is complete, tap Done.
    9. Tap Allow.

      Figure 7-15 CAL Access Options for the Device


      This figure shows the message prompt to grant access to CAL for this device.
    10. CAL starts automatically and then the device shows the CAL home page.
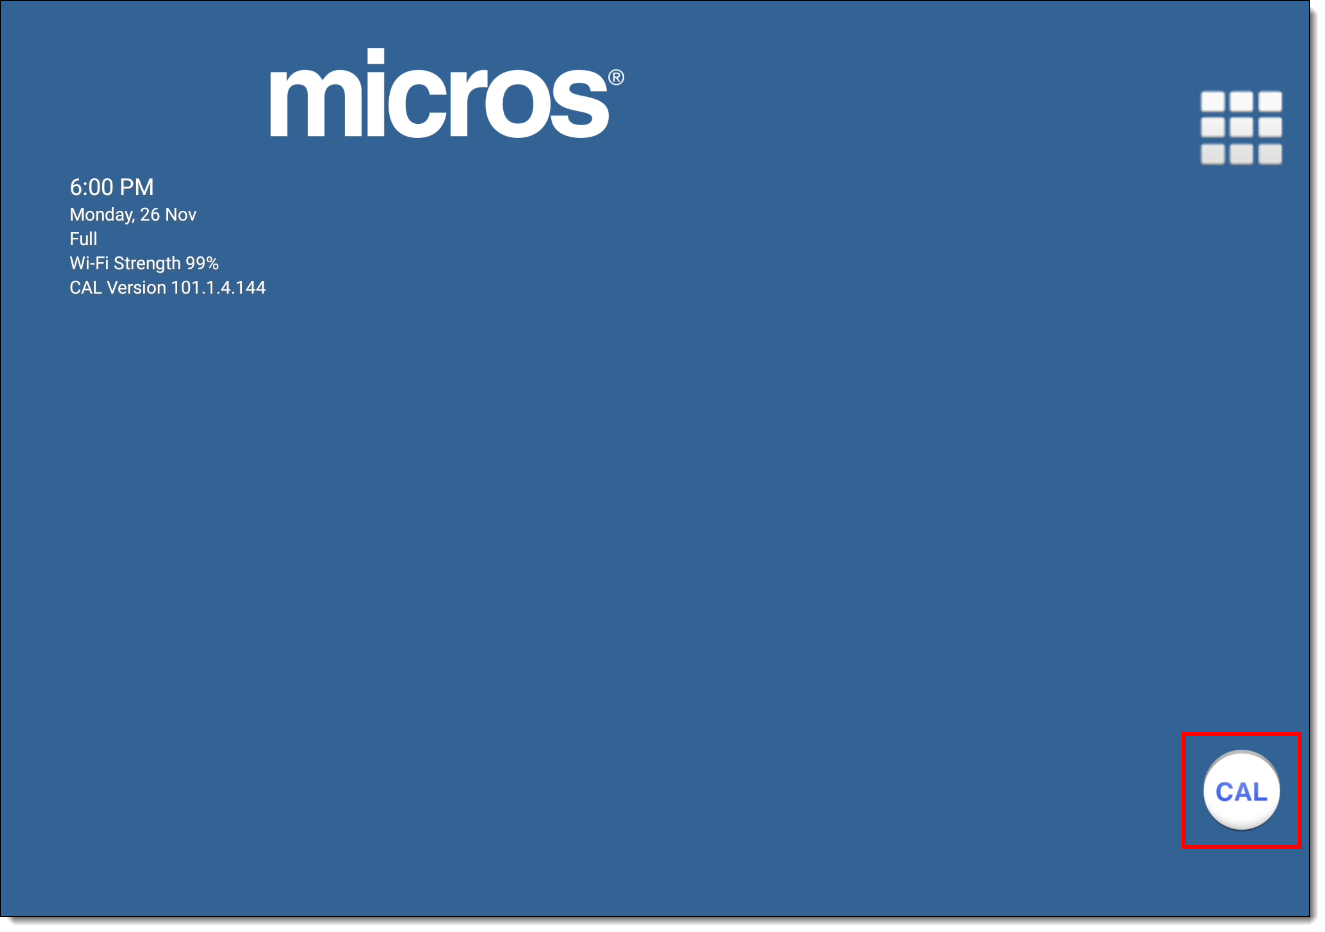
    11. Tap the CAL desktop icon.

      Figure 7-16 MICROS CAL Home Screen


      This figure shows the MICROS CAL Home screen, with the CAL desktop icon highlighted.
      See Installing the Simphony Service Host on an Android Device for more information on installing or upgrading the Service Host on an Android device.
  2. To initiate CAL configuration on an Android device:
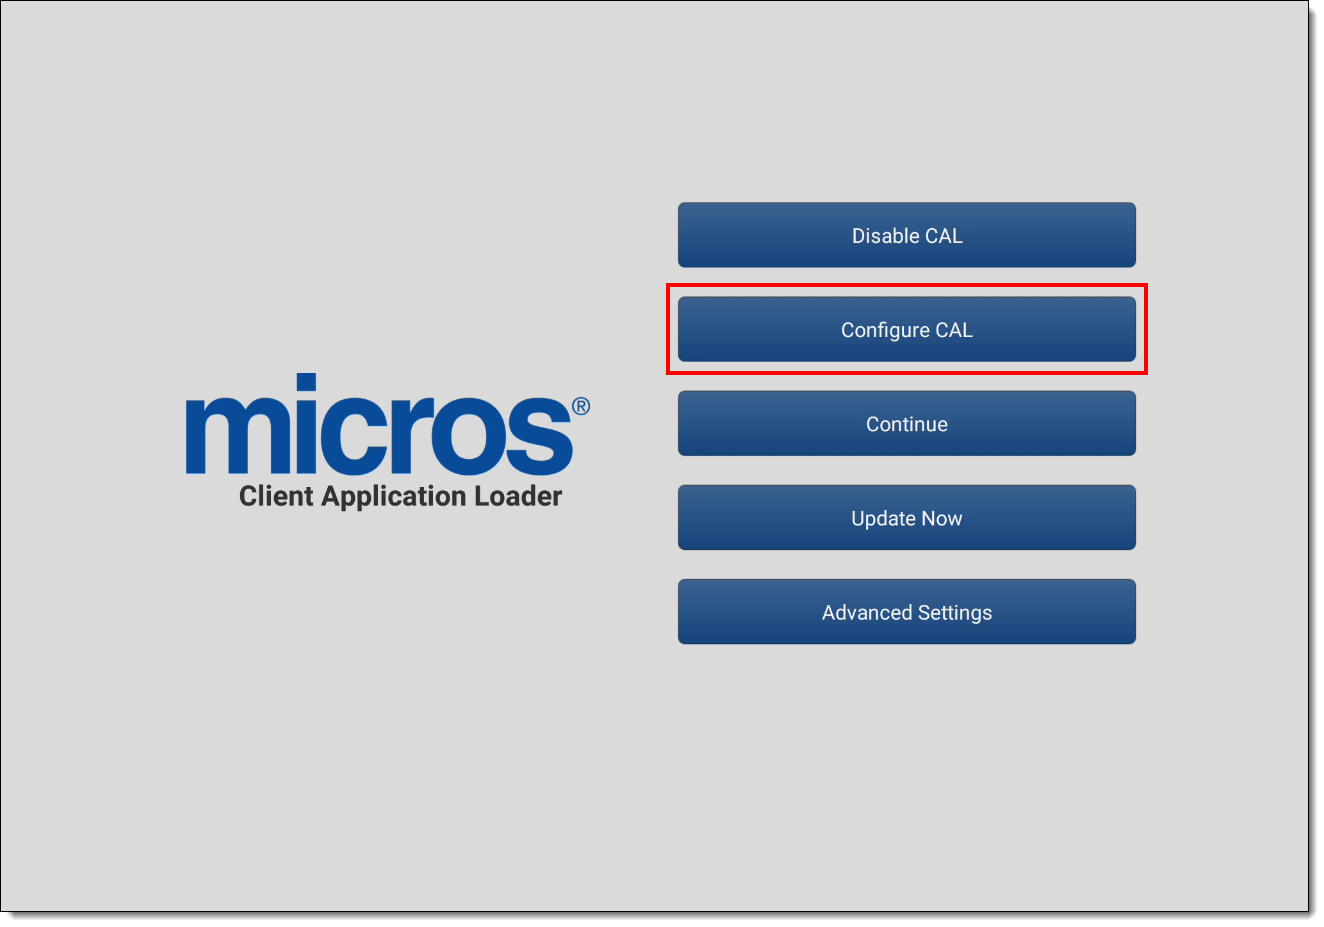
    1. Tap the CAL shortcut from the Home screen, and then tap Configure CAL.

      Figure 7-17 CAL Configuration Options Screen


      This figure shows the CAL configuration options screen.
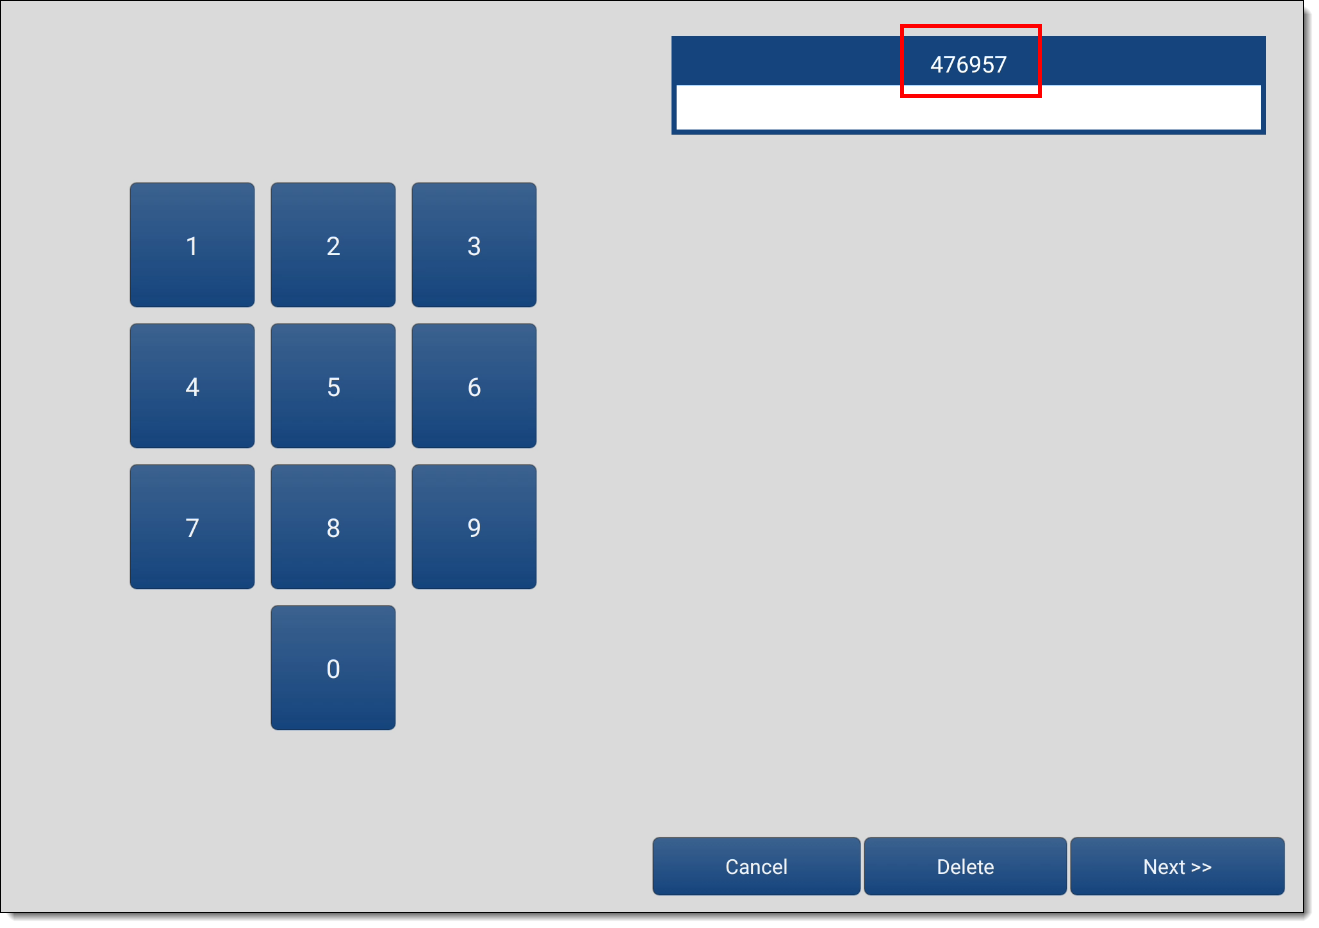
    2. Enter the correct code based on the six-digit number shown at the top, and then tap Next.

      Step 3 in Changing the CAL URL contains information about the code.

      Figure 7-18 CAL Configuration Access Code


      This figure shows the CAL configuration access code screen.
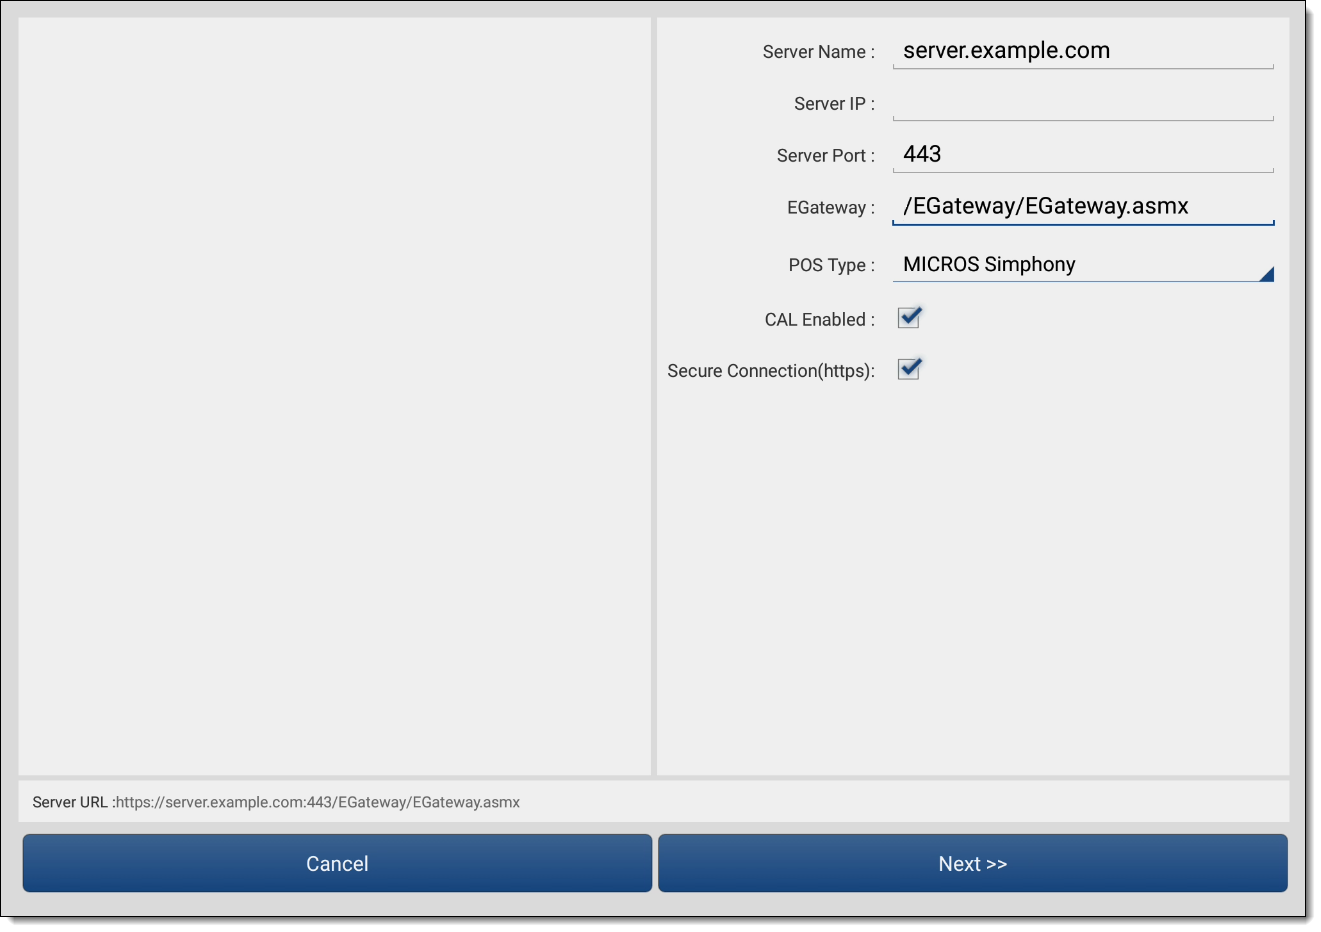
    3. Enter the Enterprise server URL, and then configure the server settings as follows:

      Figure 7-19 Simphony Server Identification Configuration for CAL


      This figure shows the Simphony server identification for CAL screen.
      • Server Name: Enter the server’s Host Name

      • Server IP: Enter the server’s URL (Fully Qualified Domain Name).

      • Server Port: Enter 443.

      • EGateway: Enter the EGateway URL.

      • POS Type: Select MICROS Simphony.

      • CAL Enabled: Enable this option

      • Secure Connection (https): Enable this option.

    4. Tap Next.
    5. Enter your Simphony EMC User Name and Password in the CAL Initial Authentication window, and then press Login. CAL performs its initial authentication.
    6. If you are running a Simphony Standard or Premium Cloud Service environment, enter the Organization name or Organization Short Name in the Org field, and then press Login.
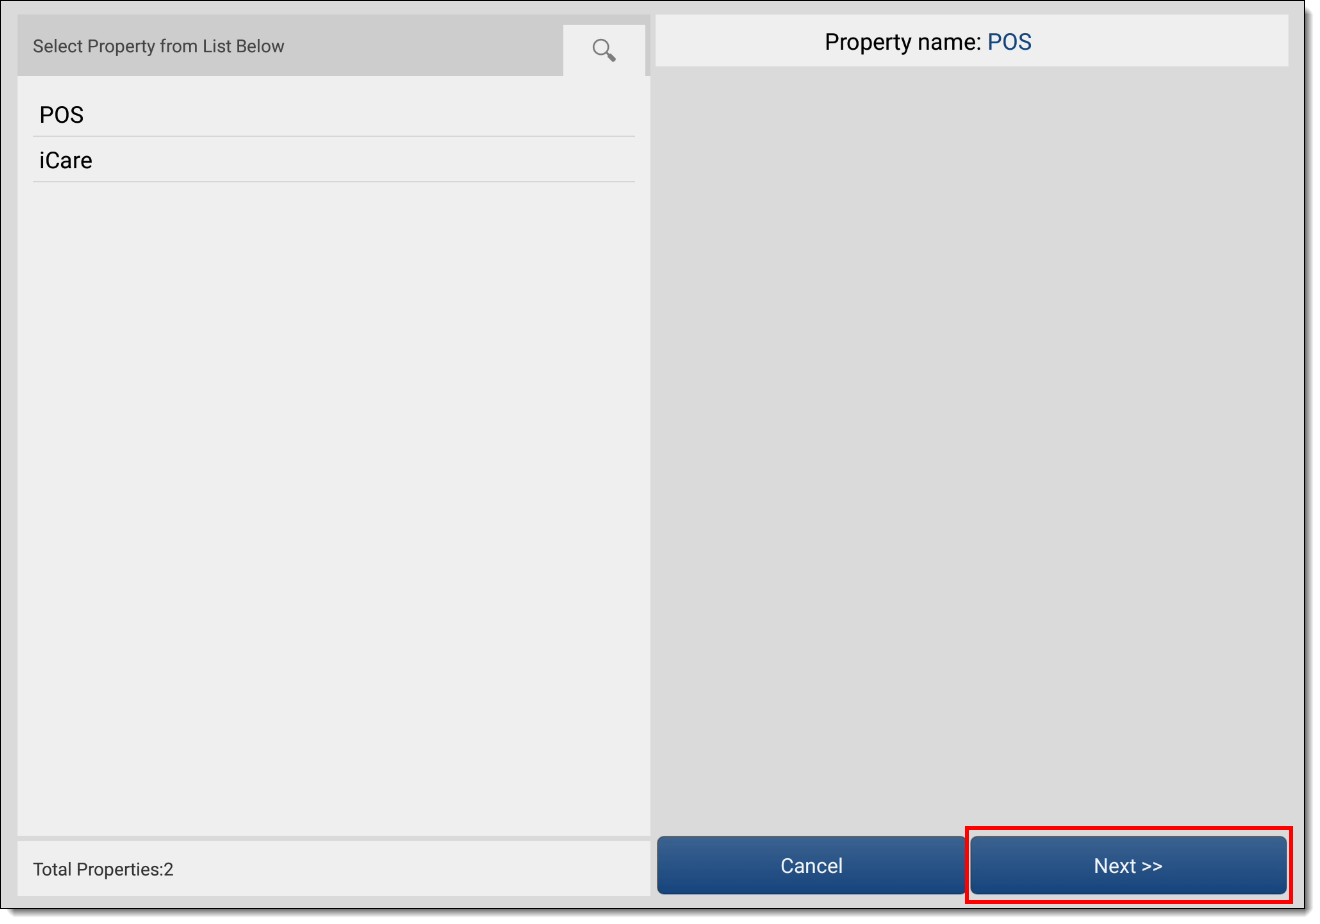
    7. Select the correct property for the device, and then tap Next to continue. CAL returns a list of defined workstations for the selected property.

      Figure 7-20 Select a Property Screen


      This figure shows the screen where you select the Property this device communicates with.
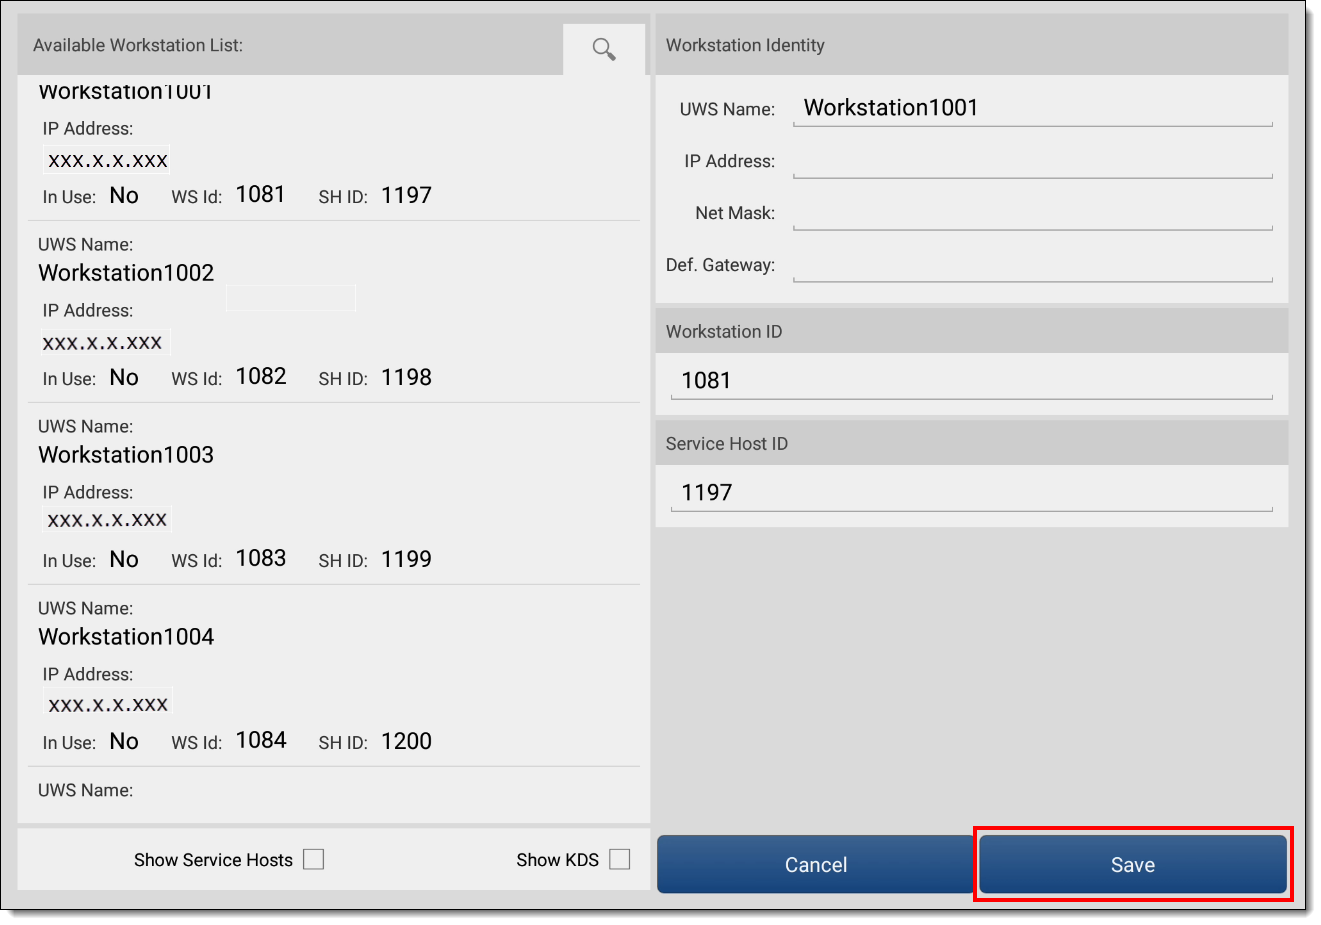
    8. Tap the correct workstation for the device to populate the workstation information and tap Save.

      Figure 7-21 Select a Workstation Screen


      This figure shows the screen where you select a workstation, and moving forward, identify this device as such on the system.
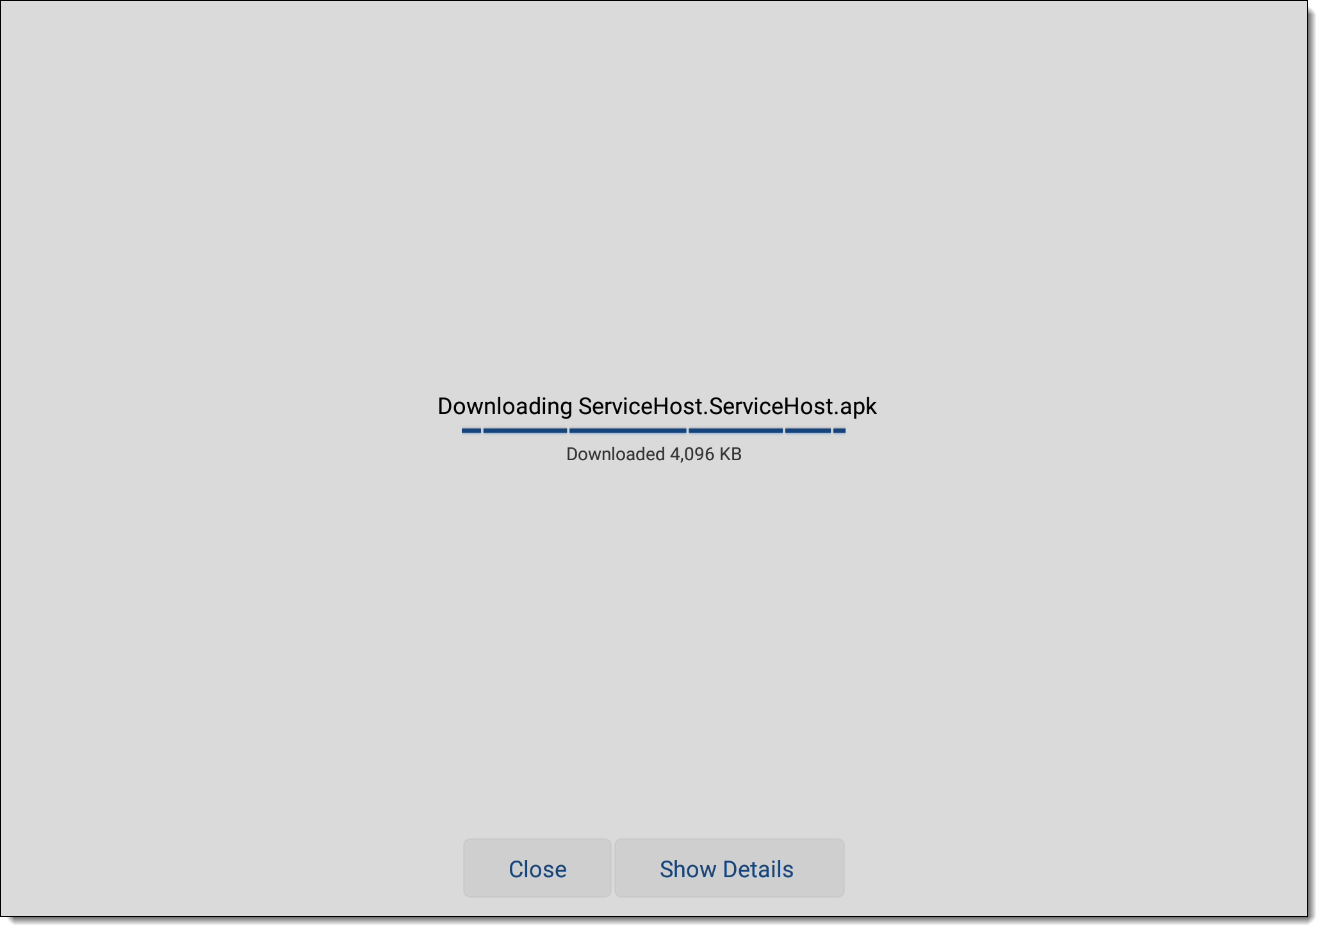
    9. If you have already scheduled an Android ServiceHost CAL package deployment, this screen shows:

      Figure 7-22 Android ServiceHost CAL Package Download Screen


      This figure shows the screen that shows the progress of downloading the Android ServiceHost CAL Package to the device.

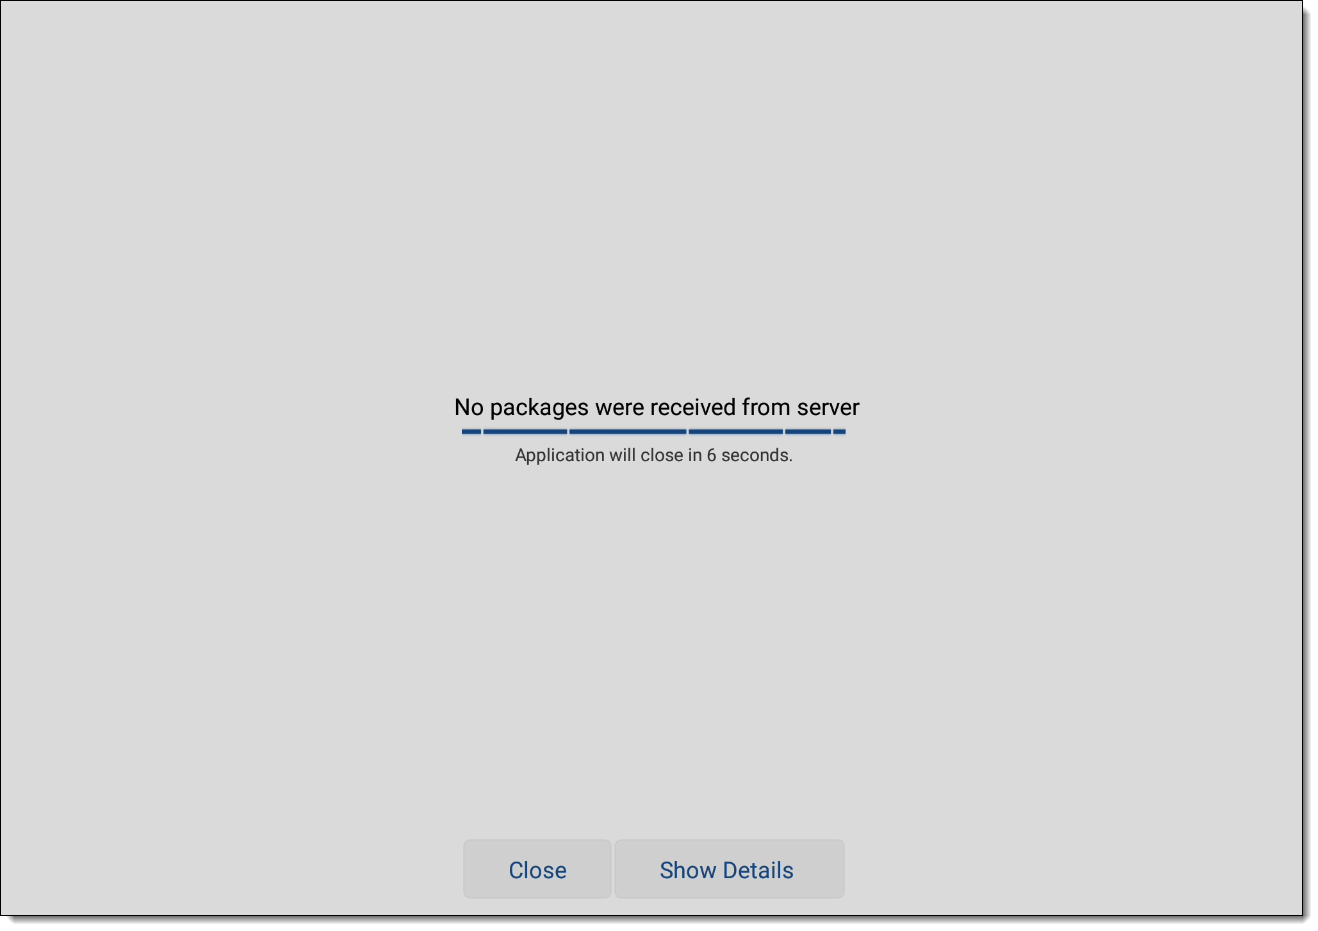
      If you have not scheduled and deployed the Android ServiceHost CAL package, you see this screen:

      Figure 7-23 Android ServiceHost CAL No Packages Download Screen


      This figure shows that no Android ServiceHost CAL packages are downloading to the device.

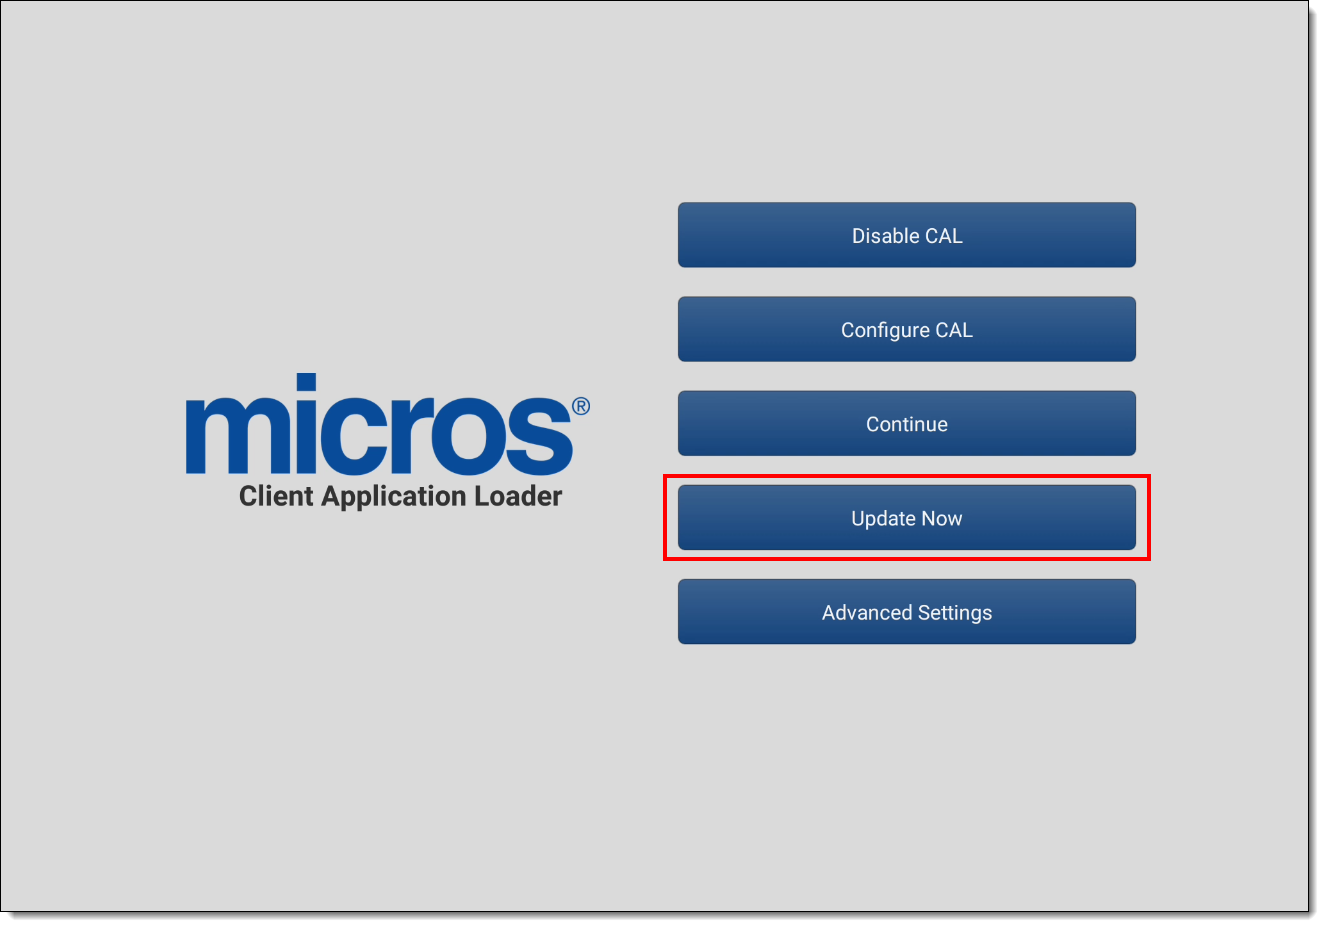
      If you subsequently schedule and deploy the Android ServiceHost CAL package, you might see the following screen. If so, tap the Update Now button.

      Figure 7-24 CAL Configuration Options Screen


      This figure shows the CAL configuration options screen, specifically the Update Now button.
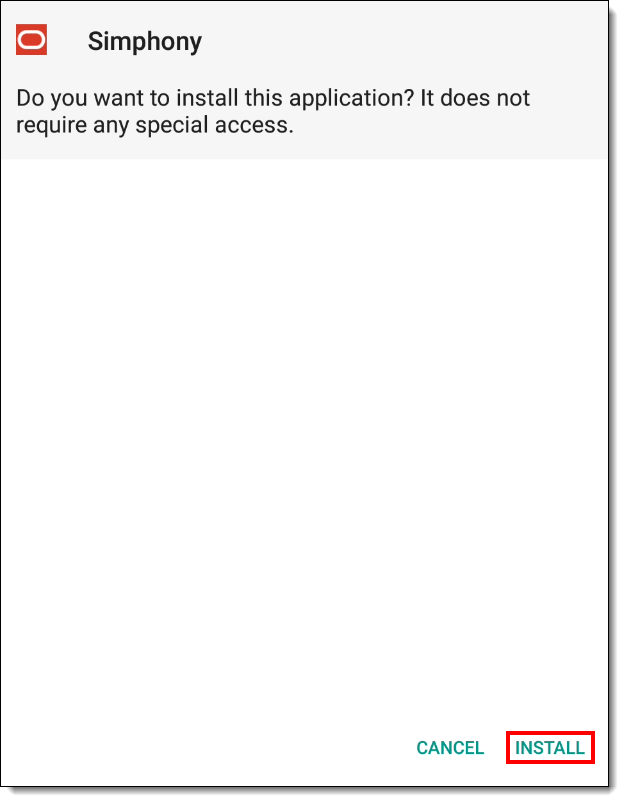
    10. Once the CAL package download completes, you are prompted to install the Simphony application. Tap Install.

      Figure 7-25 Simphony Application Installation Screen


      This figure shows the Simphony application installation screen.
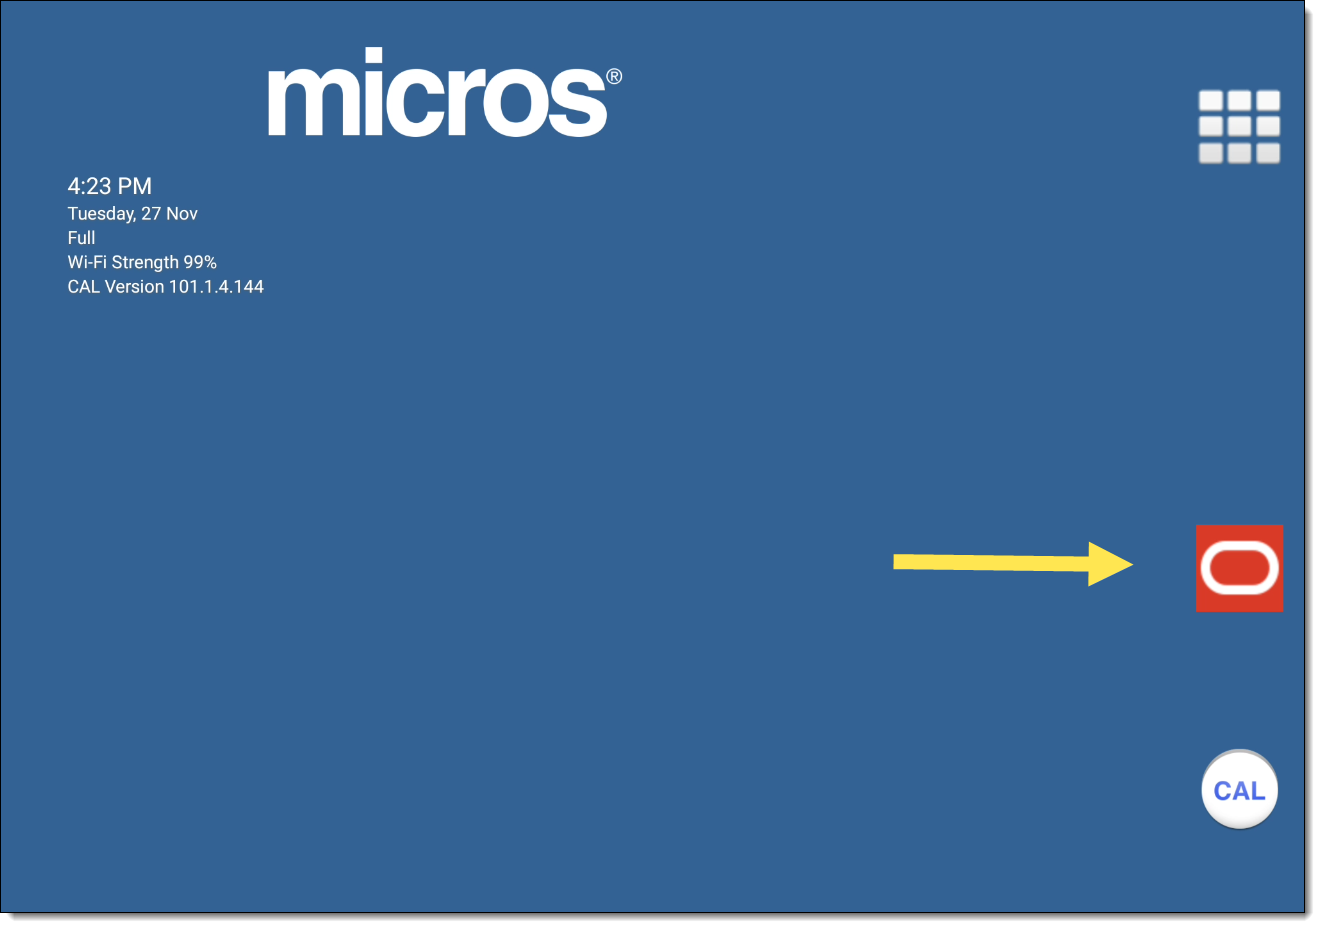
    11. When the installation of the Simphony application is complete, tap Done. The installation generates a Simphony desktop icon on the device’s CAL home screen.

      Figure 7-26 MICROS CAL Home Screen - Simphony Desktop Icon


      This figure shows the MICROS CAL home screen, specifically the Simphony desktop icon

      Note:

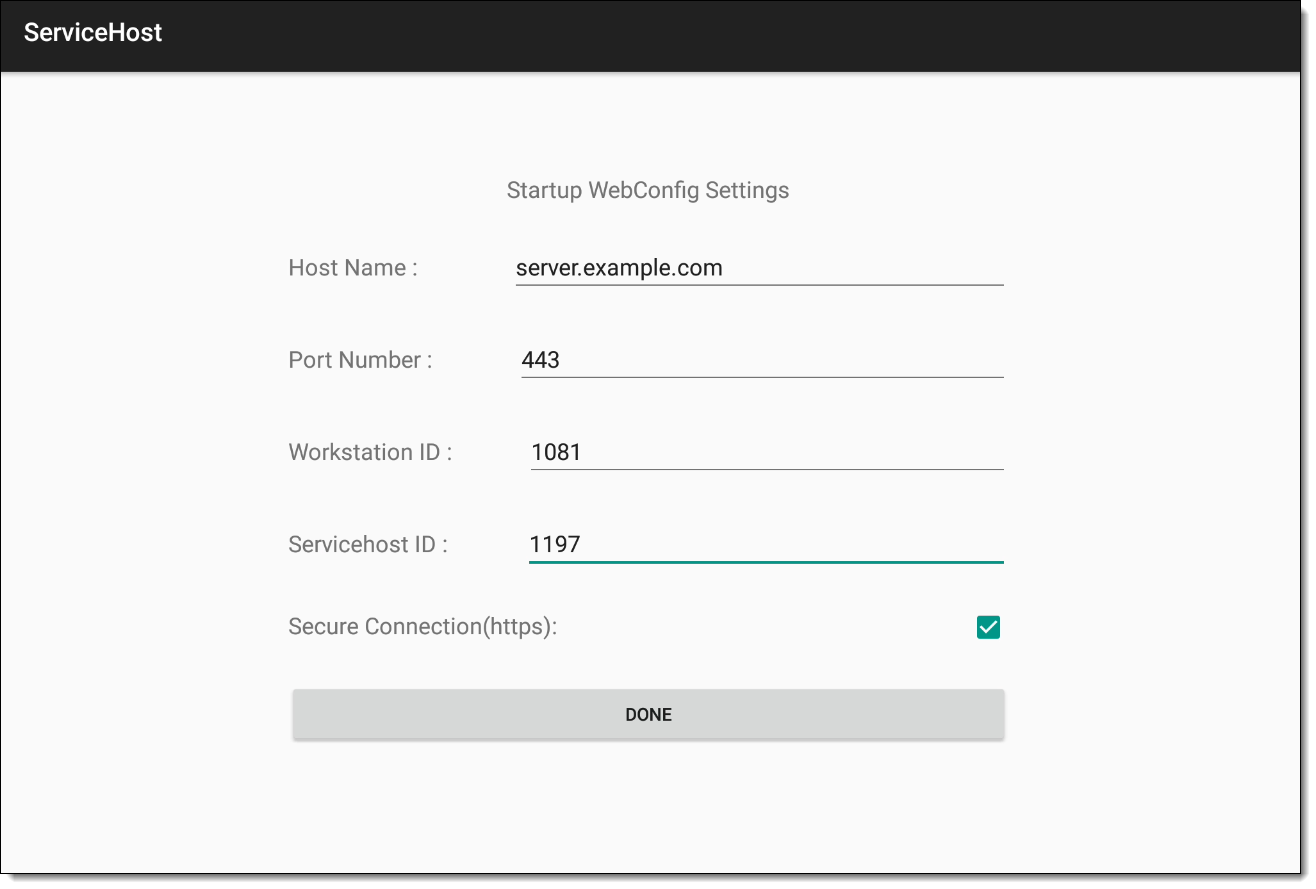
      If you tap Open you are required to manually configure your Android ServiceHost again.

      Figure 7-27 Android ServiceHost Manual Configuration Screen


      This figure shows the Android ServiceHost manual configuration screen.
    12. As previously stated, Android devices (Android version 5.0 and later) and Simphony requires you to ensure that data encryption and a lock mechanism is enabled on the device. If no such locking mechanism (PIN) has been configured, you receive this prompt message:

      Tap OK to continue.

      Figure 7-28 Android Lock Mechanism Requirement Reminder


      This figure shows the reminder message stating the requirement to create a PIN number for the Android device.
    13. Enter your Simphony EMC User Name, and then press OK.
    14. Enter your Simphony EMC Password, and then press OK.

      Deploying an Android client to a device requires you to enter your EMC authentication credentials twice. The second time authenticates the ServiceHost and then Operations starts on the device.