2 Cashbook Setup
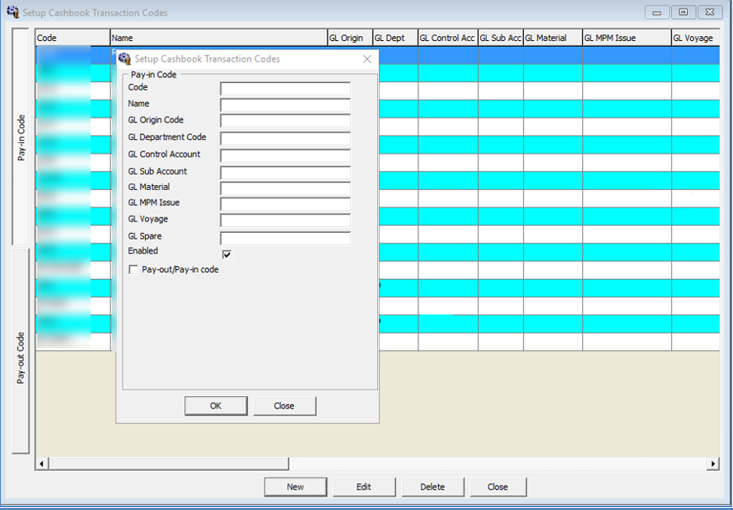
Transaction Codes Setup
-
Pay-In — Receiving Codes
-
Pay-Out — Expenses Codes.
Cashbook Category Setup
You can delete the Cashbook using the Remove option. However, once you have a transaction linked to the Cashbook, deleting or removing is not allowed.
-
Login to Cashbook module and select Setup Cashbooks from the context menu.
-
At the Cashbook Setup screen, right-click and select Add New.
-
Enter a unique Cashbook Code and Description.
-
At the Min. Balance field, enter the minimum cashbook balance. This value is used to calculate the Balance Differences (Current Balance — Minimum Balance) in Cashbook Transactions.
-
Choose the Default Currency code for the Cashbook. This code is used to separate the currencies accepted (EUR, USD, SGD, and others) and record the cash available in each currency type.
-
The Pay-in/Out codes refers to above Transactions Codes. Select the corresponding code from the drop-down list, and then click OK to save.
-
You can delete the Cashbook using the Remove option. However, once you have a transaction linked to the Cashbook, deleting or removing is not allowed.
Scanning Device
The Cashbook module have a scanning function to stores transaction documents. You would need to install a scanning device in Management module, Options, Hardware setup.
- Login to Management module, select Options and then click on Document Scanner tab.
- Choose the required scanner from Select Scanner drop-down list.
- Check mark the Set as Default check box, if this is a default scanner.
- Check mark the Enable Manufacturer Default Settings Dialog before Scan check box to enable the user to re-configure the scanning settings before the scanning process.
- At the Scanner Setting section, select the relevant options from the drop-down list.
- Check the Auto Brightness for the scanning effect and Deskew for straightening the image, and then adjust the brightness accordingly.
- Click OK to save the setting.
