6. Application Entry
6.1 Introduction
The first step in the Lease origination process is entering credit application data into Oracle Financial Services Lending and Leasing Application. The Application Entry screen enables you to specify information from credit application into the system and request a credit bureau report.
This chapter explains how to use the Applications screen to specify and validate a credit application.
6.2 Entering a Credit Application
There are four main steps in entering an application
- Select product type and producer at the top of the Application screen in Applications section. The product defines the type of credit application: Lease as well as any collateral, such as vehicles or homes, associated with the Lease. When you save the application, system activates the links on Applications screen that are associated with the product, streamlining the application process. The producer is the dealer supplying the application. When selected, the status of the Producer is displayed along with Producer Name.
- Enter information regarding the primary applicant, such as name, social security number, address, place of employment and financial assets and liabilities. Enter this same information for any other applicants, such as co-signers or joint applicants, if they exist.
System displays the error message as “The Application does not exist” if the provided details does not match with any application details. - Enter information about the requested credit for the Lease such as Lease amount and number of terms.
- Enter information about the collateral.
You can also enter credit application data into Oracle Financial Services Lending and Leasing Application using the Fax-In container. For more details, refer to ‘Application Entry using Fax-In’ section.
Once the basic details are entered, the user has to check whether the application pre qualifies or not. Once the pre-qualified edits are satisfied, click Submit in the Application screen. Pre-qualification edits can be viewed from the 'Verification' sub tab.
When finished, Oracle Financial Services Lending and Leasing checks the application for completeness using a predefined set of edits. These edits search for errors and warnings based on your system setup. Status change of the application can be determined by credit bureau and scoring model of the application. The prescreening checks ensure that automatic credit bureau reports are pulled only for applications which meet set criteria, thus saving cost.
After an application clears the edits check, click Process Application in the Applications section. The system begins the processes of prescreening the application and pulling a credit bureau while you can begin entering the next application in your queue.
To enter a new application
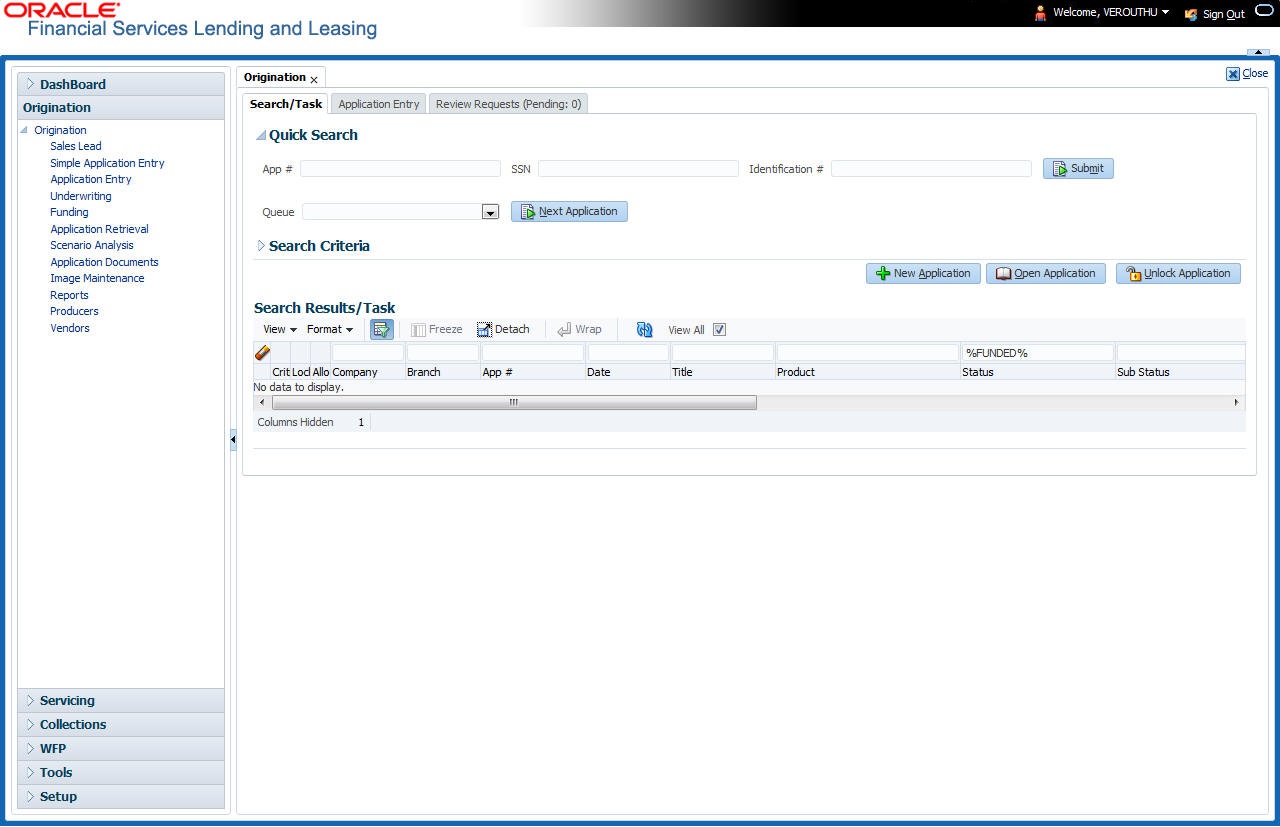
- Click Origination > Origination > Application Entry.
- The Application Entry screen appears, opened at the Search link’s Results screen.
The Recreate Instance button appears only when the BPEL parameter is YES.
- In the Results tab’s Quick Search section, click New Application. The Search link’s Applications Entry screen opens at the Application Entry tab.
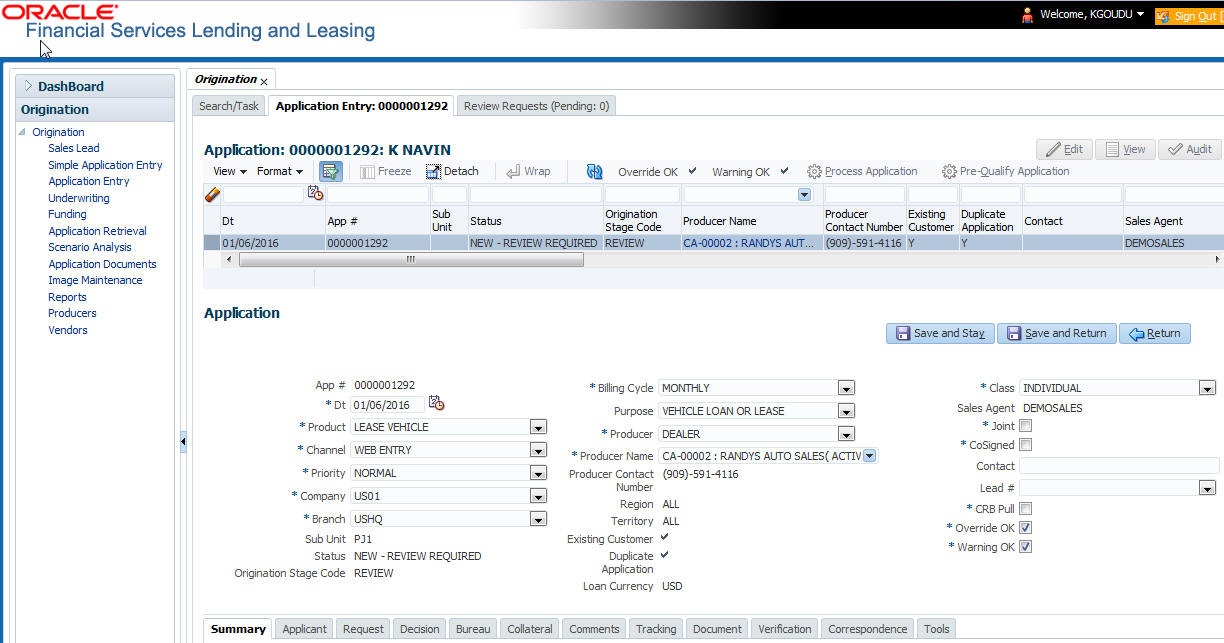
For details on this screen refer Applications section in Underwriting chapter.
6.3 Rental Agreement
Rental Agreement in OFSLL refers to a lease rental contract between financial institution and a customer. A lease rental contract is formed with mutual agreed terms and signifies a fixed rental amount that is paid by the customer for using an asset till the agreed term.
Rental based leasing option extends lease functionality to charge the customer with a fixed rental fee for the asset based on actual number of contract days for the defined cycle (i.e. Hourly, Daily, Weekly, and so on). Depending on the type of asset, rental leasing can either have only fixed rental or both rental and usage details. OFSLL supports the following types of rental based leasing:
- Fixed Rate Rental Contract - This type of leasing is useful for equipment leasing industry where specify type of assets can be leased based on duration. For example, furniture, medical equipment, farming accessories and so on whose usage cannot be measured. Here, there is no lease receivables at the time of creating lease contract and the customer is charged with fixed rentals. For example, renting a medical equipment - Nebulizer for weekly rental of $15 or monthly rental of $30.
- Usage Based Rental Contract - In this type of leasing asset usage can also be measured such as vehicles which are leased based on usage limit + duration. Here, along with fixed rentals customer is charged for excess usage fee based on the actual usage depending on the asset type. For example, renting an All-Terrain ForkLift for 3 weeks and maximum of 120 Hours. Any excess engine hours will be charged @$25 per hour.
In either of the rental contracts, customers would also benefit by being charged only when they use an asset rather than having to buy something outright.
6.3.1 Origination Lease Rental Processing Workflow
The process flow to create a renting contract in the system differs a little for Existing and New type of customers and is explained in below sections separately.
Existing Customer
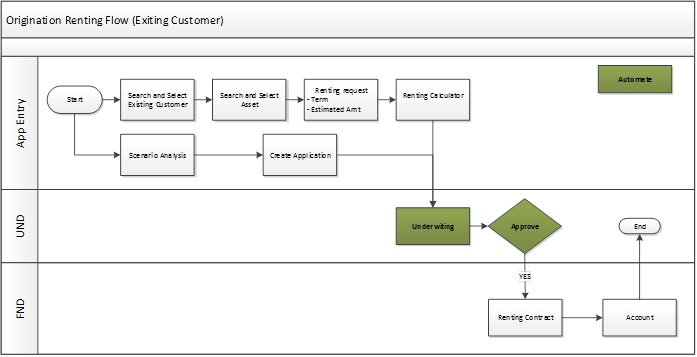
Like any other application funding in Origination module, the lease renting contract is also moved through Application Entry, Underwriting and Funding process. But the Underwriting stage is automated and applications can be funded directly.
You can either start with Application Entry screen for creating renting contract or Scenario Analysis to simulate the same before creating.
In the Application Entry screen, you can search and select the existing customer details and the asset to be used for rental. Specify the required Term and Estimated amount for rental. Use the Renting Calculator to derive the rental amount based on the above details.
The status of such application will be in APPROVED -BLANK. The same can be accessed in funding screen and funded.
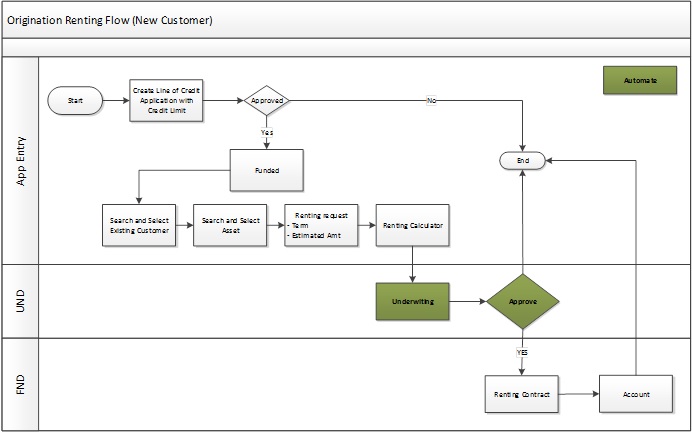
New Customer
For a new applicant, the details are to be registered as a customer in the system. To do so, the applicant details are to be defined and funded against a contract.
While funding Loan and Lease contracts, the applicant information can also be processed along with other details. But for Line of Credit, you need to first create a line of credit application, assign a credit limit and fund the application. This process can also help to evaluate credit worthiness and also validate customer details against the KYC.
The same is indicated in the below image. The rest of renting contract processing is similar to existing customer workflow.
6.3.2 Lease Usage Rental Calculation
Whenever customer sends asset + usage details to OFSLL, the details are categorized to applicable rate slabs. Depending on the Charge Matrix, the rental + usage fee (if applicable) is calculated and charged on to the account. The same is communicated to the customer through account statement.
Following is an illustration on how system calculates non-tiered Rental bill.
The Rental matrix is as defined below:
Cycle |
Base Rental |
Discount % per Cycle |
Discount Amount per Cycle |
|
Cycle From |
Charge per cycle |
|||
Weekly |
1 |
50 |
1 |
10 |
Weekly |
5 |
10 |
2 |
12 |
Monthly |
1 |
200 |
4 |
15 |
Monthly |
5 |
150 |
5 |
18 |
If only ‘Cycle From’ is defined and ‘Cycle To’ is not specified, then range is considered up to an infinite value or till the next defined cycle. Here the range for weekly cycle is between 1-5.
For Rental Amount, system will calculate the both 'Discount Amount' and 'Discount %' and deduct the minimum of these two values from the rental amount per cycle.
The calculation is as follows:
Account Cycle |
Account Term |
Calculation |
|
Rental Amount per Cycle |
After Discount |
||
Monthly |
3 |
200 |
200 minus (Minimum of (4% of 200 = 8) or 15) = 192 |
Monthly |
5 |
150 |
150 minus (Minimum of (5% of 150 = 10) or 18) = 194 |
Weekly |
2 |
50 |
50 minus (Minimum of (1% of 50 = 0.5) or 10) = 49.5 |
Note the following:
- After calculating the lease rental fee, if there are any rental adjustments or charge which needs to be posted to the account balances (Contract setup > Balances sub tab), you can post the lease monetary transactions as detailed in ‘Lease Rental/Damage Fee Adjustments’ section in Servicing User Guide.
- You can simulate Lease Rental / Usage Rental calculation using Scenario Analysis screen before posting it into the system. There is also a Rental Calculator provided to derive the usage/rental amount.
- The calculated chargeable rental and usage fee are displayed in Customer Service > Collateral > Usage Summary screen and is posted on the account only after executing the batch job TXNUSG_BJ_100_01 (USAGE CHARGE PROCESSING) in SET-TPE job set.
- After billing is processed, if there is an amount still owed on lease account, you can post payoff quote during the life of a Rental/Usage Rental Lease based on specific conditions. For more information, refer to ‘Payoff Quotes’ monetary transaction section in Servicing User Guide.
6.3.3 Rental Agreement tab
The Rental Agreement screen is a hybrid screen in Origination module which facilitates to capture and process most of the required action for funding rental based leasing contracts instead of navigating through multiple tabs.
Note
The Rental Agreement screen is available only for Lease Rental type of products and rental based leasing is supported for both ‘RENT FACTOR’ and ‘INTEREST RATE’ type of lease calculation methods in the system.
The ‘Rental Agreement’ tab consists of the following sub tabs:
- Itemization sub tab
- Usage Charge Matrix sub tab (available if agreement type is USAGE RENTAL)
- Rental Charge Matrix sub tab
6.3.3.1 Pre-requisites
- To support rental based leasing, ensure that all the basic setup of defining Usage/Rental Details, Rental Charge Matrix in Asset Types screen is done and the lease Agreement Type is selected appropriately in Products, Pricing and Contract setup screens.
- Ensure that required customer account details are maintained in the system and KYC details are validated.
- When usage details are to be processed through File Upload, ensure that the file received from external system contains all the required information for mapping to respective fields in Renting History screen.
6.3.3.2 Navigating to Rental Agreement
The Rental Agreement tab is available next to ‘Summary’ tab in ‘Application Entry’ screen.
- On the Oracle Financial Services Lending and Leasing home screen, click Origination > Application Entry link.
- In the ‘Search/Task’ tab, either create new lease application by clicking on ‘New Application’ or open an existing lease application by using the Search Criteria.
- For an existing application, the Application Entry screen opens with ‘Summary’ tab and for new application this tab is displayed on clicking ‘Save and Return’. Click ‘Rental Agreement’ tab.
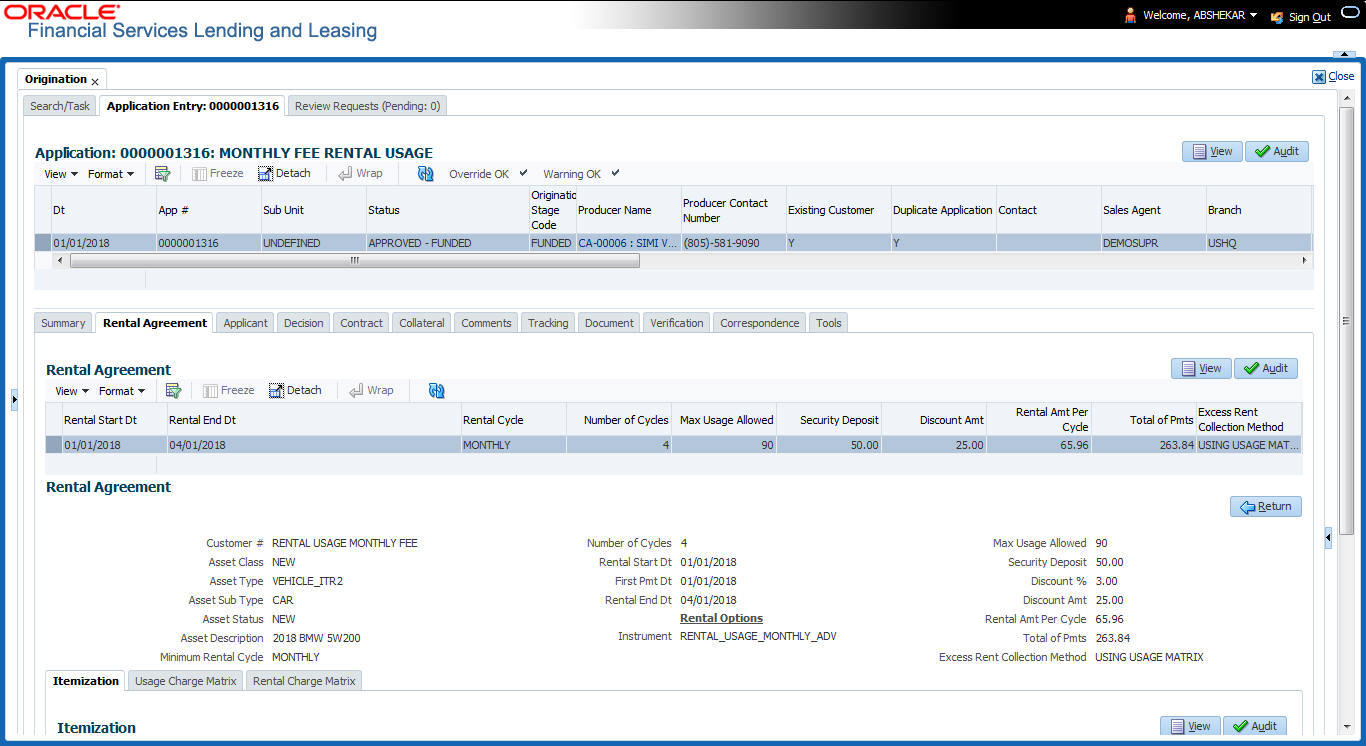
To create rental agreement
- In the ‘Rental Agreement’ section, perform any of the Basic Operations mentioned in Navigation chapter. A brief description of the fields is given below:
In this field:
Do this:
Existing Customer #
Select the required customer from the drop-down list. The list is populated with all active customers maintained in the system.
Existing Business #
This field is enabled if the application type/class is ‘Business’. Select the Existing Business number from the drop-down list.
Existing Asset #
Select the rental asset from the drop-down list. The list is populated with list of assets maintained in ‘Collateral Management’ screen with Status - NEW, RELEASED, SOLD, INVENTORY, Collateral Type ‘Application Collateral’ and Lien Status ‘Undefined’.
Asset Class
View the asset class auto-populated based on the collateral type linked to application.
Asset Type
View the asset type auto-populated based on the Asset Class.
Asset Sub Type
View the asset sub type auto-populated based on Asset Type.
Asset Status
View the asset status auto-populated based on collateral status.
Asset Description
View the asset description auto-populated based on collateral details.
Minimum Rental Cycle
Select the minimum rental cycle to be considered for rental billing from the drop-down list. Starting from Hourly, you can select from a range up to Annually.
Number of Cycles
Specify a numeric value to indicate the total number of cycles to be calculated for the current rental. The same is based on the Asset Types configuration.
Rental Start Dt
Select the start date for rental agreement from the adjoining calendar. If the ‘Minimum Rental Cycle’ is ‘Hourly’, the current time stamp is also displayed.
First Pmt Dt
Select the first payment date based on billing cycle from the drop-down list.
Rental End Dt
View the rental end date auto-populated and calculated based on Rental Start Dt + First Pmt Dt + Billing Cycle.
After populating the above fields, save the details. Click ‘Initialize’, system updates the Usage/Rental Details in the screen and are editable. Along with this, system also updates Usage Charge Matrix sub tab and Rental Charge Matrix sub tab details from the Asset Types Setup.
Click ‘Calculate’ system auto-populates 'Rental Amount per Cycle' and 'Total Of Payments'.
You can now process the rental lease application by clicking ‘Process Application’ button in Application header section. While processing, system auto assigns the matching pricing criteria and updates the application status to APPROVED - BLANK. Open the application in Funding tab and change the status to APPROVED - VERIFYING.
Rental Options
Instrument
This field is enabled when an application is funded. Select the required Instrument from the drop down list. The list is populated with the available Contracts based on selected Pricing. In case the application stage is not 'Contract', system displays only NONE.
Click ‘Load Instrument’ button.
Note: An instrument is a contract with specific rules tied to it. An instrument associated with the application indicates OFSLL of the type of contract being used for the approved lease. Items defined in the contract are “locked in” when you select the instrument from drop down list and click on ‘Load Instrument’. These values cannot be changed on the funding screen. Any changes to the instrument in account will be handled by monetary/non-monetary transactions.
Max Usage Allowed
View / edit the maximum usage value allowed for the cycle.
Security Deposit
View / edit the security deposit amount paid upfront.
Discount %
View / edit the percentage of discount exempted from final billing.
Discount Amt
View / edit the flat discount amount exempted from final billing.
Rental Amt Per Cycle
View the system calculated value of Rental Amount per Cycle based on the rental charges. By default, system considers the minimum value derived by using Discount % or Discount amount during calculation.
Total of Pmts
View the system calculated value of Total of Payments based on rental charges and agreement duration.
Excess Rent Collection Method
View the type of Charge Matrix being used to derive the Excess Rent Collection Method as either ‘USING USAGE MATRIX’ or ‘USING RENTAL MATRIX’.
- Perform any of the Basic Actions mentioned in Navigation chapter.
- On saving the Rental Agreement record, system populates the matrix details from the Asset Types setup as indicated below:
Agreement Type
Criteria
Rental Matrix
Usage Matrix
Usage/Rental Details (based on Billing Cycle)
Usage Rental
Asset Type
Asset Sub Type
Base & Excess
If the defined cycle is Hourly, matrix is based only on hours. For any other cycle, the same is not populated.
Only Excess
Populates only Billing Cycles Records
Populates with same billing cycle record and application Agreement Type
Rental
NA
Populates with same Billing cycle record and application Agreement Type
6.3.4 Itemization sub tab
The Itemizations sub tab enables you to add or verify any itemized amounts associated with the application. The list of itemizations is determined by the product you select in the master screen during the application entry process.
For rental based leasing contracts, itemization may consist of pre-paid fees like registration and so which can be configured and tracked within Rental Agreement > Itemization sub tab instead of maintaining it separately in Request tab.
For detailed information about Itemization and the process to add or view itemizations, refer to ‘Itemization Sub Tab’ in Request tab of Underwriting chapter.
6.3.5 Usage Charge Matrix sub tab
The Usage Charge Matrix sub tab allows you to define and maintain different chargeable slabs based on the combination of Billing Cycle and Charge Type. The details maintained here are used for billing calculation based on a particular asset usage.
On clicking ‘Initialize’ in Rental Agreement section, the information in this tab is auto-populated based on details maintained in Asset Type setup. For more information about field details, refer to ‘Usage Charge Matrix’ section in Setup guides.
6.3.6 Rental Charge Matrix sub tab
The Rental Charge Matrix sub tab allows you to define and maintain different chargeable slabs based on the combination of Billing Cycle, Rental Duration, Charge Per Cycle and Charge Type. The details maintained here are used for billing calculation based on a particular asset usage.
On clicking ‘Initialize’ in Rental Agreement section, the information in this tab is auto-populated based on details maintained in Asset Type setup. For more information about field details, refer to ‘Rental Charge Matrix’ section in Setup guides.
6.4 Applicants Tab
Using the information supplied on application, complete Applicants tab details and the following sub tab details:
- Address
- Employments
- Telecoms
- Financials
- Liabilities
- Other Incomes sub screens
- Summary
- Credit Scores
- Duplicate Applicant
- Existing Accounts
- Tracking Attributes
The system uses the information on the Financial and Liabilities sub tabs in determining the applicant’s net worth. The system uses information on the Employments screen and Other Incomes sub screen to calculate the applicant’s debt-to-income ratio.
To complete the Applicants Details screen
- On the Application Entry tab, click Applicant > Applicant.

For details on this screen refer Applicant Tab section in Underwriting chapter.
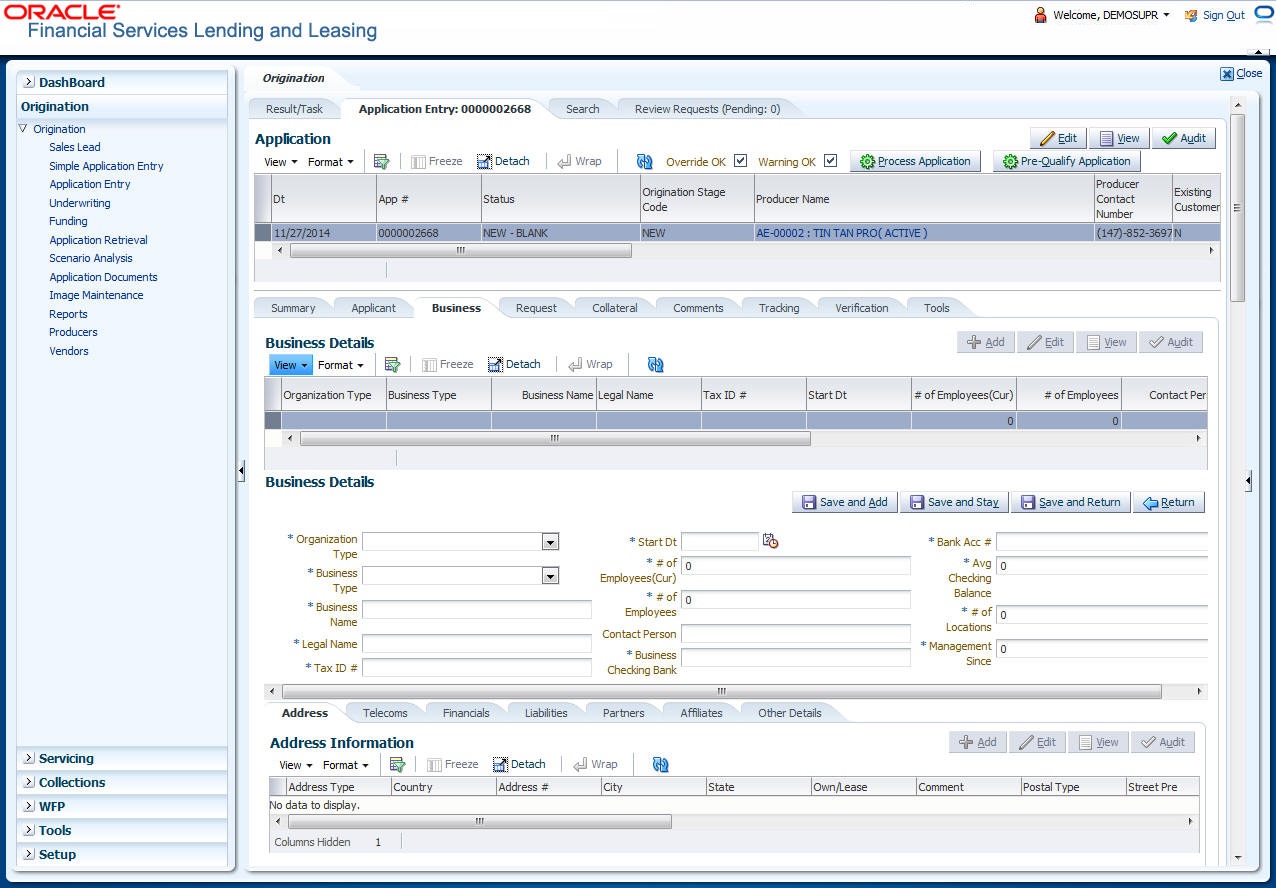
6.5 Business Applicants Tab
Oracle Financial Services Lending and Leasing can record SME business related financial information and business partners on the Business screen to assist in approving the Lease application during underwriting. The Business Applicant screen is available for Lease and contains the following sub screens:
- Address
- Telecoms
- Financials
- Liabilities
- Partners
- Affiliates
- Other details
To complete the Business Applicant screen
- If SME business information is included on the application, select small business inClass field on Applications section and click Save.
The Business tab appears on the Application Entry screen.
- On the Application Entry screen, click Business.
For details on this screen refer Business Tab section in Underwriting chapter.
6.6 Request Tab
Depending on the type of product you select, the following screen will be available from Requested link
To complete the request tab:
- On the Application Entry tab, click Request tab.
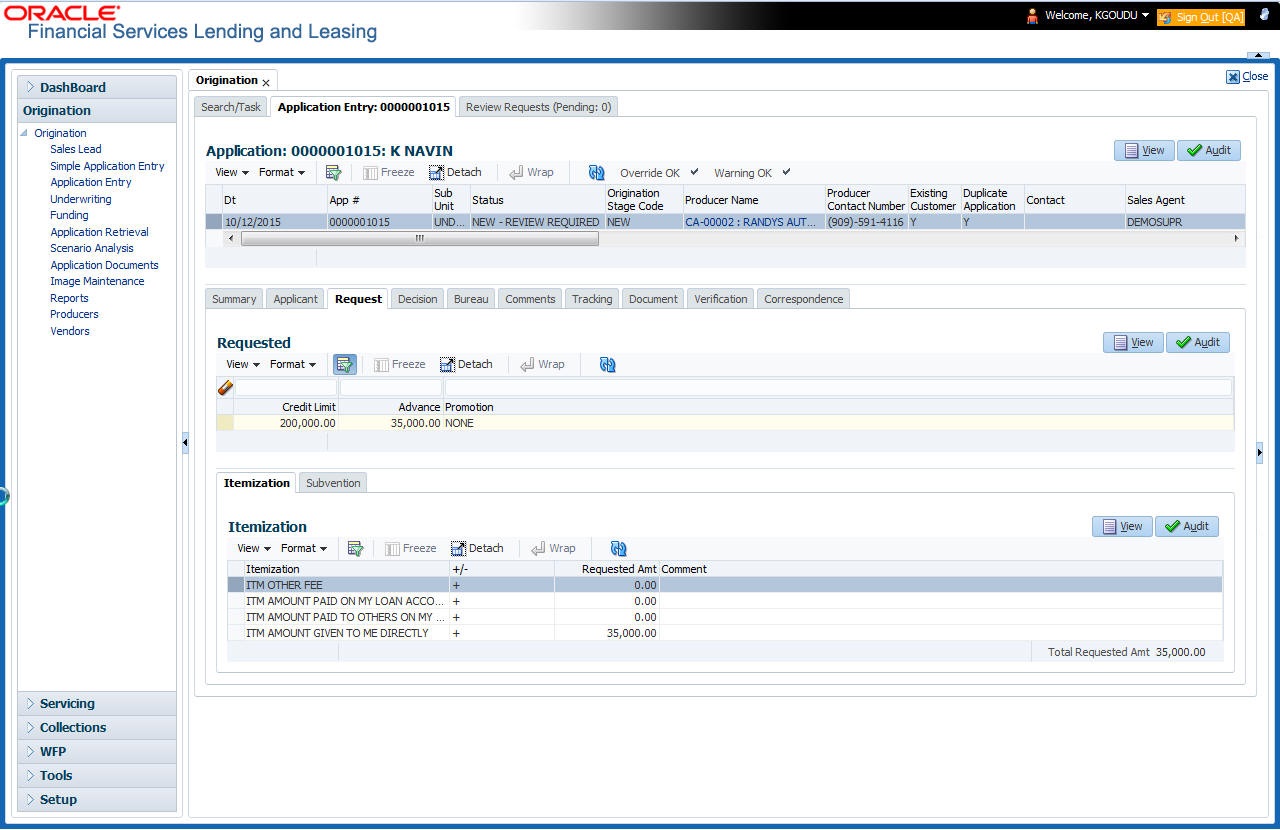
For details on this screen refer Request Tab section in Underwriting chapter.
6.7 Master Account tab
The Master Account tab in Origination screen facilitates to categorize the current application to be considered as ‘Master Account’ after funding or link the current application to another existing master account in the system.
To define Master Account Details
- Open the Underwriting screen and load the underwriting application you want to work with.
- Click ‘Master Account’ tab.
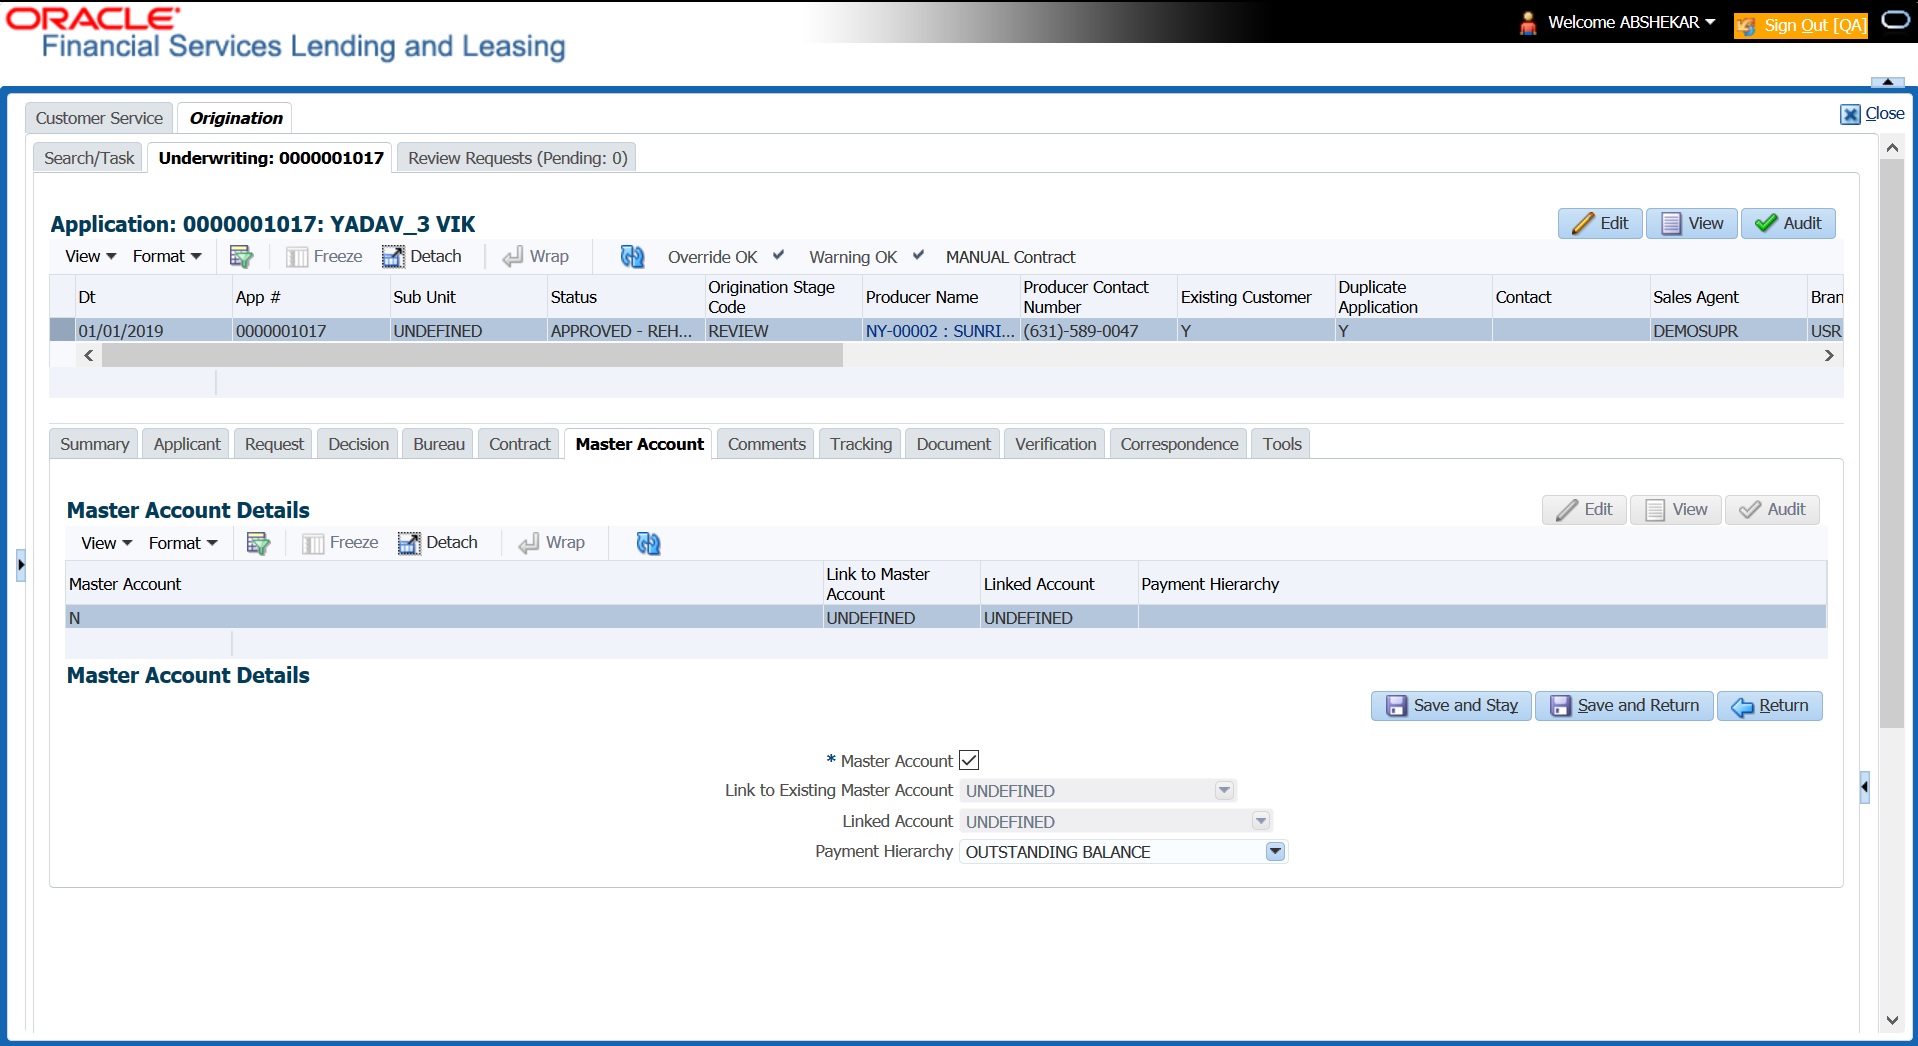
For details on this screen refer Master Account tab section in Underwriting chapter.
6.8 Bureau Tab
The Bureau tab displays credit report (if pulled) for an applicant. If there is a need for another pull for any applicant, it can be done here manually using the New Request section.
To verify the credit bureau data using the Bureau tab
- Open the Application Entry screen and load the application you want to work with.
- Click Bureau
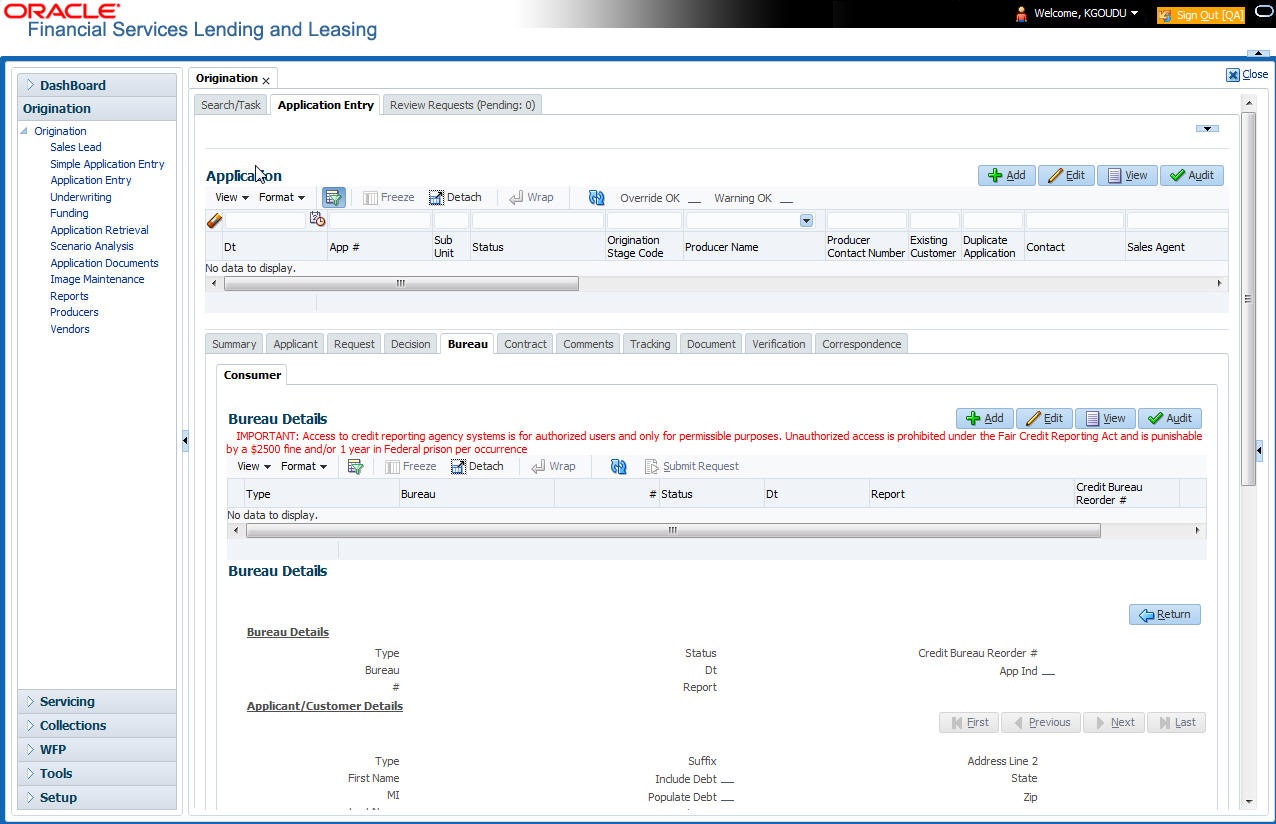
For details on this screen refer Bureau Tab section in Underwriting chapter.
6.9 Collateral Tab
Depending on the type of product or producer you select, the Collateral tab opens one of the three following collateral screen: a vehicle information screen, a home information screen or an other information screen. Complete the screen that is available on your Applications screen. After that, complete the Valuation and Tracking sub screen, which the Collateral link’s screens share. If you are entering an unsecured Lease, the Collateral link is present but inactive; in which case, skip this step.
To enter vehicle information from the Collateral tab
- On the Application Entry link bar, click Collateral. If the collateral is a vehicle, the Collateral link displays information about the vehicle
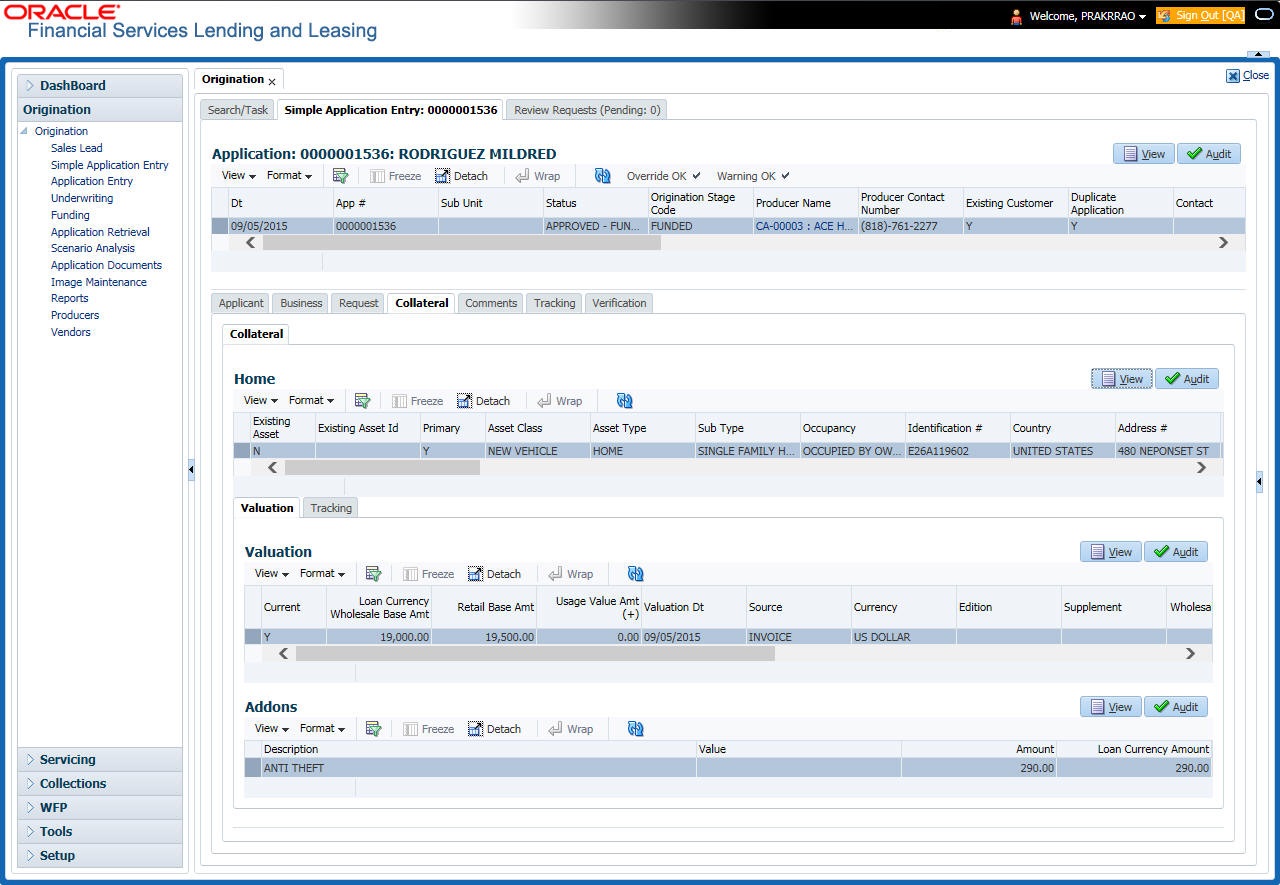
If the collateral is a home, the Collateral link displays information about the home.
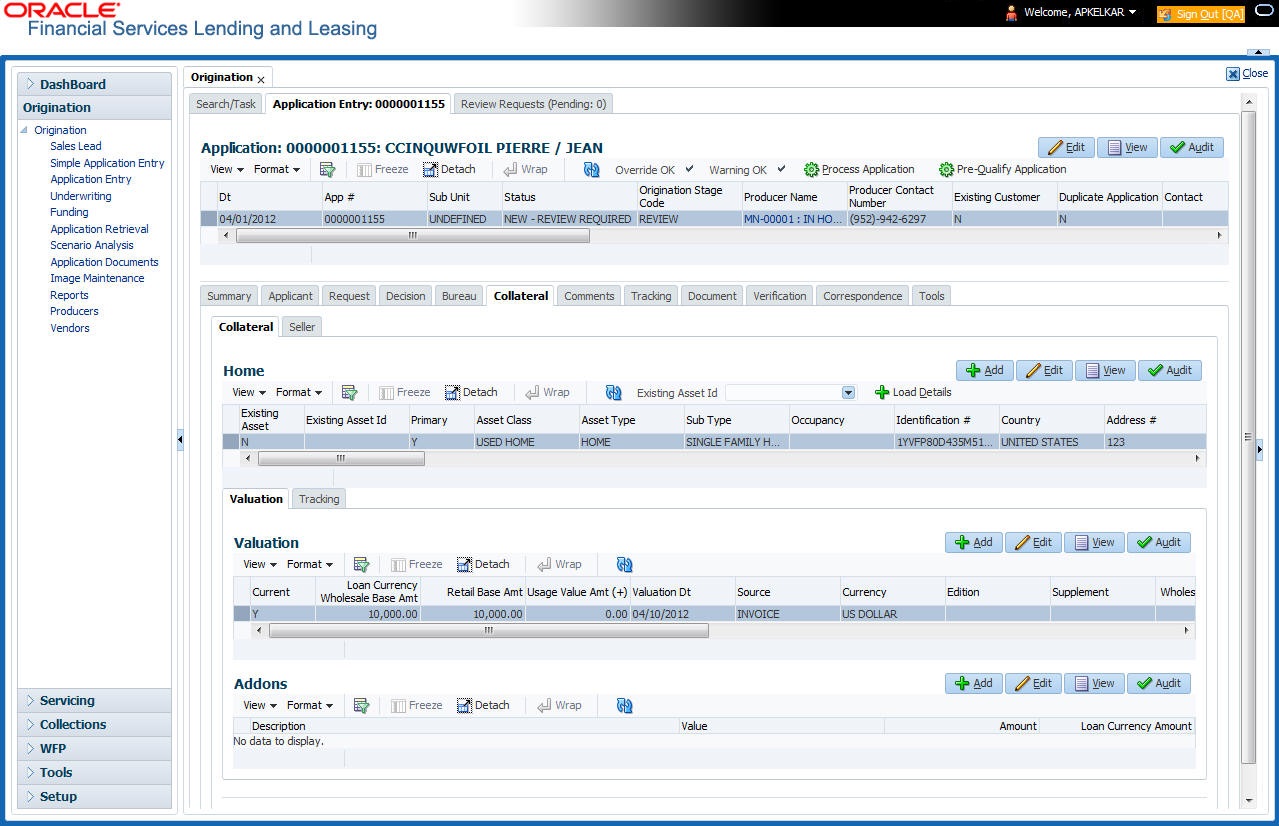
If the collateral is any other, the Collateral link displays information about that collateral.
For details on this screen refer Collateral Tab section in Underwriting chapter.
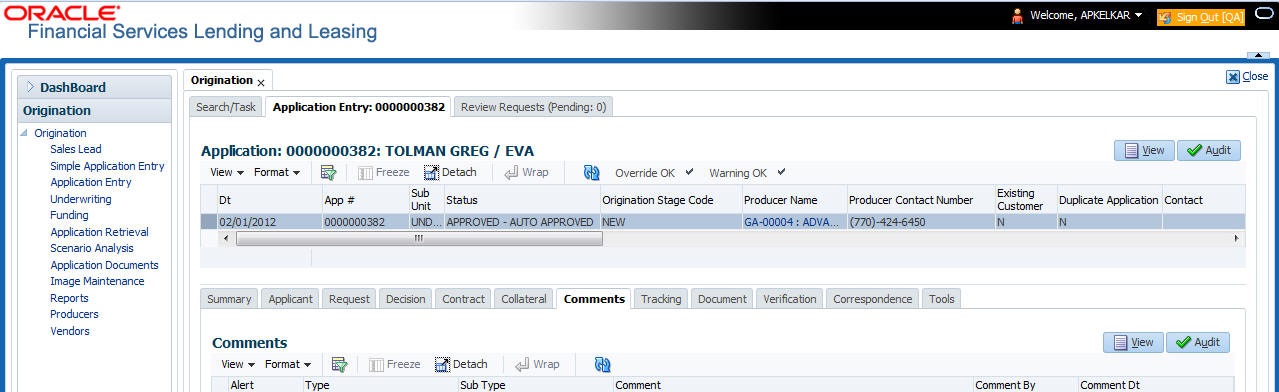
6.10 Comments Tab
When using the Application Entry screen, you can add comments to an application at any time in the application entry process by clicking the Tracking tab.
To complete the Comments screen
On the Application Entry tab, click Comments.
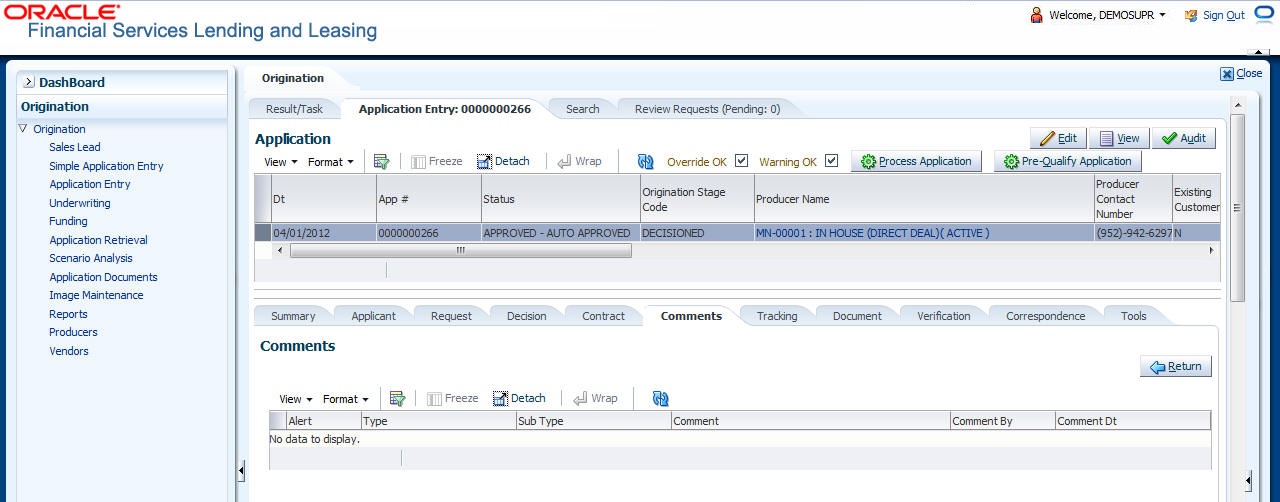
For details on this screen refer Comments Tab section in Underwriting chapter.
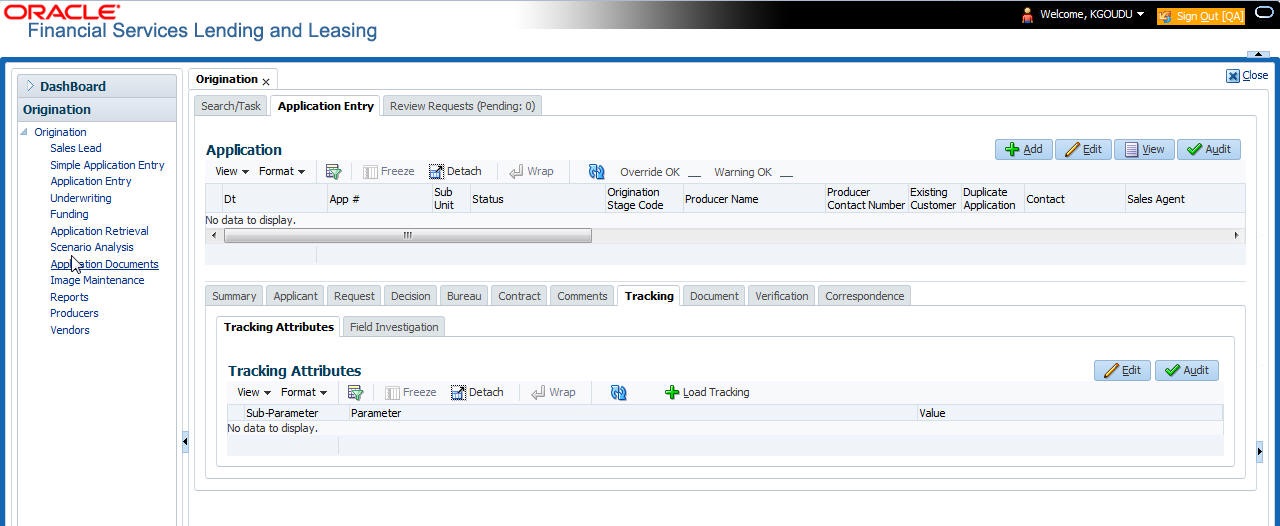
6.11 Tracking Tab
The Tracking tab enables you to record further information associated with the application. What items you choose to track are setup during implementation.
To track attributes
- On the application entry screen, click Tracking tab.
For details on this screen refer Tracking Tab section in Underwriting chapter.
6.12 Document Tab
6.12.1 Document Sub Tab
Application Entry’s Documents screen enables you to view Application Documents and Application Documents Details.
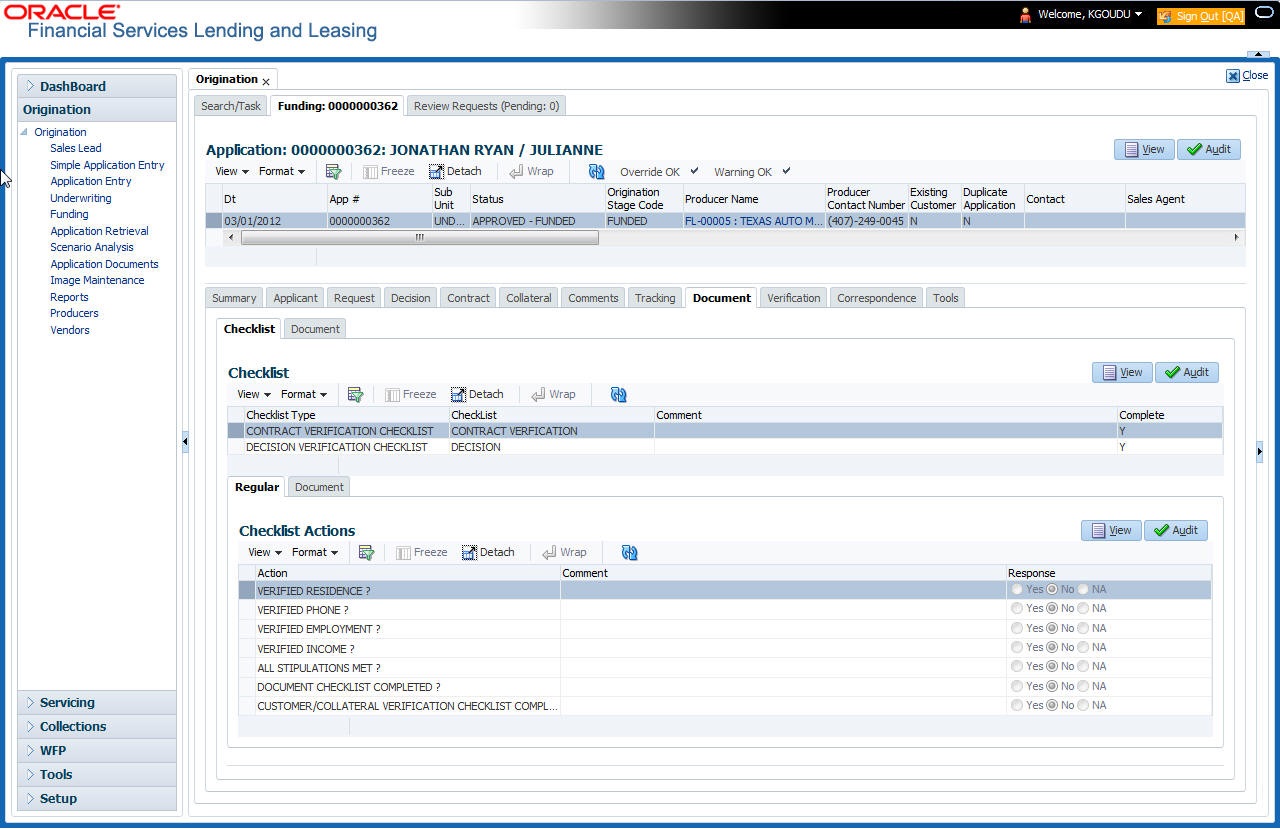
For details on this screen refer Document Tab section in Underwriting chapter.
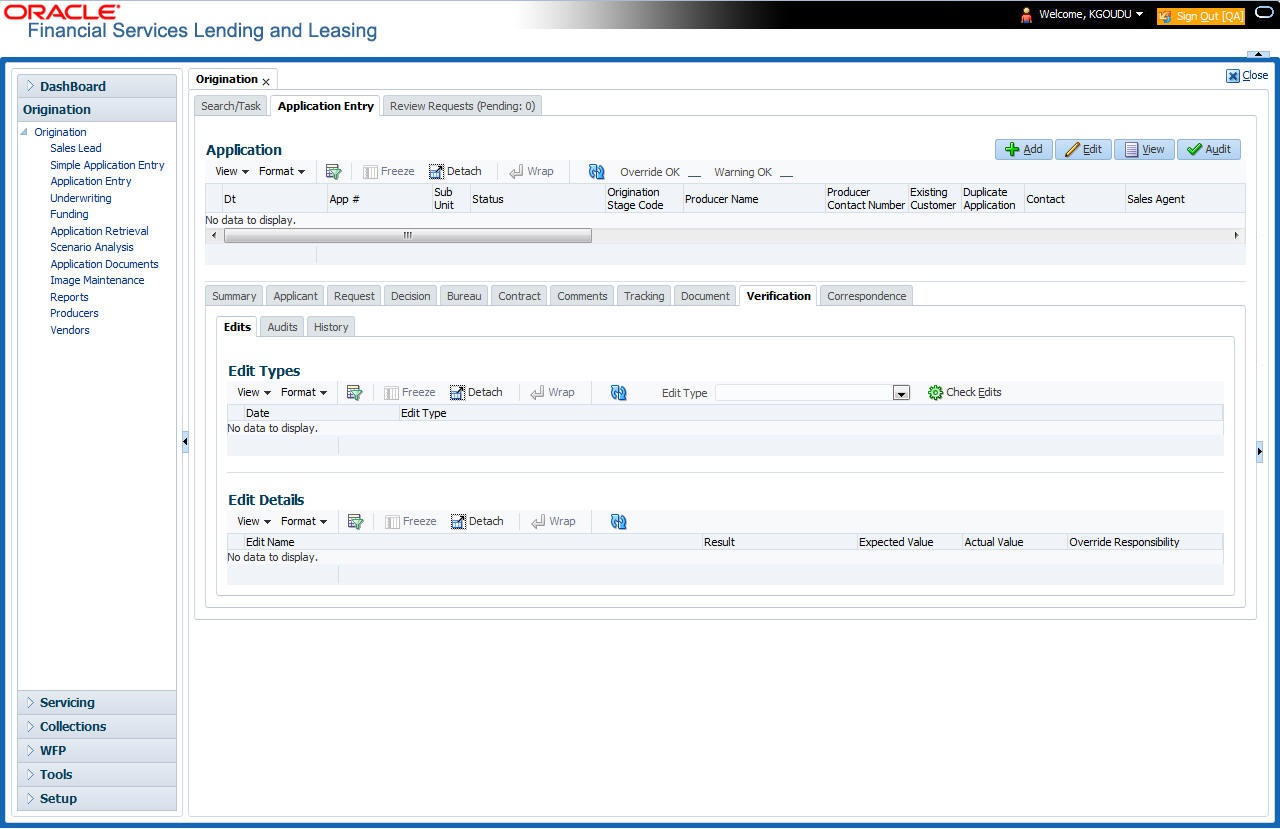
6.13 Verification Tab
Oracle Financial Services Lending and Leasing can be configured to automatically validate portions of an application when you attempt to change its status. The results of this data check appear on the Verification link’s Edit screen as an Error, a Warning or an Override.
If it is an Error, the system will not allow you change the application’s status and approve the Lease until you fix all the errors.
If it is a Warning, the system enables you to change an application’s status without correcting the matter. While you should still investigate the problem, Warning messages are of a lesser importance than Error messages.
If it is an Override, the system displays a dialog box informing you that an override is needed; your responsibility level does not have the authority required to process this step. (Choose Yes on the dialog box to move application to queue of the user with required authority.)
To validate a credit application
- Enter all the information associated with the application on the Application Entry screen.
- When you are finished entering data, on the Application Entry tab, click Verification sub tab, then click the Edits sub tab.
For details on this screen refer Verification Tab section in Underwriting chapter.
6.14 Tools tab
The Tools tab calculates the payment amount, term, interest rate, Lease amount, amortization schedule and allows for the printing of a report.
For detailed information on using the tools, refer Tools chapter.
6.14.1 Application Entry using Fax-In
You can enter credit application data into Oracle Financial Services Lending and Leasing Application using the Fax-In image functionality using the Fax-In container. Once the all the images are loaded into the system using the steps mentioned in ‘Entering a Credit Application’ section, you can view those images in the Fax-In container and perform data entry concurrently.
The Fax-In container option is a simple image holder which is available to the user on clicking the ‘New Application’ button. The option is available only if has been enabled in the system settings by the administrator.
If you are the administrator, you can enable/disable this feature to the users in the access screen. However, you can view the availability of this feature by navigating to Main Menu > Setup > Administration > User > Access screen. Select Screen tab and in the Security Access Definition section, the status of “ACCESS TO MENU IMAGE MAINTAINENCE” flag defines the availability of this feature. If the flag is set to ‘Y’ then the Fax-In container is available in Application Entry screen.
The image container displays the image with the header information stored in the tables loaded as a part of the loading process. You can navigate through the pictures using the navigation buttons (First, Previous, Next and Last) available on the top right.
After entering the Application details, you need to select the Image check box placed on the top of Fax Image container. By doing so the system will automatically associate the current image with the application and save it along with the other application details. Also the image will no longer be available in the container since the container only holds those images which are not associated with any application.
6.15 Review Request
The Review Request tab facilitates to flag an Application for the attention of another Oracle Financial Services Lending and Leasing user and ask for review / feedback. It allows the system users to send and receive requests (including e-mail) commenting on a specific account or application. The Review Request tab supports iterative review of selected Application and also to process the review with multiple reviewers.
For detailed information on using this feature, refer to ‘Review Request’ section in Underwriting chapter of the document.