20 Partial server outage with one NOAM server intact and both SOAMs failed- Recovery Scenario 5.1.2
For a partial server outage with an NOAM server intact and available; SOAM servers are recovered using recovery procedures for software and then executing a database restore to the active SOAM server using a database backup file obtained from the SOAM servers. All other servers are recovered using recovery procedures for software. Database replication from the active NOAM server will recover the database on these servers. The major activities are summarized in the list below. Use this list to understand the recovery procedure summary. Do not use this list to run the procedure. The actual procedures’ detailed steps are in Procedure 6. The major activities are summarized as follows:
Recover Standby NOAM server (if needed) by recovering software and the database.
- Recover the software.
- Recover the Database.
- Recover the software.
- The database has already been restored at the active SOAM server and does not require restoration at the SO and MP servers.
This procedure performs recovery if at least 1 NOAM server is available but all SOAM servers in a site have failed. This includes any SOAM server that is in another location.
Check off () each step as it is completed. Boxes have been provided for this purpose under each step number.
If this procedure fails, contact My Oracle Support (MOS), and ask for assistance.
Table 20-1 Procedure 6
| Step # | Procedure | Description |
|---|---|---|
| 1 | Workarounds | Refer to Workarounds for Issues not fixed in this Release to understand any workarounds required during this procedure. |
| 2 | Gather Required Materials |
Gather the documents and required materials listed in Section 3.1 Required Materials |
| 3 | NOAM VIP GUI: Login |
Establish a GUI session on the NOAM server by using the VIP IP address of the NOAM server. Open the web browser and enter a URL of: Figure 20-1 NOAM GUID login  |
| 4 | Active NOAM: Set Failed Servers to OOS |
Navigate to Main Menu -> Status & Manage -> HA
Figure 20-2 Server  Select Edit Set the Max Allowed HA Role drop down box to OOS for the failed servers. Select Ok Figure 20-3 Cancel  |
| 5 | Create VMs Recover the Failed Software |
For VMWare based deployments:
For KVM/Openstack based deployments:
For OVM-S/OVM-M based deployments: Run the following procedures from reference [1]:
Note: While executing Procedure 8, configure the required failed VMs only (NOAMs/SOAMs/MPs) |
| 6 | Repeat for Remaining Failed Servers |
If necessary, repeat step 5 for all remaining failed servers. |
| 7 | NOAM VIP GUI: Login |
Establish a GUI session on the NOAM server by using the VIP IP address of the NOAM server. Open the web browser and enter a URL of: Figure 20-4 NOAM GUI VIP login  |
| 8 | NOAM VIP GUI: Recover Standby NOAM |
Install the second NOAM server by executing procedures from reference [1]: Procedure 15 “Configure the Second NOAM Server” steps 1, 3-7 Procedure 16 “Complete Configuring the NOAM Server Group” Step
4
Note: If Topology or nodeId alarms are persistent after the database restore, refer to Workarounds for Issues not fixed in this Release or the next step below. |
| 9 | NOAM VIP GUI: Restart DSR application |
Navigate to Main Menu->Status & Manage->Server, Figure 20-5 status and manage server  Select the recovered standby NOAM server and click on Restart. Figure 20-6 Restart  |
| 10 | NOAM VIP GUI: Set HA on Standby NOAM |
Navigate to Status & Manage -> HA Figure 20-7 HA  Click on Edit at the bottom of the screen. Select the standby NOAM server, set it to Active Press OK |
| 11 | NOAM VIP GUI: Stop Replication to the C- Level Servers of this Site. |
Inhibit Replication to the working C Level Servers which belong to the same site as the failed SOAM servers, as the recovery of Active SOAM will cause the database wipeout in the C level servers because of the replication Figure 20-8 Warning  If the spare SOAM is also present in the site and lost: Inhibit A and B Level Replication on C-Level Servers (When Active, Standby and Spare SOAMs are lost.) If the spare SOAM is NOT deployed in the site: Run Inhibit A and B Level Replication on C-Level Servers. |
| 12 | NOAM VIP GUI: Recover Active SOAM Server |
Install the SOAM servers by executing procedure from reference [1]: Procedure 22 “Configure the SOAM Servers”, steps 1, 3- 7 Note: Wait for server to reboot before continuing. |
| 13 | NOAM VIP GUI: Set HA on Active SOAM |
Navigate to Status & Manage -> HA Figure 20-9 HA 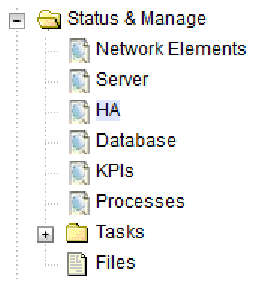 Click on Edit at the bottom of the screen. Select the Active SOAM server, set it to Active Press OK |
| 14 | NOAM VIP GUI: Restart DSR application |
Navigate to Main Menu->Status & Manage->Server, Figure 20-10 Server  Select the recovered Active SOAM server and click on Restart. Figure 20-11 Restart  |
| 15 | NOAM VIP GUI: Upload the backed up SOAM Database file |
Navigate to Main Menu->Status & Manage->Files Figure 20-12 Files  Select the Active SOAM server. The following screen will appear: Figure 20-13 Status and manage files 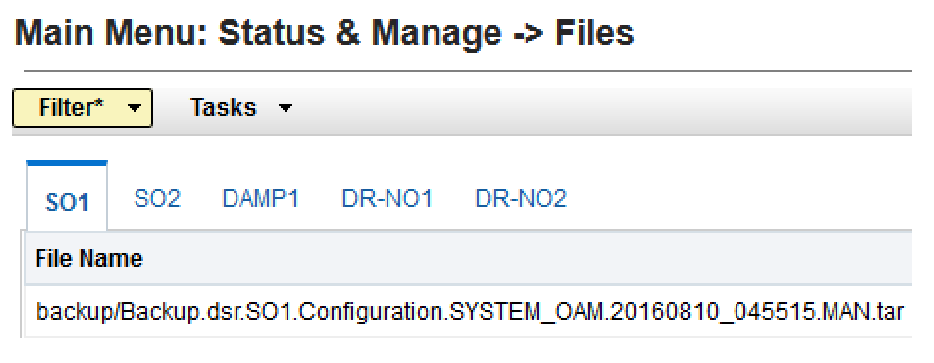 Click on Upload as shown below and select the file “NO Provisioning and Configuration:” file backed up after initial installation and provisioning. Figure 20-14 Upload 
Figure 20-15 File browse 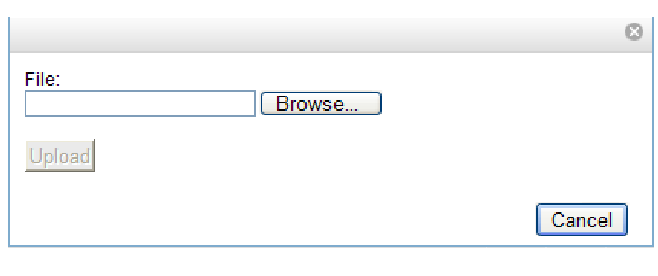 Click on the Upload button. The file will take a few seconds to upload depending on the size of the backup data. The file will be visible on the list of entries after the upload is complete. |
| 16 | Recovered SOAM GUI: Login |
Establish a GUI session on the recovered SOAM server. Open the web browser and enter a URL of: Figure 20-16 NOAM GUID ADMIN 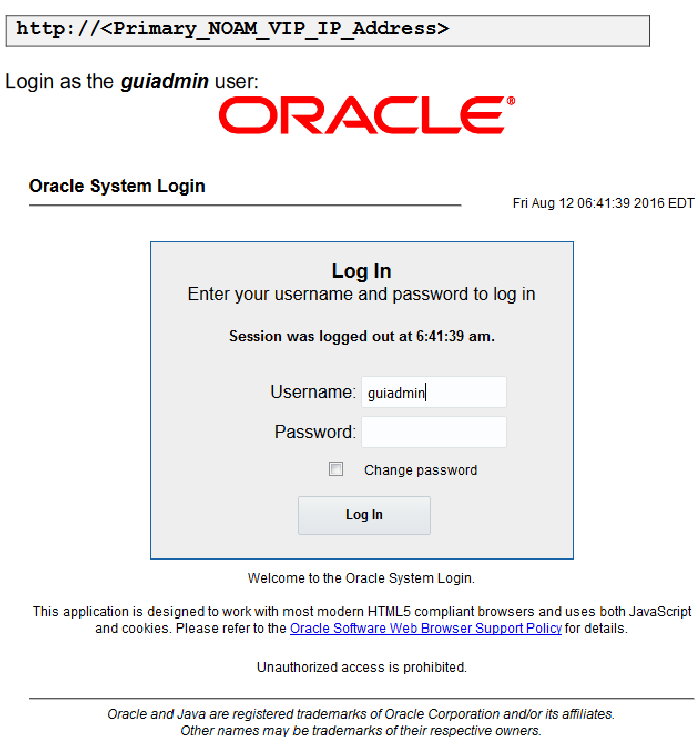 |
| 17 | Recovered SOAM GUI:R Verify the Archive Contents and Database Compatibility |
Navigate to Main Menu->Status & Manage->Database Select the Active SOAM server and click on the Compare. Figure 20-17 Compare Figure 20-18 Database compare 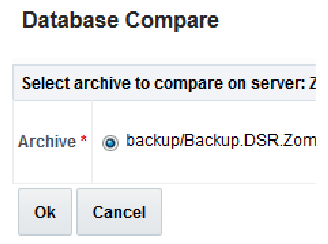 Verify that the output window matches the screen below. Note: You will get a database mismatch regarding the NodeIDs of the VMs. That is expected. If that is the only mismatch, proceed, otherwise stop and contact My Oracle Support (MOS).Figure 20-19 Database Archive Compare 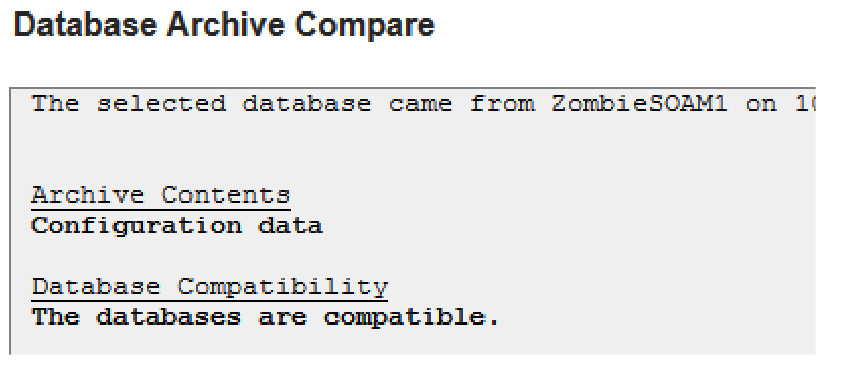 Note: Archive Contents and Database Compatibilities must be the following:Archive Contents: Configuration data Database Compatibility: The databases are compatible.
Note: The following is expected Output for Topology Compatibility Check since we are restoring from existing backed up data base to database with just one SOAM:Topology Compatibility THE TOPOLOGY SHOULD BE COMPATIBLE MINUS THE NODEID. Note: We are trying to restore a backed up database onto an empty SOAM database. This is an expected text in Topology Compatibility. If the verification is successful, Click BACK button and continue to next step in this procedure. |
| 18 | Recovered SOAM GUI: Restore the Database |
Click on Main Menu->Status & Manage->Database Select the Active SOAM server, and click on Restore as shown below. The following screen will be displayed. Select the proper back up
provisioning and configuration file.
Figure 20-20 Database compare 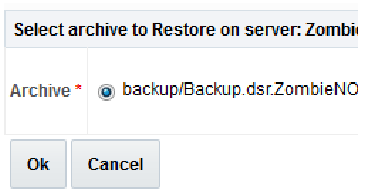 Click OK Button. The following confirmation screen will be displayed. Note: You will get a database mismatch regarding the NodeIDs of the servers. That is expected. If that is the only mismatch, proceed, otherwise stop and contact My Oracle Support (MOS).Select the Force check box as shown above and Click OK to proceed with the DB restore Figure 20-21 Database reconfirm 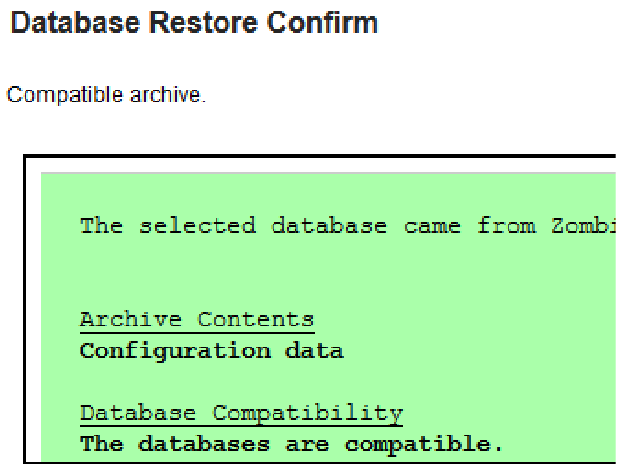 Note: After the restore has started, the user will be logged out of XMI SOAM GUI since the restored Topology is old data. The provisioning will be disabled after this step. |
| 19 | Recovered SOAM GUI: Monitor and Confirm database restoral |
Wait for 5-10 minutes for the System to stabilize with the new topology: Monitor the Info tab for “Success”. This will indicate that the backup is complete and the system is stabilized. Note: Do not pay attention to alarms until all the servers in the system are completely restored.Note: The Configuration and Maintenance information will be in the same state it was backed up during initial backup. |
| 20 | NOAM VIP GUI: Recover remaining SOAM Server |
Install the SOAM servers by executing procedure from reference [1]: Procedure 22 “Configure the SOAM Servers”, steps 1, 3-
6
Note: Wait for server to reboot before continuing. |
| 21 | NOAM VIP GUI: Start replication on the recovered SOAMs |
Un-Inhibit (Start) Replication to the recovered SOAM servers Navigate to Status & Manage -> Database Figure 20-22 Database 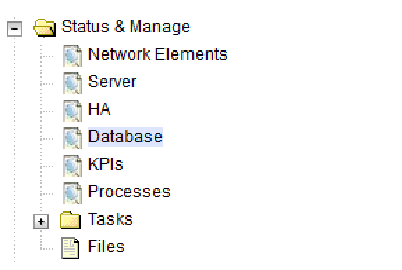 Click on the Allow Replication button as shown below on the recovered SOAM servers. Verify that the replication on all SOAMs servers is allowed. This can be done by checking 'Repl status' column of respective server. |
| 22 | Recovered Server: Sync NTP |
Navigate to Status & Manage -> Server Figure 20-23 Status and manage server 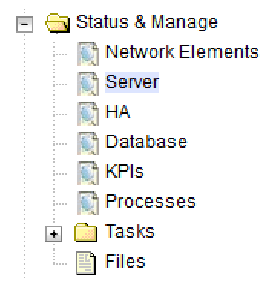 Select the Recovered server and click NTP Sync button
Figure 20-24 NTP sync  Click OK Figure 20-25 NTP Sync Server  |
| 23 | NOAM VIP GUI: Set HA on SOAM Servers |
Figure 20-26 HA  Click on Edit at the bottom of the screen For each SOAM server whose Max Allowed HA Role is set to Standby, set it to Active Press OK |
| 24 | NOAM VIP GUI: Restart DSR application |
Navigate to Main Menu->Status & Manage->Server, Figure 20-27 Server  Select the recovered server and click on Restart. Figure 20-28 NTP Sync  |
| 25 | SOAM GUI: Enable Provisioning |
Click on Main Menu->Status & Manage->Database Figure 20-29 Database  Enable Provisioning by clicking on Enable Site Provisioning button at the bottom of the screen as shown below. Figure 20-30 Enable site provisioning  A confirmation window will appear, press OK to enable Provisioning. |
| 26 | NOAM VIP GUI: Start Replication on working C-Level Servers |
Un-Inhibit (Start) Replication to theworking C-Level Servers which belong to the same site as of the failed SOAM servers. If the spare SOAM is also present in the site and lost: Run Un-Inhibit A and B Level Replication on C-Level Servers (When Active, Standby and Spare SOAMs are lost) If the spare SOAM is NOT deployed in the site: Run Un-Inhibit A and B Level Replication on C-Level Servers Navigate to Main Menu->Status & Manage->Database If the “Repl Status” is set to “Inhibited”, click on the Allow Replication button as shown below using the following order, otherwise if none of the servers are inhibited, skip this step and continue with the next step: Active NOAM Server Standby NOAM Server Active SOAM Server Standby SOAM Server Spare SOAM Server (if applicable) MP/IPFE Servers SBRS (if SBR servers are configured, start with the active SBR, then standby, then spare) Verify that the replication on all the working servers is allowed. This can be done by examining the Repl Status table as seen below: Figure 20-31 REPL Status 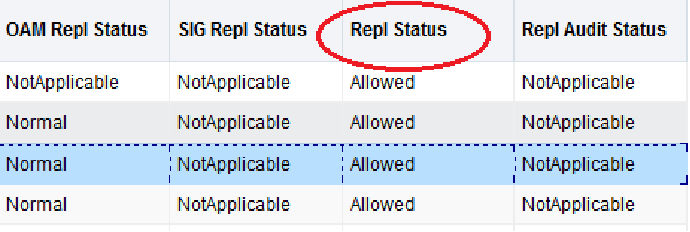 |
| 27 | NOAM VIP GUI: Recover the C-Level Server (DA- MP, SBRs, IPFE, vSTP-MP) |
Establish a SSH session to the C Level server being recovered, login as admusr. Run the following command to set shared memory to unlimited: Figure 20-32 Shared memory  Run the following procedures from [1] FOR EACH server that has been recovered: Procedure 25 “Configure the MP Virtual Machines”, Steps 1, 8-14 (& 15 if required). |
| 28 | NOAM VIP GUI: Start replication on ALL C- Level Servers |
Un-Inhibit (Start) Replication to the ALL C-Level Servers Navigate to Status & Manage -> Database Figure 20-33 Database  If the “Repl Status” is set to “Inhibited”, click on the Allow Replication button as shown below using the following order: Active NOAM Server Standby NOAM Server Active SOAM Server Standby SOAM Server Spare SOAM Server (if applicable) MP/IPFE Servers Verify that the replication on all the working servers is allowed. This can be done by examining the Repl Status table as seen below: Figure 20-34 Repl status  |
| 29 | NOAM VIP GUI: Set HA on all C-Level Servers |
Navigate to Status & Manage -> HA Figure 20-35 HA  Click on Edit at the bottom of the screen. For each server whose Max Allowed HA Role is set to Standby, set it to Active. PressOK |
| 30 | ACTIVE NOAM: Perform key exchange between the active- NOAM and recovered servers. |
Establish an SSH session to the Active NOAM, login as admusr. Run the following command to perform a keyexchange from the active NOAM to each recovered server: Figure 20-36 Key exchange Note: If an export server is configured, perform this step. |
| 31 | ACTIVE NOAM: Activate Optional Features |
Establish an SSH session to the active NOAM, login as admusr. Note:
Refer to section 1.5 Optional Features to activate any features that were previously activated. |
| 32 | NOAM VIP GUI: Fetch and Store the database Report for the Newly Restored Data and Save it |
Navigate to Main Menu->Status & Manage->Database Figure 20-37 Database  Select the active NOAM server and click on the Report button at the bottom of the page. The following screen is displayed: Figure 20-38 Main Menu status and Manage 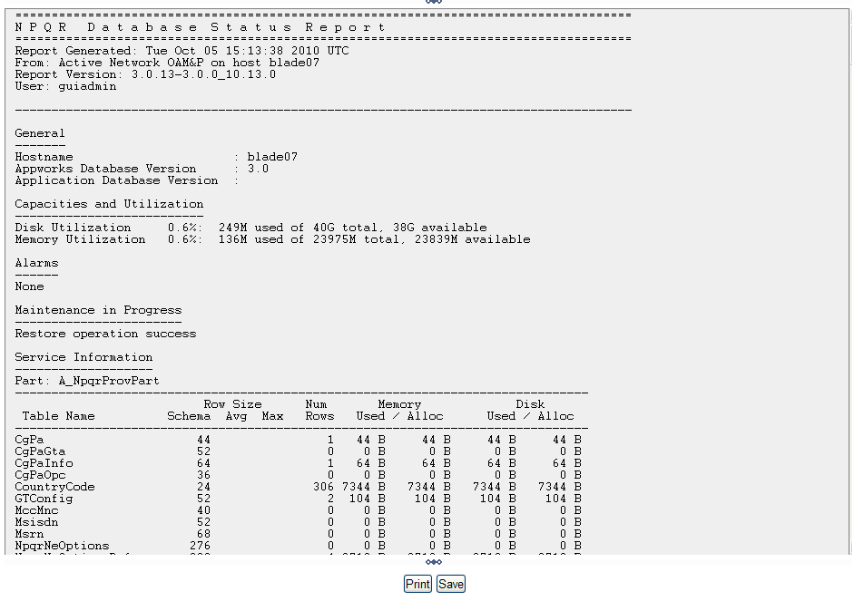 |
| 33 | ACTIVE NOAM: Verify Replication Between Servers. |
Figure 20-39 command 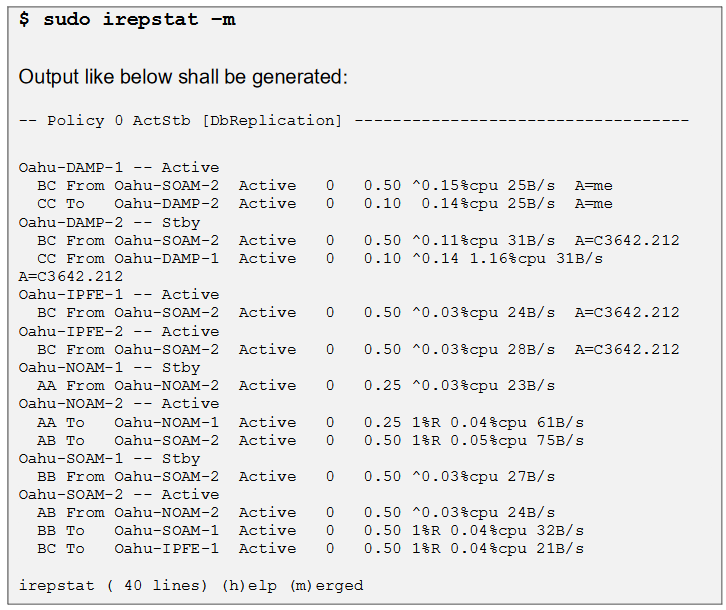 |
| 34 | NOAM VIP GUI: Verify the Database states |
Click on Main Menu->Status and Manager->Database Figure 20-40 Database  Verify that the “OAM Max HA Role” is either “Active” or “Standby” for NOAM and SOAM and “Application Max HA Role” for MPs is “Active”, and that the status is “Normal” as shown below: Figure 20-41 Manage database  |
| 35 | NOAM VIP GUI: Verify the HA Status |
Click on Main Menu->Status and Manage->HA Figure 20-42 HA  Select the row for all of the servers Verify that the “HA Role” is either “Active” or “Standby”. Figure 20-43 HA Role  |
| 36 | SOAM VIP GUI: Verify the Local Node Info |
Navigate to Main Menu->Diameter->Configuration->Local Node Figure 20-44 Local nodes 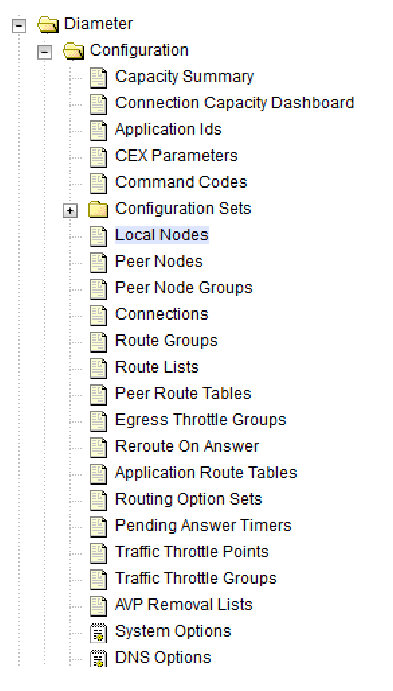 Verify that all the local nodes are shown. |
| 37 | SOAM VIP GUI: Verify the Peer Node Info |
Navigate to Main Menu->Diameter->Configuration->Peer Node Figure 20-45 Peer node 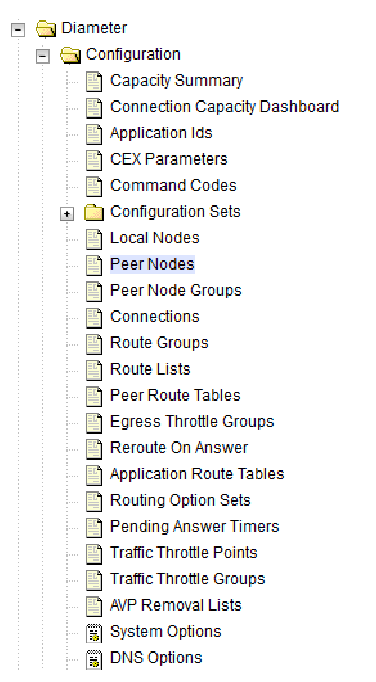 Verify that all the peer nodes are shown. |
| 38 | SOAM VIP GUI: Verify the Connection s Info |
Navigate to Main Menu->Diameter->Configuration->Connections Figure 20-46 Connections  Verify that all the connections are shown. |
| 39 | For vSTP Only- SOAM VIP Server Console (Optional): Verify the local nodes info |
To verify the vSTP MP Local nodes info:
Figure 20-47 output  |
| 40 | For vSTP Only- SOAM VIP Server Console (Optional): Verify the remote nodes info |
To verify the vSTP MP Remote nodes info:
Figure 20-48 output  |
| 41 | For vSTP Only- SOAM VIP Server Console (Optional): Verify the Connection s info |
To verify the vSTP MP Connections info:
Figure 20-49 output 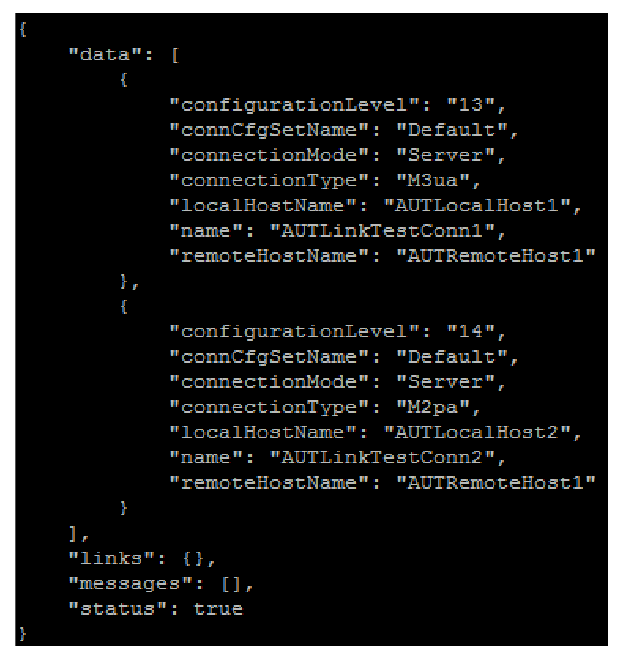 |
| 42 | MP Servers: Disable SCTP Auth Flag |
For SCTP connections without DTLS enabled, refer to Enable/Disable DTLS procedure from reference [1]. Run following procedure on all Failed MP Servers. |
| 43 | SOAM VIP GUI: Enable Connection s if needed |
Navigate to Main Menu->Diameter->Maintenance->Connections Figure 20-50 Connections  Select each connection and click on the Enable button. Alternatively you can enable all the connections by selecting the EnableAll button. Figure 20-51 Enable  Verify that the Operational State is Available. |
| 44 | SOAM VIP GUI: Enable Optional Features |
Figure 20-52 Applications  Select the optional feature application configured in step 29. Click the Enable button. |
| 45 | SOAM VIP GUI:Re- enable Transports if Needed |
Navigate to Main Menu->Transport Manager -> Maintenance -> Transport Figure 20-53 Transport 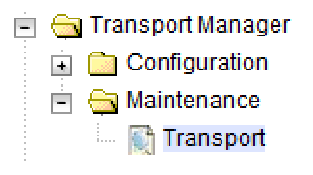 Select each transport and click on the Enable button
Figure 20-54 Enable button  Verify that the Operational Status for each transport is Up. |
| 46 | SOAM VIP GUI: Re- enable MAPIWF application if needed |
Navigate to Main Menu->Sigtran->Maintenance->Local SCCP Users Figure 20-55 Local SCCP users 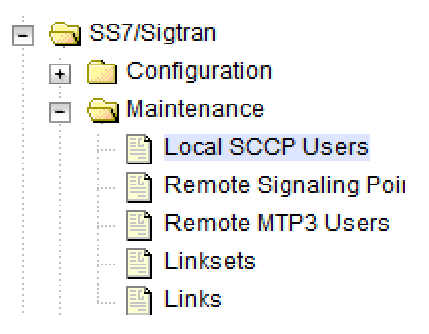 Click on the Enable button corresponding to MAPIWF Application Name. Figure 20-56 Enable disable  Verify that the SSN Status is Enabled. |
| 47 | SOAM VIP GUI: Re- enable links if needed |
Navigate to Main Menu->Sigtran->Maintenance->Links Figure 20-57 Links 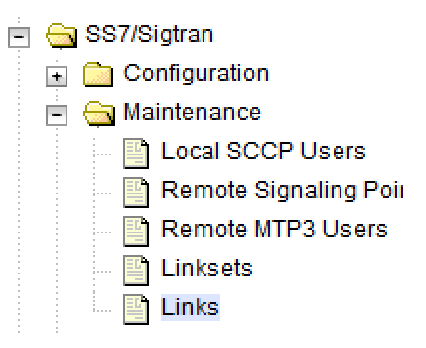 Click on Enable button for each link. Figure 20-58 Enable  Verify that the Operational Status for each link is Up. |
| 48 | SOAM VIP GUI: Examine All Alarms |
Navigate to Main Menu->Alarms & Events->View Active Figure 20-59 View Active 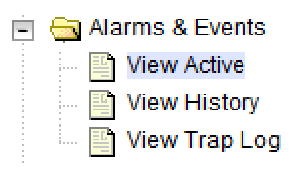 Examine all active alarms and refer to the on-line help on how to address them. If needed contact My Oracle Support (MOS) |
| 49 | SOAM VIP GUI: Perform Keyexchan ge with Export Server |
Navigate to Main Menu -> Administration -> Remote Servers -> Data Export Figure 20-60 Data export 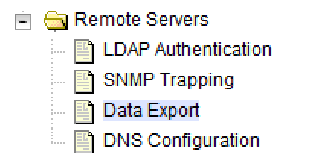 Click on Key Exchange at the bottom of the screen. Enter the Password and press OK Figure 20-61 Key Exchange 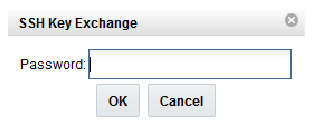 |
| 50 | NOAM VIP GUI: Examine All Alarms |
Login to the NOAM VIP if not already logged in. Navigate to Main Menu->Alarms & Events->View Active Figure 20-62 View active  Examine all active alarms and refer to the on-line help on how to address them. If needed contact My Oracle Support (MOS). |
| 51 | Backup and Archive All the Databases from the Recovered System |
Run DSR Database Backup to back up the Configuration databases: |