- DSR Cloud Installation Guide
- Application Configuration
- Post iDIH Installation Configuration
- iDIH Configuration to Configure the SSO Domain
5.13.3 iDIH Configuration to Configure the SSO Domain
This procedure configures the SSO domain for iDIH.
- Establish a GUI session on the NOAM server by using the VIP IP address of the
NOAM server. Open the web browser and type
https://<Primary_NOAM_VIP_IP_Address>as the URL. Log in as the admusr user. - In NOAM VIP GUI, configure DNS.
- Navigate to Administration, and then Remote Servers, and then DNS Configuration.
- Select the NOAM tab.
- Configure values for the following fields:
Domain Name
Name Server
Search Domain 1
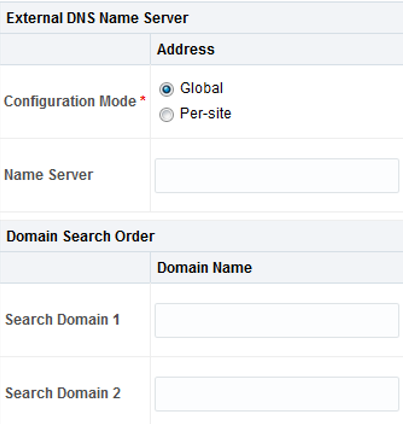
- If values have already been configured, click Cancel. Otherwise configure the values and click OK.
- In NOAM VIP GUI, establish SSO local zone.
- Navigate to Access Control, and then Certification Management.
- Click Establish SSO Zone.
- Type a value for Zone Name.
- Click OK.
Information for the new certificate type of SSO local displays.
- Click Report.
The Certificate Report appears.
- Select and copy the encoded certificate text to the clipboard for future
access.
Example of Certificate Report:
-----BEGIN CERTIFICATE-----
MIICKzCCAdWgAwIBAgIJAOVfSLNc3CeJMA0GCSqGSIb3DQEBCwUAMHExCzAJBgNVBAYTAlVTMQswCQYDVQQIDAJOQzEQMA4GA1UEBwwHUmFsZWlnaDEPMA0GA1UECgwGT3JhY2xlMQswCQYDVQQLDAJQVjEQMA4GA1UEAwwHTGliZXJ0eTETMBEGCSqGSIb3DQEJARYEdGVzdDAeFw0xNTA1MDQxNDIzNTRaFw0xNjA1MDMxNDIzNTRaMHExCzAJBgNVBAYTAlVTMQswCQYDVQQIDAJOQzEQMA4GA1UEBwwHUmFsZWlnaDEPMA0GA1UECgwGT3JhY2xlMQswCQYDVQQLDAJQVjEQMA4GA1UEAwwHTGliZXJ0eTETMBEGCSqGSIb3DQEJARYEdGVzdDBcMA0GCSqGSIb3DQEBAQUAA0sAMEgCQQCZ/MpkhlvMP/iJs5xDO2MwxJm3jYim43H8gR9pfBTMNP6L9kluJYi+2T0hngJFQLpIn6SK6pXnuAGYf/vDWfqPAgMBAAGjUDBOMB0GA1UdDgQWBBS6IzIOLP1gizQ6+BERr8Fo2XyDVDAfBgNVHSMEGDAWgBS6IzIOLP1gizQ6+BERr8Fo2XyDVDAMBgNVHRMEBTADAQH/MA0GCSqGSIb3DQEBCwUAA0EAOwIqBMEQyvfvt38r/yfgIx3w5dN8SBwHjHC5TpJrHV6UzFlg5dfzoLz7ditjGOhWJ9l9VRw39LQ8lKFp7SMXwA==
-----END CERTIFICATE-----
- Log in to iDIH Application server GUI.
- Establish a GUI session on the iDIH application server,
using the xmi IP address
https://<app server IP> - Log in as the idihadmin user.
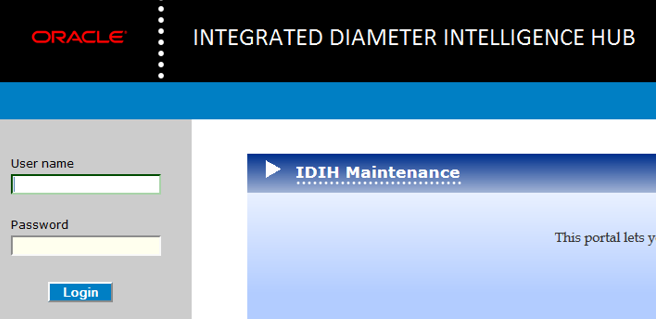
- Establish a GUI session on the iDIH application server,
using the xmi IP address
- In iDIH Application server GUI, launch the OAM portal.Navigate to the OAM portal icon to start the OAM web application.
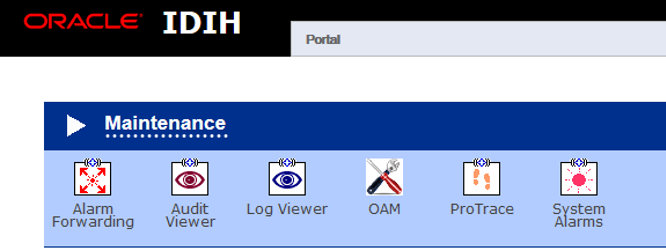
- In iDIH Application server GUI, configure the SSO domain.
- Navigate to System, and then Single Sign On.

- Select SSO Parameters tab.
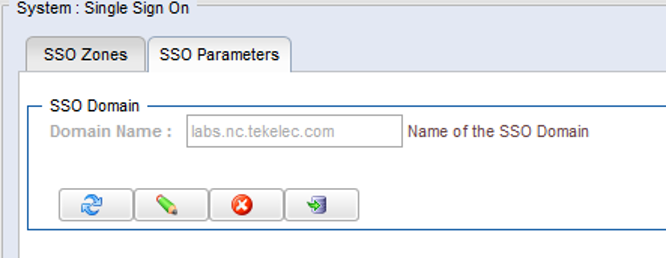
- Click Edit Value icon.
- Type a value for the Domain Name.
Note:
This should be the same domain name assigned in the DSR NOAM DNS Configuration (step 2). - Click Save icon.
- Click Refresh icon to display data saved for the remote zone.
- Navigate to System, and then Single Sign On.
- In iDIH Application server GUI, configure the SSO Remote Zone.
- Navigate to System, and then Single Sign On.
- Select SSO Zones tab.
- Click Add icon.
- Type a value for field Remote Name.
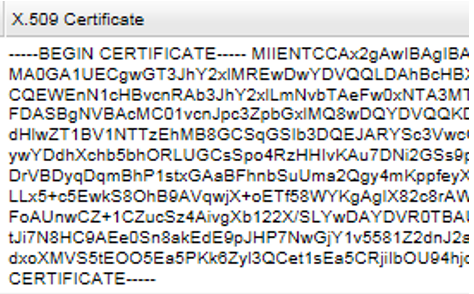
- For field X.509 Certificate, paste the encoded certificate text from the
clipboard that was previously copied from the DSR NOAM.
- Click Save.
- Click Refresh to display data saved for the remote zone.