3.2 Disable Global Provisioning or PDB Relay Verification
Perform the following steps on Primary NOAM VIP to disable
global provisioning at the Primary NOAM GUI.
- Launch an HTML5 compliant browser and connect to the
XMI Virtual IP address (VIP) assigned to Primary Active
NOAM site.
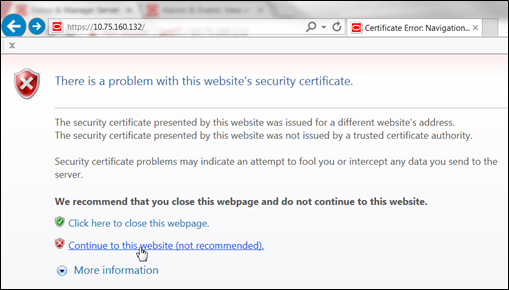
If a Certificate Error is received, click on Continue to this website (not recommended) link.The login screen appears.
Figure 3-4 Certificate Error
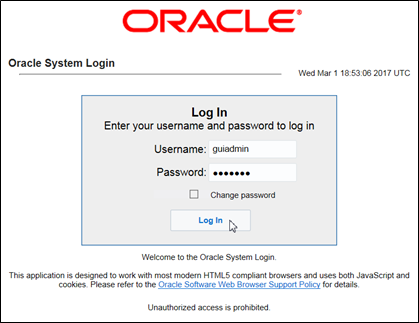
- Log in to the GUI using a User account with Administrator
privileges.
Figure 3-5 Login Screen
The Product Main Menu appears.
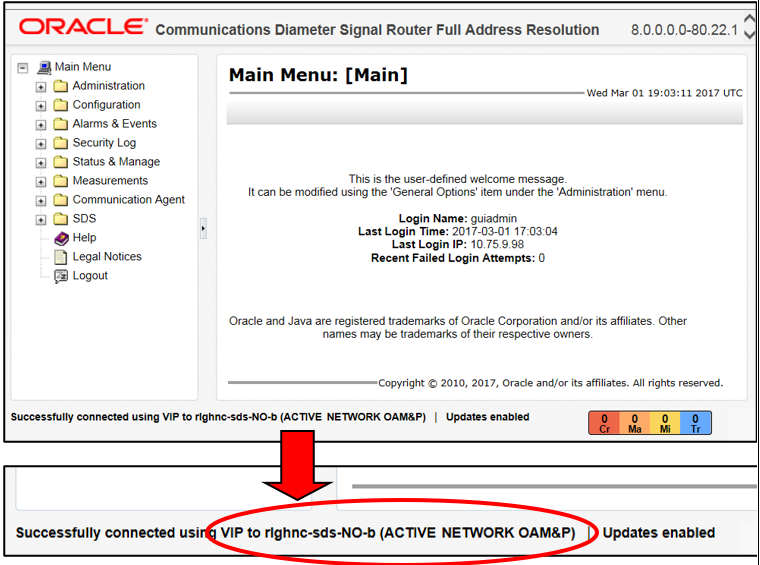
- Verify if the message shown at the bottom of the panel indicates
that the browser is using VIP to connect to the ACTIVE
NETWORK OAM&P.
Figure 3-6 Main Menu
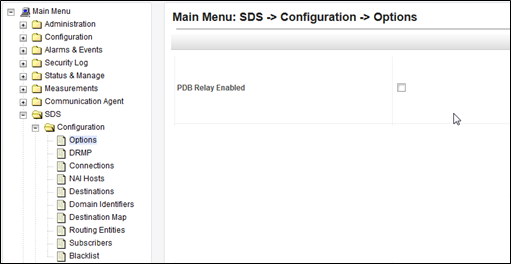
- To disable PDB Relay, go to . Then, uncheck PDB Relay Enabled.
Click Apply.
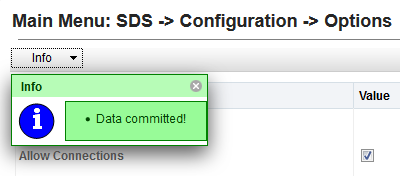
Figure 3-7 Main Menu - Options
The following confirmation message appears.
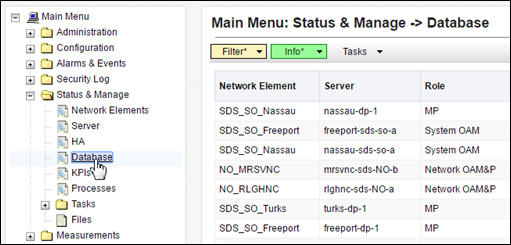
- Go to .
Figure 3-8 Main Menu - Database
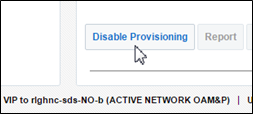
- Select the Disable Provisioning dialogue
button at the bottom of the right panel.
Click OK on the pop-up confirmation dialogue box.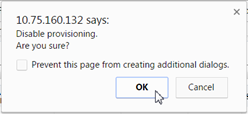
A Warning banner message appears indicating that “Global Provisioning has been manually disabled”.

Note:
- Event(s) 10008 appearing at this time can be ignored.
- For DSR systems, return to NOAM Failover Process Flowchart for next steps.
- For SDS systems only, continue with the next steps in this procedure:
- Access the command prompt (CLI).
- Log in to the server as the admusr
user.
rlghnc-sds-NO-b login: admusr Password: <admusr_password>The following output appears as the server returns to a command prompt.Note:
The password will not appear on the screen when you type the characters.*** TRUNCATED OUTPUT ***
RUNID=00 VPATH=/var/TKLC/rundb:/usr/TKLC/appworks:/usr/TKLC/awpcommon:/usr/TKLC/comagent-gui:/usr/TKLC/comagent-gui:/usr/TKLC/comagent:/usr/TKLC/sds PRODPATH=/opt/comcol/prod [admusr@rlghnc-sds-NO-b ~]$ - Confirm that you are connected to the
Primary Active NOAM Server which is
indicated as VIP
Active.
[admusr@rlghnc-sds-NO-b ~]$ hostname rlghnc-sds-NO-b [admusr@rlghnc-sds-NO-b ~]$ ha.mystate -i |grep VIP VIP Act/Act rlghnc-sds-NO-b 0 0302:235736.946 [admusr@rlghnc-sds-NO-b ~]$ - Verify the value for pdbRelayEnabled.
[admusr@rlghnc-sds-NO-b ~]$ iqt -zhp -fvalue ProvOptions where "var='pdbRelayEnabled'"
TRUE
[admusr@rlghnc-sds-NO-b ~]$
Note:
- If the value is false, then this procedure has been completed. Hence, return to figure 1 for next steps.
- If the value is true, then continue with further steps of this procedure.
- Retrieve the pdbRelay
timestamp.
Record the value for the pdbRelay timestamp retrieved in the previous step.[admusr@rlghnc-sds-NO-b ~]$ iqt -zhp -fvalue ProvOptions where "var='pdbRelayMsgLogTimeStamp'" 1524776142883 [admusr@rlghnc-sds-NO-b ~]$pdbRelayMsgLogTimeStamp:Note:
Wait for 30 seconds before executing the next step. - Retrieve the pdbRelay timestamp
again.
Record the value for the pdbRelay timestamp retrieved in the previous step.[admusr@rlghnc-sds-NO-b ~]$ iqt -zhp -fvalue ProvOptions where "var='pdbRelayMsgLogTimeStamp'" 1524776142883 [admusr@rlghnc-sds-NO-b ~]$pdbRelayMsgLogTimeStamp:
Note:
- Ensure that the time stamps recorded in last two steps are an exact match.
- If the values do not match, repeat the last two steps.
- Do not return to NOAM Failover Process Flowchart until both the time stamps recorded match.