3.1 Exporting Alarms
- Launch an HTML5 compliant browser and connect to the XMI
Virtual IP address (VIP) assigned to Primary Active NOAM site.
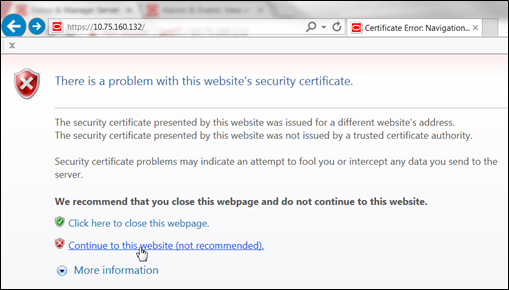
If a Certificate Error is received, click on Continue to this website (not recommended) link.
Figure 3-1 Certificate Error
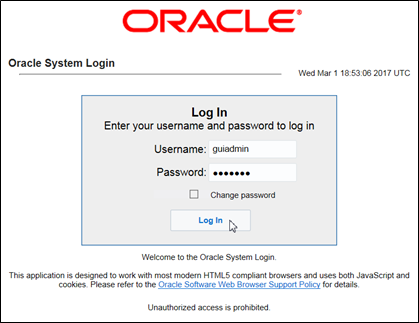
The login screen appears.
- Log in to the GUI using a User account with Administrator
privileges.
Figure 3-2 Login Screen
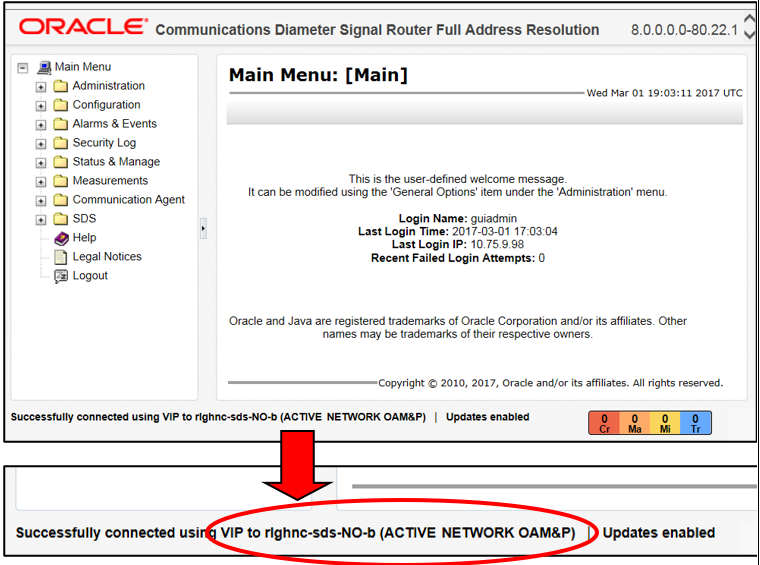
The Product Main Menu appears.
- Verify that the message shown at the bottom of the panel
indicates that the browser is using the “VIP” to connect to the
ACTIVE NETWORK OAM&P.
Figure 3-3 Main Menu
- Navigate to Main Menu, then
Alarm & Events, and then to View
Active.

- Select the Export dialogue button from the bottom left
corner of the screen.

- Click Ok displayed at the bottom of the screen.

The name of the exported Alarms CSV file appears in the banner under Tasks at the top of the right panel.
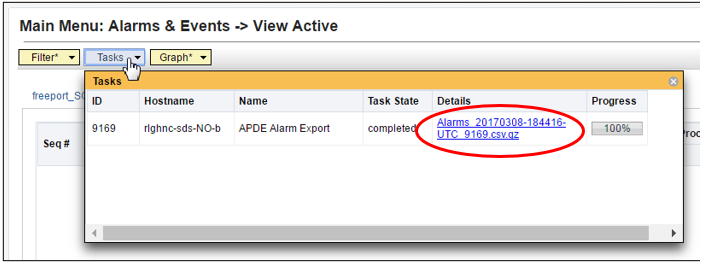
Note:
Depending on the product version, the user may have to click Tasks in the banner in order to see the output dialogue box. - Record the filename of Alarms CSV file generated in the space
provided on the right.
Example:
Alarms_<yyyymmdd> - <hhmmss> -
                                <TimeZone>_<Task_ID>.csv.gz
Note:
Depending on the product version, the file suffix may vary (csv, csv.gz, so on). - Click Report at the bottom of the
screen.

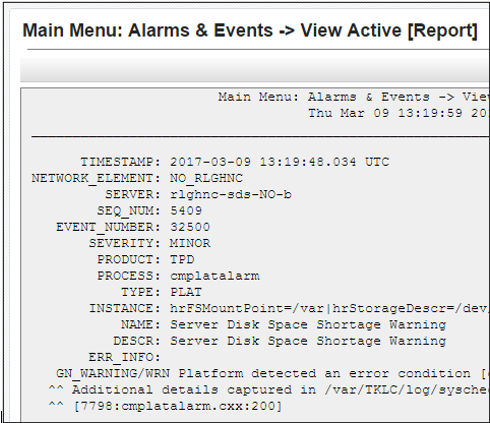
An Alarms & Events Report is generated in the right panel displaying all the Active alarms.
- Click Save.

Depending on the web browser, a Save.

- If the pop-up box appears, click Save or
Save File.
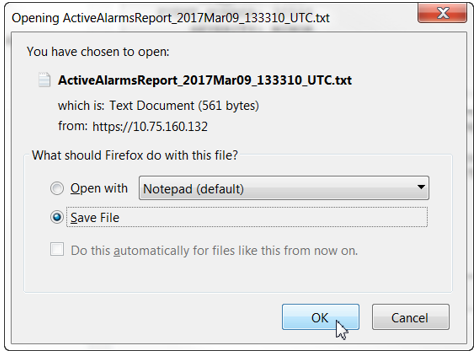
- Select a directory on the local disk drive to store the Active Alarms & Events Report file and click Save.
Note:
This procedure has been completed. Return to Figure 2-1.