- Subscriber Data Server Cloud Installation Guide
- Configuration Procedures
- OAM Pairing for DR SDS NOAM Site (Optional)
3.5 OAM Pairing for DR SDS NOAM Site (Optional)
During the OAM pairing procedure, various errors may display at different
stages of the procedure. While executing a step, ignore errors related to values other
than those referenced by that step.
Pairing the DR OAM Servers (DR SDS NOAM Site Only)
- To launch a web browser, in Primary SDS VIP, connect to the XMI virtual
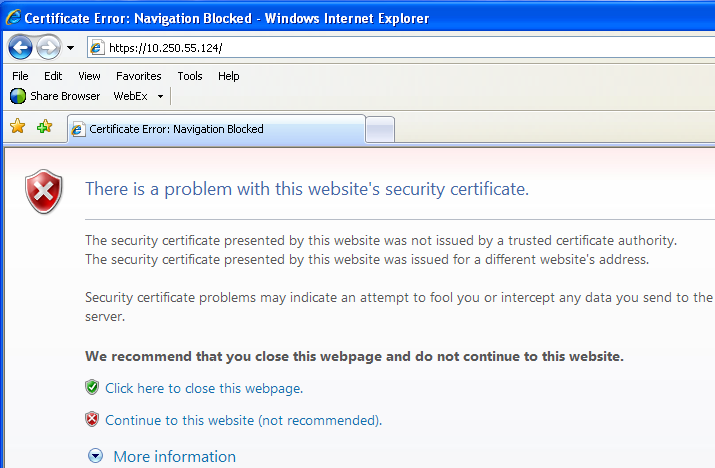
IP address assigned to Primary SDS NOAM-A site using https://xx.xxx.xx.xxx/If the Security Certificate Warning screen displays, click Continue to this website (not recommended).
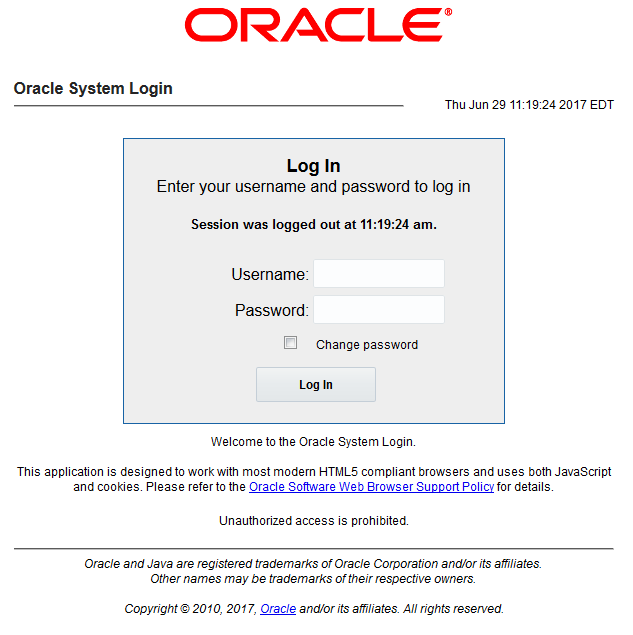
- To login, in Primary SDS VIP, establish a GUI session as the default
user.
- To enter group data, in DR SDS NOAM-A, perform the following
steps:
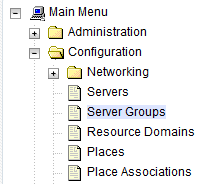
- Navigate to Configuration, select
Server Groups.
- Click Insert.
- Fill in the following fields:
- Server Group Name: [Enter DR Server Group Name]
- Level: A
- Parent: None
- Function: SDS
- WAN Replication Connection Count: Use Default Value
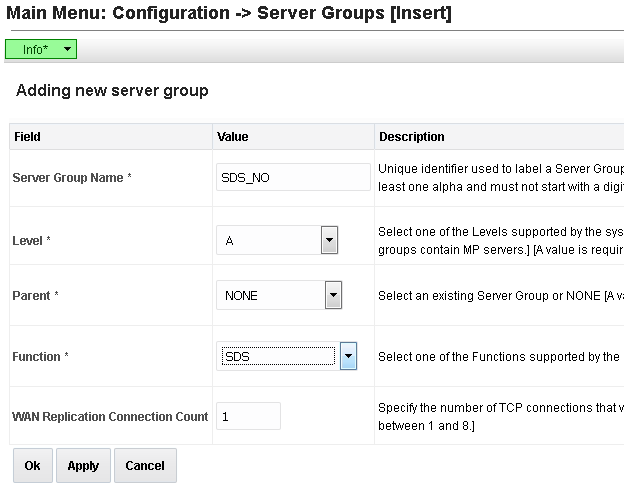
- Click OK, once all fields are entered.
- Navigate to Configuration, select
Server Groups.
- To add server to OAM Server Group, in DR SDS NOAM-A, perform the
following steps:
- Select the new server group and click
Edit.

- In the window where the servers for the server group are
listed, find the Query server being configured and select
Include in SG checkbox.
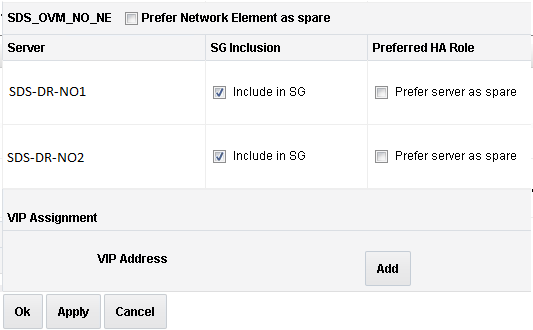
- Retain other boxes unchecked.
- Click Apply.
- Select the new server group and click
Edit.
- To add VIP address, in DR SDS NOAM-A, perform the following steps:
- Click Add.
- Enter VIP Address and click
Apply.
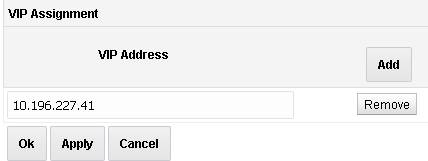
This process takes a minimum duration of five minutes, depending on the underlying infrastructure. The server pairs within the server group and establishes a master/slave relationship for High Availability (HA).
- To verify and restart the servers, in DR SDS VIP, perform the following
steps:
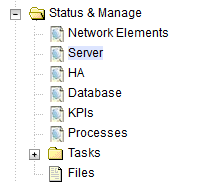
- Navigate to Status & Manage,
select Server.
- Verify the DB status is Norm, and the Proc status is
Man.

- Select the SDS NOAM-A server and click Restart.
- Click OK on the confirmation
screen.
A confirmation banner displays.

- Verify the Appl state is Enabled and the DB and
Reporting Status is Norm.

Note:
To refresh the server status screen before the default time of 15-30 seconds, navigate to Status& Manage, select Server screen again.
- Navigate to Status & Manage,
select Server.
- Repeat the above steps of this procedure to configure SDS NOAM-B in
DR SDS NOAM-B.This process takes at least five minutes, depending on the underlying infrastructure. The server pairs within the server group and establishes a master/slave relationship for High Availability (HA).
3.5 Verifying SDS Server Alarm Status
- To establish GUI session on the NOAM VIP, in SDS VIP, perform the
following steps:
- Establish a GUI session on the NOAM by using the NOAM VIP address.
- Login as the guiadmin user.

- Wait for remote database alarm to clear, in SDS VIP. Then, perform
the following steps:
- Navigate to Alarms & Events, and select View Active.
- Ensure that the event ID 14101 (with no remote
connections) is the only alarm present on the system at this
time.

- To add Query server for the DR SDS server, in SDS VIP, perform the
following steps:
- Repeat all steps in Query Server Installation (All SDS NOAM Sites) section.
- Use the DR SDS NOAM NE and server group instead of the primary SDS NOAM NE and server group.