- Diameter Signaling Router Diameter SDS Software Upgrade Guide
- Health Check Procedures
12 Health Check Procedures
Note:
If syscheck fails on any server during pre-upgrade Checks or in early checks stating that "cpu: FAILURE:: No record in alarm table for FAILURE", see Workaround to Resolve Syscheck Error for CPU Failure.If the 31201 - Process Not Running alarm displays, for instance, as cmsoapa, then execute Workaround to Fix cmsoapa Restart.
Note:
For release 7.2 only: if therestoretemp directory is not created in the /var/TKLC/db/filemgmt path on each server, then create it using this command:$ sudo mkdir -p /var/TKLC/db/filemgmt/restoretemp
$ sudo chown awadmin:awadm /var/TKLC/db/filemgmt/restoretemp
$ sudo chmod 775 /var/TKLC/db/filemgmt/restoretemp
Skipping this step leads to an upgrade failure.
- In the SDS NOAM GUI, log in use the VIP address to access the primary SDS NOAM GUI as described in Access the OAM GUI Using the VIP (NOAM/SOAM).
- In the Primary SDS NOAM VIP, verify status. Expand Status & Manage click Server.
Figure 12-1 Server
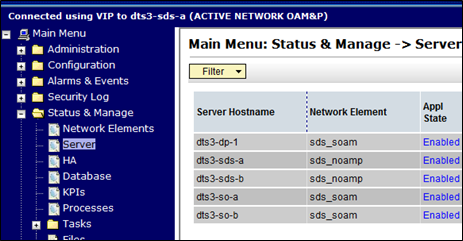
- Verify Server Status is Normal (Norm) for Alarm (Alm), Database (DB), Reporting Status, and Processes (Proc).
Figure 12-2 Server Status

If any other server status displays, it appears in a colored box.
Note:
Other server states include Err, Warn, Man, and Unk.Note:
Post-Upgrade, upgraded servers have an Alm status of Err due to the Event ID (s): 32532 Server Upgrade Pending Accept/Reject expected alarm. This alarm displays until the upgrade is accepted and may be ignored at this time.Note:
During any time of upgrade in case 31149- DB Late Write Nonactive alarm is seen, please ignore it. This alarm does not have any effect on any functionality.If 31201 - Process Not Running alarm is getting raised for Instance as cmsoapa then execute Workaround to Fix cmsoapa Restart to solve this issue.
- In the Primary SDS NOAM VIP, verify connection counts. Expand Communication Agent select Maintenance click Connection.
Figure 12-3 Connection
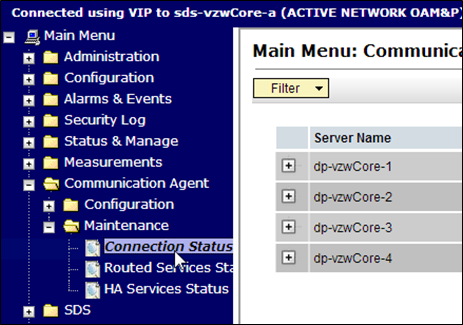
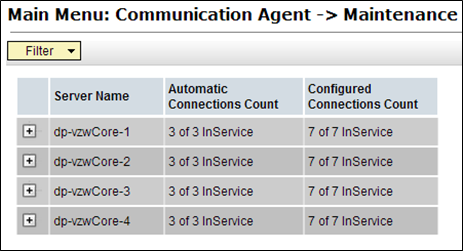
- Verify all Connection Counts show equivalent counts (that is, n of n InService for Automatic or y of y InService for Configured)
Figure 12-4 Maintenance
Note:
DPs show a Configured Connections Count of 1 of 2 InService for Active/Standby configurations. This is normal and can be ignored. - In the Primary SDS NOAM VIP, view alarm status. Expand Alarms & Events click View Active.
Figure 12-5 View Active
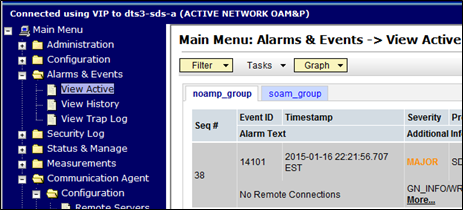
- When viewing pre-upgrade status, if any alarms are present, stop and contact My Oracle Support for assistance before attempting to continue.
- When viewing post-upgrade status, verify the following:Active NO server may have the following expected alarms:
- Alarm ID = 10075 (Application processes have been manually stopped)
Servers that still have replication disabled have the following expected alarm:
- Alarm ID = 31113 (Replication Manually Disabled)
The following alarms may also be seen:
- Alarm ID = 10010 (Stateful database not yet synchronized with mate database)
- Alarm ID = 32532 (Server Upgrade Pending Accept/Reject)
- Alarm ID = 31114 (DB Replication over SOAP has failed)
- Alarm ID = 31225 (HA Service Start Failure)
Following alarms can be ignored during the upgrade:
- Alarm ID = 31109 (Topology Config Error)
- Alarm ID = 31282 (HA Management Fault)
- Alarm ID = 31283 (Lost Communication with server)
- Alarm ID = 31106 (DB Merge To Parent Failure)
- Alarm ID = 31107 (DB Merge From Child Failure)
- Alarm ID = 10009 (Config and Prov DB not yet synchronized)
Note:
If Alarm 10009 persists after the upgrade, reboot the server once using thesudo init 6command on the effected server.These alarms may display until all the NOAM and DR-NOAM servers upgrade has been completed.
- In the Primary SDS NOAM VIP, create Alarms and Events report. Click Export.
Figure 12-6 Export
- Click OK.
Figure 12-7 OK
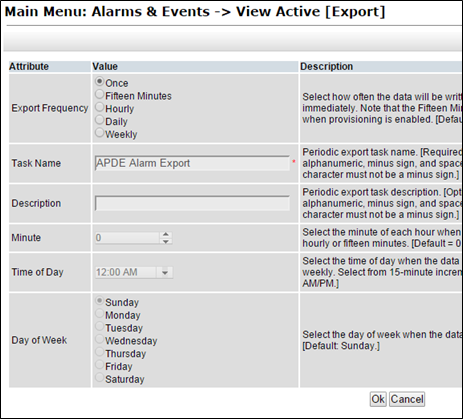
- The name of the exported alarms CSV file displays in the Tasks tab.
Figure 12-8 Tasks

- Primary SDS NOAM VIP, record the file names of alarm CSV files. The files have the format
Alarms<yyyymmdd>_<hhmmss>.csv.Record the following files:
- Pre-ISO Administration
- Post-ISO Administration
- Pre-Primary NOAM Upgrade (MW1)
- Post-DR NOAM Upgrade (MW1)
- Pre-SOAM Upgrade (MW2)
- Post-SOAM Upgrade (MW2)
- Pre-SOAM Upgrade (MW3)
- Post-SOAM Upgrade (MW3)
- Pre-SOAM Upgrade (MW4)
- Post-SOAM Upgrade (MW4)
- Pre-SOAM Upgrade (MW5)
- Post-SOAM Upgrade (MW5)
- In the Primary SDS NOAM VIP, save the Alarms and Events report. Click Report
Figure 12-9 Report
Figure 12-10 View Active Alarms
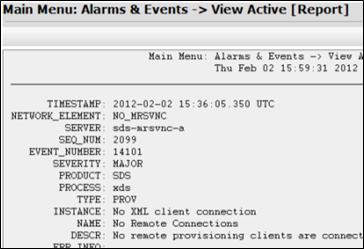
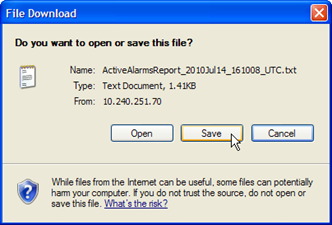
- Click Save on the Alarms and Events report and click Save on the File Download screen.
Figure 12-11 Save

Figure 12-12 Save
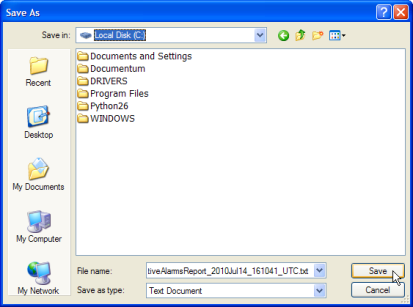
- Select a directory on a local disk drive to store the active Alarms and Events report and click Save.
Figure 12-13 Save As
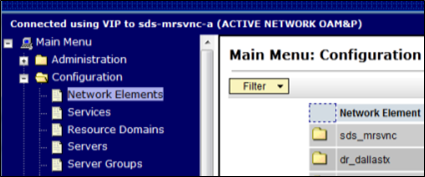
- In the Primary SDS NOAM VIP, create Network Element report. Before 8.x, expand Configuration click Network Elements.
Figure 12-14 Network Elements
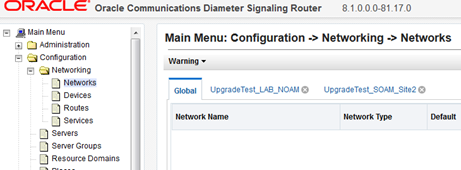
- If the release is 8.x, expand Configuration select Networking click Networks.
Figure 12-15 Networks
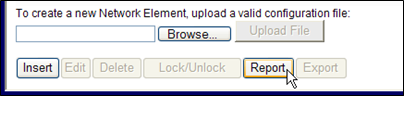
- Click Report.
Figure 12-16 Report
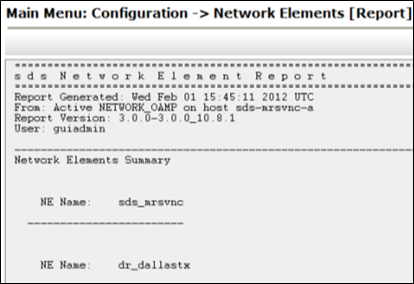
- The Network Element Report is generated.
Figure 12-17 Network Element Report
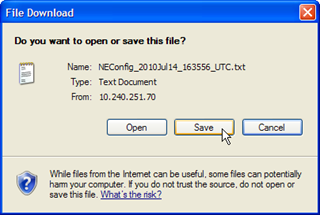
- In the Primary SDS NOAM VIP, save the Network Element report. Click Save on the Network Element report and click Save on the File Download screen.
Figure 12-18 Save

Figure 12-19 Save File
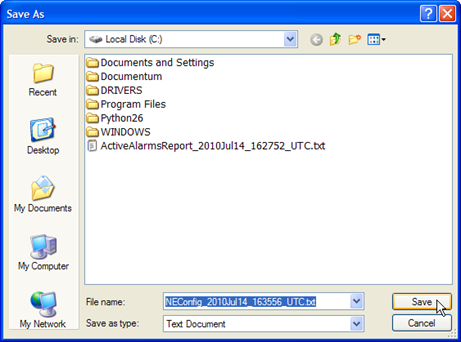
- Select a directory on a local disk drive to store the Network Element report and click Save.
Figure 12-20 Save As
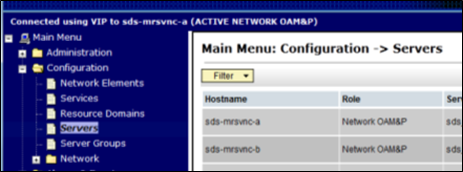
- In the Primary SDS NOAM VIP, create the Servers report. Expand Configuration click Servers.
Figure 12-21 Servers
- Click Report.
Figure 12-22 Report
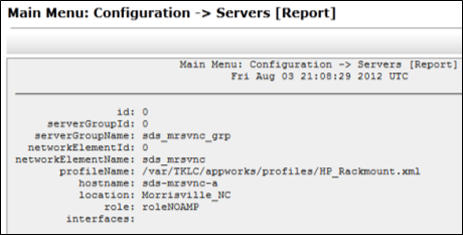
Figure 12-23 Server Report
- In the Primary SDS NOAM VIP, save the Servers report. Click Save on the Servers report and click Save on the File Download screen.
Figure 12-24 Save

Figure 12-25 Save File
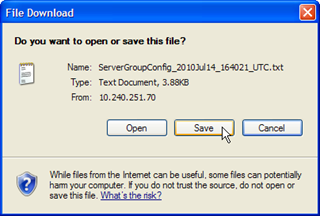
- Select a directory on a local disk drive to store the Servers report and click Save.
Figure 12-26 Save Server Report
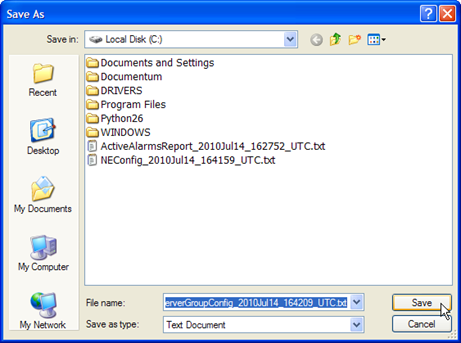
- In the Primary SDS NOAM VIP, create Server Groups the report. Expand Configuration click Server Groups.
Figure 12-27 Server Groups
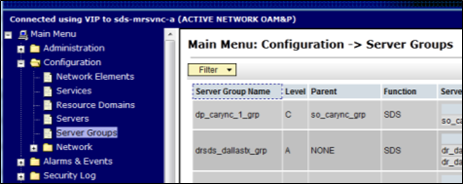
- Click Report.
Figure 12-28 Report
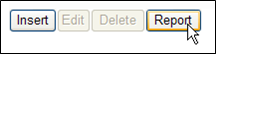
Figure 12-29 Sever Groups Report
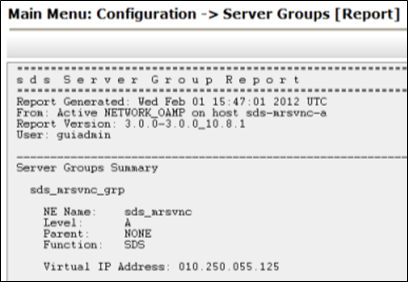
- In the Primary SDS NOAM VIP, save the Servers report. Click Save on the Server Groups report and click Save on the File Download screen.
Figure 12-30 Save

Figure 12-31 Save File

- Select a directory on a local disk drive to store the Server Groups report and click Save.
Figure 12-32 Save Server Report

- Share the saved files with My Oracle Support. If these procedures are executed as pre- or post-upgrade health check (HC1/HC2/HC3), sharing the files with My Oracle Support to obtain a proper health check analysis.
A health check analysis includes verifying the following information collected from Access the OAM GUI Using the VIP (NOAM/SOAM) procedure.
- Active Alarms and Events report.
- Network Elements report.
- Server report.
- Server Group report.
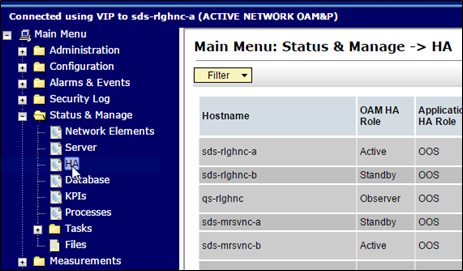
- Verify OAM HA Role status, expand Status & Manage click HA
Figure 12-33 HA
- Verify the OAM HA Role for all servers shows either Active or Standby.
Figure 12-34 OAM HA Role
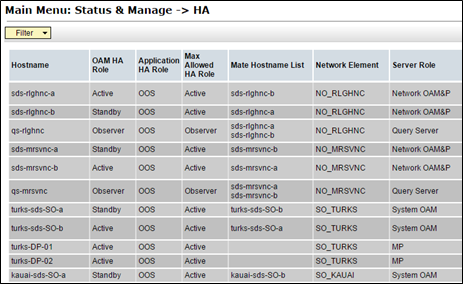
Note:
An OAM HA Role shown as Observer is allowed when the server role is Query Server. - Verify the OAM HA Role for all remaining servers, expand Main Menu select Status & Manage click HA. Scroll through each page until the OAM HA Role for has been verified for all servers in the topology.