Importing My Wallet Data into an Expense Report using PeopleSoft Fluid
Use the My Wallet Page or the Expenses Skill Page to import My Wallet data into an expense report.
|
Page Name |
Definition Name |
Usage |
|---|---|---|
|
EX_TRANS_DTL_SCF |
Import wallet entries into an expense report. |
|
|
EX_TRANS_LN_FL |
Add, modify, or to view a list of outstanding wallet entries that have not been imported into an expense report. |
Use these elements for My Wallet transactions.
|
Field or Control |
Description |
|---|---|
|
|
Add a new wallet entry manually. |
|
|
Select to attach receipts. You can upload multiple files at a time depending on the attachment upload limit. To configure the attachment upload limit, see Installation Options - Multiple Attachments Page. The Attach button turns green, which indicates that you are in the attachment mode to upload a receipt file. Select the wallet entry that you want to add the receipt image. To return to normal mode, select the Attach button again. For more information, see the section Attaching Receipts using PeopleSoft Fluid in Expense Entry Page. |
|
|
Select the Delete button to delete a single wallet entry. Select a wallet entry from the list to delete. On mobile device such as smartphone, the Delete button turns green, which indicates that you are in the delete mode. Select a wallet entry from the list to delete. To return to normal mode, select the Delete button again. On tablet or desktop, the Delete button deletes the wallet entry displayed on the left panel. |
|
|
Use the Filter button to filter the data by reducing the wallet transactions you want to see. This button is displayed in green to indicate there is filter criteria being entered. |
|
|
Select the More button to view additional action buttons. To return to previous action options, select the More button again. |
|
|
Use Select All or Deselect All button to select or deselect wallet entries that are displayed on the page. You can also use the check box next to wallet or click on the wallet row to select one wallet item at a time. |
|
|
Export the selected wallet transactions into a new expense report. To export into an existing expense report, use the Wallet Import function in Expense Details page. |
|
|
Delete multiple wallet entries at the same time. Select the wallet entries you want to delete, and then select the Delete button. |
|
Days Overdue |
Displays the number of days that the credit card transaction is overdue, based on the business unit definition for the Credit Card Data Overdue field. |
|
Data Source |
Indicates the source of the data such as manual entry, Visa or Amex. |
|
|
Indicates that receipt image has been uploaded into the system. |
|
|
Indicates the wallet entry has Report breakdown or enhanced data. |


|
Field or Control |
Description |
|---|---|
|
Enhanced Data |
Select to access the Enhanced Data page to view data as it was loaded during the Load External Data process. This link is only available when enhanced data has been loaded for the main transaction row from American Express, MasterCard, or Visa. Enhanced data is for car, air travel, and lodging. The Enhanced Data page in PeopleSoft Fluid (EX_ENHC_DATA1_SCF for MasterCard and Visa and EX_ENHC_DATA2_SCF for American Express) is a view-only page and mirrors the Enhanced Data Page in Classic. For more information about Enhanced Data, see Expense Type - Enhanced Data American Express / Visa 4.4 Page |
|
|
Displays if the charge is from a credit card that is shared by multiple users. See Using Shared Credit Cards. |

My Wallet stores corporate credit card and user-entered expense transactions that you can apply to expense reports, thus saving data entry time. Credit card feeds from a credit card company (such as Visa International, American Express, and US Bank) send corporate credit card transactions in a file that is loaded into your system directly to My Wallet in Expenses.
Use the My Wallet Page to delete receipts that reside in My Wallet. These receipts may come from a credit card feed or be manually entered into My Wallet. When you delete receipts from My Wallet, PeopleSoft Expenses no longer displays them in My Wallet; however, the transactions remain in the EX_TRANS table with a status of Deleted for audit purposes. Use the My Wallet - Restore My Wallet Receipts Page to restore the deleted receipts to an active status in My Wallet.
You cannot modify these expense transaction details that come from a credit card feed:
Expense date.
Credit card number.
Payment type.
Transaction amount.
Transaction currency.
Exchange rate.
Enhanced Data
If you import enhanced data (Hotel/Lodging expense type) from credit card suppliers, then the detail or summary data is imported into My Wallet as long as the amount from the main transaction line equals the detail or summary lines. If the amount from the main transaction line does not equal the detail or summary, then only the main transaction line is imported into My Wallet.
When defining credit card suppliers on the Corporate Card Supplier Page, you determine the level of data that you want to import from that credit card supplier using the Credit Card Import Hierarchy section.
For more information about loading credit card data and setting up enhanced data options, see Understanding Credit Card Data Loads.
Use the My Wallet page (EX_TRANS_DTL_SCF) to import wallet entries into an expense report.
Navigation:
Small form factor: . Select the Create Expense Report button.
Large form factor:
From the Expense Report page, select the Add from My Wallet button.
Note: The number indicated in the Add from My Wallet button is the number of available wallet entries that can be imported into an expense report.
This example illustrates the fields and controls on the My Wallet page for a smartphone.

Select the wallet entries, and then select the Import button. The selected wallet entries including the file attachment will be imported into the current expense report. A confirmation message is displayed after you import the wallet entries into the expense report.
The icon on My Wallet page indicate the source of the transaction such as Text Message, Manual Entry, and Credit Card upload.
Note: You can also import wallet entries using the Wallet action button on the Expense Details page.
Use the Wallet Entry page (EX_TRANS_LN_FL) to add, modify, or to view a list of outstanding wallet entries that have not been imported into an expense report.
Navigation:
. Select the Create Expense Report button.
Fluid Homepage:
This example illustrates the fields and controls on the Wallet Entry page.
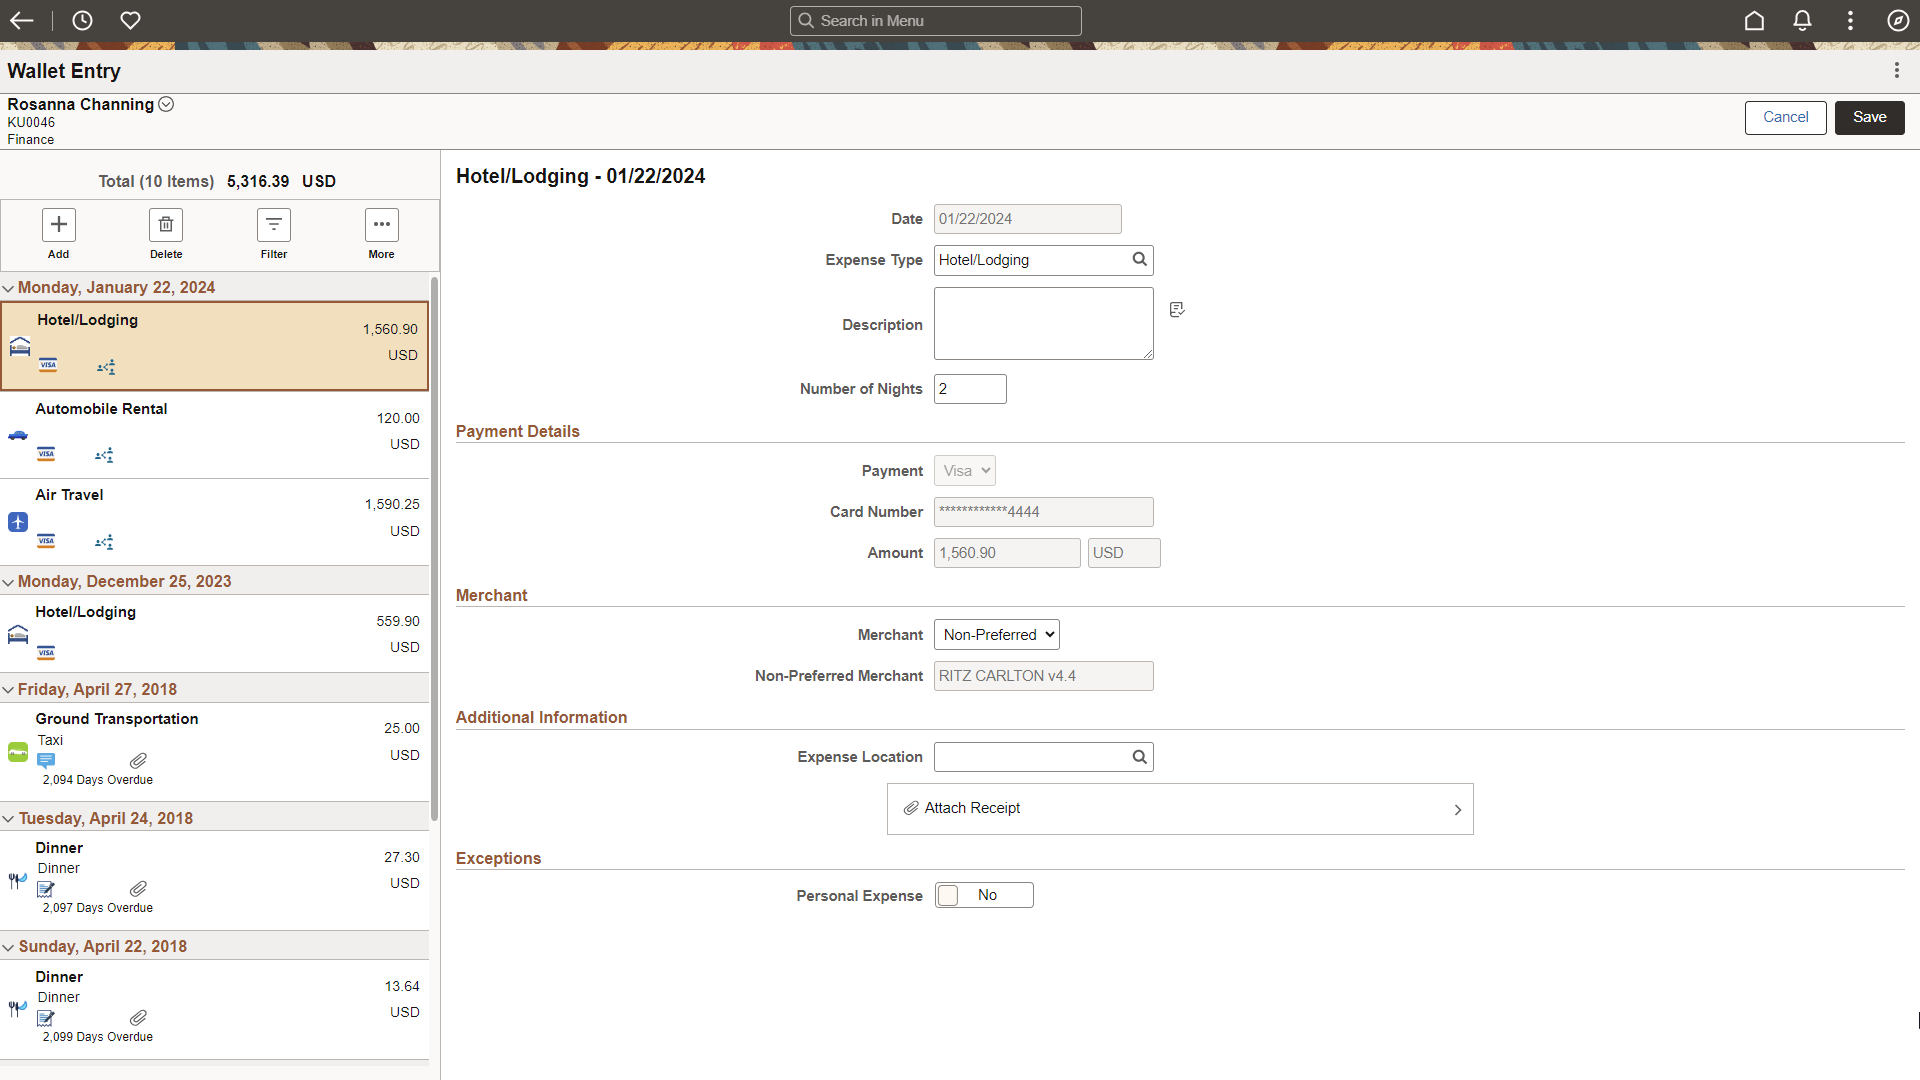
This page provides a listing of all outstanding wallet entries that have not yet been imported into an expense report for reimbursement. Transaction data can come from credit card feeds and the Add Quick Expense in Fluid Expenses. The amount is displayed in the base currency of the employee’s business unit.
You can review and edit transactions prior to importing them into an expense report, as well as delete one or many transactions. Credit card feed transactions cannot be edited or deleted here.
When adding an new entry to your wallet, fields are dynamically displayed on the page based on the expense type selected. For example, when you select Hotel/Lodging, the Merchant fields appear (some exceptions apply). For more information, see Expense Types 1 Page.
When using a tablet or a desktop, when you complete your entry and select Save, the left panel updates the new expense line with the entered expense type.
You can save a Wallet entry without entering any data. You can fill in the fields later, or fill in the fields when you import the wallet entry to the expense report.
|
Field or Control |
Description |
|---|---|
|
Date |
Displays the transaction date. The current date is the default value. |
|
Expense Type |
Select an expense type to add an expense item. The system displays the additional fields associated with the expense type after this field is selected. For more information, see "Selecting Expense Types using PeopleSoft Fluid" in Expense Entry Page After selecting the expense type, the user default values are populated based on the user profile set up for the employee in the Employee Profile - User Defaults Page. |
|
Description |
Enter free text in this field. |
|
Originating Location and Destination Location |
If your expense type is Automobile Mileage, then you must enter the originating and destination locations. In the Originating Location field, select the location from where you began your business travel. PeopleSoft Expenses prepopulates this field if you enter an originating location on the Employee Profile - User Defaults Page. If this wallet entry was imported using the load data process, these fields are also imported into the expense report. |
|
Payment Details |
Select a payment method. If a Payment Type default is specified on the Employee Profile - User Defaults Page, that default appears in the Payment field. |
|
Card Numer |
If the payment is made using a card, enter the card details. |
|
Amount |
Enter the amount of the expense transaction and select the transaction currency. The currency default value is the same here as is specified on the Employee Profile - User Defaults Page. If you submit expenses in foreign currency, the system automatically displays the currency exchange rate and converts the currency to the employee’s base currency. You can override the system-supplied exchange rate. Use the Reset Exchange Rate icon to change the overridden exchange rate to the system-defined exchange rate. |
|
Attach Receipt |
Upload an existing file(s) or capture receipt image for the expense. For more information, see Attaching Receipts in PeopleSoft Fluid You can upload multiple files at a time depending on the configured attachment upload limit. To configure attachment upload limit, see Installation Options - Multiple Attachments Page. |
|
Merchant |
Indicates the transaction supplier. This field displays only if Merchant is selected as a required field for the expense type selected. See Setting Up Expense Types If a non-preferred merchant is selected, you must provide a justification for not using the company’s selected preferred merchant. |
|
Expense Location or Originating Location |
Select the location where you incurred the expense. This field is displayed if Location or Originating Location is selected as required fields for the expense type selected. See Setting Up Expense Types |
|
Personal Expense |
Select to indicate that the transaction is a non-reimbursable expense. If the transaction is from a manually entered expense or laoded using a credit card feed process, and the expense type is defined as non-reimbursable, then the Personal Expense option is set to Yes and cannot be changed. Rules for the Personal Expense selection:
For example: A user selects an enhanced data row as a personal expense. This row is not non-reimbursable from the credit card feed. If they add it to an expense report and delete it, when returning to the Wallet, the value is still a personal expense. It does not revert to the original credit card feed value. |
|
Receipt Breakdown |
Displays the detail or summary data that is imported from credit card suppliers for the Hotel/Lodging expense type. The level of data (detail or summary) is determined by the Credit Card Import Hierarchy option on the Corporate Card Supplier Page and the agreement that the hotel supplier has with the credit card supplier. This section is hidden if there is no data. |
Linking a Wallet Entry to an Expense Report Line
To link a wallet entry to an existing expense report line:
Select the wallet entry.
Select the
 (More) button.
Select the
 (Link) button.