Registering Online for Events
This section describes:
Setting Up Online Marketing to Access Marketing Events.
Setting Up an Online Marketing Document to Accept Credit Card Payments.
Sending Event Reminders
Note: A PeopleSoft Online Marketing license is required for online registration.
This section provides an overview of the Access Marketing Event custom content extension and its use in Online Marketing Dialogs.
To allow you to access event information from an Online Marketing dialog, Online Marketing includes a custom content extension named Access Marketing Event. The extension itself is described in the Online Marketing documentation, as is the general process for including extensions in documents; this section explains how you can use it in your Online Marketing dialogs.
See Understanding Extensions and Creating and Using Extensions.
Creating the Document Field
To insert the Access Marketing Event extension into a document, first add a Text Entry field.
Image: Document Designer page with Text Entry field
This example illustrates the fields and controls on the Document Designer page with Text Entry field.
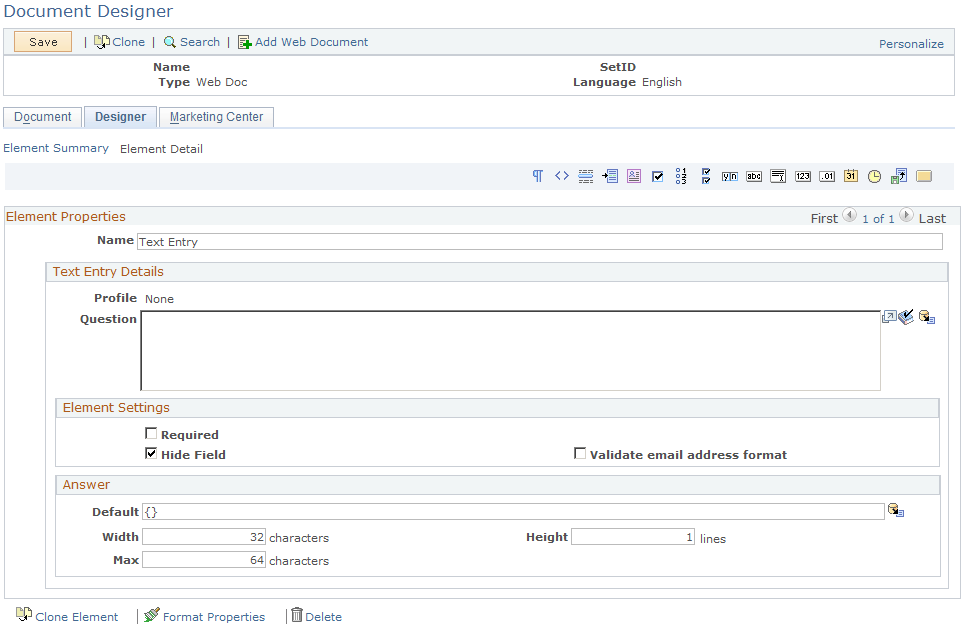
If you want to format the results in a more attractive way, select the Hide Field check box, and put an empty tag ({}) in theDefault field.
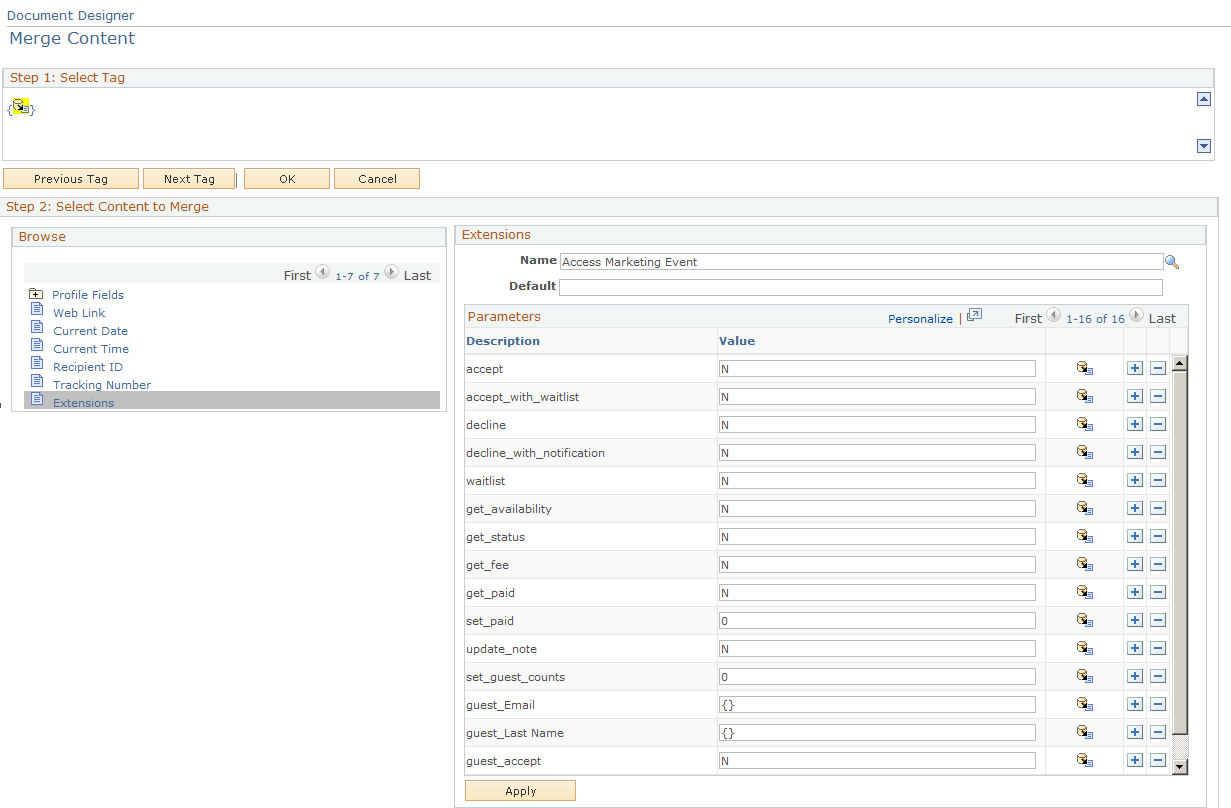
Next, click the Merge icon next to the Default field to display the Merge Content page, and select Extensions from the list.
Image: Merge Content page
This example illustrates the fields and controls on the Merge Content page.

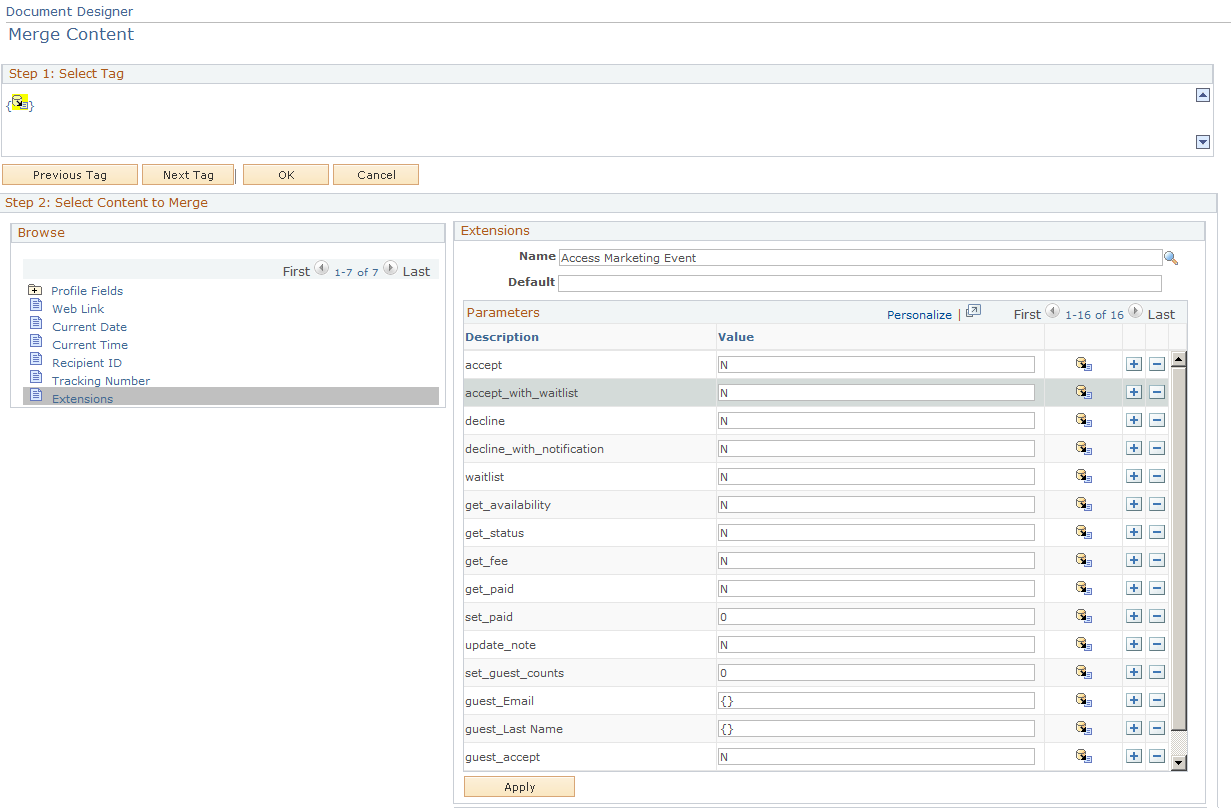
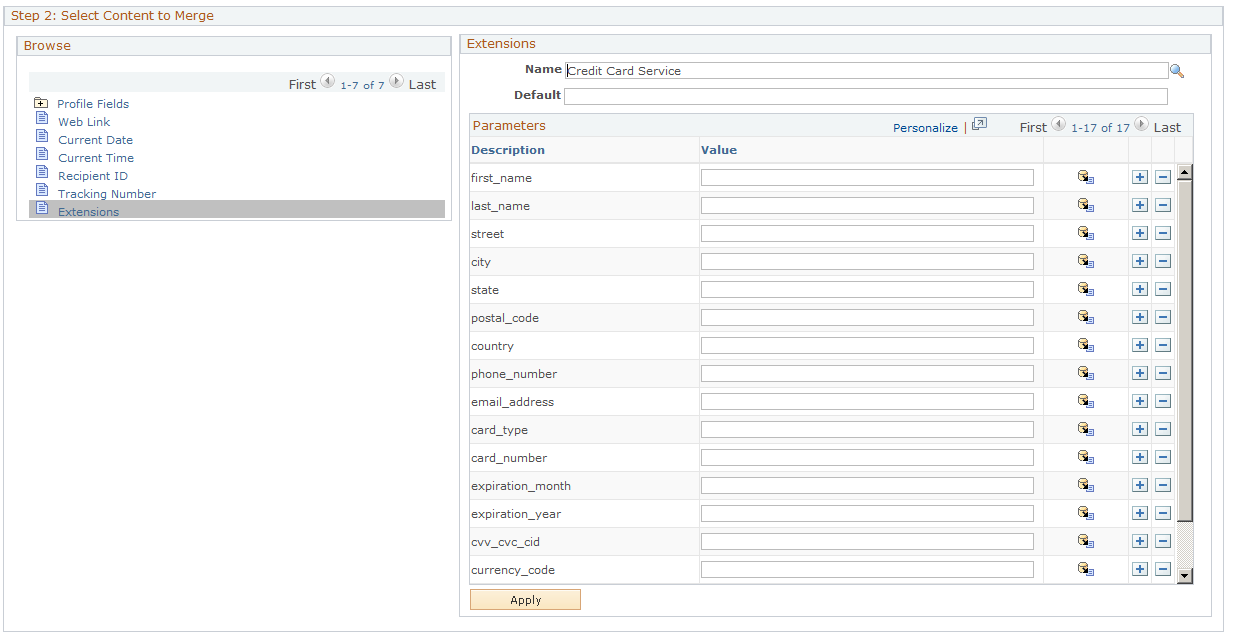
Type Access Marketing Event in theName field, or click the lookup icon to select it from a list of available extensions. The list of parameters for the Access Marketing Event extension are displayed.
Image: Merge Content page with parameters displayed
This example illustrates the Merge Content page with parameters displayed.
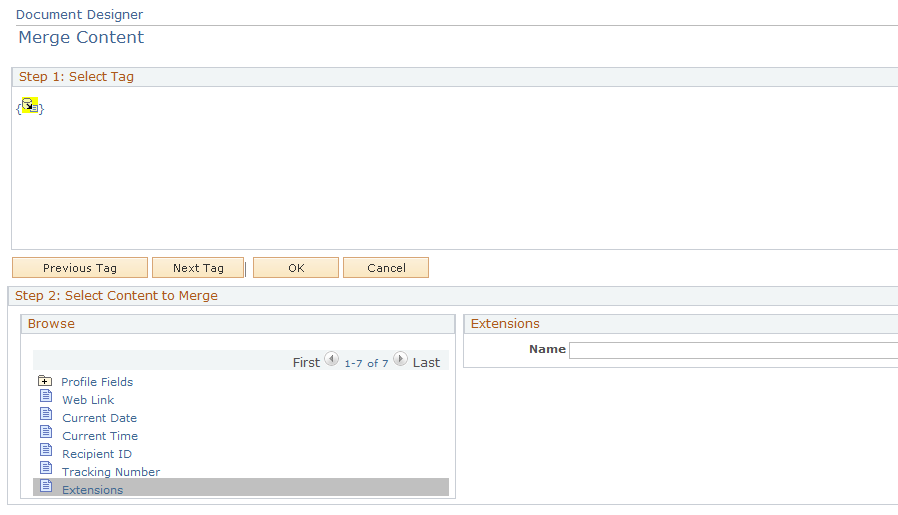
Next, type Y or Yes in one of the Value fields for the extension, depending on the functionality you want to include in your field. Note that you should only do this for one of the fields; leave the others as is. The system will implement the first parameter for which it finds a Y or Yes value.
Image: Merge Content page with parameter chosen
This example illustrates the Merge Content page with parameter chosen.
Click the OK orApply button to save your settings.
When the document is rendered, the Access Marketing Event extension performs its functionality, filling the Text Entry box with its return value (in the case of the example, this value will be either Registered, Full, or Waitlisted, depending on whether available spaces still exist for the event.
Using Access Marketing Event with Dynamic Content
After you have defined the parameters for the Access Marketing Event extension, you can insert it into dynamic content in the document.
To do this, insert a dynamic content into your text field, and then insert a document field containing the return value of the Access Marketing Event extension into the Content section of the Dynamic Content page. Refer to your Online Marketing documentation for more information about inserting dynamic content into documents.
Using Access Marketing Event with the Dialog Flow
After you have defined the parameters for the Access Marketing Event extension, you can insert it into a decision point in a dialog flow.
To do this, define documents for each of the conditions (for example, one to be sent if the invitee is able to successfully register for the event, another to be sent if he or she is added to a waitlist, and a third if the event is full). When you create the flow for the dialog, you can add a Decision Point element and configure it to send the specified document for the specified parameter value.
This section provides an overview of the Credit Card Service custom content extension and its use in Online Marketing Dialogs.
To allow you to accept credit card payments from an Online Marketing dialog, Online Marketing includes a custom content extension named Credit Card Service. The extension itself is described in the Online Marketing documentation, as is the general process for including extensions in documents and for creating online dialogs; this section explains how you can use it in your Online Marketing dialogs.
Note: The Credit Card Service extension supports only the use of credit cards. Debit cards and pay services such as Paypal are not supported. Cards that are both debit and credit cards are assumed to be credit cards for the purposes of the extension.
See System Delivered Extensions.
See Creating and Using Extensions.
Overview of Creating an Online Marketing Dialog to Accept Credit Cards
In order for your Online Marketing dialog to accept credit cards, you must do the following:
Create document fields or profile fields containing the values you want to include on your credit card page (first and last name, billing address, credit card number, expiration date, and so forth). These fields should correspond to the parameters on the Credit Card Service extension.
Create a document that includes fields requesting all of the information you want to gather (these fields should correspond to the profile or document fields you already created). Include a Submit button on the document.
Create a second document. It should contain the following:
Some sort of text, graphic, or other indication that the system is processing the credit card (for example, Please wait while we process your credit card.)
A hidden document field that includes merge content to call the Credit Card Service extension (refer to the section on creating the document field). For each parameter in the extension, include the appropriate profile or document field that you have previously created.
A hidden document field to accept the results of the Credit Card Service extension. The extension returns an authorization code if the credit card is accepted, 0 if it is declined, or1 if a system error occurs.
A Submit button with the Invisible Auto-submit Button option selected. A button with this option selected does not appear on the page, but is automatically clicked when the page is displayed.
The typical document flow might include the following:
An External Event Trigger.
A Landing Page (the page where the user enters the credit card data and submits it).
An Intermediate Page (the credit card submit page that contains the text, the hidden fields, and the hidden auto-submit button).
A Decision Point: If the value returned is greater than 0 (indicating success), go to a Final Page informing the user that the transaction was successful. Otherwise, you can choose to either send the user back to the data collection page, or display another Final Page indicating that the transaction failed.
Creating the Document Field
To insert the Credit Card Service extension into a document, first add a Text Entry field.
Image: Document Designer page with Text Entry field
This example illustrates the Document Designer page with Text Entry field.

If you want to format the results in a more attractive way, select the Hide Field check box, and put an empty tag ({}) in theDefault field.
Next, click the Merge icon next to the Default field to display the Merge Content page, and select Extensions from the list.
Image: Merge Content page
This example illustrates the fields and controls on the Merge Content page.
Type Credit Card Service in theName field, or click the lookup icon to select it from a list of available extensions. The list of parameters for the Credit Card Service extension are displayed.
Image: Merge Content page with parameters displayed (1 of 2)
This is the first of two examples illustrating the Merge Content page with parameters displayed.
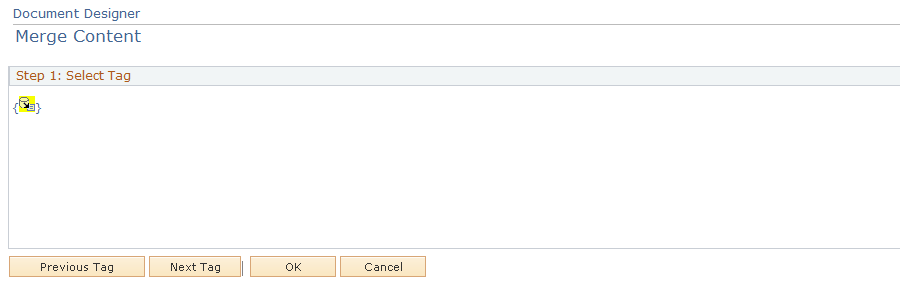
Image: Merge Content page with parameters displayed (2 of 2)
This is the second of two examples illustrating the Merge Content page with parameters displayed.
Click the OK orApply button to save your settings.
When the document is rendered, the Credit Card Service extension performs its functionality, filling the Text Entry box with its return value (in this case, the value will either be an authorization code, 0 for failure, or 1 for a system error).