Creating a new Studio user

If you are not using LDAP, you may want to create Studio users manually.

For example, for a small development instance, you may just need a few users to develop and test projects. Or if your LDAP users for a production site are all end users, you may need a separate user account for administering the site.

To create a new Studio user:
  1. In the Studio header, click the Configuration Options icon and select Control Panel.
  2. Select User Settings > Users .
  3. Click Add.

    The Details page for the new user displays.

  4. In the Screen Name field, type the screen name for the user.

    The screen name must be unique, and cannot match the screen name of any current active or inactive user.

  5. In the Email Address field, type the user's email address.
  6. For the user's name, enter values for at least the First Name and Last Name fields.

    The Middle Name field is optional.

  7. To create the initial password for the user:
    1. In the Password field, enter the password to assign to the new user.
    2. In the Retype Password field, type the password again.

    By default, the Studio password policy requires users to change their password the first time they log in.

  8. From the Locale list, select the preferred locale for the user.
  9. From the Role list, select the user role to assign to the user.
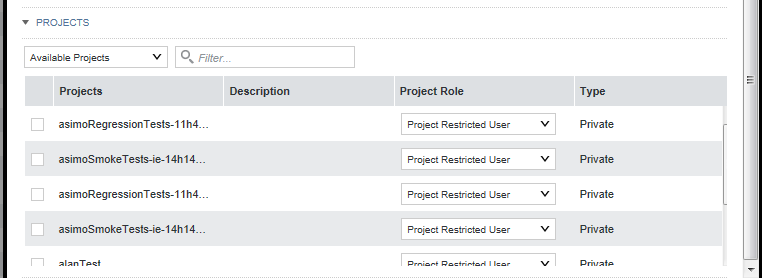
  10. From the Projects section at the bottom of the dialog, to assign the user to projects:
    Applications section of the Add User dialog
    1. Select the check box next to each project you want the new user to be a member of.
    2. For each project, from the Role list, select the project role to assign to the user.
  11. Click Save.

    The user is added to the list of users.