Adding a Column Container

The Column Container groups components into one or more columns in order to organize and position them on a page.

By default, a new Column Container is configured as two equal-width columns, as in the example below:
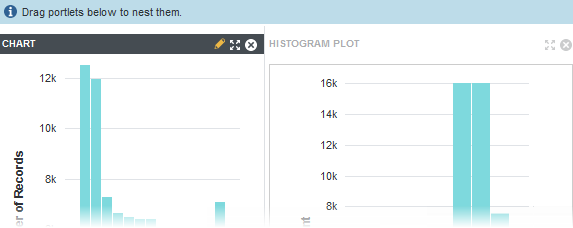
Column Container component containing other components

To add a Column Container:

  1. In the Discover View of your project, click the Add Component icon in the right sidebar:
    Column Container component containing other components
    The Add Component panel appears.
  2. Select the Column Container and click the + icon or drag it to the desired location on the page.
  3. To configure the column layout:
    1. Click the Options gear on the right side of the Column Container menu bar to access the Component Edit View.
    2. From the Layout Template menu, select the layout to use.
      Any components already inside the container remain in their specified columns, or are repositioned to the first column if the column they are in is not present in the new layout.
    3. Click Save.
    4. Click Exit in the upper right corner.

After configuring the container, you can drag other components into it and configure them as normal.