Cleansing contact data
You can use the Contact Washing Machine app action service on the campaign canvas and program canvas to update and clean your contact records.
In order to use the Contact Washing Machine action, installation may need to be completed by a Customer Administrator. However, you can drag the action onto the canvas even if the installation has not yet been completed.
To cleanse contact data:
- Open an existing campaign or program, or create a new one.
- Drag the Contact Washing Machine element, from the Actions section, onto the canvas.
- Double-click it to open the configure screen. The window that opens enables you to do the following:
- Change the name of the step to something more meaningful
- Configure the element
- Choose to route contacts that resulted in an error to another step (see: Configuring cloud action and decision elements for more information).
- Click the Edit icon to configure your data cleansing steps. Steps execute in the order in which they appear. Steps can be created (Add Step) or deleted (Delete Step). If you have multiple steps, you can also re-order them by clicking the downward or upward arrows at the top right corner of each step.

- Complete the required fields:
- Step Name: Enter a descriptive name for your step. For example, "Trim company name."
- Source: Select the Eloqua contact field to cleanse (modify).
- Condition: Select up to 3 conditions to be used to determine if the step will be executed for specific contacts. If these conditions are met, the field will be cleansed for that contact. Select from the following operators: equals, contains, starts with, ends with, or RegEx (Regular Expression). You can also check the not box.
- Action: Select up to 7 actions to perform on the source field. Learn about Contact Washing Machine actions.
- Destination: Select the Eloqua contact field to write the results to.
- (Optional) Click Show Advanced to modify additional settings.
- Data Import Priority: Set the priority level for data imported into Eloqua. This allows you to control the priority of your data updates from external sources.
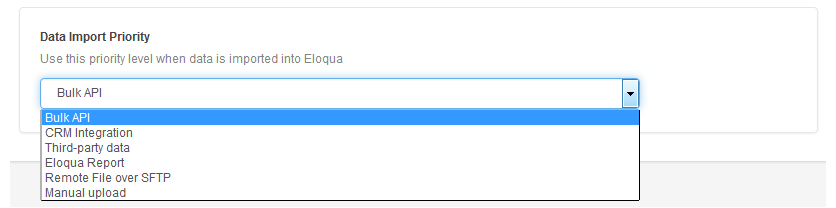
- Data Import Priority: Set the priority level for data imported into Eloqua. This allows you to control the priority of your data updates from external sources.
- Add, delete, and reorder steps as required.
- Click Save.
- Complete the required fields:
- (Optional) Test your configuration.
- Return to your campaign or program and continue to modify it as desired.
The Contact Washing Machine action should now be properly configured. When contacts flow into the step, the data will be cleaned and returned to the selected field.
Installing the Contact Washing Machine app