You can synchronize applications in the Data Synchronizer.
![]() To synchronize data in the Data Synchronizer:
To synchronize data in the Data Synchronizer:
-
Select File, New, Synchronization.
The New Synchronization wizard is displayed.
-
-
If you synchronize two Financial Management applications, click Finish and omit steps 6–8.
-
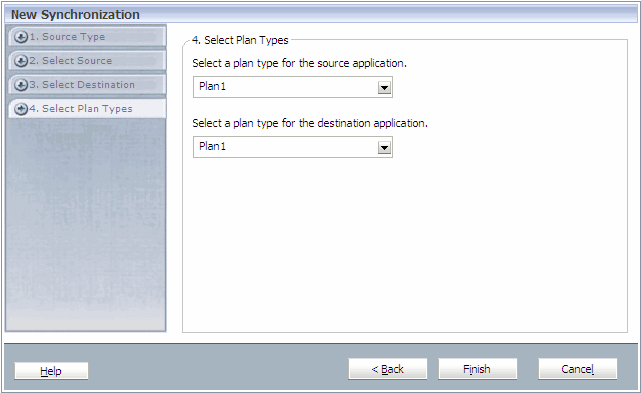
If you synchronize a Planning source or destination application, click Next.
The Select Plan Types dialog box is displayed.

Data can be shared between plan types. For example, the Revenue plan may include sales detail accounts that rollup into a Total Product Sales account. You can set up the P & L plan to include the Total Product Sales account, and omit the sales detail accounts. Thus, you can bring the data value for Total Product Sales into your P & L plan, without the account detail and make the database for your P & L plan smaller and more efficient. For information on synchronizing multiple currency Planning applications, see Synchronizing Multiple Currency Planning Applications.
-
-
Select a plan type and click Finish.
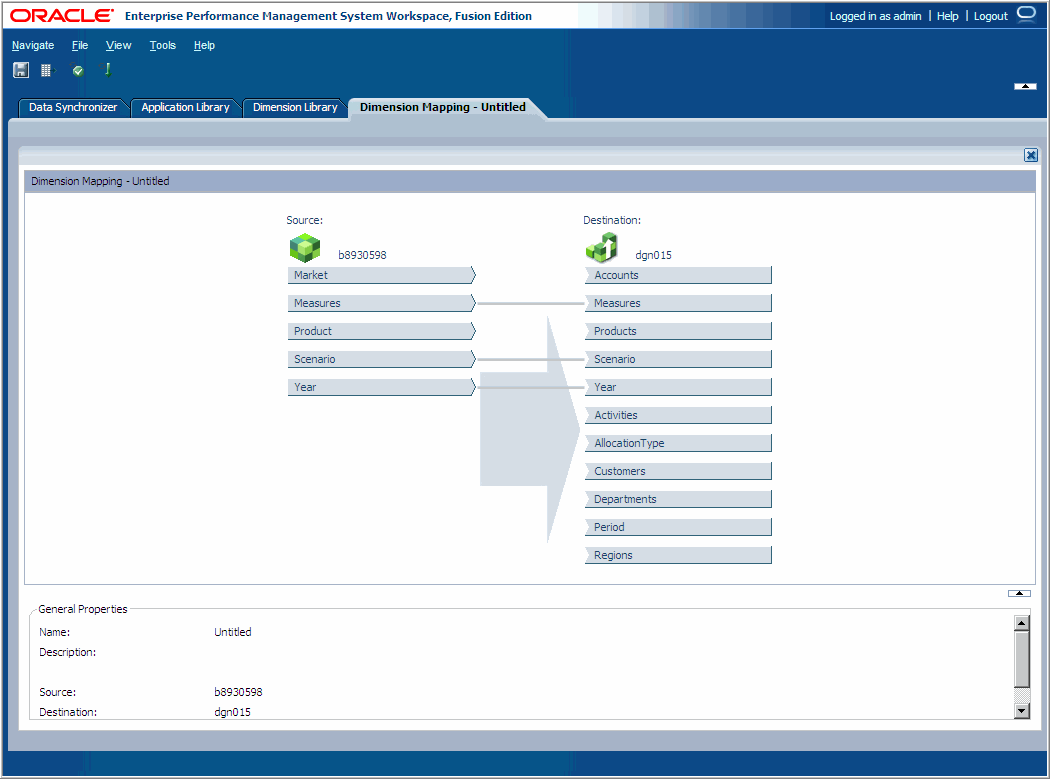
The Dimension Mapping is displayed.

-
The Save Data Synchronization dialog box is displayed.
-
Enter a Name and Description and click OK.
After you save the synchronization, you can map dimensions. See Mapping Dimensions.