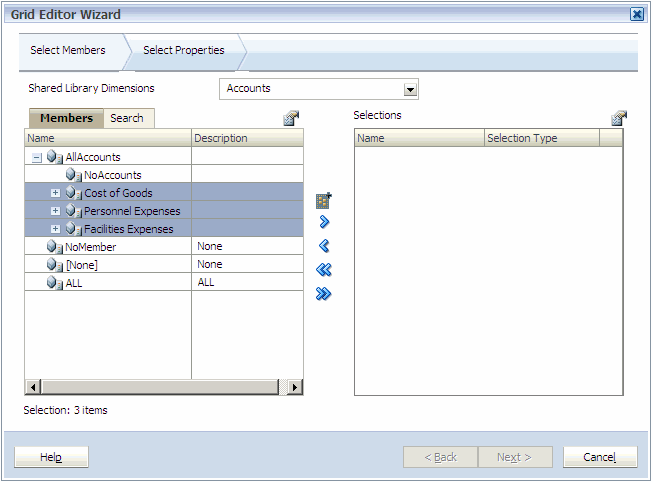
The first step in using the Grid Editor wizard is to select the members that you want to edit using the Grid Editor.
-
Note:
By default, the dimension you selected when you right-clicked and selected Grid Editor is displayed. If you want to choose a different dimension, click the Dimension drop-down arrow.
You can use the Grid Editor for any dimension within the Shared Library or application, however, you can only work with one dimension at a time. For information on shared dimensions in applications, see Including Dimensions in Applications.
Note:
The maximum number of children that can be displayed in a dimension is 2000. If you do not see the member you are looking for, trying searching for a specific member.
-
Select the members on the left and click
 .
.
-
To add special options for the member, click
 . Choose an option:
-
Member
-
Children
-
IChildren
-
Descendants
-
IDescendants
-
Siblings
-
ISiblings
-
Parent
-
IParent
-
Ancestors
-
IAncestors
In the above options, “I” indicates inclusive. For example, “IChildren” adds all children for the member, including the selected member, and “IDescendants” adds all the descendants including the selected member. If you select “Children,” the selected member is not included and only it's children are included.
The member is moved to the right and displays the option you selected in the Selection Type column. For example, “Descendants” displays in the Selection Type column.
-
-
Repeat the steps above until you select all members you want to view in the Grid Editor.
Tip:
To deselect all members from the list of selections, click
 .
. -
The Select Properties tab is displayed. See Selecting Properties.