
Knowledge Base/Oracle Social Engagement and Monitoring/Oracle Social Engagement and Monitoring Documentation
Album Publishing to Facebook
Album Publishing
Albums can be submitted using the Attach Image icon in the Publishing Section.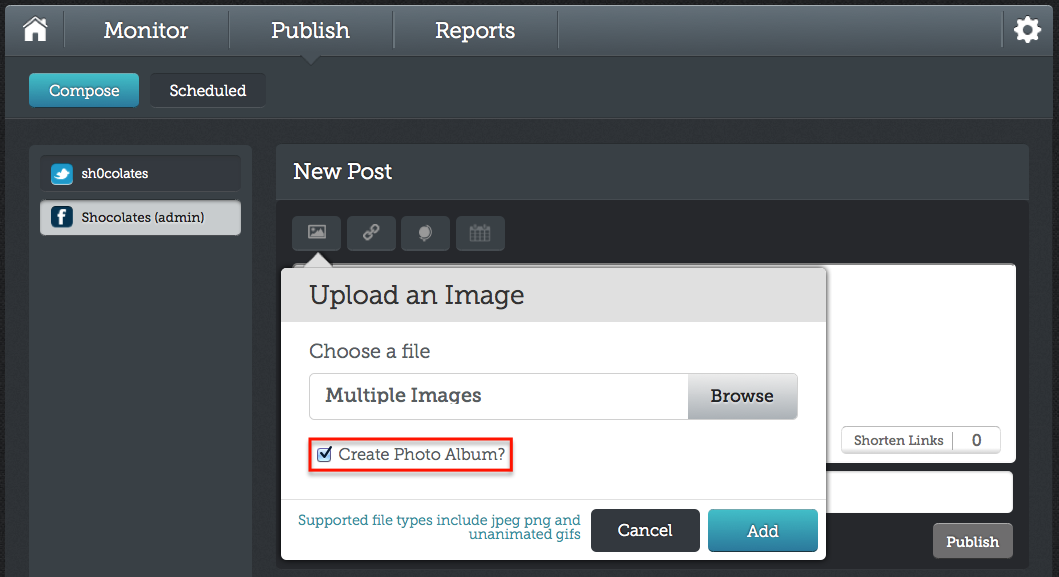
From the Compose state:
- Select your Facebook Channel from the left
- Click on the Attach Image icon
- Select the check box for Create Photo Album?
- Click on Browse to select your multiple images from your computer and Open
- You will see "Multiple Images" in the field so you know that more than one photo has been selected.
- Click on Add to attach the images to the post
- The attached images will display below the message box
- Manage the attached photos:
- Remove specific images by clicking on the 'X' in the upper right corner for the image you wish to remove
- Click on the Attach Image icon again to add more images to the album following the same steps as before
- Assign the Album a name where it says Album Name
- In the message box, describe or write something for the entire Album as this is what will be used as the Album Description
- Take any other standard publishing actions on the post such as including Labels (internal), Geo-Targeting, or Scheduling the post as necessary. (For more information on composing messages, visit the Publishing and Schedulingsection.)

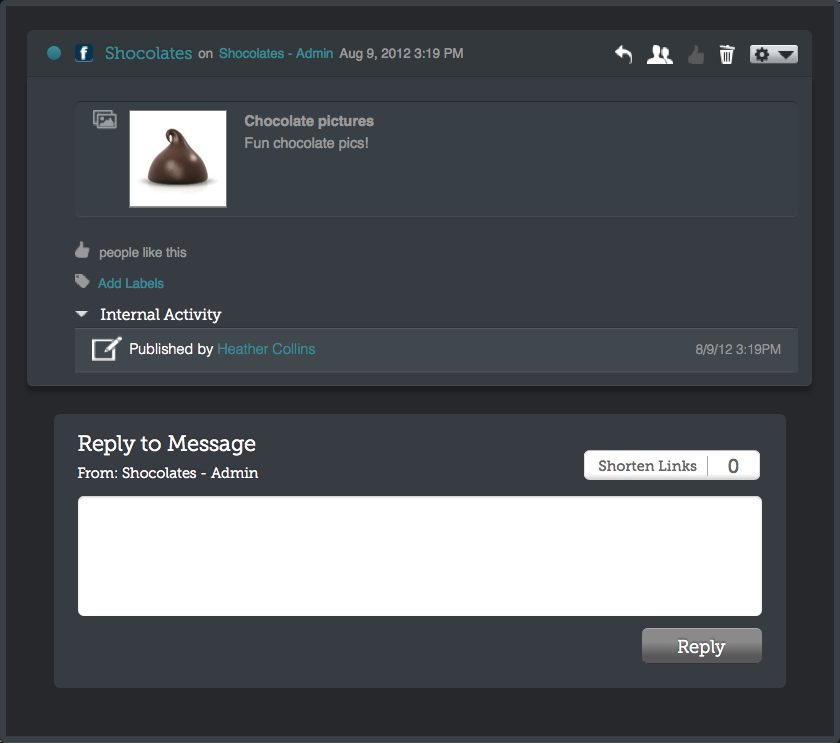
Monitoring your published Album:
Once your album is published, the message and link to the album will appear in your monitoring stream, indicated by a double photo icon in the preview to indicate that an album has been published and not just one photo.

Click into the message to monitor and moderate any comments made to the Album page.
Click here to return to the main menu of Conversation Suite Documentation.