Managing App Roles in Microsoft Entra ID
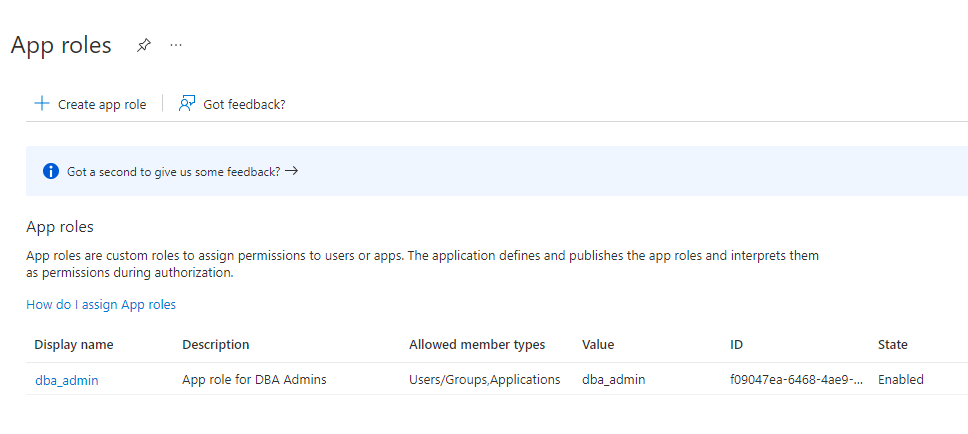
In Entra ID, you can create and manage app roles that will be assigned to Azure users and groups and also be mapped to Oracle Database global schemas and roles.
- Creating a Microsoft Entra ID App Role
Azure users, groups, and applications that need to connect to the database will be assigned to the database app roles. - Assigning Users and Groups to the Microsoft Entra ID App Role
Before Microsoft Azure users can have access to the Oracle database, they must first be assigned to the app roles that will be mapped to Oracle Database schema users or roles. - Assigning an Application to an App Role
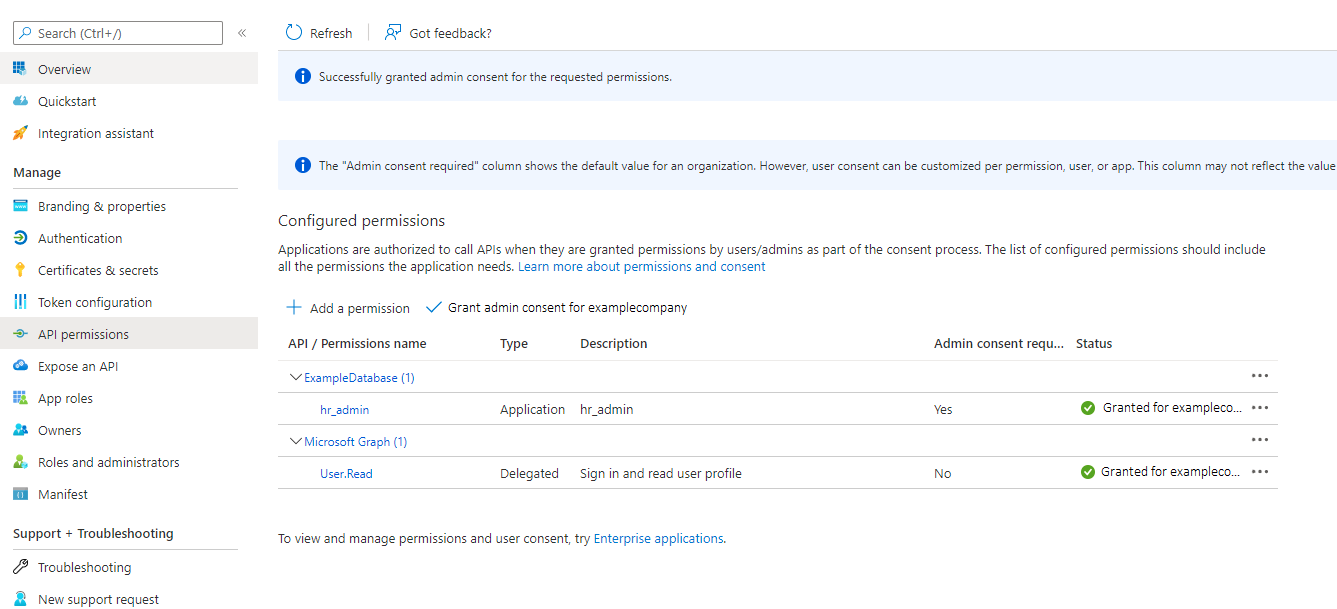
An application that must connect to the database using the client credential flow must to be assigned to an app role.
Creating a Microsoft Entra ID App Role
Azure users, groups, and applications that need to connect to the database will be assigned to the database app roles.
See the Microsoft Azure article Create and assign a custom role in Azure Active Directory for detailed steps on how to create an app role. The following steps describe how to create the app role for use with an Oracle database.
Parent topic: Managing App Roles in Microsoft Entra ID
Assigning Users and Groups to the Microsoft Entra ID App Role
Before Microsoft Azure users can have access to the Oracle database, they must first be assigned to the app roles that will be mapped to Oracle Database schema users or roles.
See the Microsoft Azure article Add app roles to your application and receive them in the token for detailed steps assigning users and groups to an app role. The following steps explain how to do this for an Oracle database.
- Log in to Entra ID as an administrator who has privileges for assigning Azure users and Entra ID groups to app roles.
- In enterprise applications, find the name of the Oracle Database app registration that you created. This is automatically created when you create an app registration.
- Use the Directory + subscription filter to locate the Azure Active Directory tenant that contains the Oracle connection.
- Select Azure Active Directory.
- Under Manage, select Enterprise applications, and then select the Oracle Database app registration name that you registered earlier.
- Under Getting Started, select Assign users and groups.
- Select Add user/group.
- In the Add assignment window, select Users and groups to display a list of users and security groups.
- From this list, select the users and groups that you want to assign to the app role, and then click Select.
- In the Add assignment window, select Select a role to display a list of the app roles that you have created.
- Select the app role and then select Select.
- Click Assign.
Parent topic: Managing App Roles in Microsoft Entra ID
Assigning an Application to an App Role
An application that must connect to the database using the client credential flow must to be assigned to an app role.
Related Topics
Parent topic: Managing App Roles in Microsoft Entra ID

