Configuring Foundation Services on FNDHOST1
- On FNDHOST1, launch EPM System Configurator: From the Start menu, select Oracle EPM System, and then EPM System Configurator (all instances).
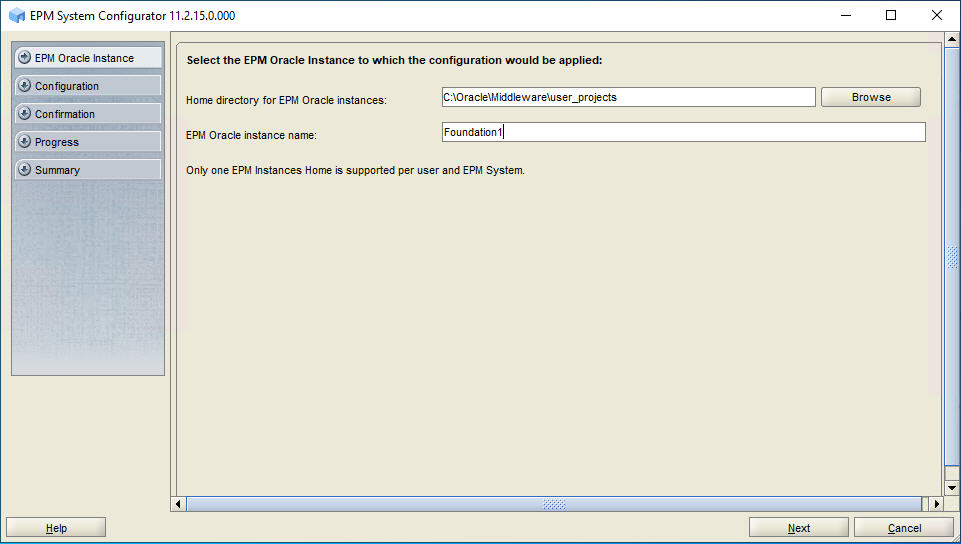
- In EPM Oracle Instance, complete these steps, and then click Next.
- Optional: In Home directory for EPM Oracle instances, change the location of the EPM Oracle Home directory.
- In EPM Oracle instance name, enter
Foundation1.
-
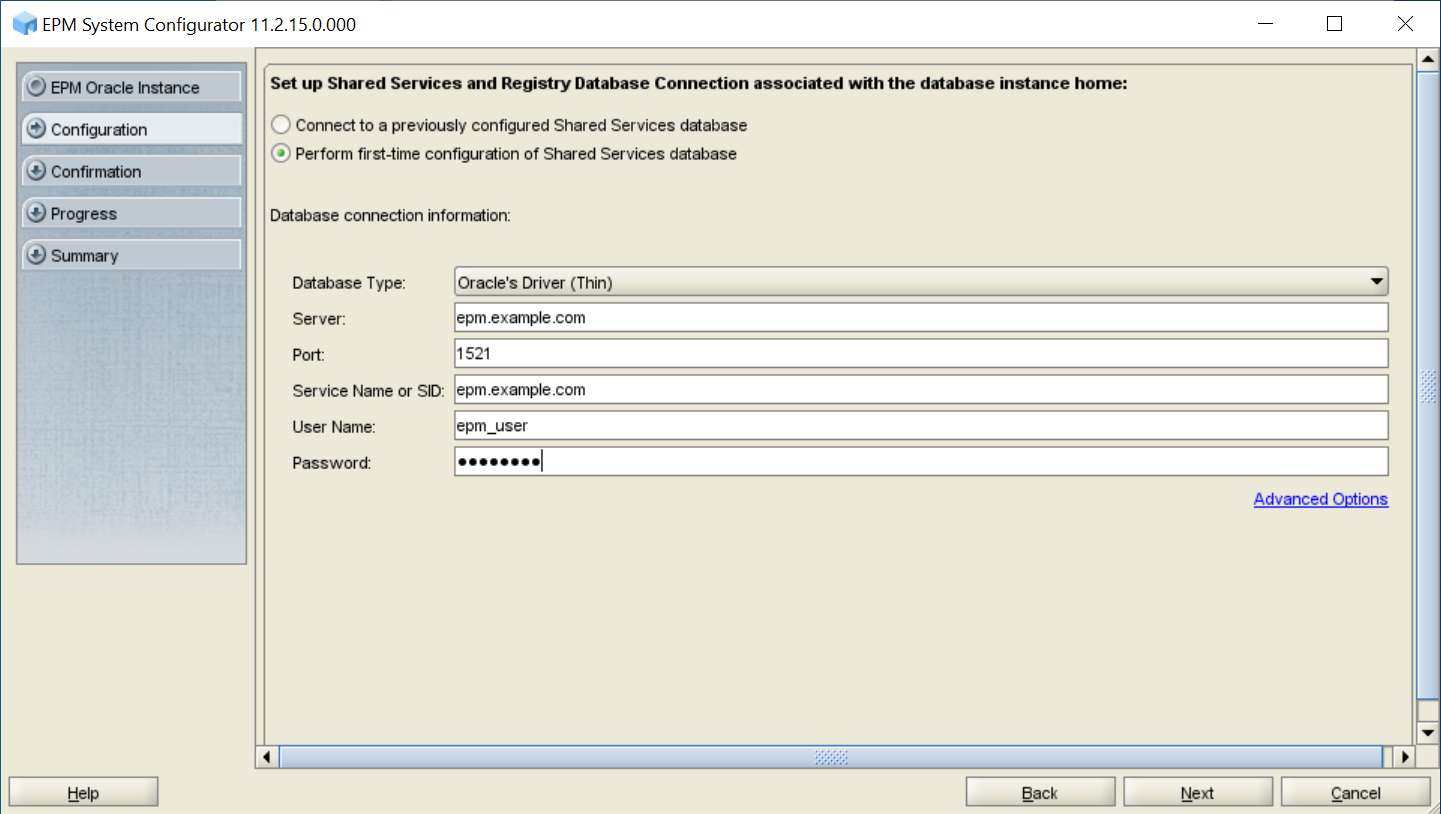
On the Set up Shared Services and Registry Database
Connection screen, enter the connection information for the Oracle Hyperion Shared Services Registry and the
user name and password of the database account to use for accessing the database
(recorded in Table 3-1), and then click Next.
Shared Services Registry stores the configuration information for all the servers in the deployment so components can find each other.
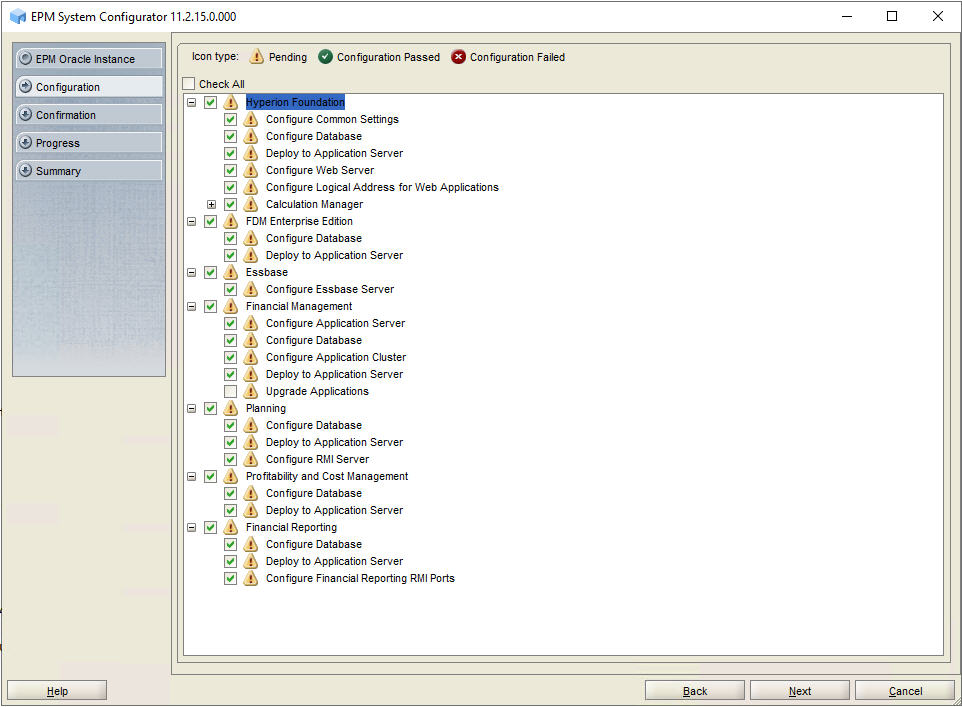
- In Configuration, perform the following tasks, and then click Next.
- Clear the selection (uncheck) the following components:
-
FDM Enterprise Edition
-
Financial Management
-
Planning
-
Profitability and Cost Management
-
- Expand Hyperion Foundation, and then select Configure Logical Address for Web Applications.
- Clear the selection for Upgrade Applications under Financial Management.
- Ensure that your selections match the image:
- Clear the selection (uncheck) the following components:
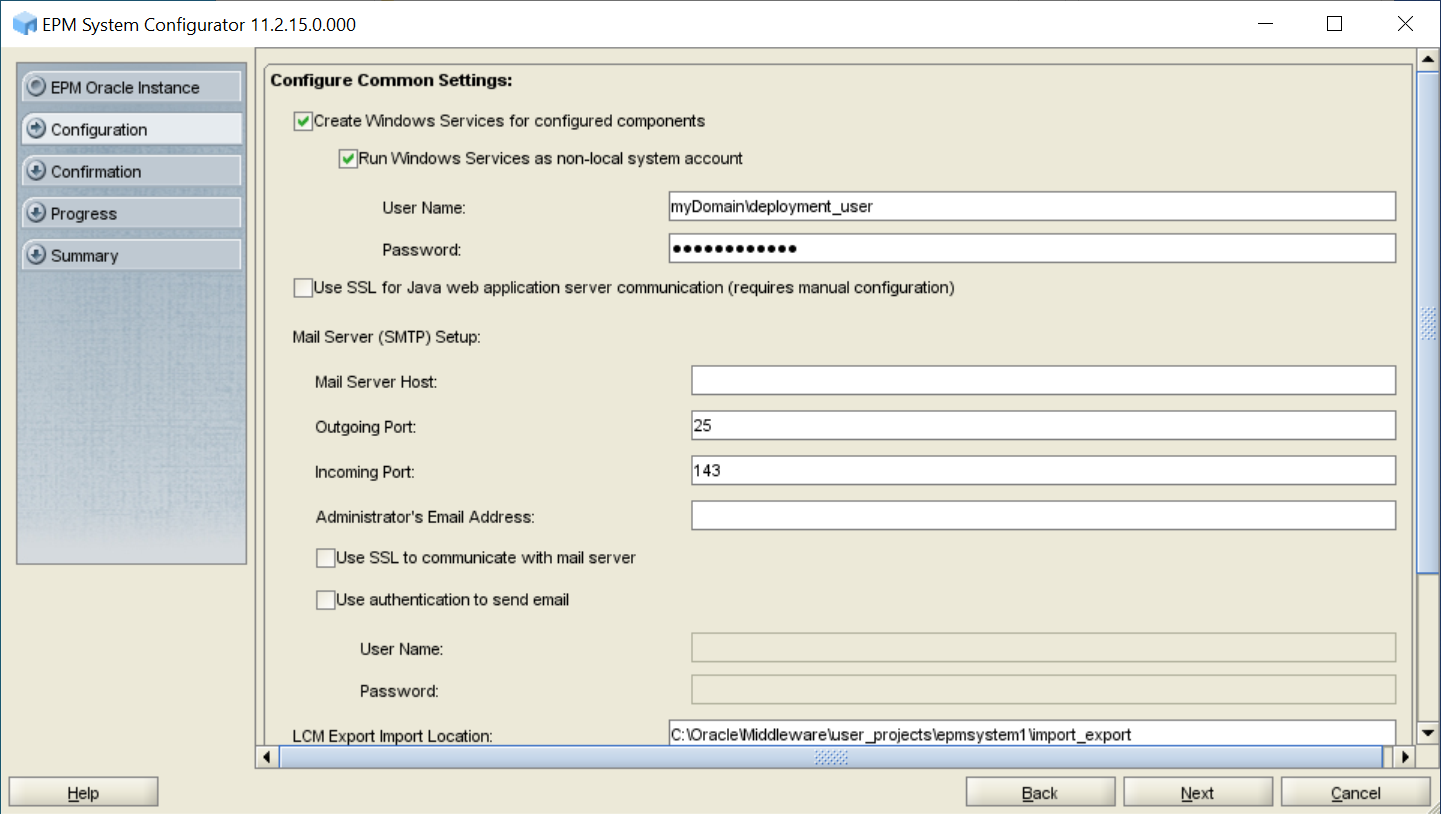
- In Configure Common Settings, complete these actions, and then click Next.
- Select Run Windows Services as non-local system account.
- In User name, enter the deployment user.
- In Password, enter the deployment user password.
- In LCM Export/Import Location, enter the shared disk directory location;
for example:
//sharedHost/sharedLocation/lcm_export_import, which will store the Oracle Hyperion Enterprise Performance Management System Lifecycle Management artifacts that will be exported from or imported into this Oracle Hyperion Foundation Services instance. EPM System Configurator creates this directory for you. - Optional: Enter SMTP mail server information.
- In Configure Database, click Next to use the default values to leverage the Foundation Services database for all the products.
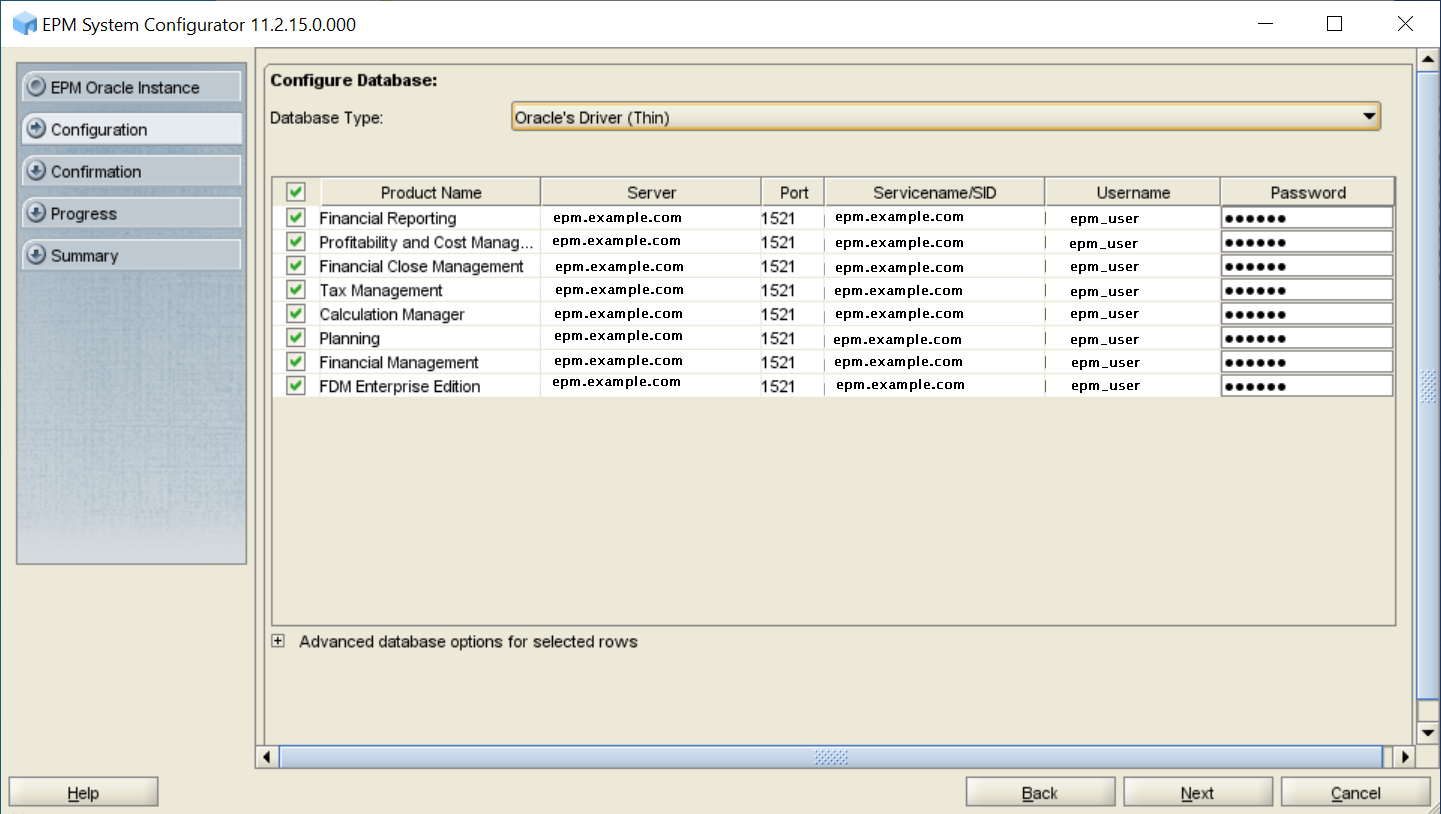
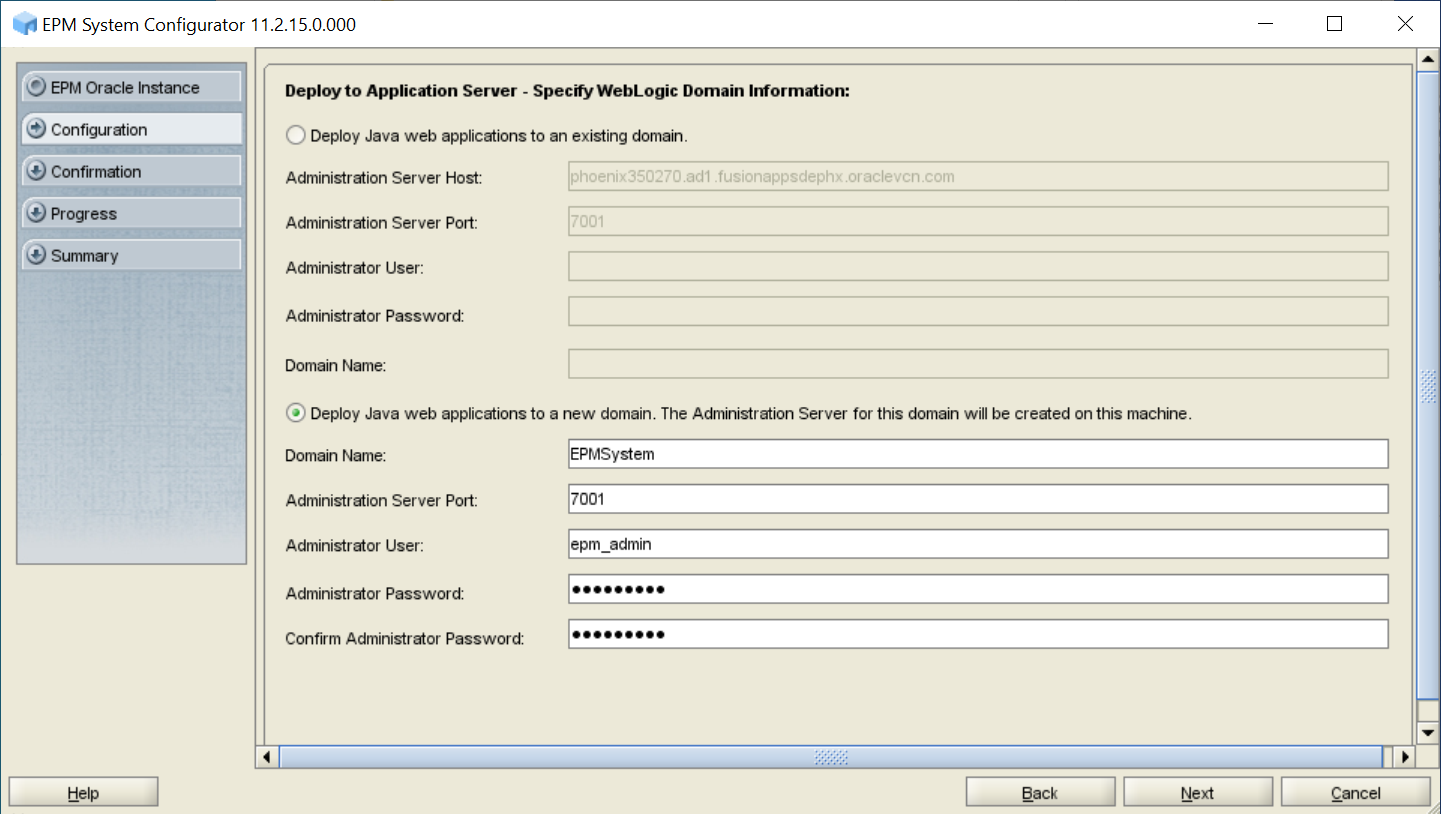
- In Deploy to Application Server - Specify WebLogic Domain Information, enter the required information, and then click Next.
The Oracle WebLogic Server domain for Oracle Enterprise Performance Management System components and the WebLogic administration server are created on this machine.
- In Administrator User, enter the user name of WebLogic Server domain administrator using the system administrator user name you identified.
- In Administrator Password and Confirm Administrator Password, enter the password for WebLogic Server administrator, using the system administrator password you identified.
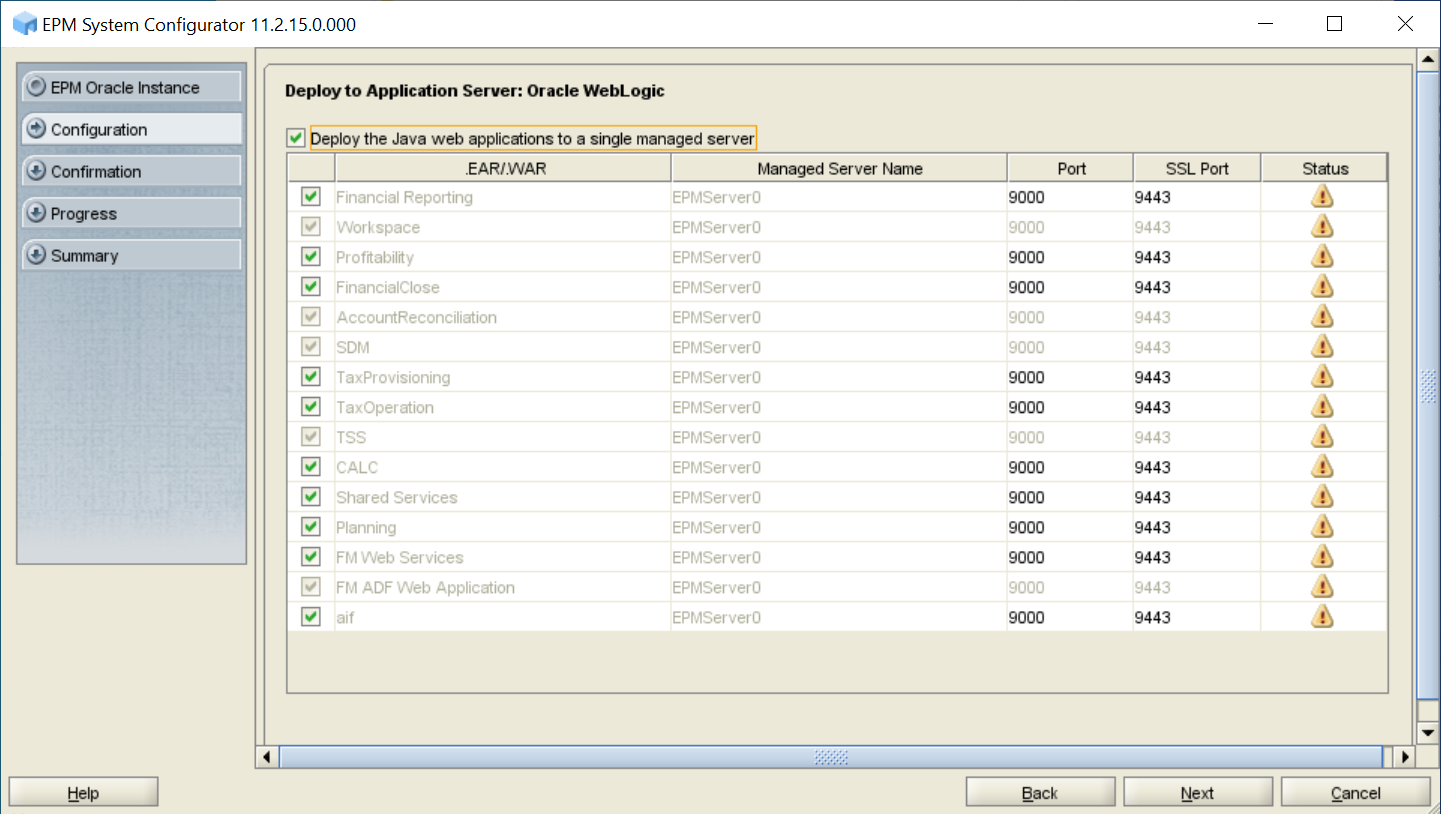
- In Deploy to Application Server: Oracle WebLogic, review the list of web applications that will be deployed to the WebLogic Server domain, select Deploy the Java web applications to a single managed server, and then click Next. The Java web applications listed on this screen are deployed to one managed server.
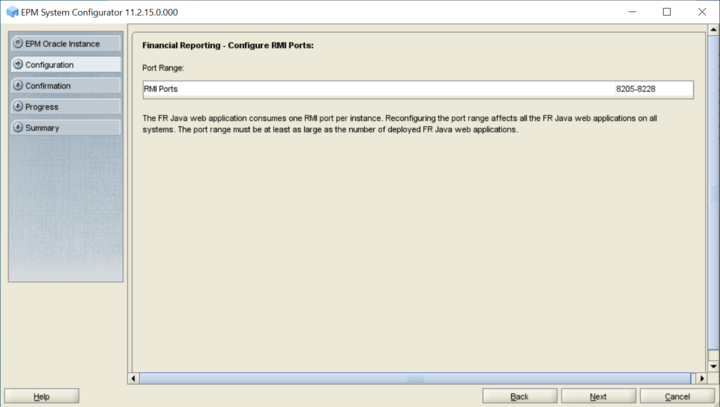
- In Financial Reporting – Configure RMI Ports, click Next.
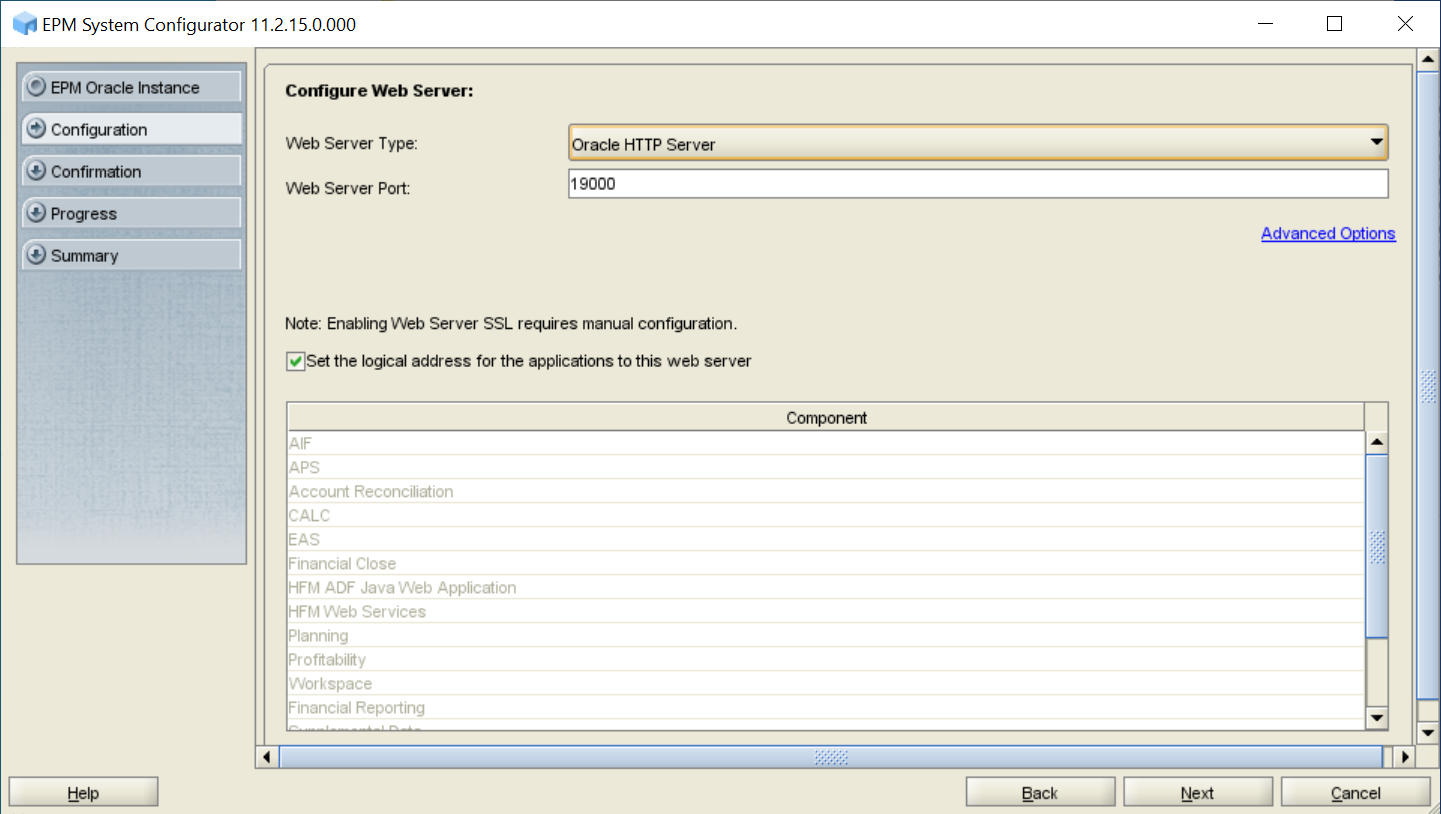
- In Configure Web Server, complete these steps, and then click Next.
- In Web Server Type, select Oracle HTTP Server.
- Optional: In Web Server Port, change the web server port number.
- Click Advanced Options and specify the shared drive on which to configure Oracle HTTP Server (you must configure at the root of the shared drive), click OK, and then click Next.
- In Update the logical address for the web applications, complete these steps, and then click Next.
- In Host, enter the name of the virtualhost (
epminternal.mycompany.com) that you created for internal communication - Optional: In Port and SSL Port, change port numbers.
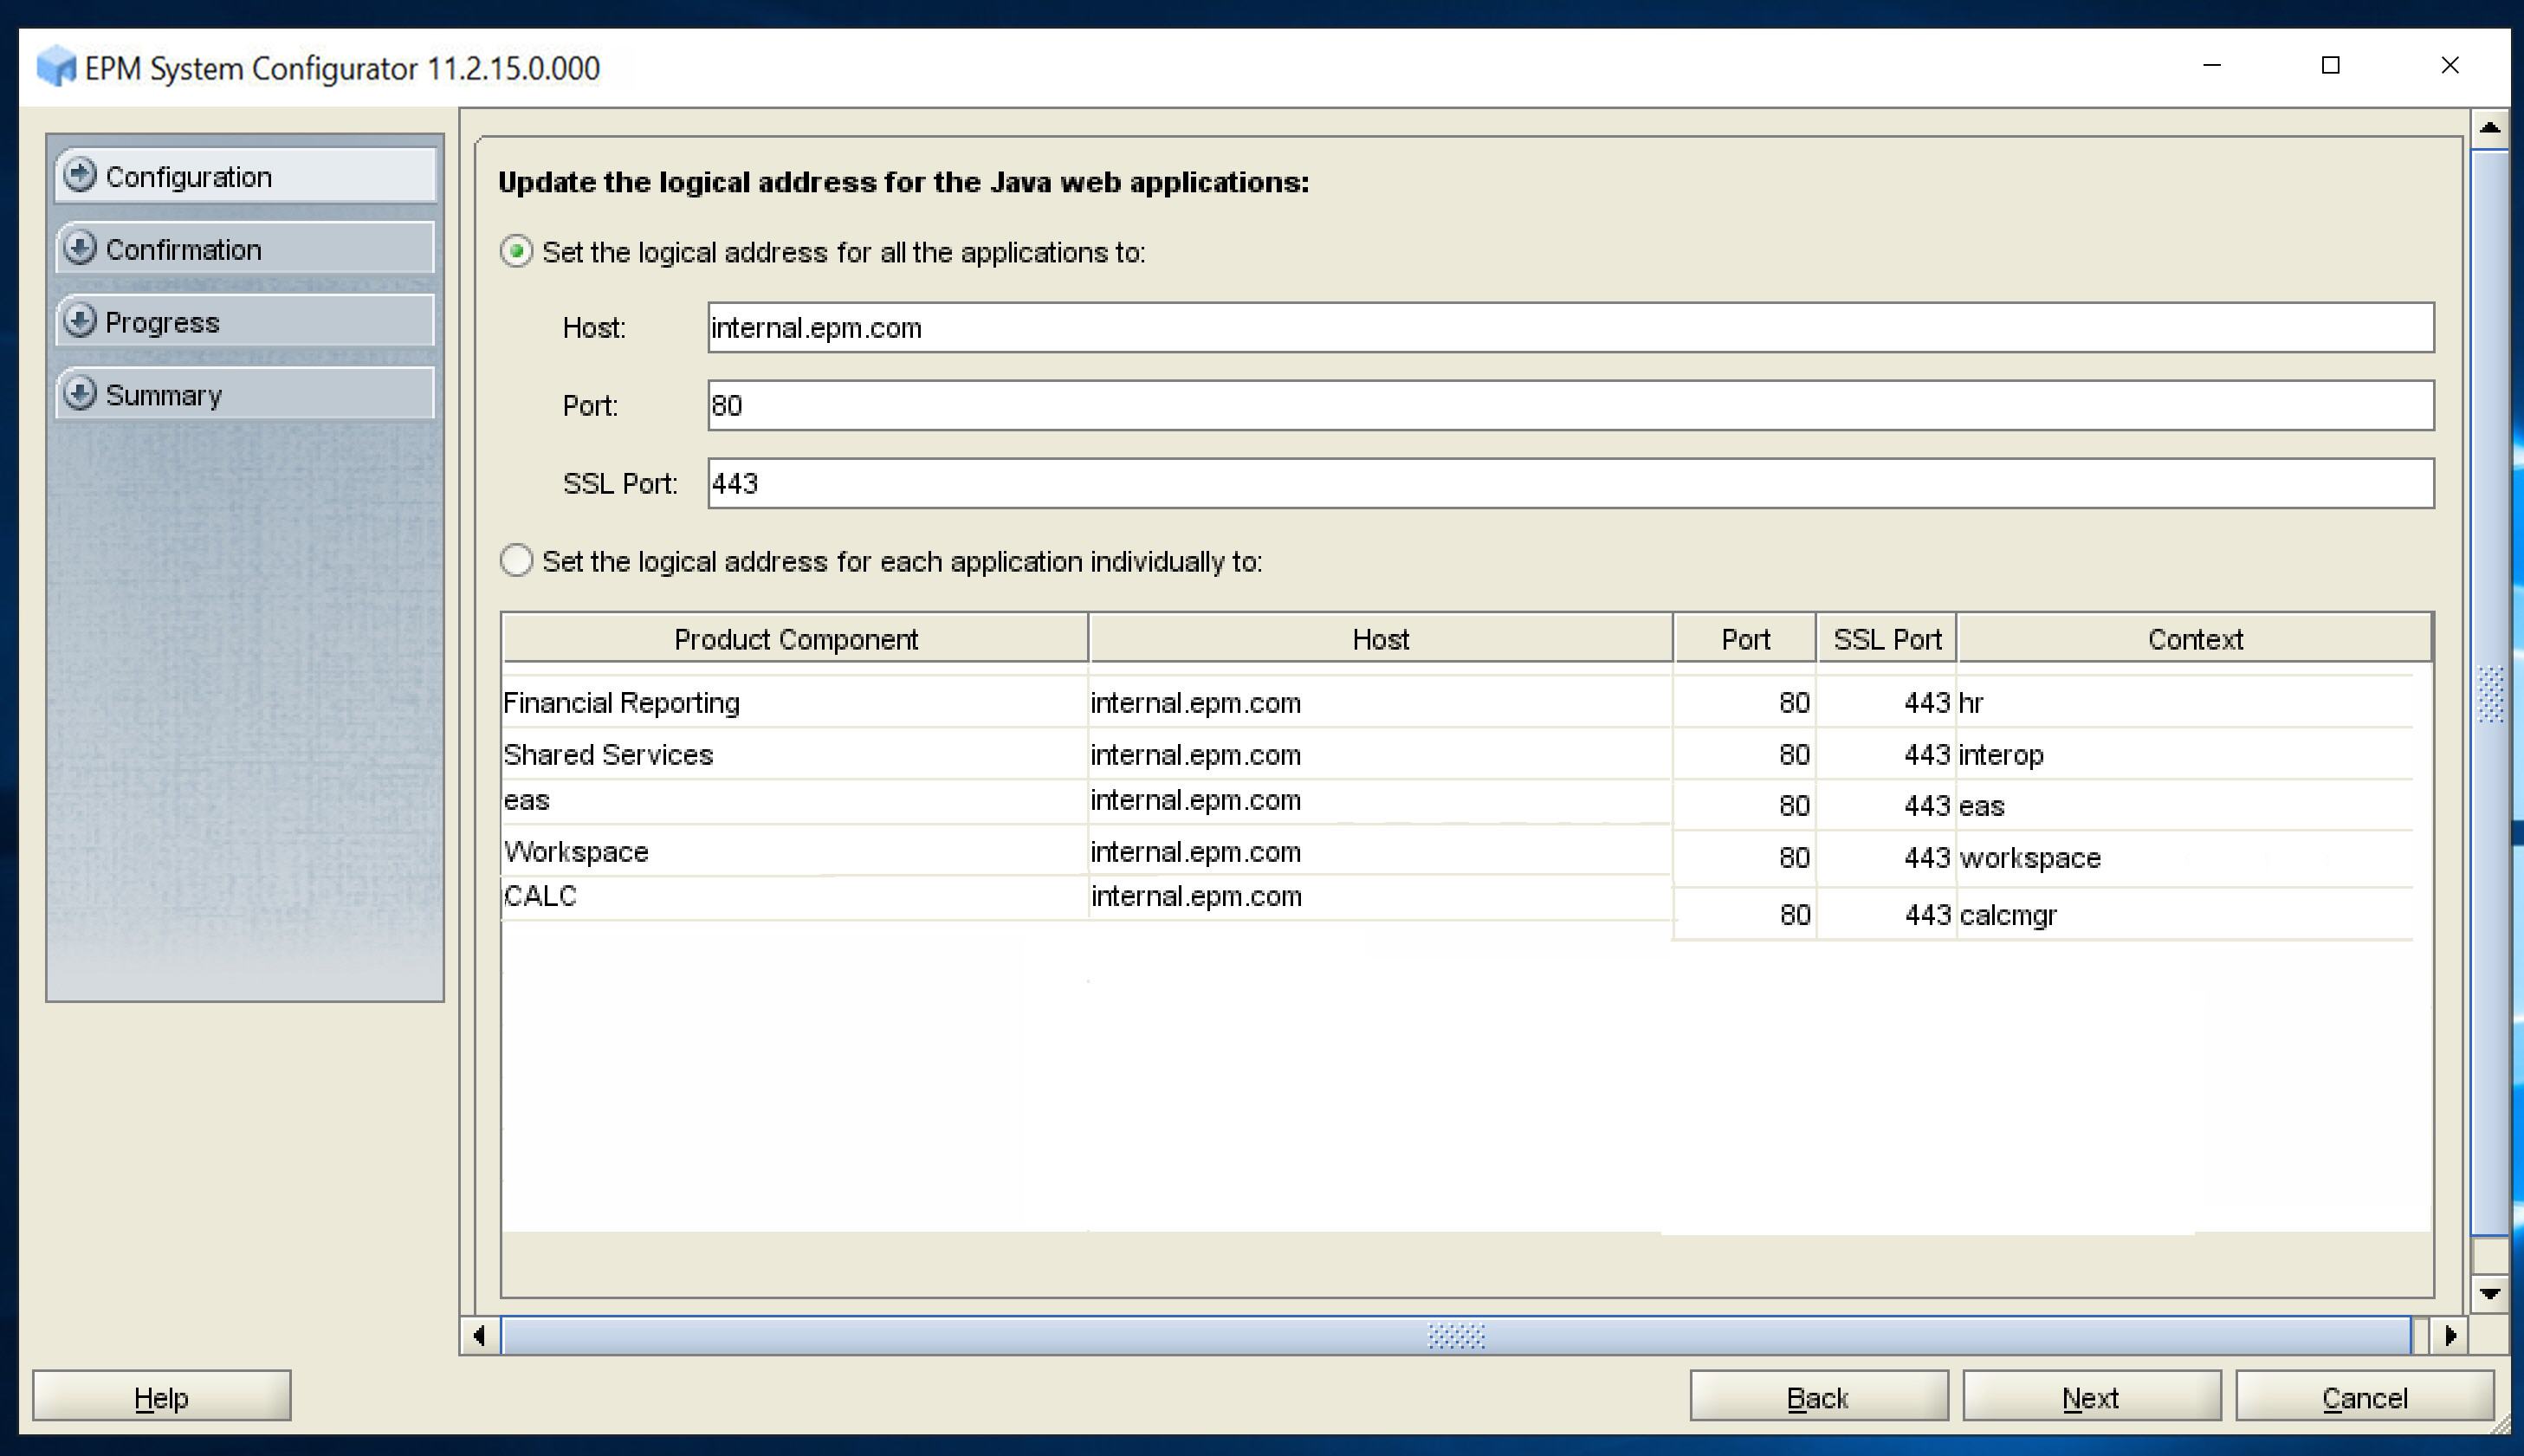
- In Host, enter the name of the virtualhost (
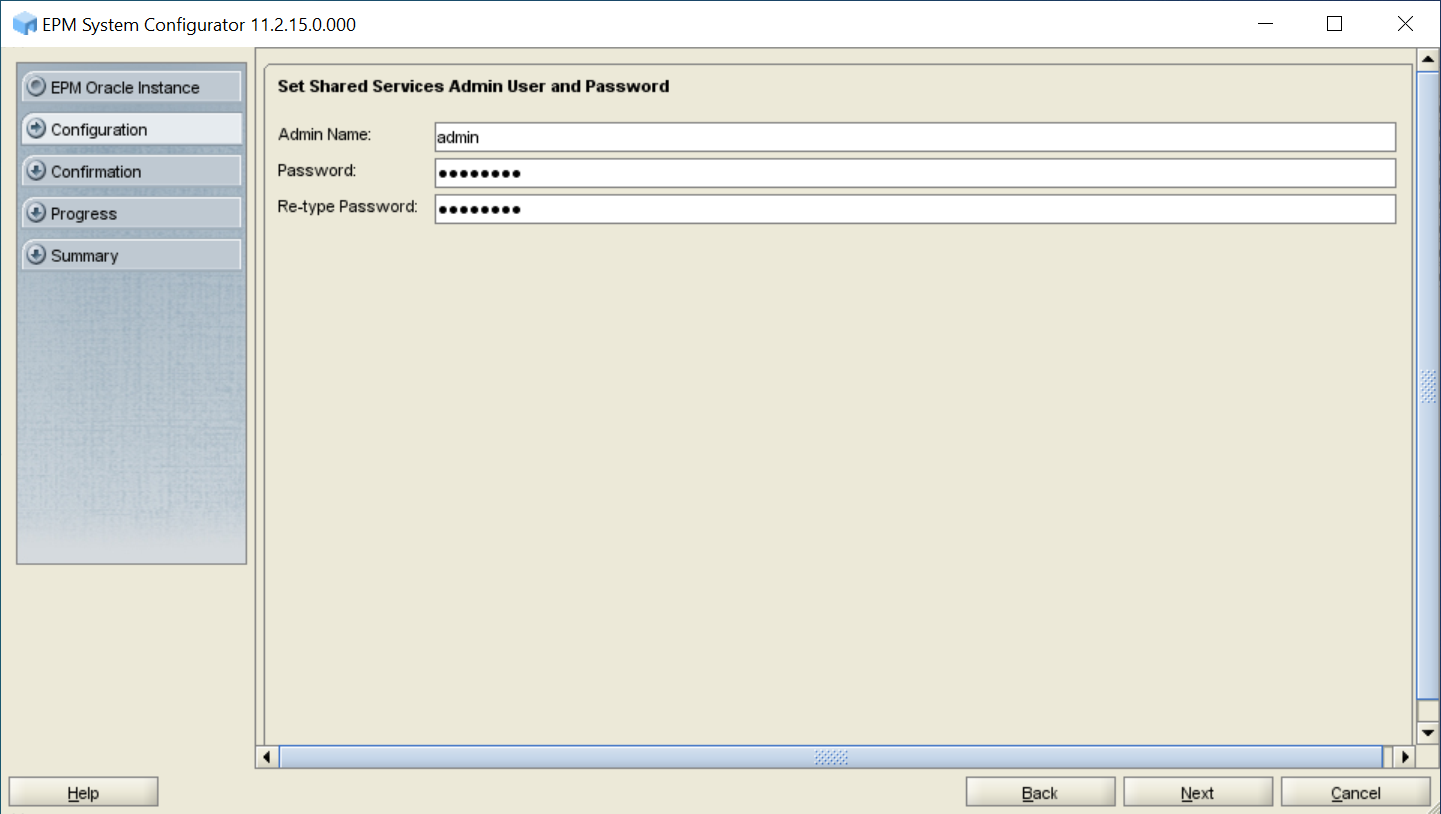
- In Set Shared Services Admin User and Password, enter the user name and password for EPM System administrator using the system administrator user name and password that you identified, and then click Next.
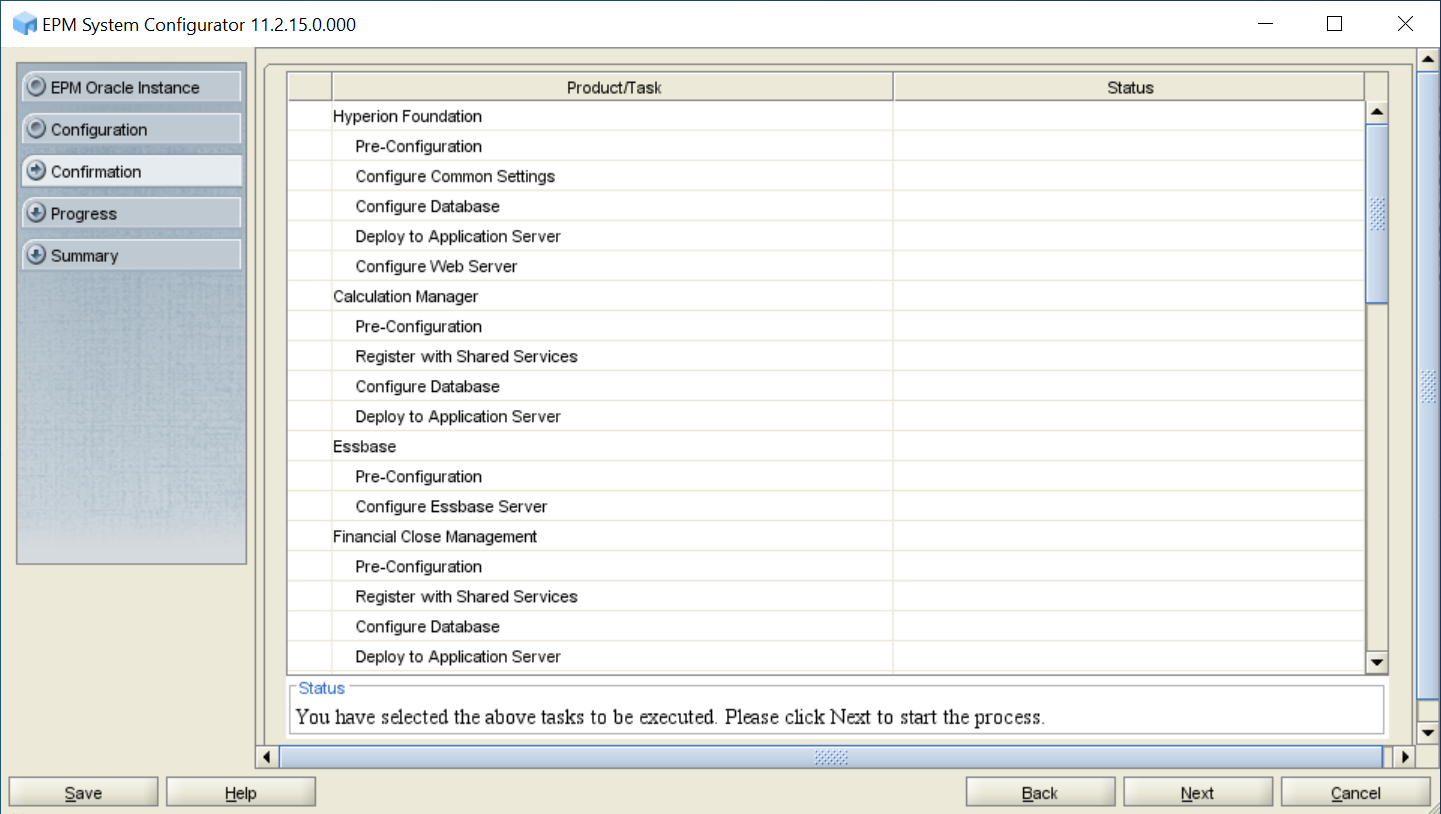
- In Confirmation, review the summary of the configuration tasks that will be executed, and then click Next.
- When the deployment process is complete, the Summary screen is displayed. Verify that all the tasks completed successfully, and then click Finish.
-
Start WebLogic Administration Server: Launch
<Local
                        Drive>:/Oracle/Middleware/user_projects/domains/EPMSystem/bin/startWeblogic.cmd
. - Start EPM System: From the Start menu, select Oracle EPM System, and then Start EPM System.
- Validate the installation by logging on to Oracle Hyperion Enterprise Performance Management Workspace: From the Start menu, select Oracle EPM System, and then Workspace URL, and then click Launch Application. Or you can access the following URL:
http://FNDHOST1:19000/workspace/ - Have your network administrator configure the load balancer to route all requests addressed to
epm.mycompany.comandepminternal.mycompany.comto the Oracle HTTP Server installations on the Foundation Services host machine (FNDHOST1).