Installing Planning on PLANHOST1

If you are configuring the Oracle Hyperion Planning instance on the same server on which you configured the Oracle Hyperion Foundation Services instance, you can skip the installation steps and RCU steps and go directly to the configuration steps. See Configuring Planning on PLANHOST1.

To install Planning on PLANHOST1:

  1. Log on to the Planning host machine (PLANHOST1) as the deployment user, and define a network drive (for example, Z:/) that maps to the shared disk directory into which you extracted Oracle Enterprise Performance Management System software (for example, //sharedhost/sharedlocation/downloads/epm_unzipped).
  2. From the mapped network drive, launch installTool.cmd.
  3. In EPM System Installer, select a language, and then click OK.

    EPM System Installer language selection screen
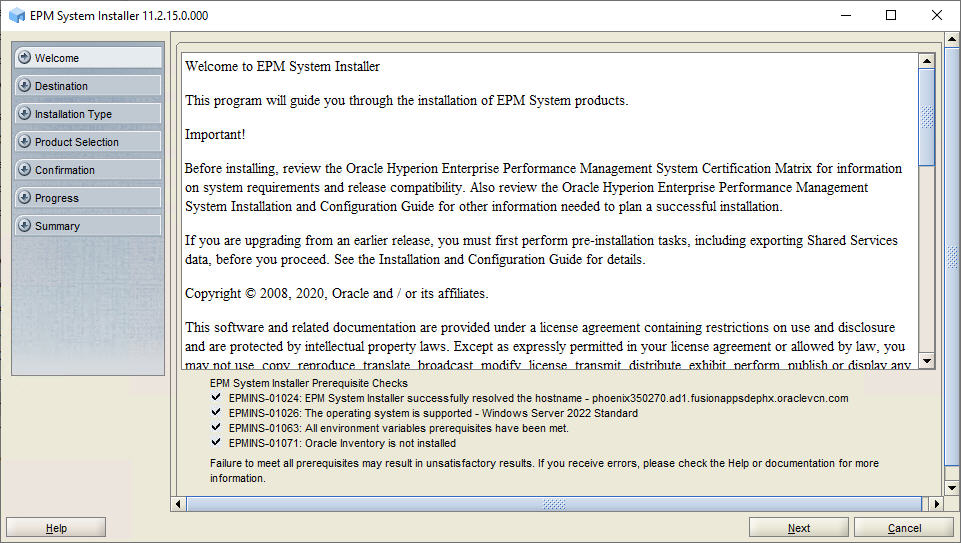
  4. In Welcome, verify that your system has passed all prerequisite checks, and then click Next.

    EPM System installer Welcome screen
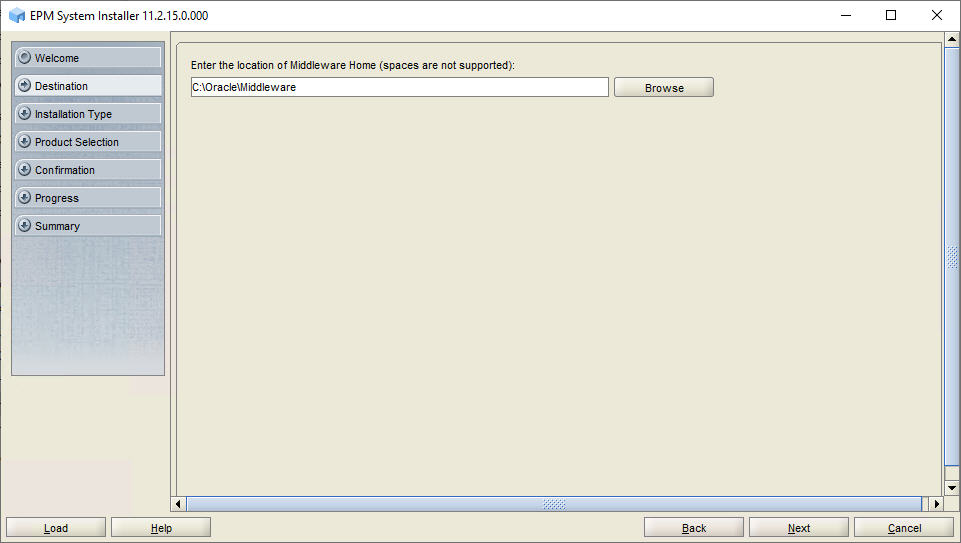
  5. In Destination, specify the MIDDLEWARE_HOME directory location exactly as set while deploying Foundation Services on FNDHOST1, and then click Next.

    EPM System installer Destination screen
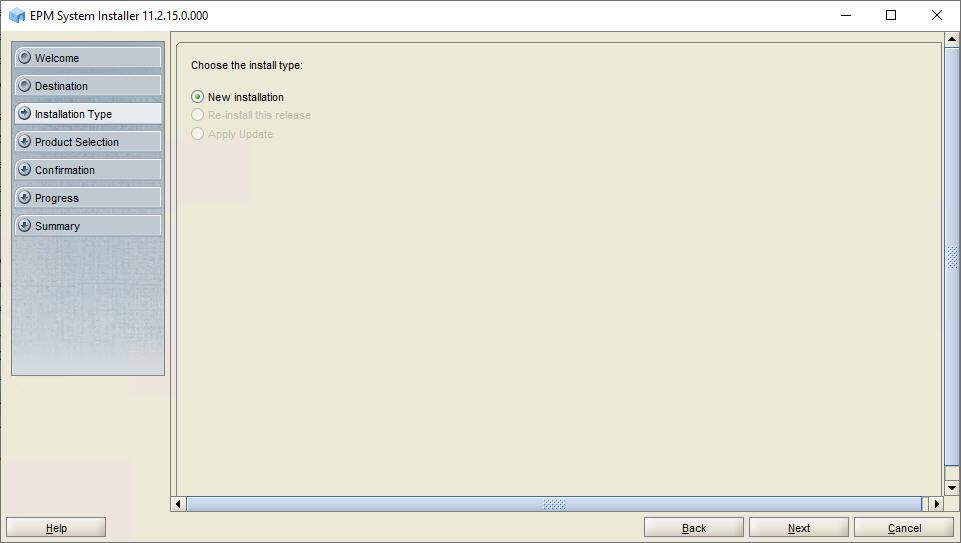
  6. In Installation Type, click Next.

    EPM System installer Installation Type screen
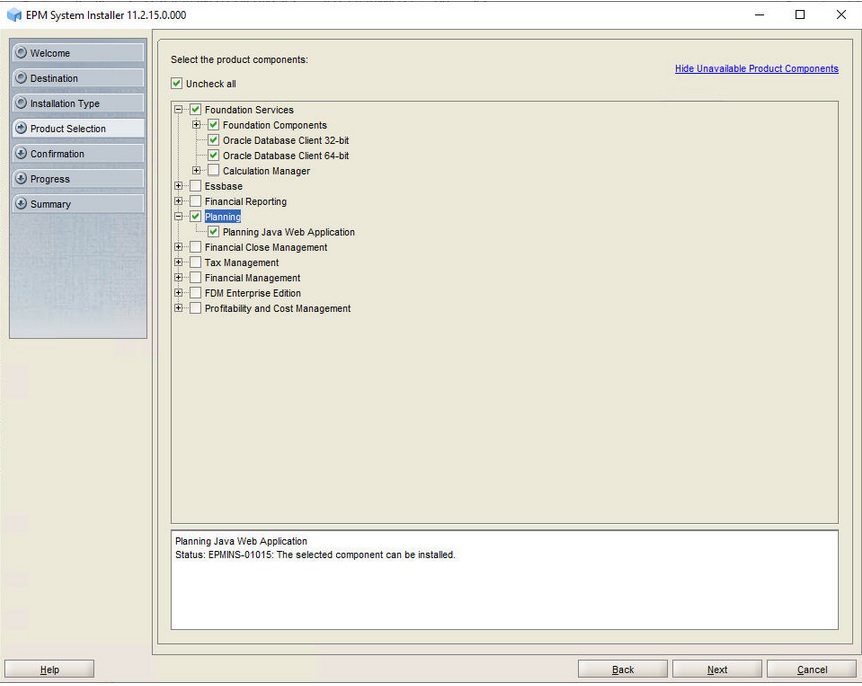
  7. In Product Selection, perform the following tasks:
    • Clear the selection (uncheck) from Uncheck All.

    • Select Planning.

    • Remove the selection from (uncheck) Essbase and from Calculation Manager (under Foundation Services) if it is selected.


    EPM System installer Product Selection screen
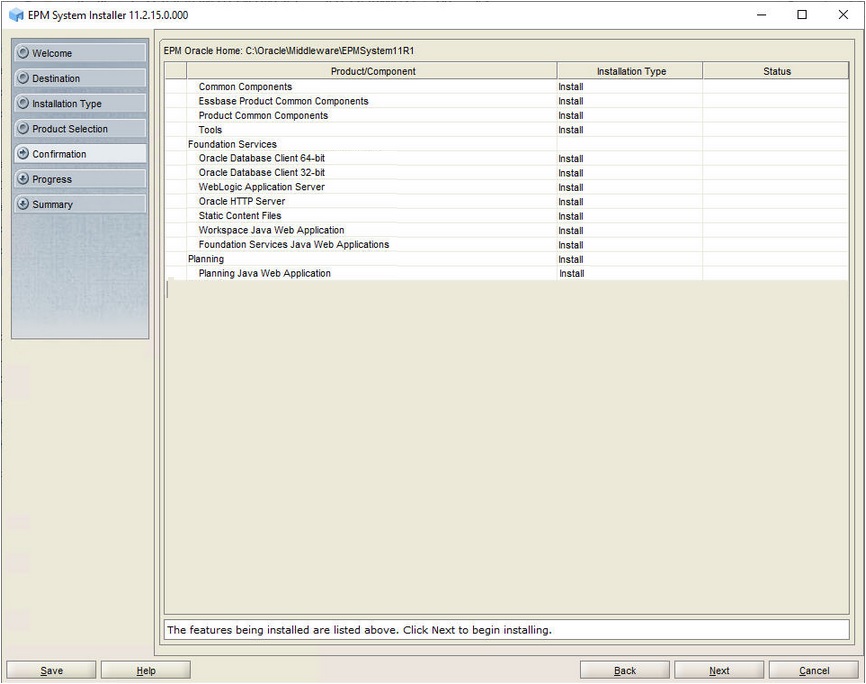
  8. In Confirmation, click Next to begin the installation of the selected components on PLANHOST1.

    EPM System Installer Confirmation screen
  9. In Summary, click Finish after verifying that all components installed successfully.